In last month’s column [“The Best Gear?,” February 2012], we started investigating how to find the right gear for your studio. We began by looking at what we wanted to do musically—be it tracking guitar, capturing vocals, recording drums, mixing songs, or something else altogether. Here’s the idea we arrived at: Once you know what you need to do, you can more easily target what gear is required for the job. This month, we’ll continue down this road by looking at ways to narrow down your choices and make your specific selections.
The first step is to settle on the centerpiece for your rig and the “support” items that will surround it. Only then can you move on to the other items needed to complete the tasks. For most of us, our recording device—the centerpiece—will be a computer paired with an audio interface. But a computer isn’t the only choice. Depending on what you are doing, another type of recorder might serve you even better. Let’s look at some of the options, beginning with the simplest.
1. Stereo Recorder. Think that you have to have a high-powered computer system or multi-track recorder to lay down your project? We’re now back to that “what do you want to do” question. If you’re recording classical-guitar solo pieces, steel-string fingerstyle instrumentals, or singer-songwriter tunes, you might get better results using a stereo recorder that captures the real, live sound in the room. This can be a very transparent way to record if your production style and goals allow for it. For many decades, music was recorded directly to wax, wire recorder, vinyl, mono tape, and eventually, stereo tape. It wasn’t really until the later 1960s that 4- and 8-track recorders became widely available in studios.
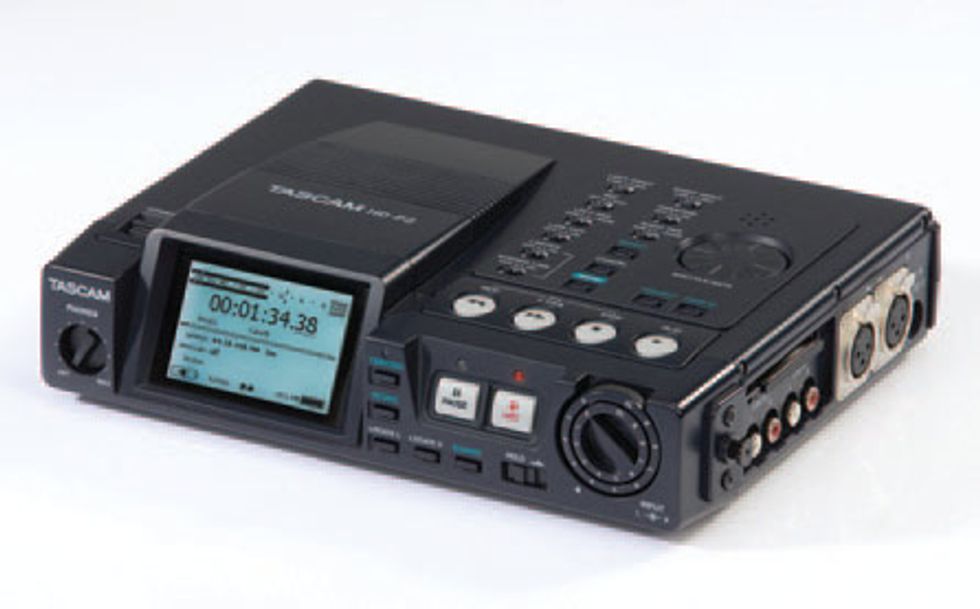
A high-resolution stereo recorder like the Tascam HD-P2 can capture amazing sound quality. Just plug in a pair of microphones.
Some of the greatest recordings of all time were made with the band, orchestra, symphony, or musicians all playing live in the same room. There were no fixes or edits—just music being made in real time. What a concept!
You shouldn’t dismiss this option until you try it. Two great mics through a nice stereo preamp and into a straight-ahead stereo digital recorder is a super-clean, super-simple system for recording. And it allows you to keep your mind on the music. At a later point, you can always transfer your stereo recording into a computer for overdubbing, polishing, editing, processing, and cleanup.
2. Hardware Multi-track Recorder/Mixer. Not too long ago, the only real option for home recording was a cassette-based, multi-track recorder/ mixer—often generically referred to as a “Portastudio” (the Portastudio is a product line from Tascam). Thankfully, cassettes are long gone, but the concept of a self-contained multi-track recorder/mixer survives in units from Tascam, Roland/Boss, Samson, and others. If your multi-tracking, editing, and mixing demands aren’t too heavy, these can be a great option since they are fast and easy to operate. Simply plug in your microphones and headphones or speakers, and voila, you’re recording!
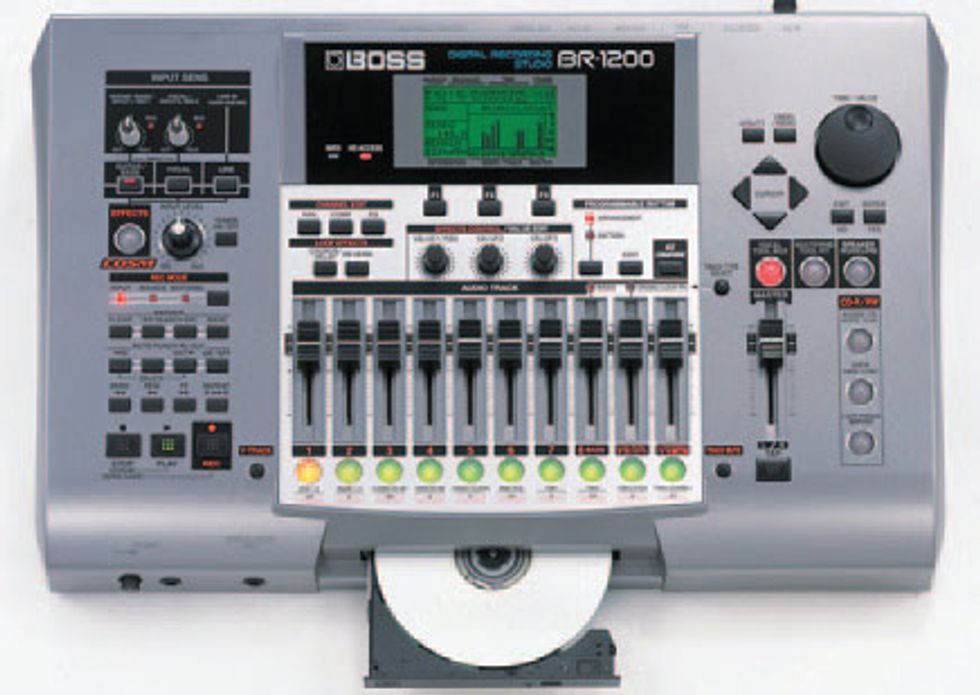
There are some drawbacks with these systems, such as the number of simultaneous inputs and outputs, limited headphone monitoring for multiple musicians, and the fixed number of tracks. But for many projects, a good standalone multi-track may be just the ticket. Many even include onboard effects and processing for creating a final stereo mix.
3. Computer. If you’re working with multi-track recordings, then it’s tough to argue with the power of a computer-based system. The trade-off is that a computer system can be more complicated to operate than some of the other options. But once you master the basics, flexibility, editing power, processing and mixing power, and the ability to take a project from beginning to end all “in the box,” the benefits are tremendously attractive.These days, just about any reasonably modern computer, Mac or PC, can handle relatively demanding projects. Even an uber-portable machine—such as a Macbook Air or an iPad—can be used to create a surprisingly complex, multi-track arrangement. Though if you’re working on “serious” projects, I still recommend the most powerful laptop or desktop computer you can get. Regardless of what computer you choose, check the sidebar for tips to ensure that your computer will be as powerful as it can be. That’s all we have room to cover this month. See you back here next time as our journey towards the perfect recording rig continues!
Maximize Your Computer Power
• Load up the RAM. RAM is the computer memory used to hold programs and data while they are in use. Most computers ship from the manufacturer with just more than the minimum required for the operating system and for non-demanding applications. You’ll be surprised how much your computer’s performance will improve by adding RAM (my laptop has 8 GB and my tower has 16 GB). Some DAWs—such as certain versions of Pro Tools 10—allow you to load complete projects off your hard drive and into RAM for ultra-fast response. However, this requires a significant chunk of RAM.
• Have a dedicated audio hard drive. While you can record direct to the computer’s internal drive, you’re better off having a dedicated, second drive for storing audio—whether external (USB or FireWire) or internal (mounted inside the computer). One of the things that cemented my use of a laptop for audio work was finding an adapter that allowed me to replace the internal CD-R drive with a second hard drive. My Macbook Pro now has two internal 750 GB hard drives, and as a bonus, I mounted the removed CD-R drive in an external case and can still use it when I need to—all for less than $18. My tower has four internal hard drives: one for the system and programs, one for audio, one for drum and virtual-instrument libraries, and one for backing up projects. I also use external FireWire 800 drives for back up and archiving, and for hauling projects to outside studios.
• Expand your monitor. You can certainly work on a project using the laptop’s screen, but it’s so much easier with a larger monitor. I often connect my laptop to a bigger screen, and for my tower, I use a pair of 22" monitors. One displays the mixer and the other shows the audio editor or other windows. Be forewarned—once you work with a large amount of monitor real estate, you’ll never want to go back to a small screen!
 Mitch Gallagher is
the former editor in chief of
EQ magazine. He’s written
more than 1000 articles
and six books on recording
and music technology, and
has released an instructional
DVD on mastering. His upcoming book is
entitled Guitar Tone: Pursuing the Ultimate
Electric Guitar Sound. To learn more, visit
mitchgallagher.com.
Mitch Gallagher is
the former editor in chief of
EQ magazine. He’s written
more than 1000 articles
and six books on recording
and music technology, and
has released an instructional
DVD on mastering. His upcoming book is
entitled Guitar Tone: Pursuing the Ultimate
Electric Guitar Sound. To learn more, visit
mitchgallagher.com.