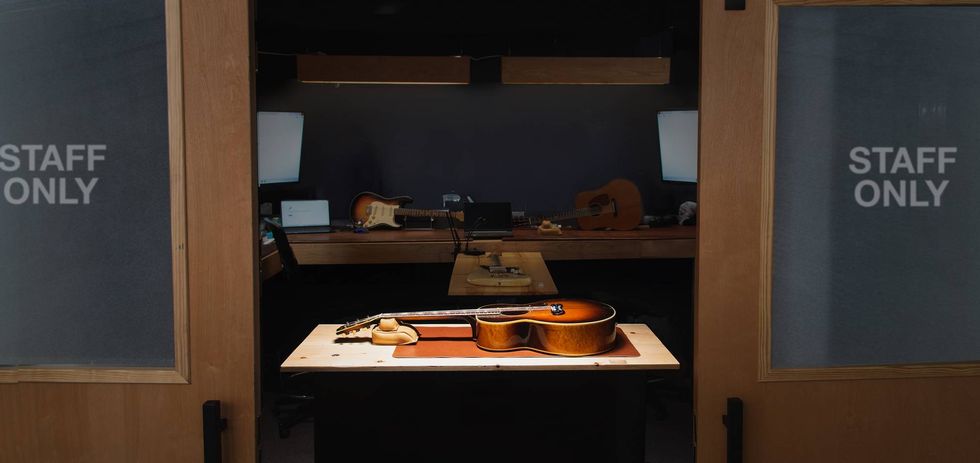

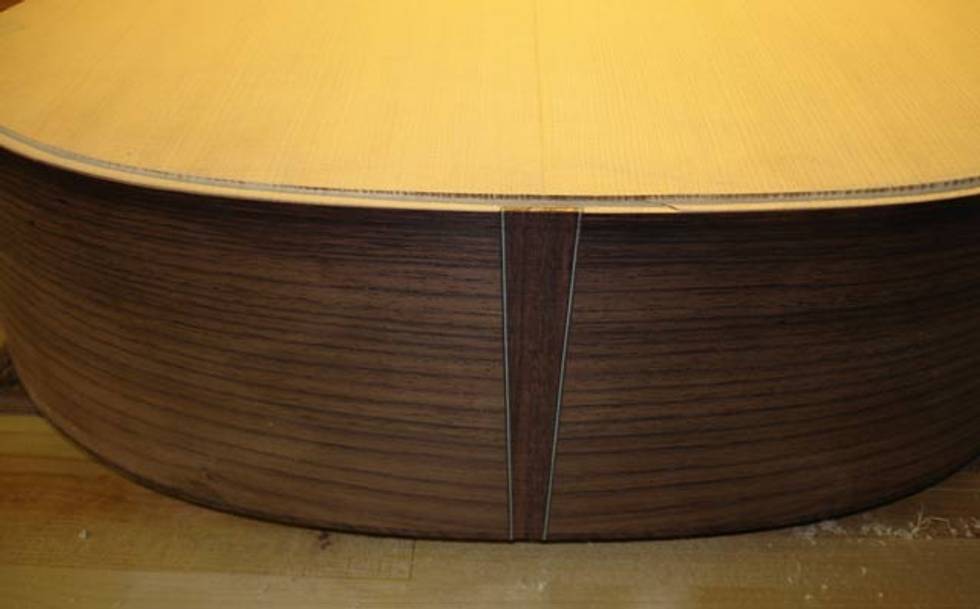

When we last left off I had just wrapped up 3 of the 15 classes in the guitar building series and had a fairly complete body put together. In the weeks since (day 10 was just completed this past weekend) a lot has progressed and my guitar is rapidly approaching a completed state. Since I don’t have a lot of space here I’m going to dive right in and summarize weeks 4-10 and illustrate what has happened in the past couple of months.
Day 4 – End Graft and Purfling/Binding
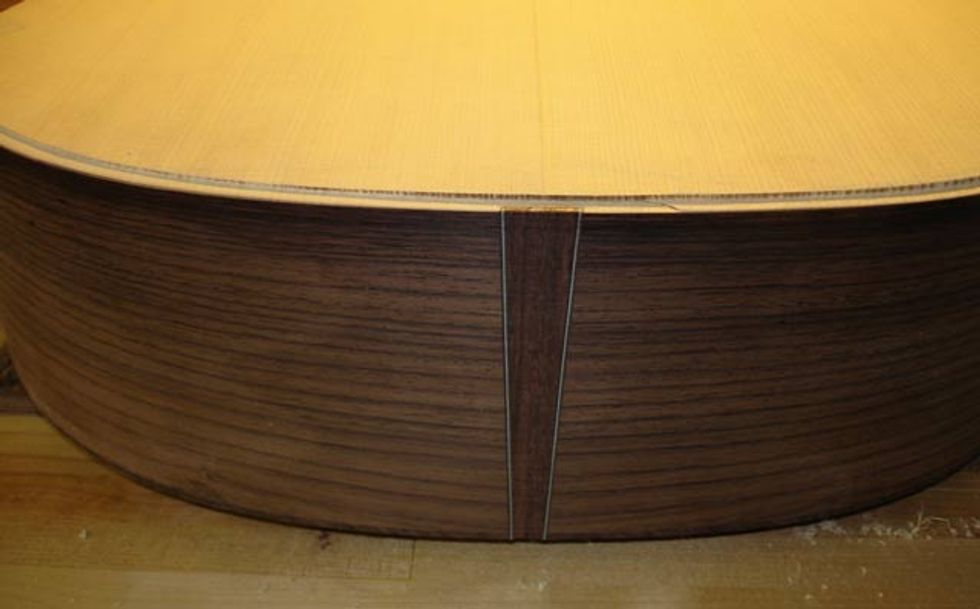
The first step today was to cut and prepare an end graft to cosmetically pretty-up the end seam where the sides meet at the back of the guitar. George routed out the slot while I prepared a scrap piece of rosewood to fit into place. Using a small amount of glue I slid the rosewood piece into place for a nice tight fit, allowed it to dry and later rough cut the ends off. With some basic sanding it’s amazing how beautiful that piece made the guitar. Ah, details.
Next up was the task of installing the purfling and binding on the top and back of the guitar. This step would take the rest of the day—and then some—due to a few setbacks in the way the shoulder route was cut. Using a router with the specific bit, I made the required routes for the purfling on the back and top. Because the wrong, slightly smaller bit was used on the shoulders, I would later need to use a chisel to bring it to the correct depth. With the purfling cuts made, we moved onto the binding cuts, which are cut based on the shelf created by the purfling cuts. Once all of the appropriate cuts were made, Diana came over and helped glue and tape the purfling/binding into place—definitely a two-person job, and quite messy.
While the body was in the drying stages I moved on to putting the ebony binding on the fingerboard. This was my first experience with the neck and it too didn’t go quite as planned. When clamping down the binding to the fingerboard, one end raised up slightly in the drying process and needed to be removed to start over. Easier said than done. George brought out a heating pad and tool to soften the glue (which had only been drying for 30 minutes) and began to pry it off. The glue proved to be surprisingly tough, and it took a good amount of time to get it off.
After removing the tape from the binding I found out the hard way that it was sticking out slightly and the sandpaper hit it and pulled away some of the material. Because this is an area that can easily be seen at the seam of the guitar, we decided to cut a small portion out and splice in a new piece. With that taken care of we packed it in for the day.
Day 5 – More Binding Issues
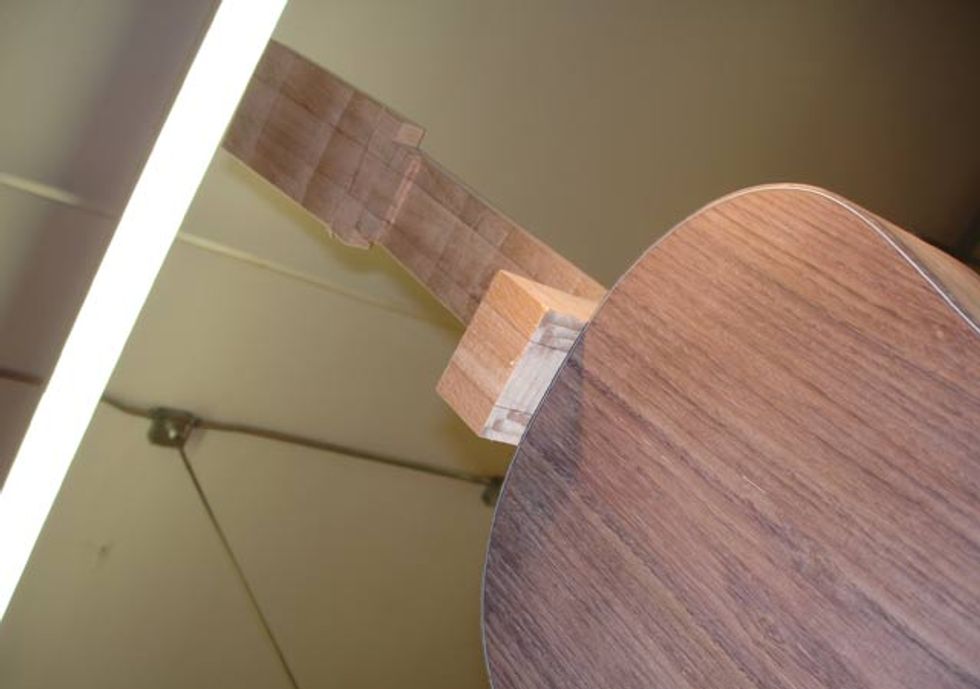
With the body ready to rock we moved onto the neck and preparing the body to accept it. Because dovetail joints are apparently not made for novices, George and Diana have opted for a mortise and tenon and the use of a bolt-on neck (hey, Taylor does it). George fired up the router and made a beautiful body mortise to allow for the neck tenon. With the neck blank in hand, I made the designated marks for the hanger bolt and drilled a 5/16” hole.
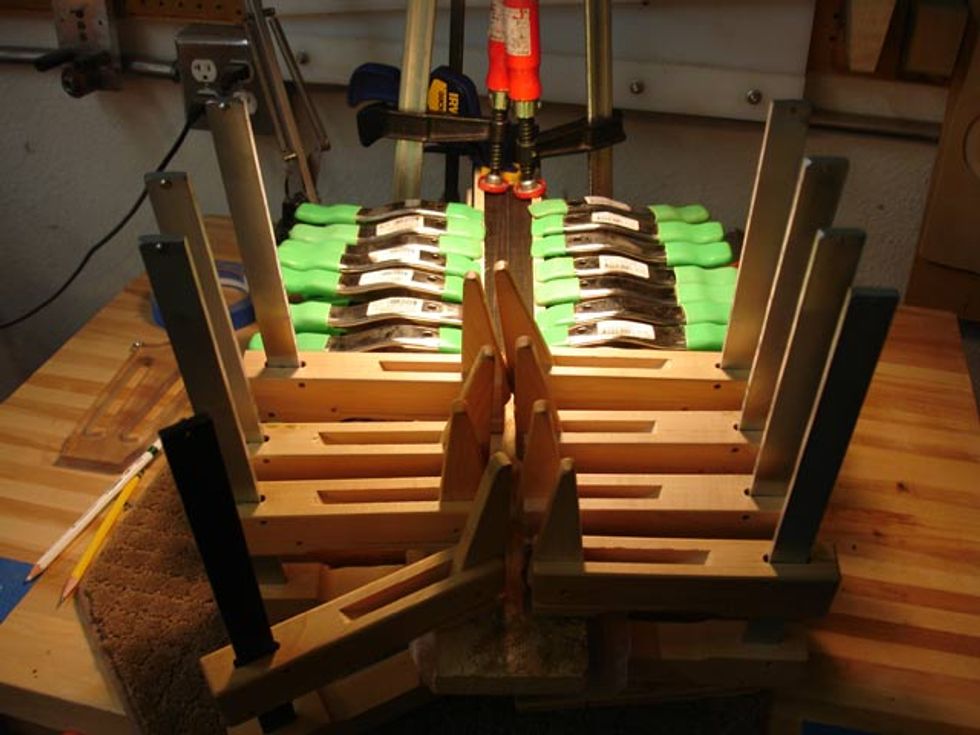
Day 7 – The Neck…Part 2
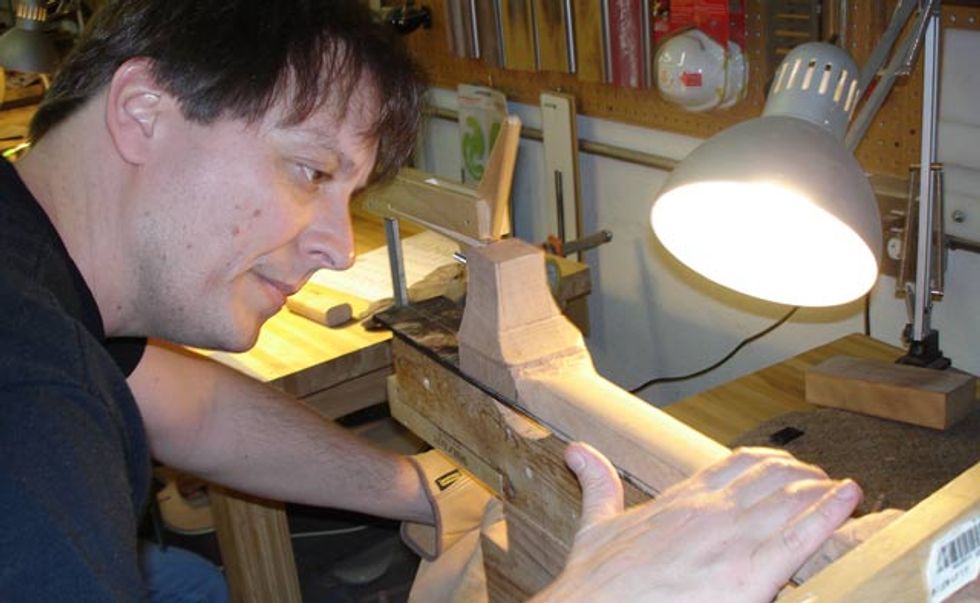
Using many pieces of sandpaper throughout the day we pulled 10-30 times on each side, then re-checked the angle with a template for straightness. It wouldn’t be so difficult if the seam didn’t have to perfectly hit flush with the sides, but alas…it does. Each pull takes a little skin off your fingers until you figure out it’s a good idea to wear gloves (which I did the following week). If you accidentally (and I did) pull up instead of along the slope of the shoulder it leaves a gap that requires you to repeat the pulling many, many times to smooth out again. Suffice it to say that Day 7 was all about “pulling,” and by the time I left, the neck was close but my fingertips were sanded right off. So much for calluses!
Day 8 – The Neck Carve
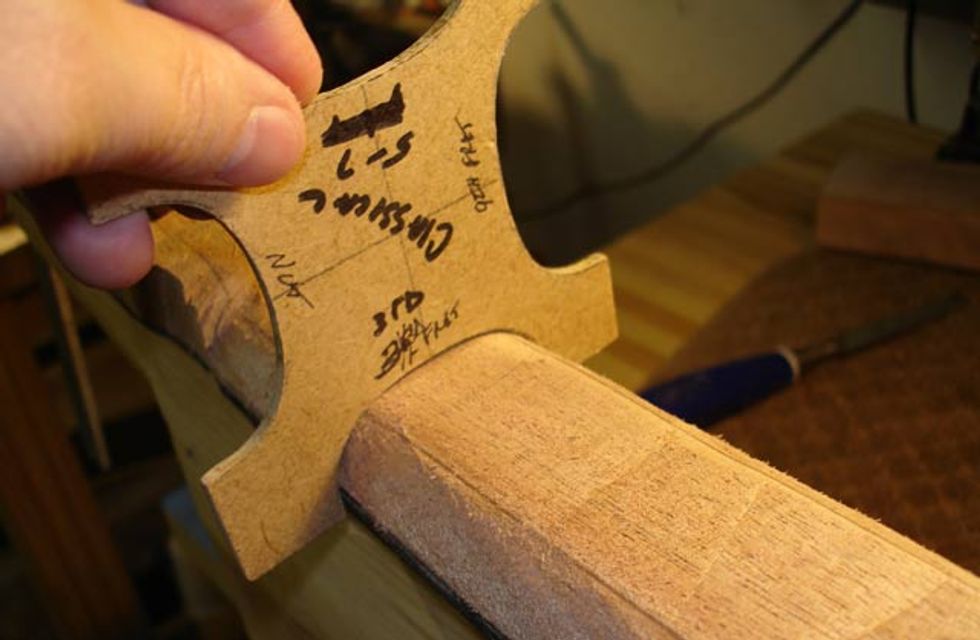
I started taking down the excess wood between the headstock and nut area with a file to get the shape to match up along the chalk lines scored using a plexiglass template. The headstock itself is fairly basic with no intricate carving required. After getting that basic shape taken care of, I was given a 4-sided template that gave the basic neck shape for my classical guitar. The neck is a very personal thing for players, and the template was a guide to get in the ballpark, not an exact scale. “Hogging” out the extra wood with the file was incredibly fun, though I found myself being slightly cautious because I feared pulling too much wood away. Using the template on the nut, 3rd and 12th frets I was able to visualize if the shape was getting close. If any light could be seen through it, more shaping was necessary.
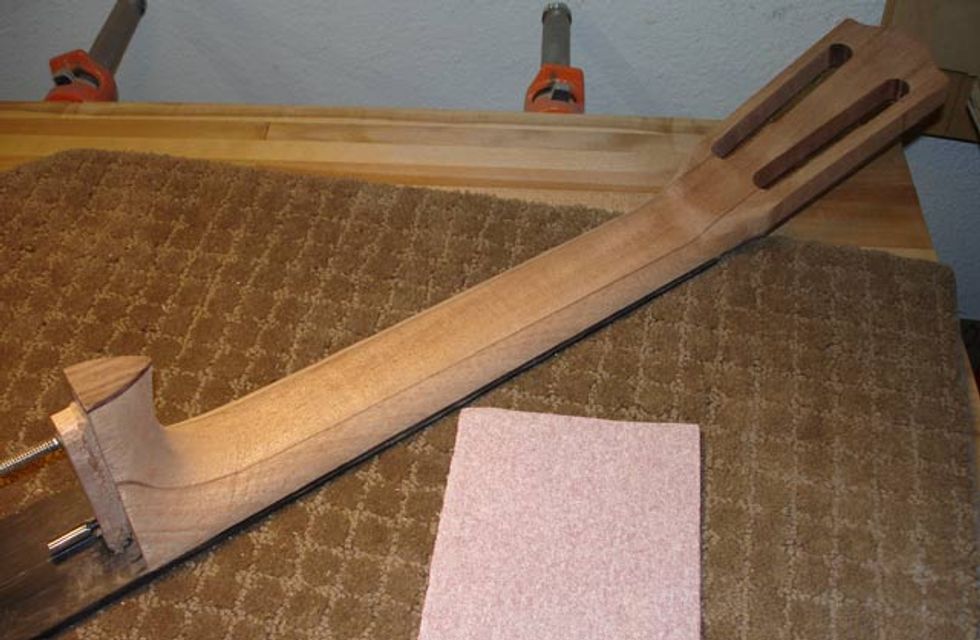
Once the basic shape was carved, I was given a long sanding block that was used horizontally across the neck to bring uniformity to its shape. It was exciting to pull the neck out of the clamps and feel it for the first time—this is where the extra time spent getting it to feel right in my hands was worth it. After making sure I had the transitional area from the back of the headstock to the nut area (no volute in my case) it was onto the Spanish heel. Spanish heels on necks are known for having a sharply defined shape and slight curve-back to them. Utilizing the file again, I spent several hours shaping away to get it dialed in. Surprisingly within the day the neck had taken shape from a raw block of wood into a nicely hand-carved neck—a great note to end on.
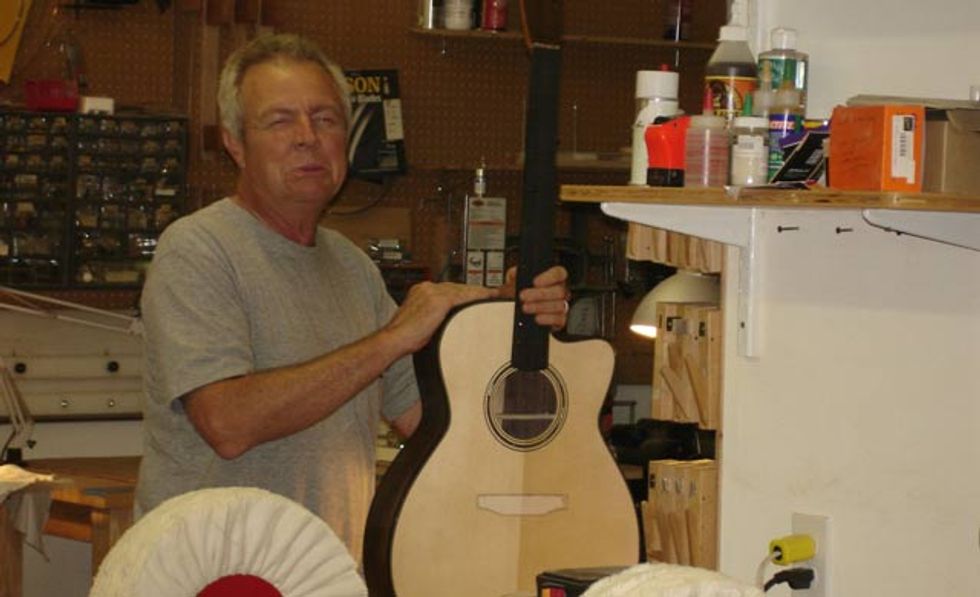
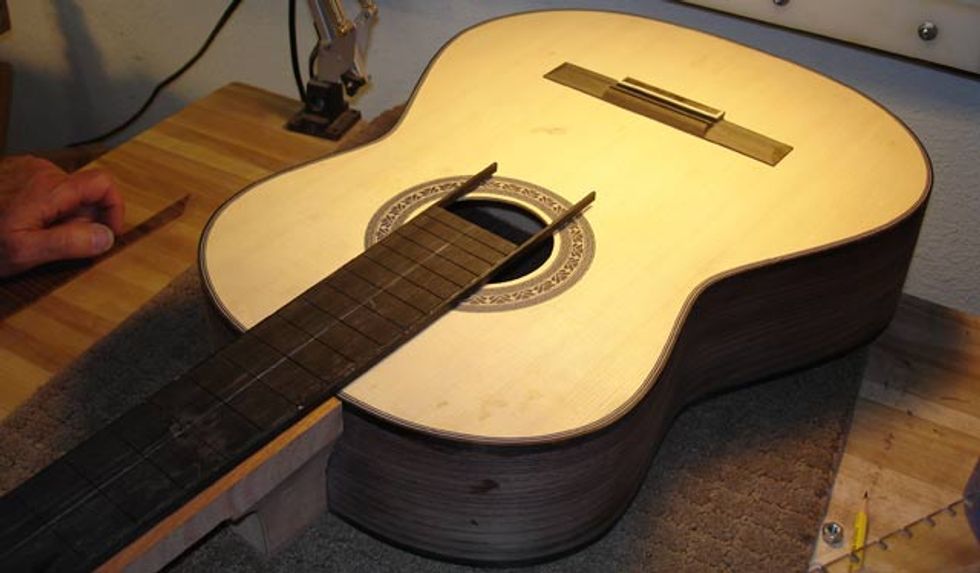
Today started out with some odds and ends before getting the neck and body prepared for finishing. Finishing? Already? Well, you have to finish the neck and body before you can assemble the neck and install the bridge, tuners, nut and frets, so here’s how it went. The first step was drilling the holes in the headstock for the tuners to fit in place. Since I’m building a classical, I’m using Gotoh 3-on-a-side connected tuners. A handy template from Stewart MacDonald lined up the marks for the holes and the drilling went perfectly. We did a final neck fitting to ensure that it was straight and everything was ready to rock.
This was the first opportunity I had to see the guitar in a semi-built state, which was really inspiring. It looks like a guitar! Because the fingerboard was still hanging over into the soundhole, we did a cut with the band saw to follow the soundhole and I used a file to clean up the edges for a clean look.
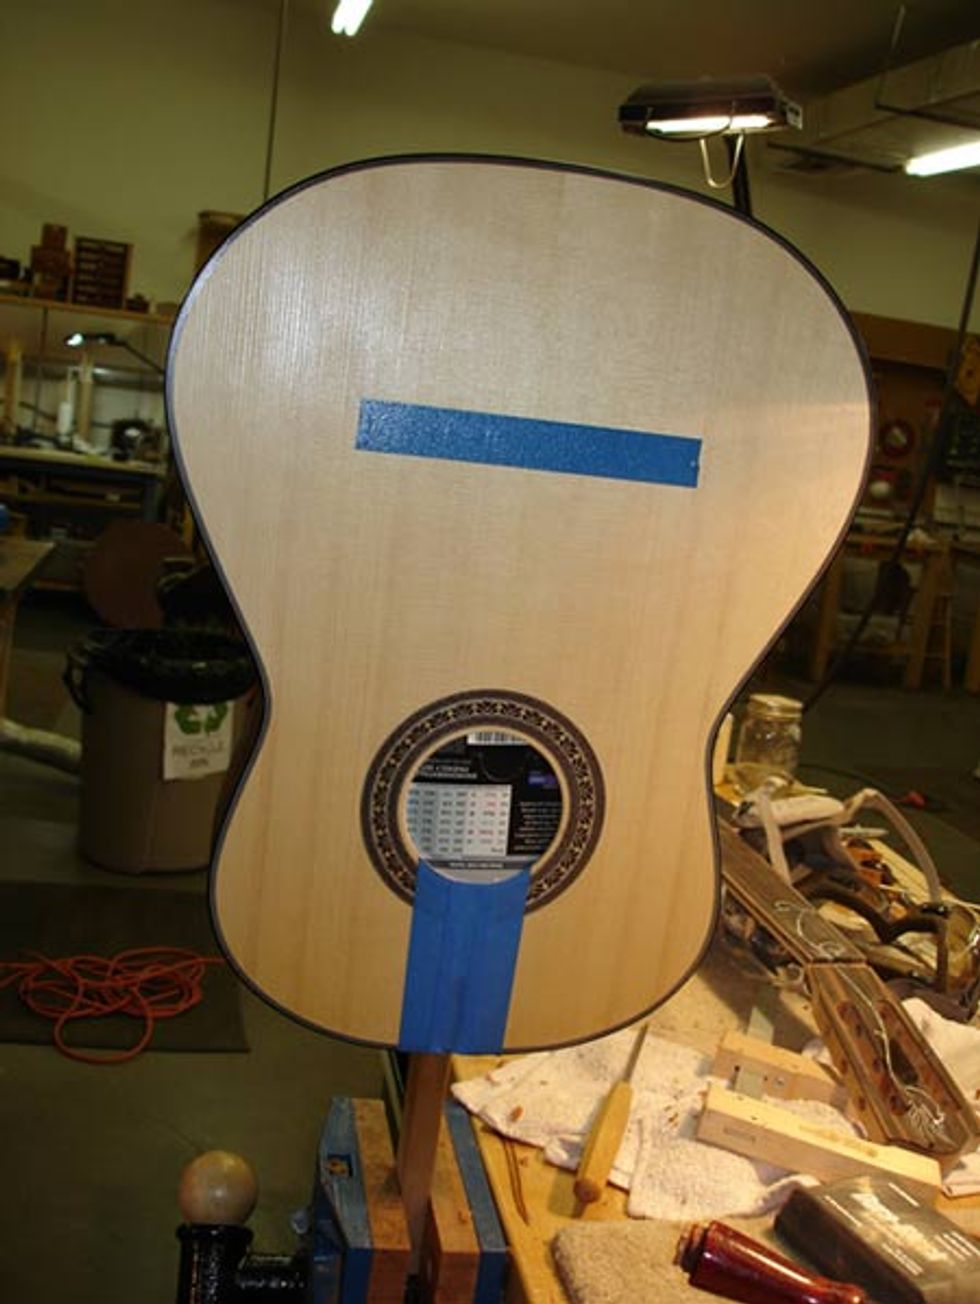
Masked and varnished body drying
Day 10 – Clear Coat
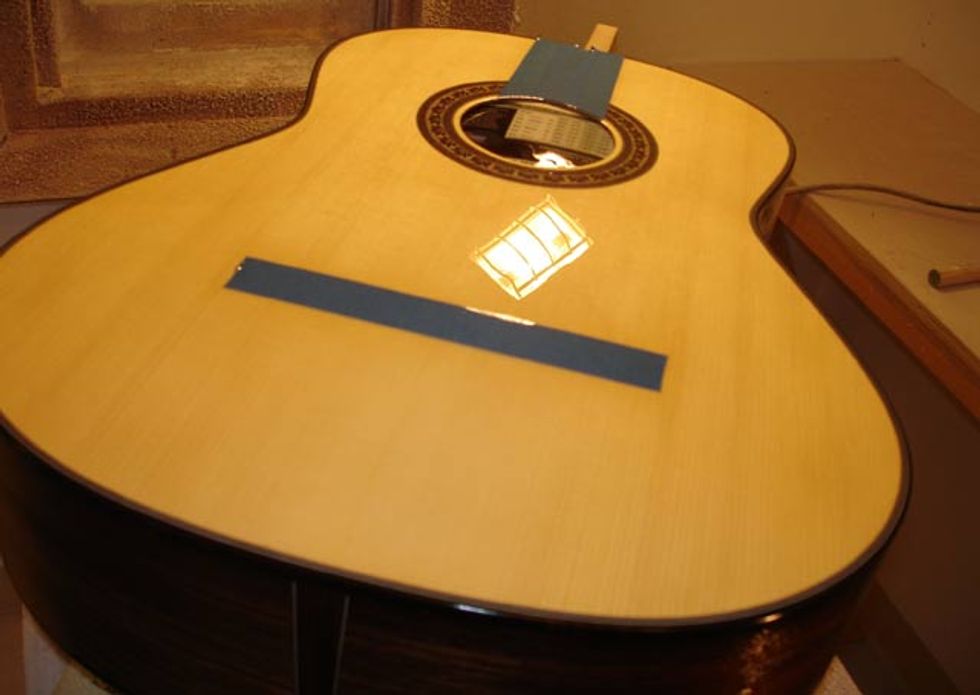
That’s all for now. As I looked at the body and neck drying at the end of the day I marveled that this instrument has been crafted by my hands. Once again this is clearly a testament to a couple of dedicated teachers, great tools and some serious sweat equity (especially “pulling” the sandpaper part…I still haven’t forgotten that). Stay tuned next time for the final installment of the Weekend Warrior! I can’t wait.