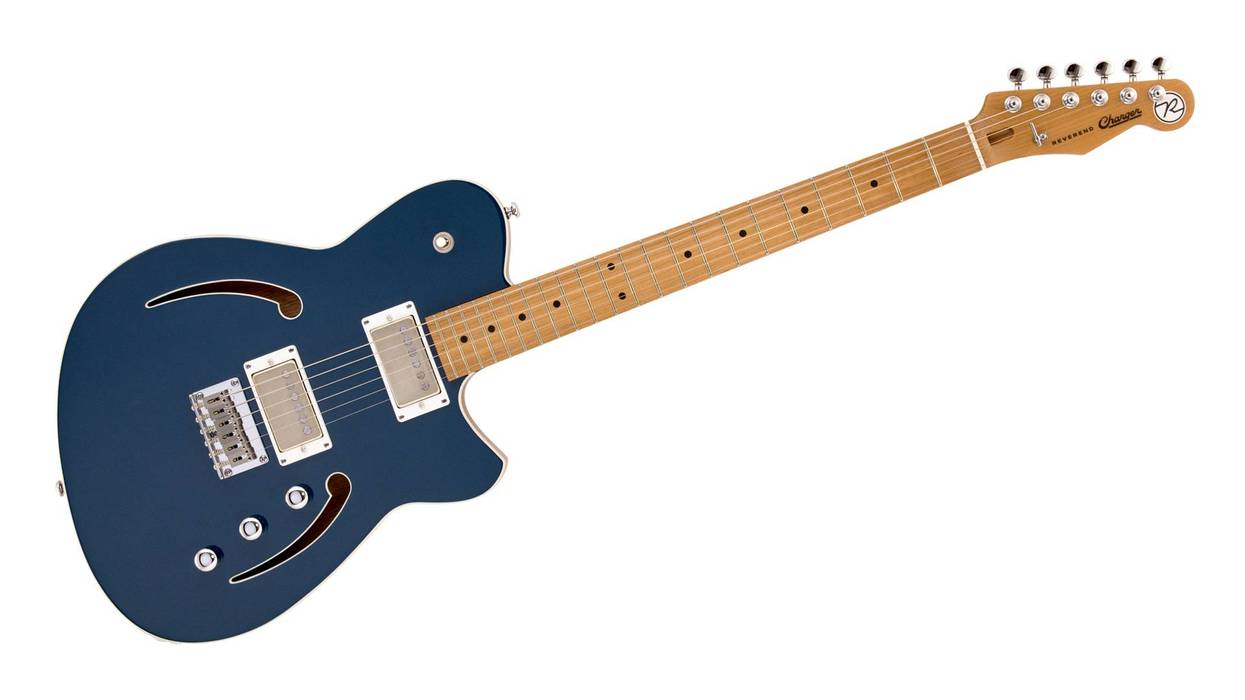
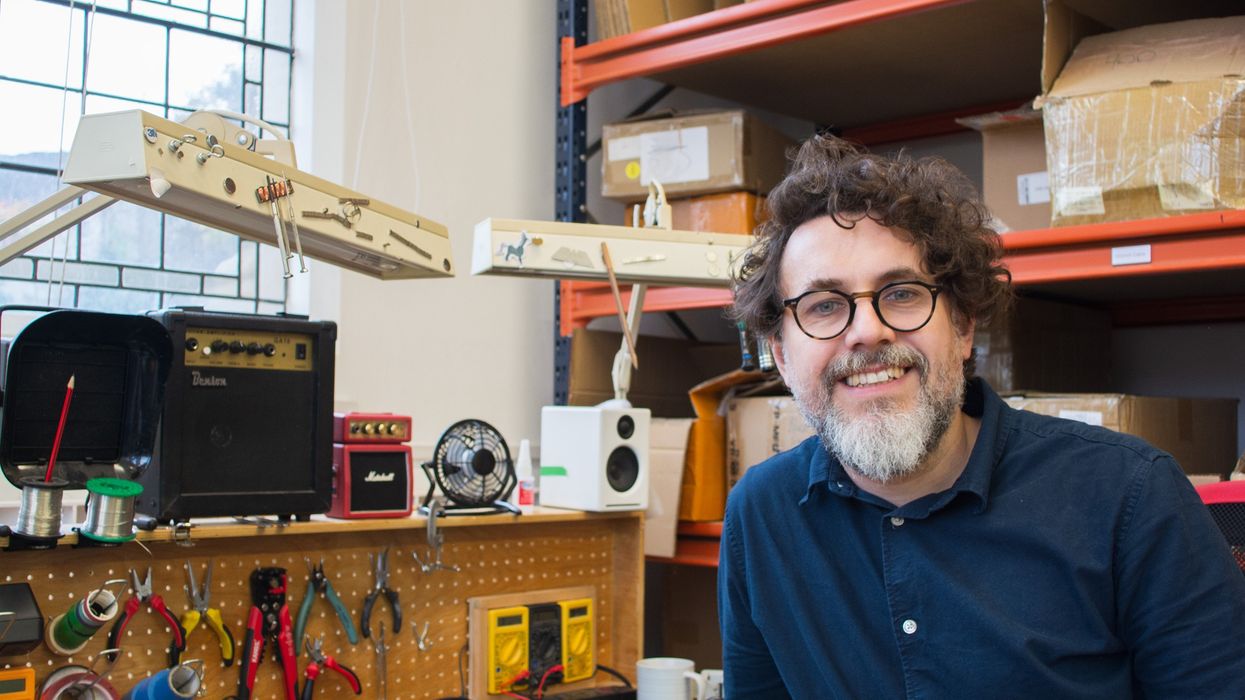
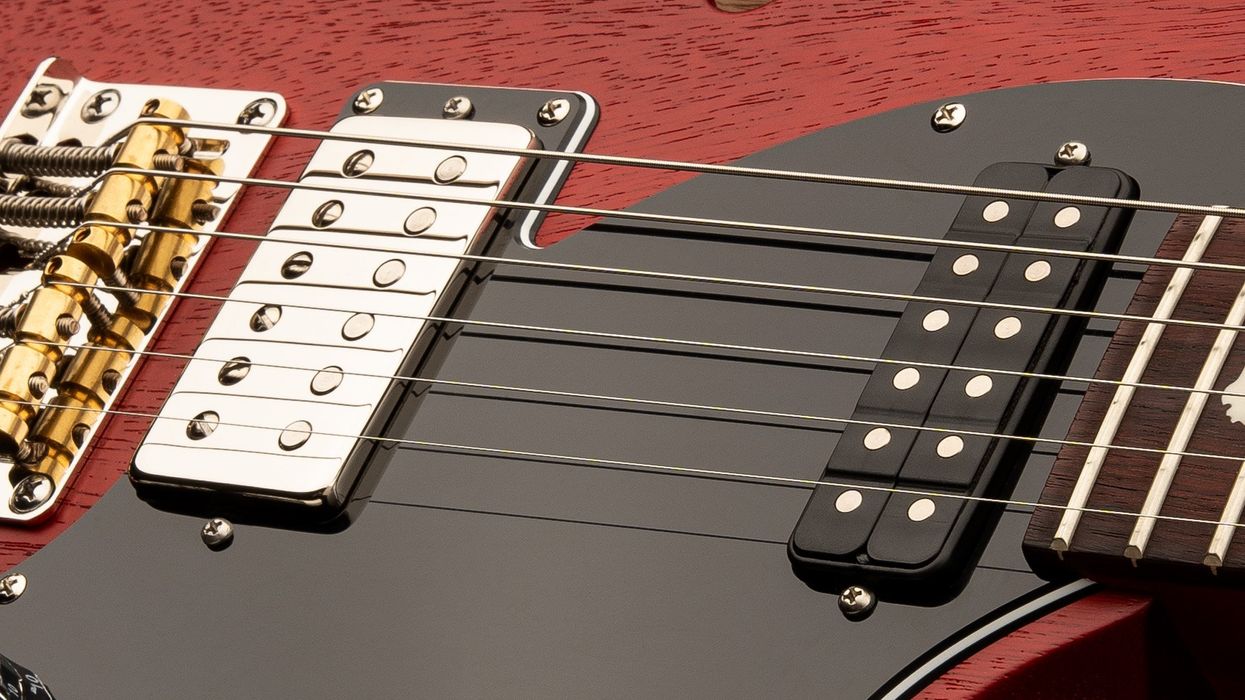
Single-coils and humbuckers aren’t the only game in town anymore. From hybrid to hexaphonic, Joe Naylor, Pete Roe, and Chris Mills are thinking outside the bobbin to bring guitarists new sonic possibilities.
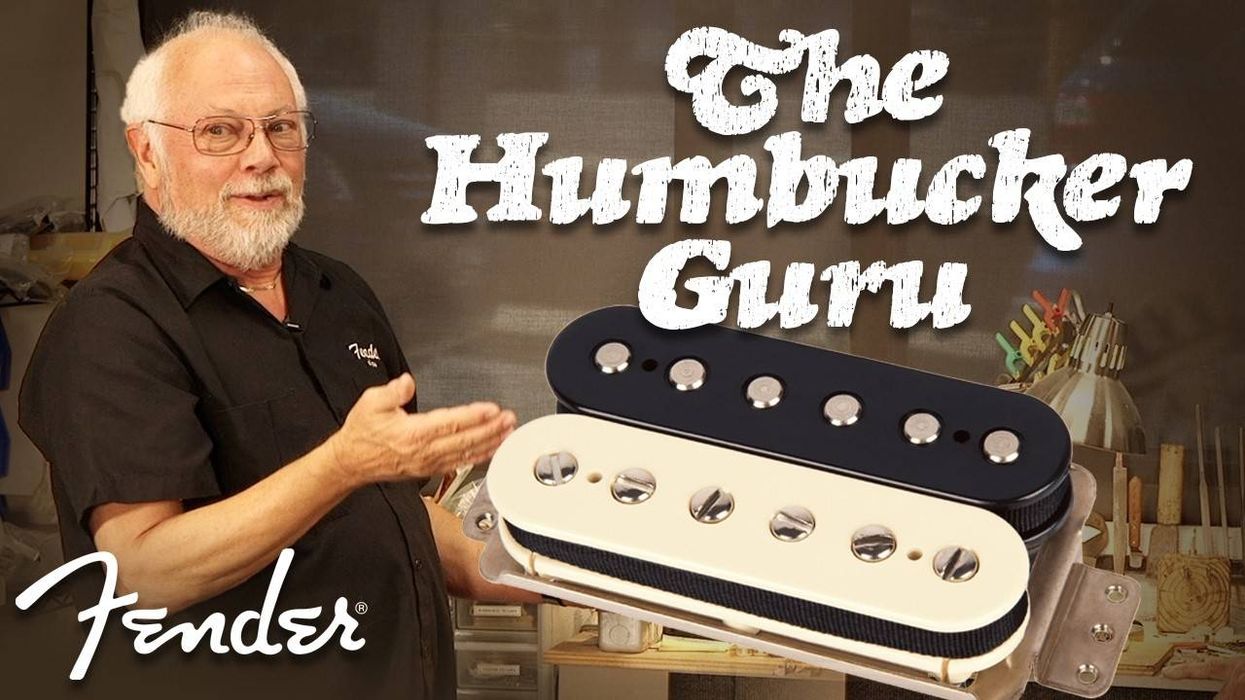
Pickups are more than magnets and coils. When you’re thinking about how they sound, consider all of the many elements that go into creating their tone.