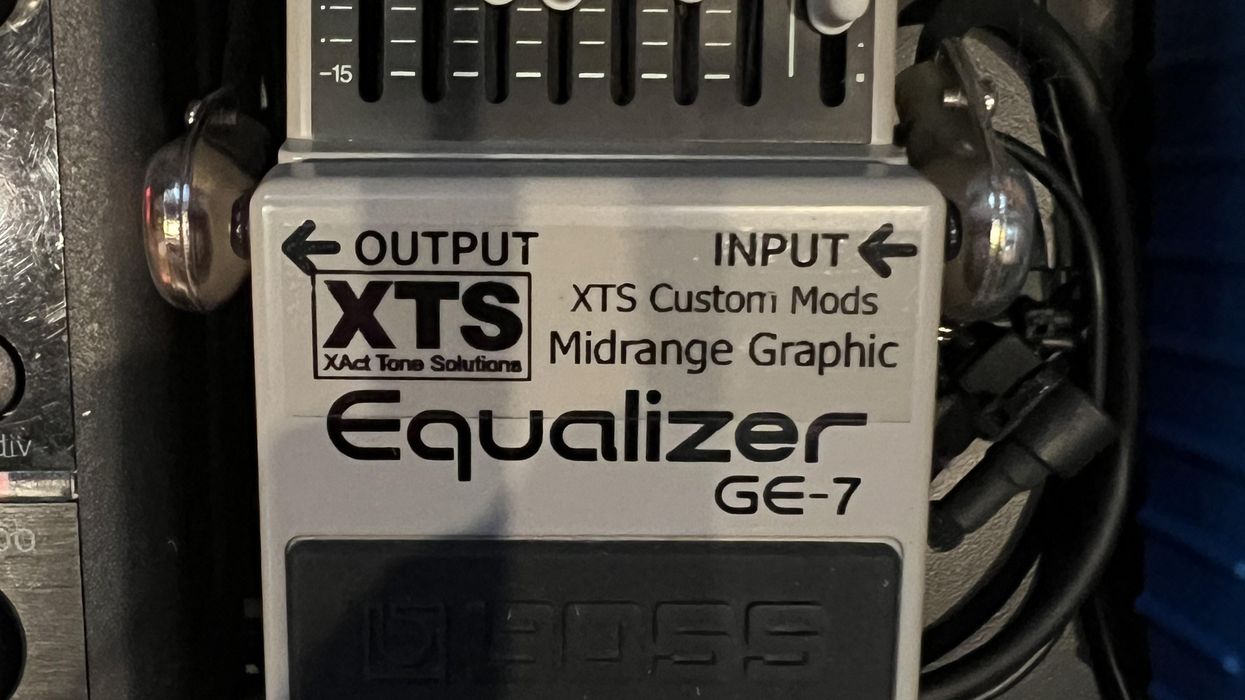
Recording Dojo Refine Guitar Mids with an EQ Pedal Midrange is the guitar’s magic zone. An EQ pedal will help you sculpt a mix-ready tone before you hit record. Bryan ClarkFeb 10, 2023
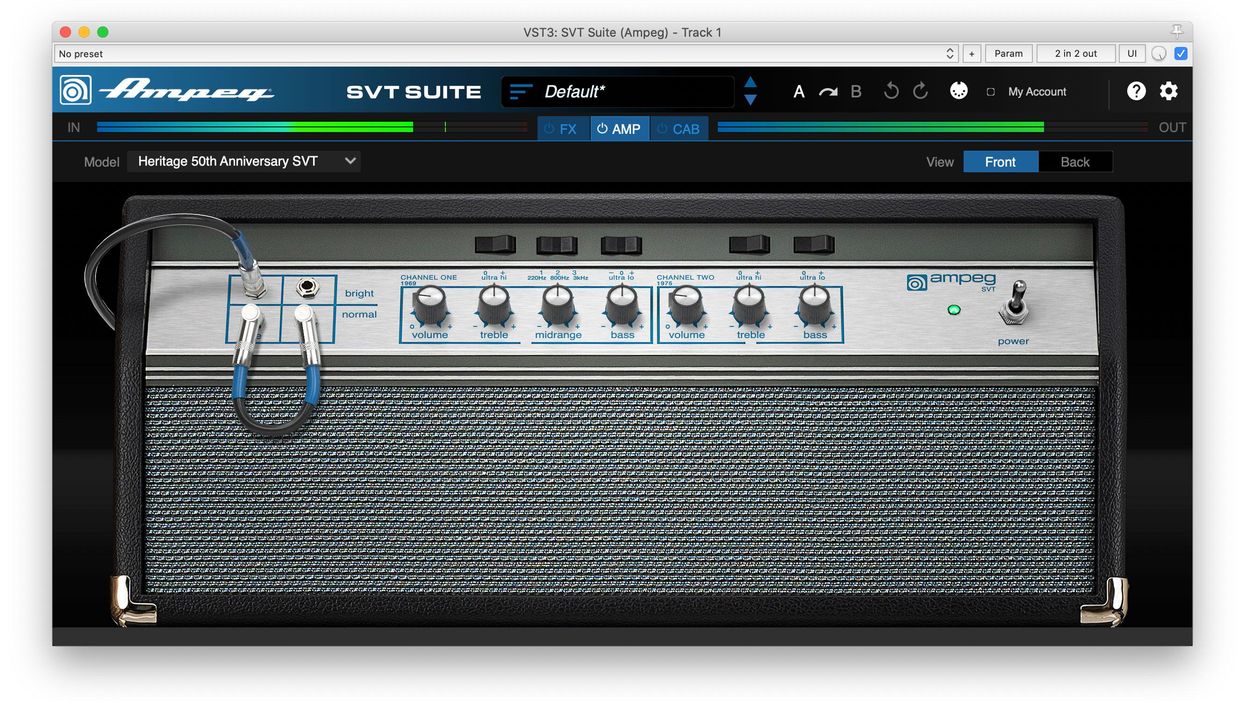
News Ampeg Releases the SVT Suite Plugin The three SVT amp heads can be paired with any of eight speaker cabinets or any third-party IRs.NewsMay 19, 2021