
Hello, and welcome to another Dojo! Tighten up your belts, because this time I’m going to take you further down “automation lane,” and point out some DAW features that may be missing in your mixes. You’ll recall that last month, I sang the praises of immersive audio and how having your automation skills “on point” can be a big benefit in your mixing process in this paradigm. I also dove into the differences between “write,” “latch,” “touch,” and “trim” settings. Now, you should be able to apply them to a multitude of different parameters available in most DAWs.
Three Plus One, Send/Return
Most of the time, in the latter stages of mixing, you’ll use the “big three” automation options: volume, pan, and mute/solo. As mentioned before, I generally use the “touch” setting when doing moves of this nature, because it will keep any previously written automation moves and only overwrite new data when the fader is touched. (Upon release, it immediately goes back to reading the previous automation data.)
In addition to these three, automation really blossoms when applied to send/return levels to aux bus effects, and will allow you to create dynamic mix textures such as delays and reverbs that evolve over time. I would add that the send/return automation is a key parameter for me, and something that I use on every mix. Every DAW, once in an automated “enable” state, will track your send levels to your aux effects (delays, reverbs, etc.).
Pre Fader, Post Fader…. What’s the Difference?
These terms are important to understand and describe the points in the signal path where various audio processes occur in relation to the channel’s fader. “Pre fader” is when you apply effects or processing before the channel’s volume fader—which means that the amount of signal you send to your reverb effect remains constant regardless of changes in the channel’s volume level. Thus, when you apply a reverb effect pre fader, increasing or decreasing the channel’s overall volume won’t affect the reverb level in the mix.
“Post fader” refers to a point in the signal path that occurs after the channel’s fader. So, any processing applied takes place after the audio signal passes through the channel’s volume fader. Changes made to the fader’s position directly affects the level of the audio signal that’s sent for processing. For example, using a compressor post fader on a vocal track means that the compressor’s response is influenced by the vocal’s volume changes. If you lower the vocal’s fader, the compressed signal will also be quieter. This can be useful for maintaining a more balanced dynamic range in the mix, should you choose.
“Automation really blossoms when applied to send/return levels to aux bus effects, and will allow you to create dynamic mix textures such as delays and reverbs that evolve over time.”
I’ve found that I do 99 percent of my send/return automations pre fader. Why? Because I don’t want any overall volume rides that I may do to affect my effect’s send levels (amount of reverb, amount of delay, etc.), and if I want to adjust the amount of effect levels, I simply automate the aux send fader and leave my overall volume fader alone. But, whatever works for you is the right way to do it.
Try This!
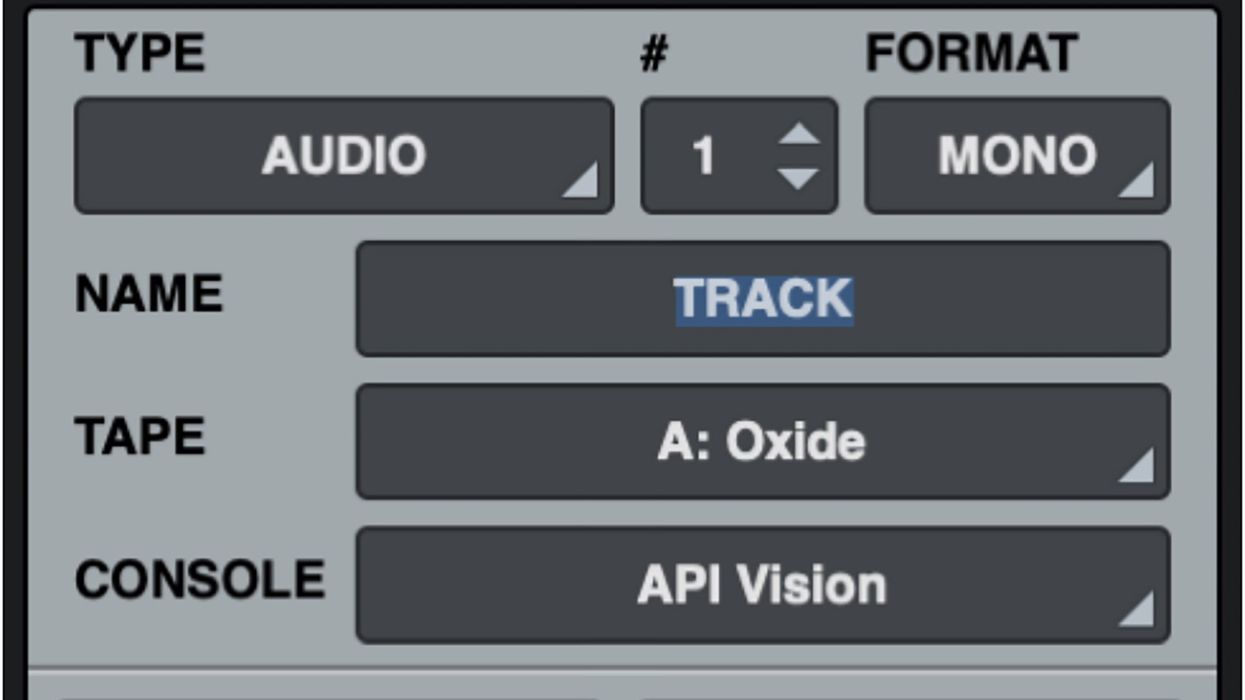
Instantiate some new aux buses. (In LUNA and Pro Tools, the hotkey to do this is Cmd or Ctrl+Shift+N; then set the track type to aux.) Most DAWs are very similar, but read your manual if you are unsure how to do this (Fig. 1). On each aux bus, place a plugin of your choice. Get creative! Don’t just use reverbs and delays, but throw in an amp simulator, bit crusher, tremolos, etc. Next, select the audio track(s) you want to assign to the aux bus(es) of your choice. Also, feel free to assign multiple aux buses to a single audio track, because each bus can be independently automated.
Pick an audio track and set it on “write” or “touch” mode. Regardless of what your GUI looks like, press play and start adjusting the aux send’s fader levels. Play back your automation, edit, and have fun with your mixing. Next time, I’ll guide you through the advanced ways to automating your plugin parameters for even more finely nuanced control and creative possibilities. Namaste.