Fender’s American Vintage II Series
For these new recreations, Fender focuses on the little things that make original golden-era Fenders objects of obsession.
If there’s one thing players love more than new guitars, it’s old guitars—the unique feel, the design idiosyncrasies, the quirks in finish that all came from the pre-CNC era of instrument manufacturing. These characteristics become the stuff of legend, passed on through the years via rumors and anecdotes in shops, forums, and community networks.
It’s a little difficult to separate fact from fiction given these guitars aren’t easy to get your hands on. Fender Telecasters manufactured in the 1950s and 1960s sell for upwards of $20,000. But old is about to become new again. Fender’s American Vintage II series features 12 year-specific electric guitar and bass models from over two decades, spanning 1951 to 1977, that replicate most specs on their original counterparts, but are produced with modern technologies that ensure uniform build and feel.
Chronologically, the series begins and ends, fittingly, with the Telecaster—starting with the butterscotch blonde, blackguard 1951 Telecaster (built with an ash body, one-piece U-shaped maple neck, and 7.25" radius fretboard) and ending with the 1977 Telecaster Custom, which features a C-shaped neck, a CuNiFe magnet-based Wide Range humbucker in the neck position, and a single-coil at the bridge. The rest of the series spans the highlights of Fender’s repertoire: the 1954 Precision Bass, 1957 Stratocaster in ash or alder, 1960 Precision Bass, 1961 Stratocaster, 1963 Telecaster, 1966 Jazz Bass, 1966 Jazzmaster, 1972 Tele Thinline, 1973 Strat, and 1975 Telecaster Deluxe. The 1951 Telecaster, 1957 Strat, 1961 Strat, and 1966 Jazz Bass will also be offered as left-handed models. Street prices run from $2,099 to $2,399.
Fender '72 American Vintage II Telecaster Thinline Demo | First Look
Spec’d To Please
Every guitar in the series sports the era’s 7.25" radius fretboard, a mostly abandoned spec found on Custom Shop instruments—Mexico-made Vintera models, and Fender’s Artist Series guitars like the Jimmy Page, Jason Isbell, and Albert Hammond Jr. models. Most modern Fenders feature a 9.5" radius, while radii on Gibsons reach upwards of 12". Videos experimenting with the 7.25" radius’ playability pull in tens of thousands of viewers, suggesting both a modern fascination with and a lack of exposure to the radius among some younger and less experienced players.
T.J. Osborne of the Brothers Osborne picks an American Vintage II 1966 Jazzmaster in Dakota red.
Bringing back the polarizing 7.25" radius across the entire series is a gamble, and it’s been nearly five years since Fender released year-specific models. But Fender executive vice president Justin Norvell says that two years ago when the Fender brain trust was conceptualizing the American Vintage II line, they decided the time was right to “go back to the well.”
“We’ve been doing the same [models], the same years, over and over again for 30 years,” says Norvell. “We really wanted to change the line and expand it into some new things that we hadn’t done before and pick some different years that we thought were cool.”
“It takes a lot of doing to go back in time and sort of uncover the secret-sauce recipes.”—Steve Thomas, Fender
To decide on which years to produce, Fender drew from what Norvell calls a “huge cauldron of information” from Custom Shop master builders to collectors with vintage models to former employees from the 1950s and 1960s. The hands-on manufacturing of Fender’s golden years meant guitars produced within the same year would have marked differences in design and finish. So, the team had to procure multiple versions of the same year’s guitar to decide which models to replicate. Norvell says some purists would advocate for the “cleanest, most down-the-middle kind of variant,” while others would push for more esoteric and rare versions. Norvell says that ultimately, the team picked the models that they felt best represented “the throughline of history on our platforms.”
Simple and agile, the Fender Precision Bass—here in its new American Vintage II ’54 incarnation—earned its reputation in the hands of Bill Black, James Jamerson, Donald “Duck” Dunn, and other foundational players.
Norvell says the American Vintage II series was developed, in part, in response to calls to reproduce vintage guitars. Just like with classic cars, he says, people are passionate about year-specific guitars. Plus, American Vintage II fits perfectly with the pandemic-stoked yearning for bygone times. “For some people, these specific years are representative of experiences they had when they were first playing guitar, or a favorite artist that played guitars from these eras,” says Norvell. “These are touchstones for those stories, and that makes them very desirable.”
Cracking Codes
Fender’s electric guitar research and design team, led by director Steve Thomas, dug through the company’s archive of original drawings and designs—dating all the way back to Leo Fender’s original shop in Fullerton, California. They found detailed notes, including some documenting body woods that changed mid-year on certain models. Halfway through 1956, for example, Stratocaster bodies switched from ash to alder. That meant the American Vintage II 1957 Stratocaster needed to be alder, too. That, in turn, meant ensuring enough alder was on hand to fulfill production needs.
Among the series’ Stratocaster recreations is this 1973-style instrument, with an ash body, maple C-profile neck, rosewood fretboard, and the company’s Pure Vintage single-coils.
Thomas and his team discovered another piece of the production puzzle when researching how pickups for that same 1957 Strat were made. “We realized that if we incorporated a little bit more pinch control on the winders, we could more effectively mimic the way pickups would have been hand-wound in the ’50s,” says Thomas. “It takes a lot of doing to go back in time and sort of uncover the secret-sauce recipes.”
Thomas proudly calls the guitars “some of the best instruments we’ve ever made here in the Fender plant,” pointing to the level of detail put into design features, including more delicate lacquer finishes which take longer to cure and dry, and vintage-correct tweed cases for some guitars. New pickups were incorporated in the series, like a reworking of Seth Lover’s famed CuNiFe Wide Range humbuckers, which were discontinued around 1981. Even more minute details, like the width of 12th fret dots and the material used for them, were labored over. Three different models in the line feature clay dot inlays at unique, year-specific spacings.
Ironically, modern CNC manufacturing now makes these design quirks consistent features in mass-produced instruments. While the hand-crafted guitars from the ’50s and ’60s varied a lot from instrument to instrument. “Everything needs to be located perfectly, and it wasn’t necessarily back in the day,” says Norvell. “Now, it can be.”
Don’t Look Back
With this new series so firmly planted in the rose-tinted past, Fender does run the risk of netting only vintage-obsessed players. But Norvell says the team, despite being sticklers for period-correct detail, sought to strike a balance between vintage specs, practicality, and playability. The 1957 Stratocaster, for example, has a 5-way switch rather than the original’s 3-way switch. Norvell also asserts that the “ergonomic” old-school radius feels great when chording. “It might not be [right for] a shred machine, but it feels great and effortless.”
The 1966 Jazz Bass is also represented, shown here in a left-handed version.
Norvell also pushes back on the notion that Fender is playing it safe by indulging nostalgia and leaning on their past successes. He says that while the vintage models are some of the most desirable on the market, the team “purposely did not stick to the safe bets,” citing unusual year models like the 1954 P Bass and the 1973 Stratocaster.
There’s a good reason why anything that hails back to “the good ol’ days” hits home with every generation. We’re constantly plagued by a belief that what came before is better than what we’ve got now. But with the American Vintage II series, Fender makes the case that guitars from the ’50s, ’60s, and ’70s can very easily be a relevant part of the 2020s.The Bandmaster Reverb head was built from 1968 to 1980 and has enough grille-room to install a pair of 8" speakers—a popular mod.
An introduction to Fender's classic amp heads of the '60s and '70s.
Fender's black-panel piggyback amps are not as widely known as the combos that every guitar player on this planet has either seen, heard, or played. They have lost appeal in a time when practicality and economy are guiding amp selection for most of us. Thanks to PA and monitor solutions, we no longer need big, powerful amps to fill rooms and stages. But, as we know, tone and size are related. So, let's look back at the great Fender piggybacks, from an era before the world needed to be so efficient and compact.
Fender introduced their piggyback amps in the blonde era, in 1960. Before that, during the tweed era, there were only combo amps. The piggybacks were designed to be loud, clean, and have lots of punchy bass from closed cabinets with 12" or 15" speakers. Most have solid-state rectifiers with no sag, and either two or four 6L6GC power tubes producing typically between 50 and 85 watts. They have massive power and output transformers, keeping things firm at high volumes and compatible for use with bass guitars. An exception to all the above is the smaller Tremolux amp, which we'll come back to.
A higher speaker impedance reduces the clean headroom, which is sometimes useful.
An advantage of using separate speaker cabinets is the flexibility to vary tone and volume by pairing amps to the cabinets they were designed for or to any other cabinet, as long as you stay within the safe impedance range: between -50 percent and +100 percent of the amp's rating. There is a huge difference in tone and volume playing a 4-ohm Bandmaster through a small and light cabinet with a modest, vintage-style 10" speaker at 8 ohms versus a closed-back 4x12 at 8 ohms with loud Celestion speakers. Or you may use a bass guitar with a single 15" bass-style cabinet. I encourage you to experiment and learn how to pick the right pairing for the right job. A rule of thumb is to match the amp and cabinet impedance, for the most possible wattage and volume. A higher speaker impedance reduces the clean headroom, which is sometimes useful.
Now, let's discuss the black-panel Tremolux—the only small piggyback amp. It has a normal channel, a vibrato channel, a GZ34 tube rectifier, two 6L6GCs, and lighter transformers, and was originally designed for a 2x10 closed-speaker cabinet. This amp produces a modest 35 watts and breaks up much earlier than its bigger brothers. It is sought by Fender players looking for natural tube distortion.
The Tremolux—a tiny, low-powered titan of the Fender head family—is sought by players desiring more tube-driven breakup.
Moving up the scale, the black-panel Bassman and Bandmaster amps may look similar, but their innards are not. Both are dual-channel amps powered by 6L6GC tubes and diode rectifiers, built for driving 2x12 speaker cabinets. The main differences are that the Bandmaster has tremolo and a smaller, 40-watt-output 125A6A transformer (same as the Vibrolux Reverb). The AB763-circuit Bandmaster's two channels—"Vibrato" and "Normal"—have similar preamp circuits and sound alike. The main difference is that the Bandmaster has tremolo. The circuit design and tone stacks relate very much to the Deluxe, Vibrolux, Super, and Pro combos, with typical sparkling, clean, and scooped black-panel sound.
The black-panel Bassman AB165 is different than other black-panel amps. At low volumes, black-panel Fenders sound clean, but when turned up, the Bassman distorts more because of an extra preamp-tube stage. Its tone is also slightly bigger and firmer than the Bandmaster, because of its larger output transformer. The Bassman's "Bass" channel is voiced for bass guitar, with a deep switch, while the normal channel is voiced for guitar, but without vibrato. I find the black-panel and silver-panel 50-watt Bassman to be a great bass amp, with articulate and strong lower mids that fit well in a band context.
Both the Bandmaster and Bassman continued in the silver-panel era, but with changes. The Bassman's power was first increased to 100 watts with four 6L6GC power tubes. A 70-watt version became available in the late '70s. In 1968, the Bandmaster Reverb was introduced, with a 5U4GB rectifier tube and a smaller 125A6A output transformer (same as the Vibrolux Reverb), both resulting in more sag and reduced clean headroom. The cabinet height grew a few inches to fit the reverb tank. The 4-ohm Bandmaster Reverb is one great, versatile tone platform with reverb, vibrato, and rich EQ possibilities, useful with all kinds of guitars, pedals, and speaker cabinets. If you own a silver-panel Bandmaster Reverb, you might consider getting an amp tech to revert the bias circuit back to black-panel specs, for better bias control.
Finally, the most powerful black-panel piggyback amps are the Showman and Dual Showman, with four 6L6GCs producing 85 watts. They came with single or dual 15" JBL speakers and large output transformers wanting 8- or 4-ohm loads, respectively. Be aware that some Dual Showman amps actually have a 4-ohm output transformer, and sometimes the faceplate says only "Showman." It's also worth echoing that Fender added reverb to the silver-panel version, to create the Dual Showman Reverb. And now, you know the basics of Fender's piggyback gems.
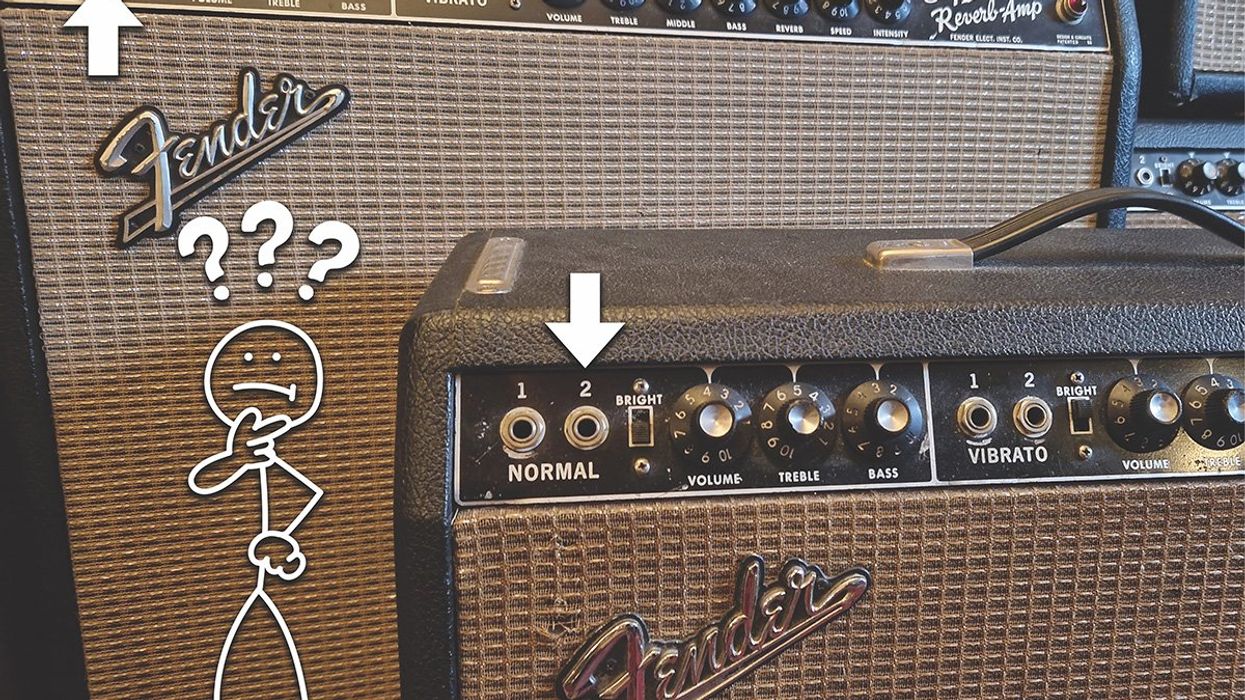
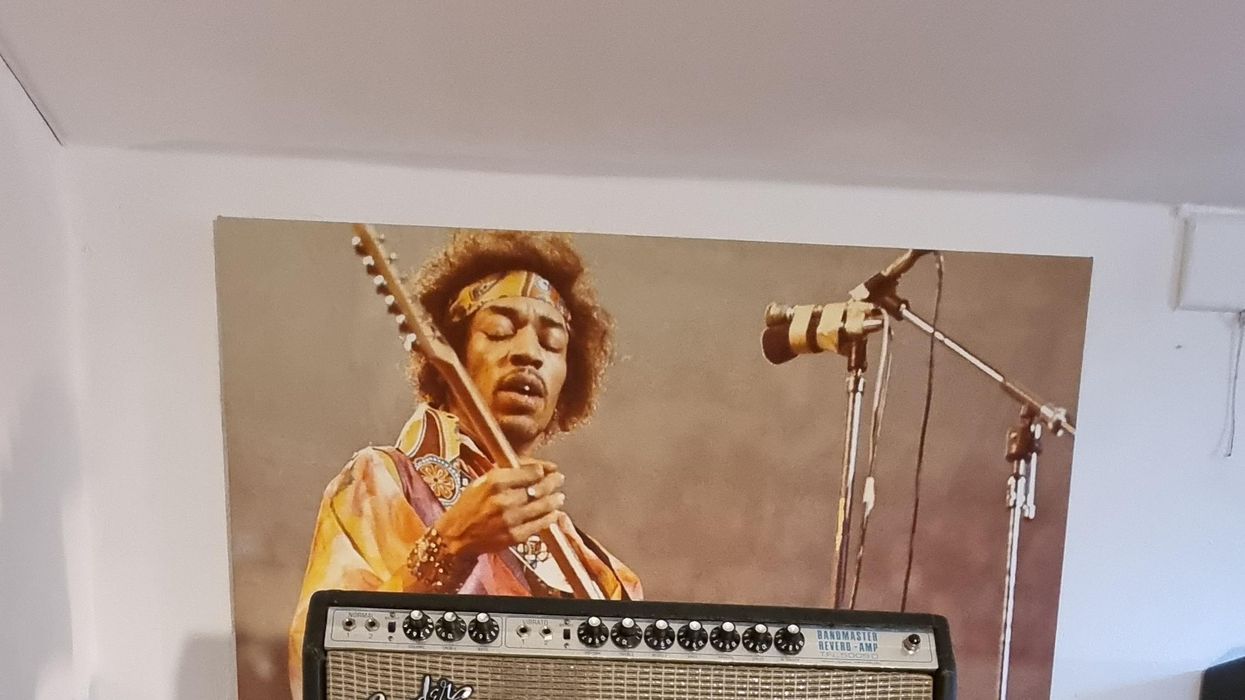
If you own a vintage Fender amp with reverb and vibrato, you've probably had those moments where you think the vibrato has stopped working, only to realize that you forgot to plug in the footswitch. Luckily, there is an easy way to eliminate the need for a footswitch.
What you'll need:
- A soldering iron such as S-TWLC100.
- Some solder. We use S-T9000 on almost everything.
- Helping hands or a vice. S-THHM is a simple but useful one for this.
- Wire cutters. You can't go wrong with a pair of the Xcelite S-T170M.
- Some wire. Solid core is a good choice. We use S-W429 for this one.
- An RCA plug. The W-SC-3501MX is ideal.
Getting Started
First, cut a piece of wire that is longer than the RCA plug. We cut it to about 2 inches but the length is not important as long as there's enough wire to stick out of each end of the plug. Then bend the wire at a right angle leaving enough wire on one side of the bend to completely pass through the tip of the plug. Now is a good time to heat up the soldering iron.
Next, set up the plug with the helping hands. The tip of the plug should face downwards and the back end will point up. The wire is then inserted into the plug. The right angle bend should stop the wire from falling through and there should be some wire sticking out of the tip. Touch the soldering iron to both the back of the plug and wire so both begin heating. After a few seconds, start applying the solder. There should be enough solder to cover the hole on the back of the plug. If solder is falling into the cavity of the plug, remove the iron, let the metal cool down and then begin the process over. When done correctly, the solder will spread across the hole and slope onto the wire.
After the joint cools, flip the helping hand clip over so that the tip is facing up and the back is now pointing down. When looking closely at the tip there will be a small gap between the hole and the wire. Place the tip of the soldering iron towards one side of this gap leaving some of it exposed making sure that there is contact with both the wire and the plug tip. Feed some solder in at the gap. Try to be careful not to solder to the outside of the plug's tip or else a solder blob might form making it difficult to plug it into a jack. Don't sweat it too much if there is a little bit on the outside, though; RCA jacks can be pretty forgiving.
Now is a good time to check the solder joints. The end should have the hole filled with some solder sloping up the wire. The tip should have the gap filled with solder also slightly sloping up the wire.
When the joints look good, it's time to cut the excess wire from the plug. Be careful not to cut into the tip of the plug itself. For some finishing touches, brush the plug with a flux remover. We used Caig Flux Wash,
S-CDFW-V711, and a small brush from Caig, S-CAB-25. Cleaning the flux is sometimes not important and other times very important. Be sure to check the specs on your solder. Cleaning the flux will always give a more finished look though.
The plug is finished and ready for use. Simply plug it into the vibrato footswitch jack and the front panel controls will now operate as if the footswitch is plugged in and switched on.
The original article can be found athttps://www.amplifiedparts.com/tech-articles/diy-vibrato-shorting-for-blackface-silverface-amps
For more articles like this one as well as other tips, online tools, and guitar/amplifier information please visithttps://www.amplifiedparts.com/