Chops: Advanced
Theory: Advanced
Lesson Overview:
• Craft phrases composed of simple and compound time signatures.
• Improve rhythmic independence between left and right hands.
• Understand how to transfer complex drum grooves to the guitar.
Click here to download MP3s and a printable PDF of this lesson's notation.
Over the past few years I’ve been lucky enough to spend time with several amazing drummers. In addition to using this time to capture their genius on my record, A Matter of Perception, I wanted to seize the opportunity to “peer into their brain” and see if I can steal some ideas that guitar players don’t often explore. Selfish as it may seem, I’ve decided to take on the challenge in order to further educate us rhythmically limited guitarists!
Incredible drummers know how to flawlessly superimpose one time signature on top of another, and then use the resulting rhythms for writing grooves and riffs. In some music I’ve come across, each melodic instrument works in a different time signature, For example, the keyboard player might play in 5/4 while the guitarist riffs in 7/4. Amazingly, the drummer covers both. Hearing this, I immediately thought, “I have two hands. There has to be a way for the guitar to simultaneously play both these time signatures.”
After exploring some of these polymetric riffs, I began to see possibilities for me to pursue as a guitarist. When I started writing my own ideas, one technique that worked fairly well was playing in one time signature using a legato left hand technique, and playing another with right-hand tapping.
At first, the idea of playing two time signatures at once can seem a little scary. However, many times it appears more complex than it really is. For this concept to work—and for us to understand how it works—both time signatures need to have a common denominator (the bottom number in a time signature). For the examples in this lesson, we’ll use eighth-notes as the value that ties everything together.
The tricky bit is understanding and hearing how the two parts connect. Drawing the parts out lets me literally see where everything lines up. I’ll start by drawing slashes on a piece of paper to represent every beat in every measure. For example, to illustrate a four-measure phrase in 7/8, I’ll write out 28 slashes and separate them into four measures of seven slashes.
Then I’ll represent another time signature using the same method. Let’s say I’ve picked 4/8 to go over the 7/8. I’ll write out 28 slashes again—directly lined up over the previous 28 slashes. I’ll separate them into seven measures of four slashes. This way the bar lines fall in different places, but all the eighth-notes stack up on top of each other until the bar lines connect again. Once I’ve represented every beat visually, I can compose parts in each time signature and know exactly where the notes in each part connect.
Ex. 1 demonstrates how to imply 4/8 and 7/8 within the same riff. The entire example is written in 4/8 to help clarify how the two parts connect. Since this concept has a tendency to get a little heady, we’ll keep the chord progression simple and familiar. Each measure of 7/8 has one chord per measure (Bm–D–F#m–E). Keep in mind that at first, it’s easier to understand how to connect the time signatures when one hand plays constant eighth-notes. The left hand plays on every beat while the right hand has a specific rhythm.
Start with just the left hand to hear what it sounds like over the groove, then just the right hand. (You can download audio examples of each hand playing solo.) Once that becomes comfortable, listen and pay close attention to which notes line up. The tabs will also show you every place where the two parts connect. If you need a little bit of aural guidance, notice that the bass line is the same as your right-hand part.
Click here for Ex. 1
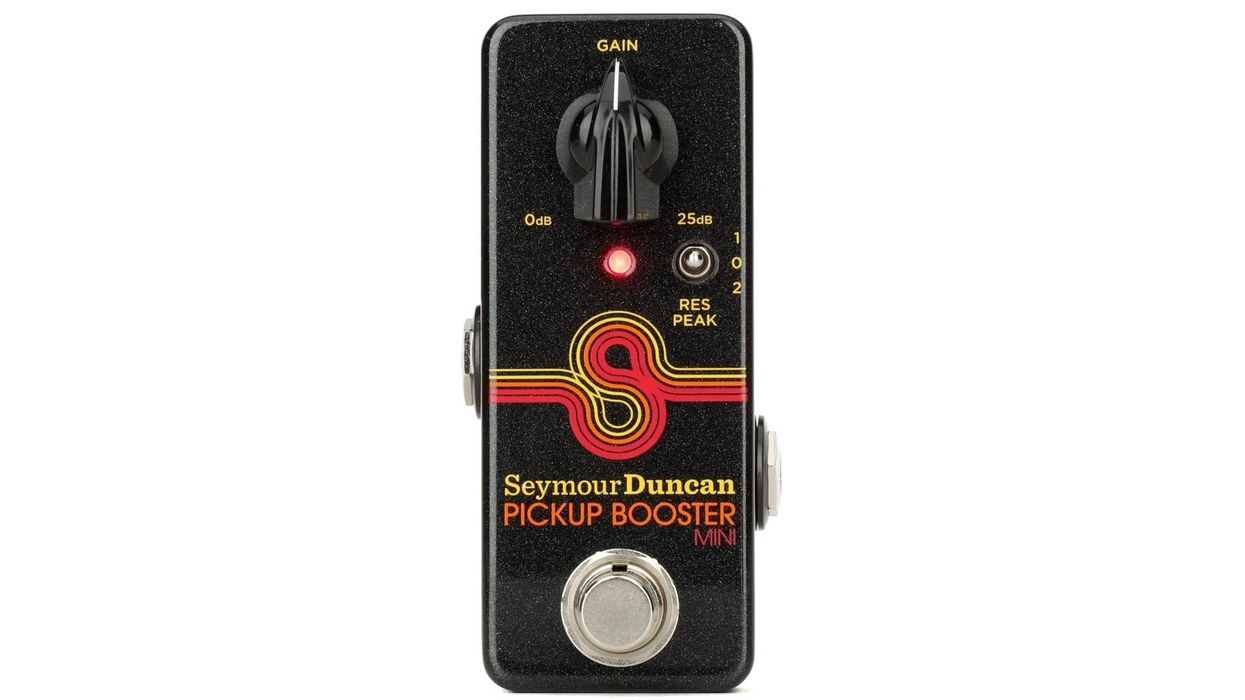
Another question that might come up is, “What’s the right tone for this?” You might find that too much gain drowns out some of the notes, while not enough gain will make the notes sound weak.
For these examples I set up an overdriven tone and used my volume knob to dial in the sweet spot that allowed everything to come out. I also used a string dampener to help with some of the excess noise.
The next example (Ex. 2) deals with two compound time signatures: 7/8 and 5/8. Our previous example only had one compound time signature (7/8), so this one is going to have a different groove and feel. Because we’ve stepped up the complexity, we’ll further simplify the harmony and just keep the riff over an A minor tonality. The left hand plays a constant eighth-note line in 7/8, while the right hand taps a rhythm in 5/8. We’ve notated the entire example in 7/8 to let you see where the beats line up. If you need help hearing both signatures on the kit, listen to the ride cymbal pattern to hear the 5/8 groove. The rest of the kit is covering 7/8.
Click here for Ex. 2
In our last example (Ex. 3) we’ll use the same time signatures, but take it up another notch by playing specific rhythms on both parts this time, as opposed to having one of the signatures playing constant eighth-notes. We’re keeping the chord progression simple (A–G–F#m–Em–F#m). Follow the bass line or ride cymbal pattern if you would like to hear the 7/8, and the main groove of the drum kit for the 5/8. The cool thing about this example is that you can mix up which hand plays each part. I found the more counter-intuitive approach of using my right hand on the lower part and left hand on the double-stops easier. But the opposite will work just as well, if you feel so inclined!
Click here for Ex. 3
As with anything else, play these examples very slowly at first and break them down as much as you need to understand what’s going on. With time, you may find that they start sounding like lines that work together—just like anything else on the instrument that seems difficult at first and intuitive after a while. Remember that in music, the most challenging thing is rarely technique, but rather balancing what’s possible on the guitar with what is musical. Perhaps that’s our eternal chase, especially when it comes to these types of riffs.


