This lesson is about not playing. More specifically, it’s about damping—that is, when and how you end notes and chords.
Positive and Negative
It’s easy to focus so much on striking notes that we can forget to pay attention to how we release them. But how and when you mute the strings is just as important as how and when you strike them.
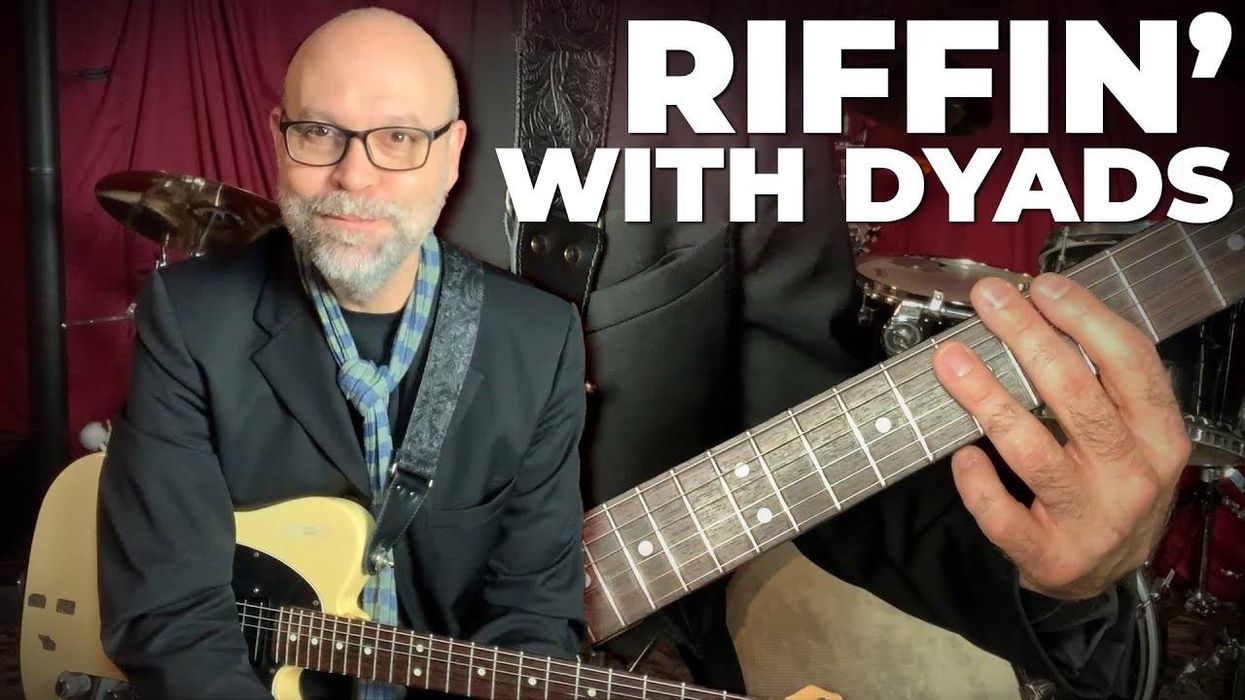
Visual artists often use the terms “positive space” and “negative space.” An outline of a solid object defines a positive space. But that same outline also defines the shape of the open space surrounding the object—that’s negative space. You can see it in this article’s illustration: We all recognize the positive space of the black Telecaster. But if you reverse the image, you start to perceive the negative space, and the fact that the area around the guitar has a shape of its own. In music, notes are positive space, and silence is negative space. Silences define a rhythm as much as its notes.
Thoughtful muting makes our playing more expressive and interesting. Precise damping is especially crucial for any type of groove playing. Let’s look at a few examples, focusing equally on the positive and negative: the sounds and silences.
The Long and the Short of It
Ex. 1 features a simple C–G–F–G chord progression, repeated six times.
The chords never change, and they fall continuously on every quarter-note. But the note durations get progressively shorter: The first four times around, each chord sustains for a full quarter-note, ringing out till the instant the next chord arrives. In the next four cycles, the chords sustain only half as long, for precisely an eighth-note. And in the final four cycles, the durations are halved again, with each chord damped after a 16th-note.
There’s no “best” damping technique, but it may be worthwhile to practice this at least two ways. First, choke off each chord by releasing your fretting-hand pressure. Then try the exercise again, this time maintaining constant fretting-hand pressure, and damping the strings with flesh on the side of your picking hand, between your lowest thumb joint and your wrist.
Either way, try to make the damping as precise and rhythmic as the note attack. In the middle part of Ex. 1, where chords sustain for an eighth-note, count “1 and 2 and 3 and 4 and,” and damp the chords precisely on the “ands.” In the final section, count “1-ee-and-uh, 2-ee-and-uh, 3-ee-and-uh, 4-ee-and-uh,” and damp each chord on the “ee.”
None of this is difficult to play—the exercise is more about forcing yourself to focus on the duration of each chord.
Click here for Ex. 1
The Limits of Notation
If you’re a tab reader, you probably noticed how the tablature is identical throughout Ex. 1. There’s no way to indicate note duration in standard tab. You just have to listen and imitate.
The situation isn’t all that much better for standard notation readers. Notation often strikes a compromise between exactness and readability. For example, my notation in the final portion of Ex. 1 is technically precise, but it’s difficult to read on sight, with all those notes and rests floating in space. Chances are a transcriber would indicate this section with eight-note values, perhaps including staccato signs (dots over each note or chord) to indicate that the durations should be relatively short.
Is it better to end each note with dead silence, or with a slight clicking sound as your fingers strike the fretboard, or as the pick strikes the string? Again, there’s no right answer—it depends what works best in the musical context. But be sure to at least try the dead-silence method. It helps you perceive how silence can be as precise and deliberate as a struck note.
Duration = Groove
Let’s try these ideas over a couple of grooves. Ex. 2 is similar to the last part of Ex. 1, except that you strike the chords on offbeat eighth-notes. In other words, if you count “1-ee-and-uh, 2-ee-and-uh,” you strike each chord on the “and” and choke it off on the “uh.”
Click here for Ex. 2
This pattern is the classic reggae guitar “skank,” as heard in Ex. 3, accompanied by old school reggae-style instrumentation.
Ex. 4 is a jam track—it’s Ex. 3 minus the guitar.
Try playing the pattern over the groove, both as heard in Ex. 3, and with a variety of longer and shorter note durations. Which interpretations feel great? Which feel awful?
Make It Funky
Let’s try another example, this time featuring the sort of afrobeat guitar patterns you’d hear on an old Fela Kuti track. Ex. 5 repeats the same two-measure pattern twice. Just to underline my previous point about notation, the first two measures are indicated in an imprecise but easy-to-read fashion, while the latter two are more rhythmically exact. Either way, the part remains the same. Again, the tab indications are identical for both halves.
Click here for Ex. 5
Some players like to play funky parts like by maintaining a constant 16th-note scratch rhythm with the pick, never veering from a constant up/down chicka-chicka rhythm. That way, you don’t need to worry about picking-hand damping—you simply flex and unflex your fretting hand to alternate between a full chordal sound and a dry scratch. That can be a great technique! But be sure to try this part strumming only where a chord falls, with dead silence during the rests. Again, this forces you to make your damping as deliberate as your notes.
Ex. 6 is our first single-note example. Again, you could play this with constant 16th-note pick-scratching—not a bad thing! But try it with dead-silent rests as well, damping with your picking hand. If might feel good to palm-damp throughout for a dry, percussive effect—and then just damp a little harder to silence notes as needed.
Click here for Ex. 6
Guess what? Ex. 5 and Ex. 6 are interlocking parts that work together over the Nigerian-style groove in Ex. 7.
Again, I’ve included a no-guitar version (Ex. 8) for your own practicing and experiments.
It’s All in the Mind
As in many Subversive Guitarist lessons, these exercises aren’t so much about acquiring new techniques as focusing your attention on aspects of playing that are easy to take for granted or coast through on auto-pilot. If you practice these exercises for a few minutes and then move on to freeform groove playing, I guarantee your rhythms will be tighter, livelier, and more varied. Try it and see!


