In the early ’90s, just as rackmounted preamps and power amps began to take hold, some of us began exploring slaving or reamplifying, a technique that involves pushing a tube amp hard into a dummy load, thereby causing the power section to perform the job of a preamp. The benefit? This setup lets you capture not only preamp behavior, but power-amp distortion and other artifacts of a cranked amp that a preamp signal lacks by itself. Despite being more expensive and less practical than merely tapping a preamp signal, reamplifying a slammin’ head under load yields sonically superior results. [Editor’s note: Don’t confuse this slaving technique with Radial’s line of Reamp devices “that let you take a pre-recorded track and send it through a guitar amp or pedal chain without noise.”]
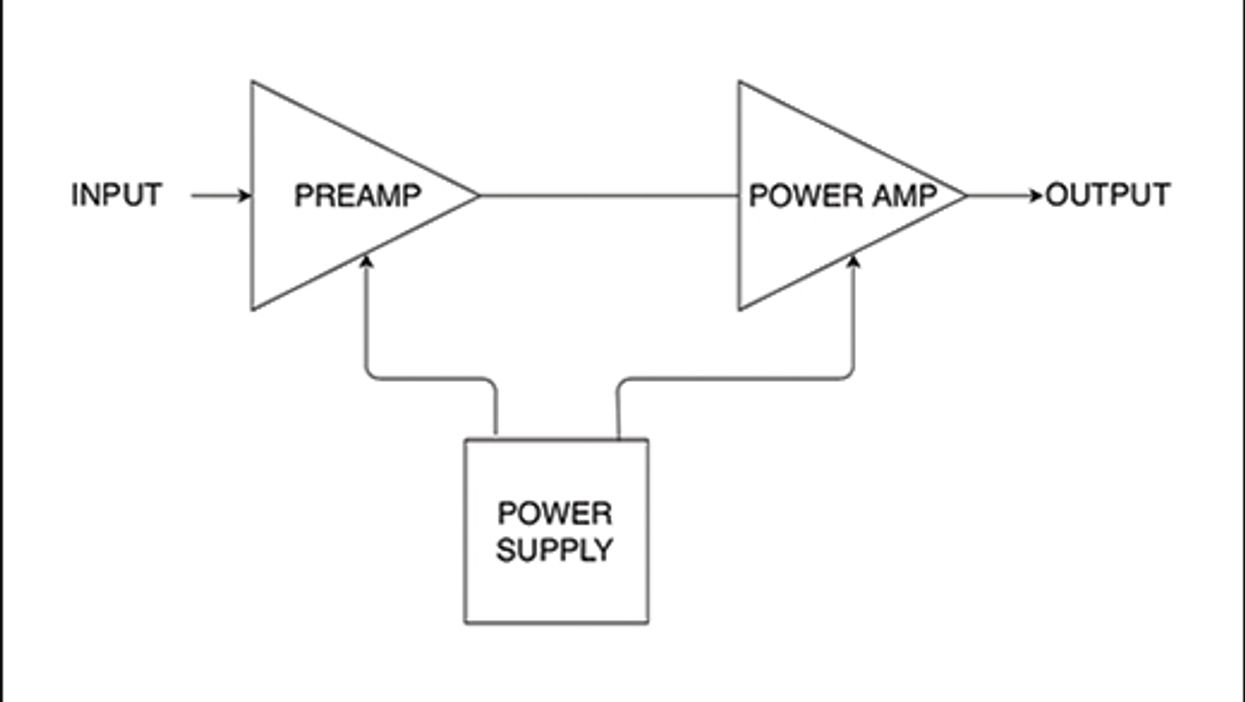
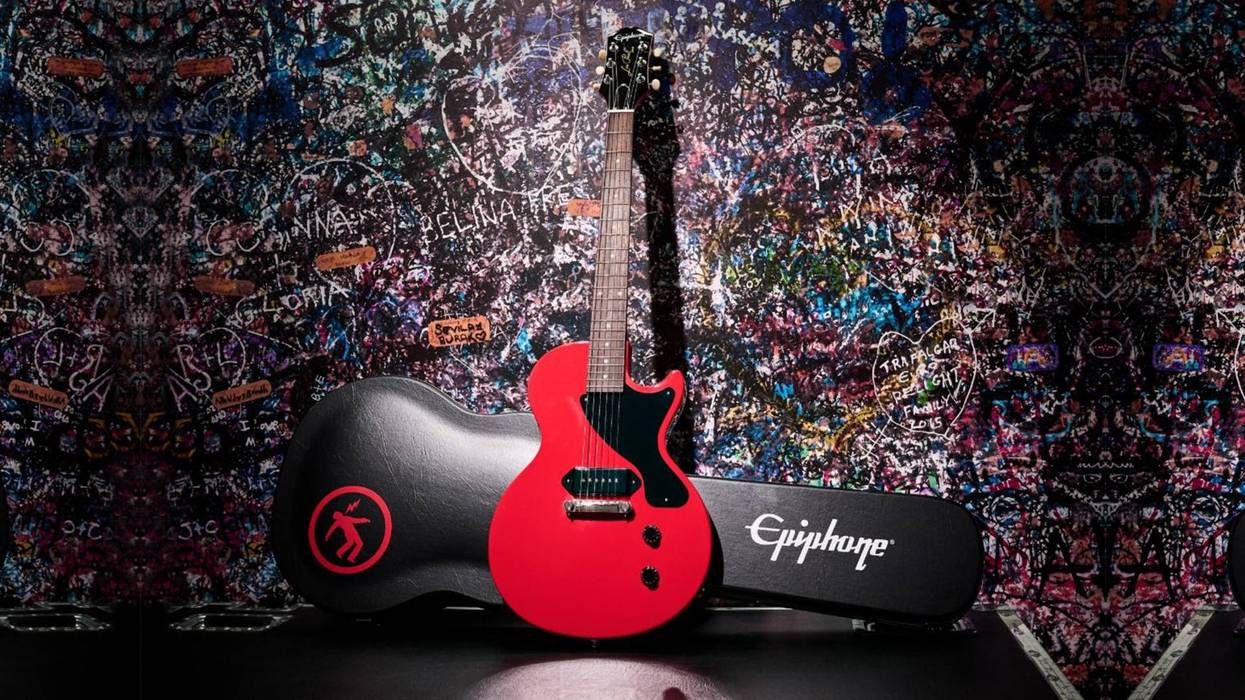
Once you unwind the signal path of a slaved rig (Image 1), it becomes apparent that what led to this development is baked into the sound of a recorded amp. In the studio, the amp is miked and recorded, and then effects and EQ are applied to the track. In an effort to emulate a recorded sound onstage, a slaved rig includes as many of the original ingredients as possible: You need a load to take the place of the speaker, some EQ, delay, and reverb, and finally another power amp to reamplify the stew and then send it off to the cab for the final icing on the cake.
It’s a complex setup. Over time, in an effort to bring the recorded guitar sound to a concert audience while streamlining the rig, designers have packaged a vast array of tone-shaping tools into progressively more sophisticated preamps, effects processors, and modeling devices. Yet today we see a resurgence in the art of reamplifying. Whether this involves using little amps cranked and boosted with an accessory power amp, or big amps attenuated to manageable levels in wet-dry-wet (WDW) rigs, there’s no question that the cranked amp under load is still a serious contender. In large part, what’s driving this resurgence is the advent of the reactive load system.
The speaker connected to your amplifier represents a load, and its purpose is to convert electrical energy into acoustic energy. This electro-mechanical conversion isn’t perfect, yet in this imperfection we’ve discovered sonic benefits. Tonal artifacts like cone cry and desirable forms of distortion impart a dynamic, organic, and spontaneous interaction that enhances our playing experience. If we replace the speaker with a static load—say, an 8-ohm resistor—we can tap a small amount of signal from that load, feed it to effects, and then run it into another amplifier and speaker. But because a static load doesn’t behave like the electro-mechanical contraption we’re used to, the sound is somewhat flat and dry.
Enter the reactive load: Designed to fool the amp into behaving as if it’s connected to a real speaker, this network incorporates a normal load resistor with other components. The trick is to identify some common idiosyncrasies of popular guitar speakers and graft them onto the resistive part of the load. These elements define the speaker’s impedance curve.
It’s important that we distinguish between an impedance curve and a frequency curve, as they are very different animals. A speaker’s frequency curve essentially acts like an EQ filter. Different speakers offer different filter shapes—some benefit clean sounds, others are more suitable for overdrive. A frequency response simulator—a cab sim—can be configured as a small effects device to be used at guitar- and line-level for recording or live use. An analog cab simulator does a good job of recreating the tonal shape of the speaker and excels in dynamic feel and absence of latency. The better ones offer controls that let you dial in a unique signature, rather than being married to generic voicings. A virtual speaker, like those found in impulse response (IR) models, are based on popular speaker signatures and capture more of the subtleties of speaker behavior, such as acoustic reflection and cab resonance. Latency, which tends to make the player feel detached from the instrument, is often a concern, though the better IRs have higher resolution that minimizes this effect.
In a reactive load, the impedance curve works directly on the amplifier’s output, causing spikes in an amplifier’s dynamic behavior that generally enhance the low-end thump and high-end sparkle. A speaker’s frequency curve and reactive behavior are both necessary to create a complete cranked-amp recipe, though the reactive behavior is arguably the more important of the two. The reactive behavior of a typical British speaker is not far removed from that of a typical American type, and both are highly dependent on the enclosure they’re mounted in. A well-designed reactive load will cover these bases, and some of the more sophisticated units provide selectable load impedance and a way to adjust the low- and high-end reactance. More importantly, the reactive load needs to be able to handle all of the power output of the amplifier connected to it.
How does this all play into the reamplifying game? I’ll tie it together in next month’s Signal to Noise column.