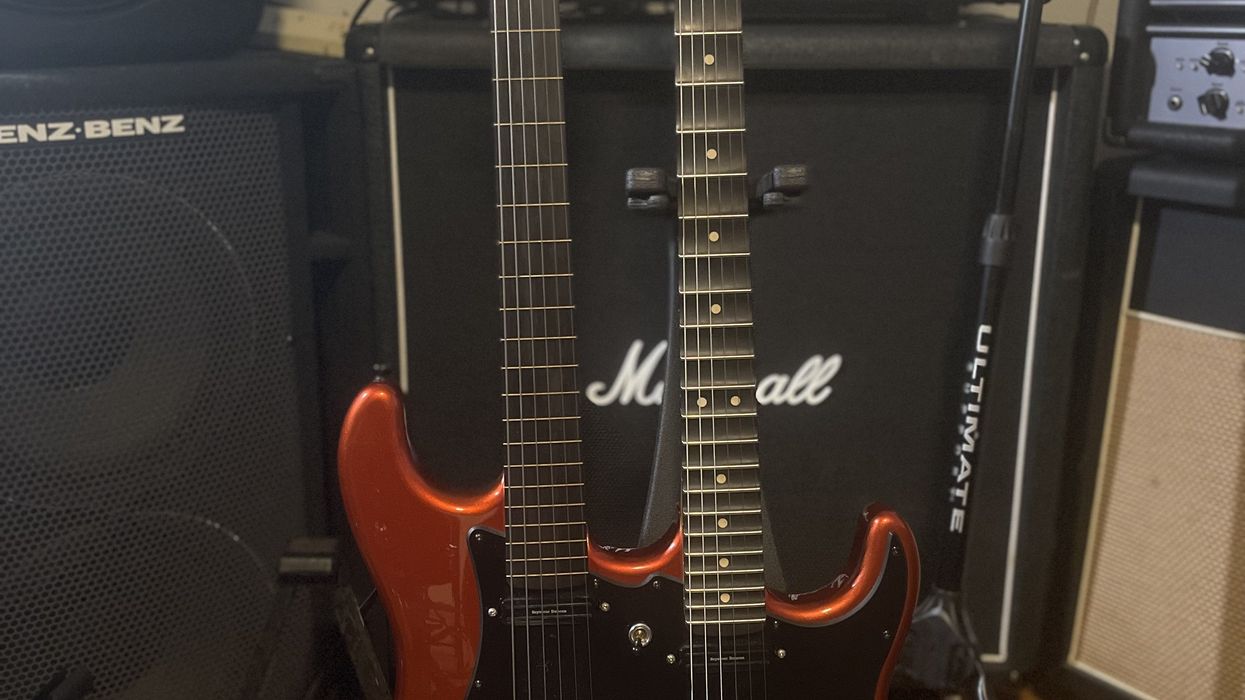
Reader Guitar of the Month Reader Guitar of the Month: Beheaded Deacon Premier Guitar StaffSep 24, 2023
All Reviews Fender American Professional II Stratocaster Review The most successful electric guitar of all time evolves subtly, but substantially.Charles SaufleyFeb 04, 2021
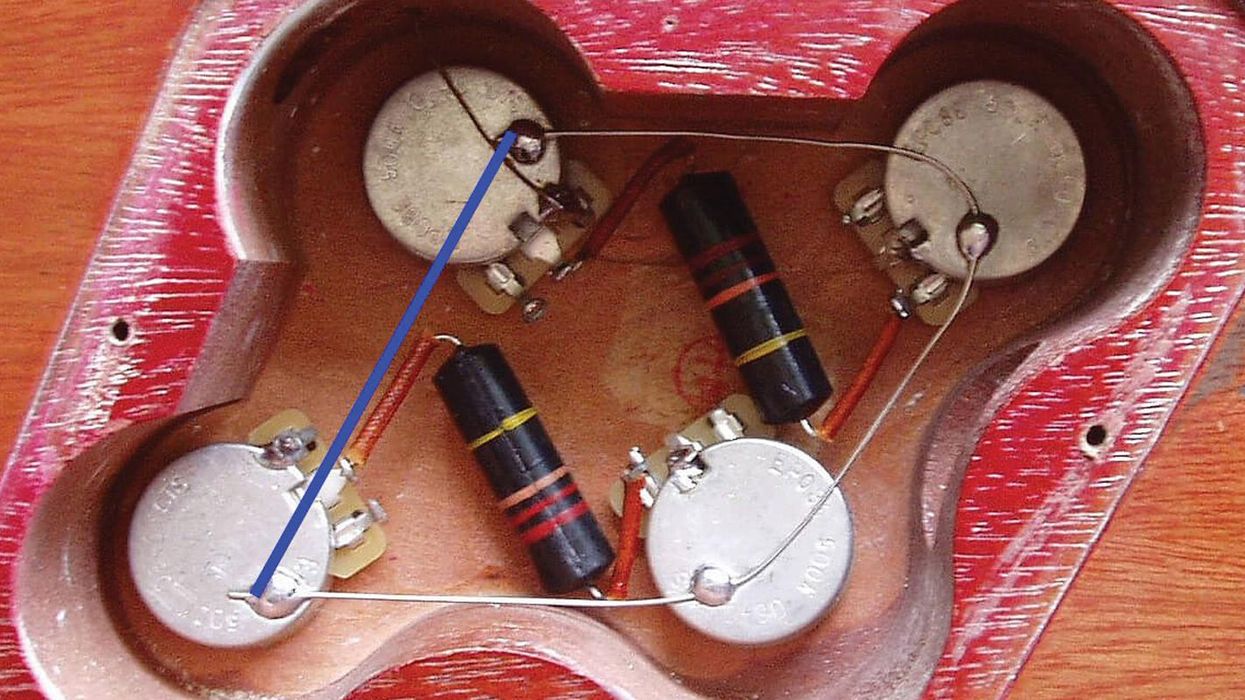
Mod Garage Ultra-Flexible Wiring for Your Duo-Sonic Four rad add-ons and a whopping six pickup combinations for the Fender offset.Dirk WackerJan 15, 2021
Pro-Advice A Homemade “Third Hand” While on a Gibson factory tour, I learned I could easily make my own DIY humbucker installation tool out of materials lying around my shop.Dirk WackerDec 18, 2020
Mod Garage How to Get the Most out of Hum-Sing-Hum Wiring This circuit lets you get HSH and SSS-like tones from a single guitar.Dirk WackerSep 11, 2020
Guitar Shop 101 3 Simple Ways to Upgrade Your Strat Replacing key components—such as the pickups, string nut, and tuners—can turn a workhorse guitar into a killer axe!John LeVanApr 15, 2013