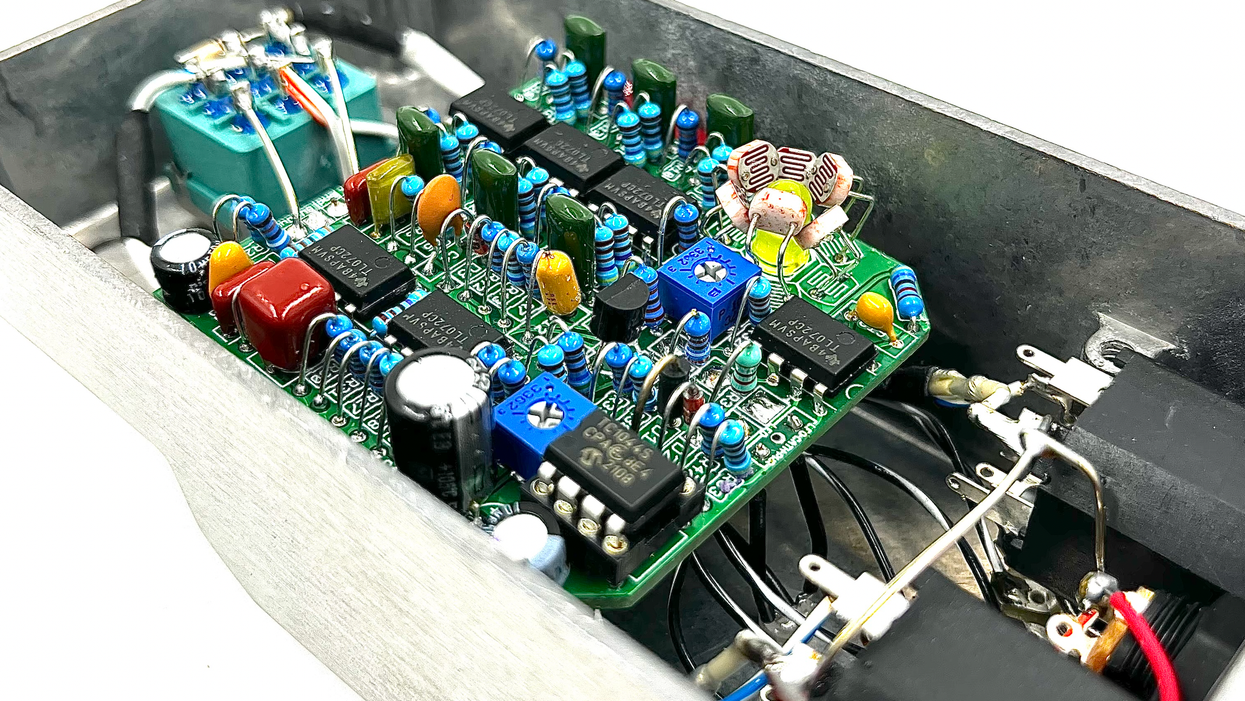
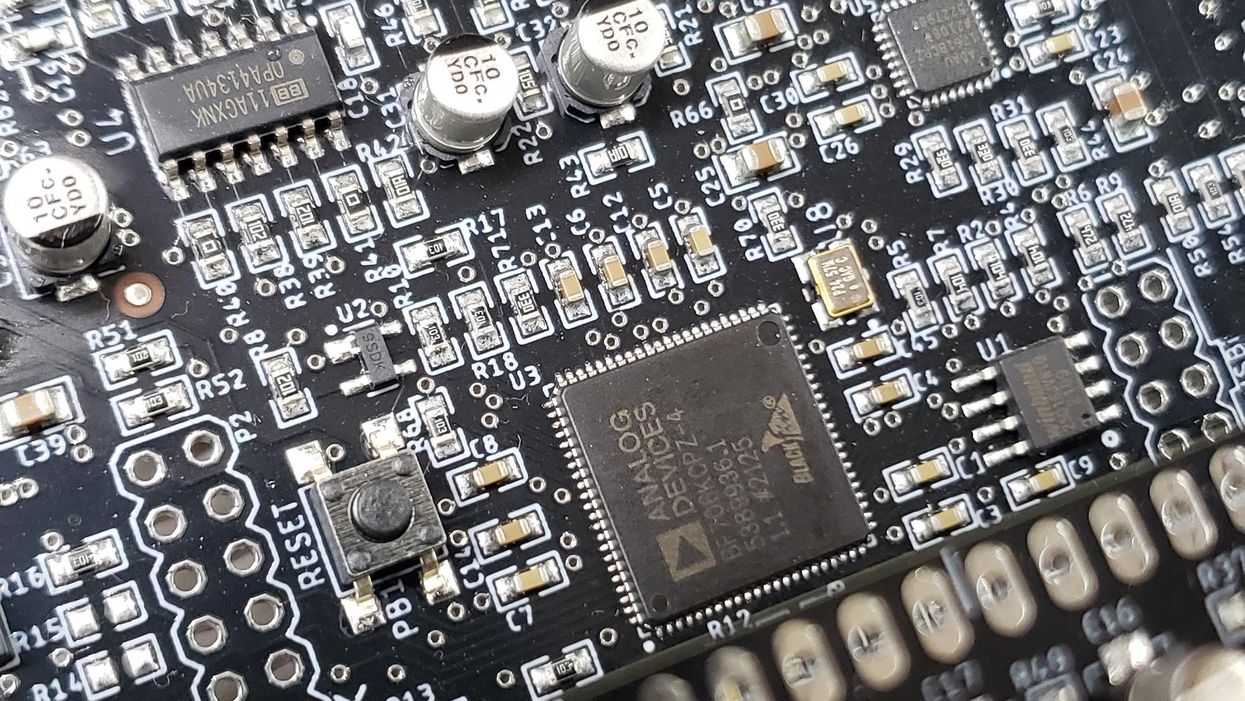
CopperSound Pedals founder Alex Guaraldi's debut "State of the Stomp" outing looks at how compounding Covid woes are making life trickier for stompbox manufacturers.
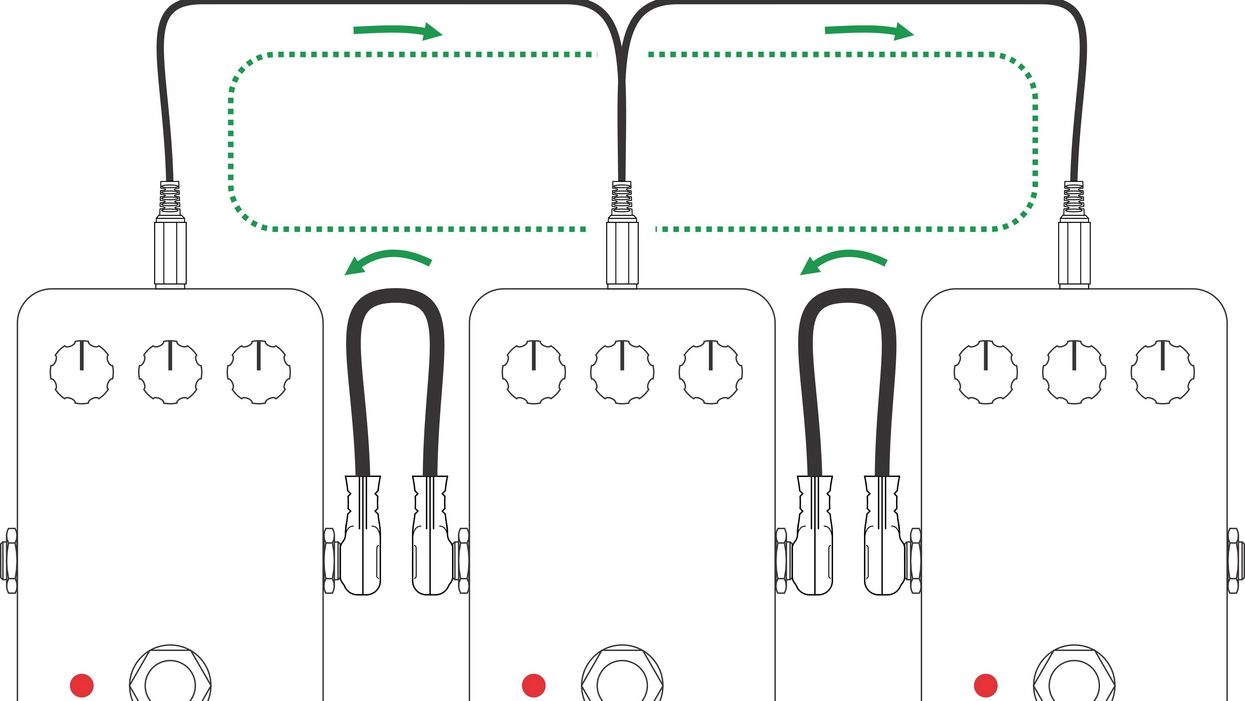
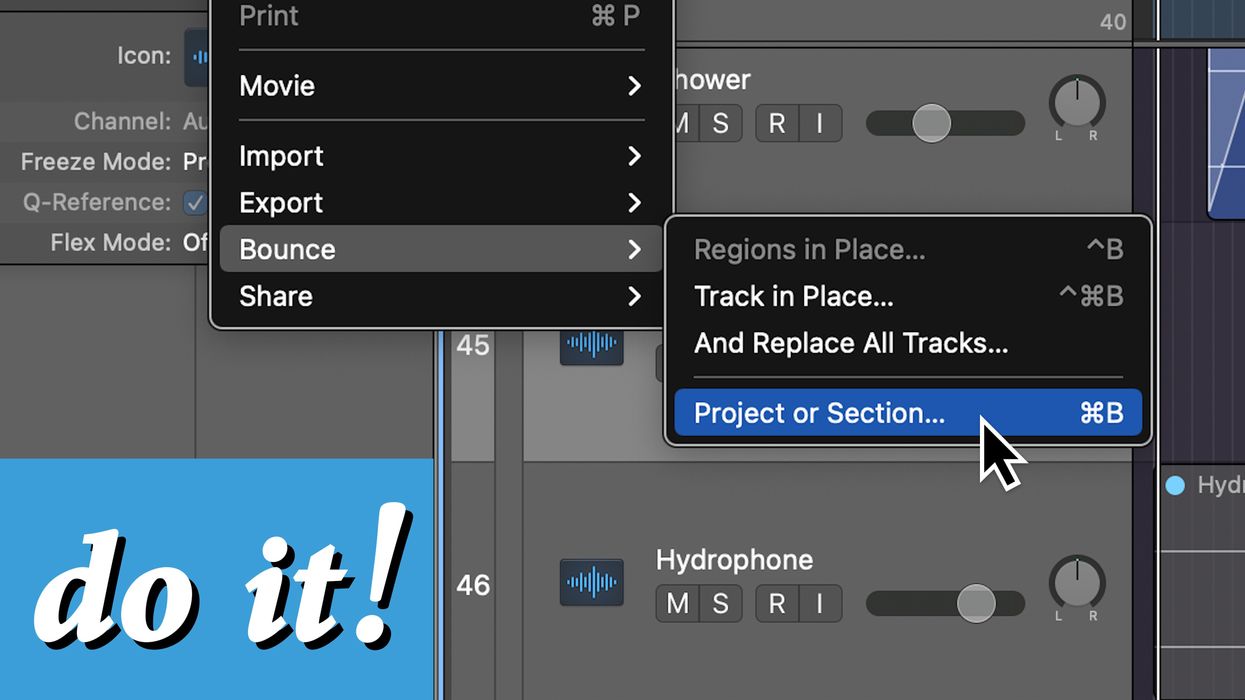
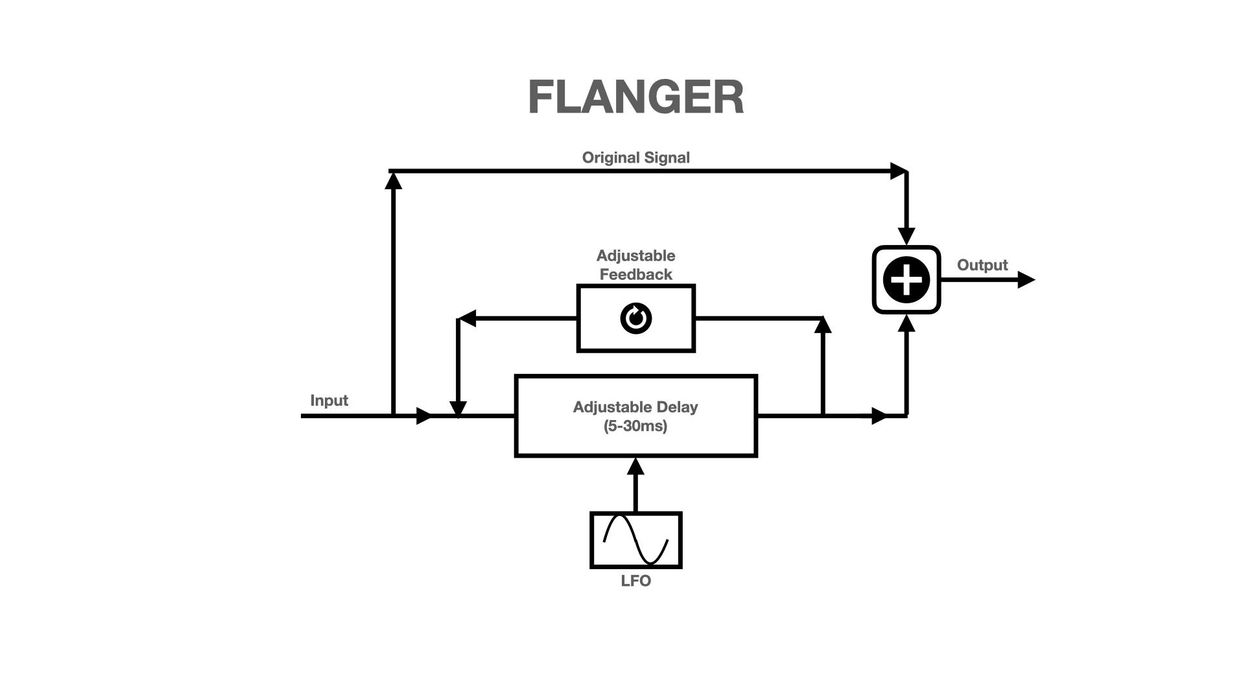
One of the top producers/engineers at one of the world's top tracking havens, Nashville's famed Blackbird Studios, shares tips and tricks on how to Introduce these classic effects to your mixes.