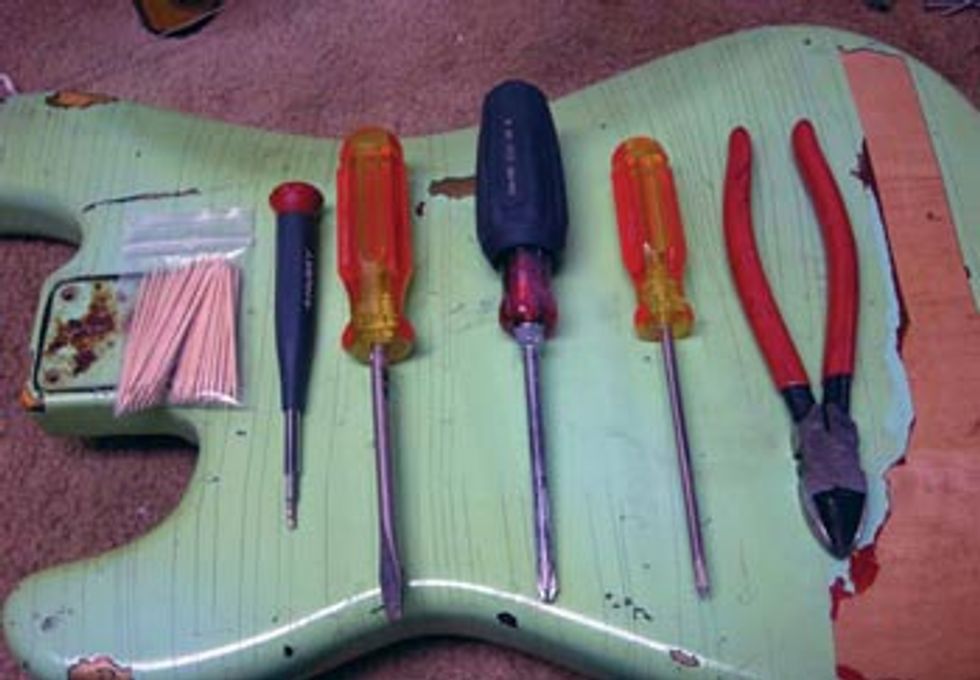
It’s a misconception that a vintage bass requires a lot of maintenance and repair. The fact is, vintage basses require no more and no less bench time than modern ones—and you can do a lot yourself with less than $20 worth of tools: a flathead screwdriver, a medium and a slightly larger Phillips screwdriver, and a small screwdriver with changeable tips and wire cutters. Remember when using tools on your bass to use your fingertips, not the palms of your hands, to grasp the tools: you can over-torque and do damage. If you’re not sure of what you are doing with a particular repair, save it for a professional. Okay, let’s get started!
Tuners: All tuners get hard to turn after years of use. All you have to do is put a drop of any common hardware store oil on the worm gear and turn it a few times. While you’re there, tighten loose screws on the base plate and butterfly wings.
Bridges: I use toothpicks to clean the screw heads and barrel threads of any bridge. A filthy bass may not have proper metal-to-metal contact. This could result in a softer tone and slightly “off” intonation. If the bridge needs adjustment, always do this after the neck adjustment. If the bridge does need to be adjusted to lower the action, always turn the adjustment screw back up after adjustment is complete. This will help prevent the bridge from lowering itself. Never use thread sealant on bridge screws.
Pots: With a very annoying crackle or sudden drop in volume, odds are your pots are dirty. This is one of the easiest fixes. All you need is TV-tuner cleaner or a potentiometer cleaner sold at any electronics shack or the many online guitar parts places. Using the straw, shoot some cleaner into the gap on the side of the pot above the wire prongs. Turn your knobs and repeat if necessary. Shield against overspray.
Truss Rods: The big warning here: if you’re not sure how to do this, don’t do anything. Never force your truss rod. Especially on Rickenbackers and Gibsons, do not improvise with tools. My personal rule of thumb: if your rod needs more then 1/3 of a full twist in either direction, see your luthier. Bound, tight, or overly loose truss rods should be an easy repair for a professional.
Finishes: In the past three to five years, major strides have taken place regarding finish maintenance. Quite a few manufacturers have come out with 2- to 5-stage systems for finish care that can be found in just about any catalog. I admit I was skeptical, but I had a ‘63 P-Bass with a chalky finish and used a series of products… my bass went from a 7.1 to an 8.3 out of 10 condition. Use only products meant for instruments: I’ve seen terrific results with furniture polish, but I’ve also seen it cloud up a perfect finish.
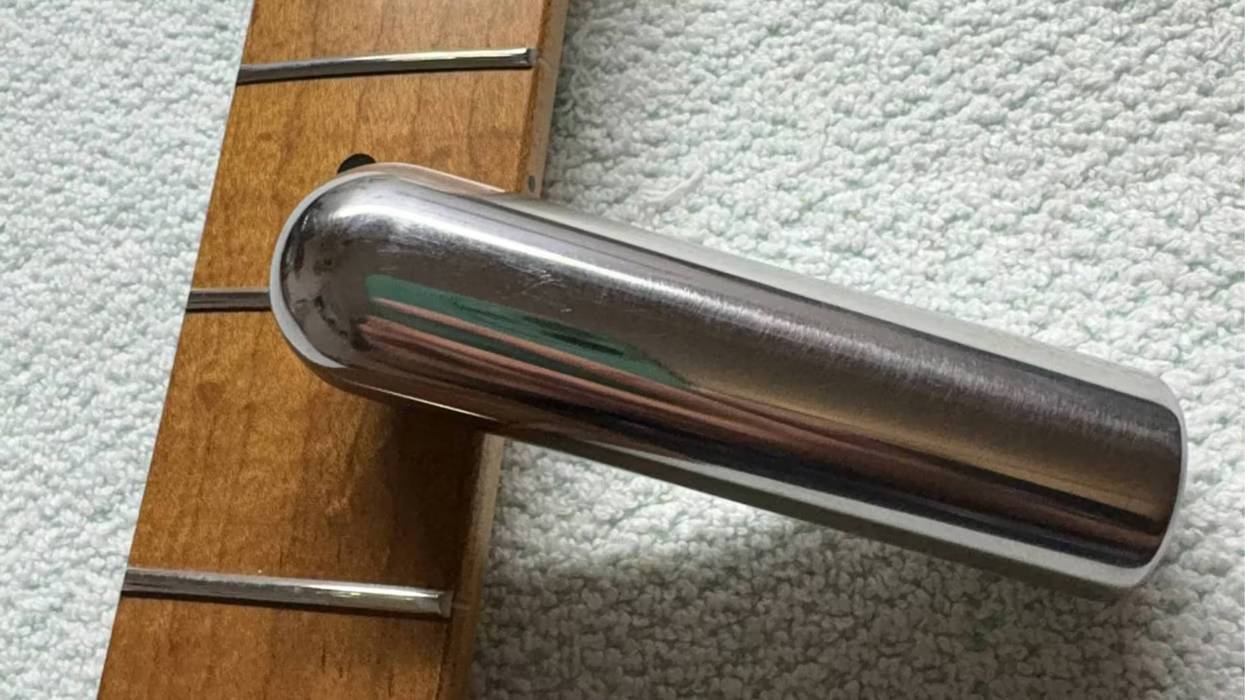
Frets: They should not be green, and they should not be coated in sludge or toxic waste. Try cleaning your frets with guitar polish to remove the gunk. Next, mask off the surrounding fretboard. Aluminum fretboard shields are sold at luthier supplies, or use a light adhesive tape, like masking tape. Use 0000 grade steel wool and go across the fret wire. Your frets will be amazingly cleaner.
Fretboards: I’ve seen fretboards that look like a Superfund site—to the point I needed rubber gloves to work on the bass. Most fretboards are slightly dirty and need to be cleaned. This process is quite easy, and everyone makes a fretboard cleaning solution and wood conditioner. Read the directions and make sure the product is compatible.
Screw holes: Never use a larger screw then the original size. Rather than using a bigger screw, use a smaller hole. The best filler available is a wood toothpick. One toothpick offers three sizes of filler. If a pickguard screw is spinning loose, put a toothpick in the hole, point down. Measure, remove, and cut to size. Wire cutters work great. Now insert point facing up and replace the screw. If the screw falls out of a pickguard, use the toothpick tip inserted down in the hole. For slipping or spinning neck or bridge plate screws, cut the tip off the toothpick, insert, measure and use the shaft of the toothpick without either tip.
Pickguards: Never use a power screwdriver on your bass, especially on your pickguard. You will crack it. Most cracks are caused by shrinkage. Unless a piece is going to fall off, I never repair my guards. If you must glue it and the guard can easily be removed, try to glue the back side. Use a glue dropper or tooth pick to get the cement into the crack.
Strings: I do a ton of repairs that are nothing more then incorrect, mis-wound or improperly installed strings. Make sure you’re using the correct gauge string. In 99 percent of vintage applications, 40–100, 45–100, or 105 gauge strings work perfectly. Before you install, check the string windings for overwinding or gaps. When you install your string, you should have enough excess to wrap around the tuner post 2-1/2 to 3 times. Remember to wind down the post, getting as close to the ferrule as you can. Big vintage tip: if you have to back off the string to tune it, turn the tuner back to tighten it, to prevent slippage.
The Lowdown Wrap-up
Remember to use the correct tools. Following directions and being patient will yield a good result. Until next time, drop the gig bag and bring the cannolis!
Kevin Borden
Kevin Borden has been a bass player since 1975, and is currently President of Goodguysguitars.com. Feel free to call him KeBo. He can be reached at Kebobass@yahoo.com.


![Rig Rundown: AFI [2025]](https://www.premierguitar.com/media-library/youtube.jpg?id=62064741&width=1245&height=700&quality=70&coordinates=0%2C0%2C0%2C0)