Chops: Intermediate
Theory: Beginner
Lesson Overview:
• Understand the basics of syncopation in fingerstyle guitar.
• Refine your practice technique and approach.
• Develop independence between your picking-hand thumb and fingers.
Click here to download a printable PDF of this lesson's notation.
It’s easy to define the art of fingerstyle guitar: playing several parts at once without a pick. What isn’t easy is putting that simple definition to work. It’s a lot like playing piano on guitar, especially since many of the syncopations mirror those used in ragtime and contemporary piano. Fingerstyle was first popularized on steel-string guitar by the likes of Robert Johnson, Blind Blake, Merle Travis, Chet Atkins, and Jerry Reed. In more recent years, fingerstyle techniques are still being used by such rock, country, jazz, and Americana artists as Tommy Emmanuel, John Knowles, Joe Robinson, Eric Johnson, James Taylor, John Mayer, The Tallest Man on Earth, and many others.
In this lesson, I’ll outline a few Chet Atkins- and Merle Travis-inspired licks that characterize traditional fingerstyle guitar. They’ll serve as a solid starting point for guitarists who want to incorporate more syncopation in their playing. Fingerstyle guitar requires that your picking hand fingers—most importantly, the thumb—move independently of each other. Consequently, these exercises are designed to help you develop thumb independence in your picking patterns. My hope is that you can use these techniques to spice up your own arrangements and learn your favorite fingerstyle songs.
A quick note before we start: To get anywhere with fingerstyle guitar, you have to let go of your ego. When you run across musicians who can play something better than you, don’t be intimidated. Rather, embrace the idea that they’ve just proven it’s possible to play that thing well.
The next step is to figure out what skilled players are doing to achieve a particular sound. Maybe it’s the type of gear they’re using, their posture, a special fretting technique, or just that they’ve devoted significantly more time to practicing. Quite often the answer is easier than we think it is. When you’re struggling to learn a riff even after lots of practice, try to find the original performance of that song and study the artist’s hand positions, gear, or perhaps the original score. It may even be useful to study the artist’s work ethic, as well as influences and temperament.
We’re all human and we all have our strengths and weaknesses as players, so don’t get too caught up in trying to be better than everybody else. I’m going to hurt some feelings with this, but I have to say it: There is no best guitar player in the world. Stop trying to compare everybody, and stop trying to compare yourself. Yes, it is useful and fun to be technically advanced as a guitar player, especially if you plan on making a career out of music. However, the music itself should be enjoyable for you and for the audience. Even if you learn to play a song exactly like a particular artist, you’ll never be the artist you’re covering. Conversely, they will never have your voice or your perspective. That said, I encourage you to branch out and challenge yourself musically, but don’t neglect your own voice in the process.
The Thumbpick
While a thumbpick is not required to play in this style, these exercises will be much easier to play with one. Dunlop medium thumbpicks are a great option, although there are many other thumbpicks that will work well. I prefer a heavy-gauge Fred Kelly Bumblebee Jazz pick. One of my friends who is a reputable fingerstyle player will buy a whole bag of the same type of thumbpick, and then go through them all to find the few picks that fit his hand best. Your fingers may change in size on a day-to-day basis because of factors like temperature, diet, or hydration levels, so you may find it useful to have an assortment of thumbpicks in slightly different sizes. If you find a thumbpick that sounds good but doesn’t exactly fit your hand, you can submerge it in hot water to make it malleable and then shape it to fit your hand. Do not, I repeat, do not try to soften up thumbpicks by holding them near an open flame, unless you plan on using them as flamethrower ammunition. They are incredibly flammable. I’m speaking from personal experience.
I also recommend that you have your guitar set up properly by a luthier so the action isn’t too high, and—within the limitations of a given instrument—you can play in tune up the neck. Many of the world’s best guitarists have instruments that play effortlessly. If your guitar is comfortable to play, you’re far less likely to damage your hands over time. Advanced fingerstyle techniques require immense hand strength and dexterity, and there’s no sense in making it harder on yourself by trying to tough it out with bad action on your instrument. You can replace a guitar, but you can’t replace your hands.
The exercises listed below are inspired by Merle Travis’s performance of "Too Much Sugar for a Dime," as well as Chet Atkins’s arrangement of "Mr. Sandman." I’ve listed the YouTube videos for each song below so you can use them as reference points for how these techniques sound when executed well.
First, let’s look at “Too Much Sugar for a Dime.” On the 6th string, Travis frets the bass note with his left-hand thumb by wrapping it around the top of the guitar neck. This keeps the fretted bass note sustaining longer, and grants Travis more room to embellish the chord by altering its shape. If he were barring the chord, it would be harder to play with good sustain and he wouldn’t have as many voicing options.
In this video clip you’ll also see that by fretting bass notes with his thumb, Travis is able to play open strings, hammer-ons, and pull-offs within the chord positions. This is an essential aspect of “Travis” picking because it allows a player to squeeze more mileage out of the fretboard and ultimately coax a more dynamic sound from the instrument.
As far as Travis’ picking hand is concerned, notice how he’s playing the bass and rhythm part using only his thumb. This steady, driving eighth-note pattern is called the “boom-chick” pattern by members of the fingerstyle community. Travis’ particular way of playing the boom-chick style involves hitting the chord’s bass note first, then the harmonies. He rarely deviates from this unless he is playing a solo, or doing a walking bass line as a transition between musical sections. Travis uses his index finger to pick the melodies while leaving his middle, ring, and pinky anchored on the pickguard. With his picking-hand palm, Travis also mutes the strings that carry the bass and rhythm, and this allows the melody to stand out in the mix, relative to the lower parts.
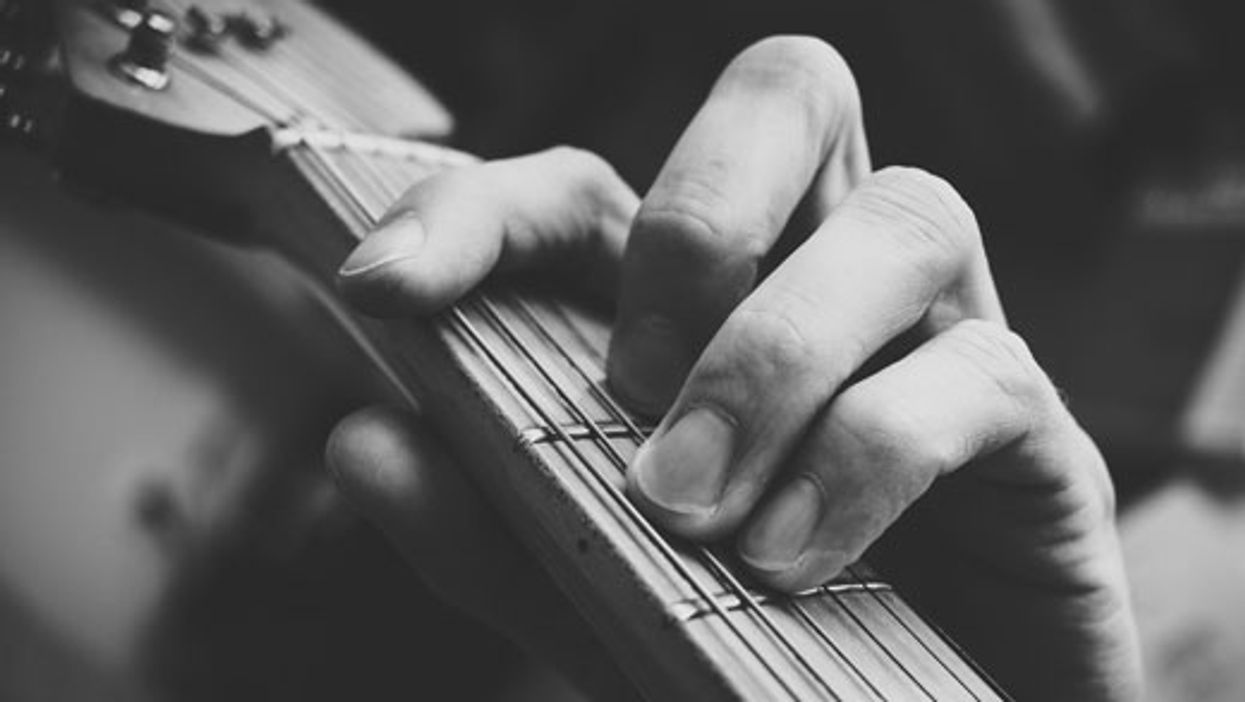
When practicing Ex. 1, try playing the 6th string with your thumb over the neck while fretting the rest of the chord in whatever way currently feels comfortable to you. With your picking hand, anchor your middle, ring, and pinky on the pickguard. Mute the strings slightly with your right-hand palm. Repeat this exercise until it feels natural and doesn’t require much concentration.
Click here for Ex. 1
Now let’s look at Chet Atkins’ arrangement of “Mr. Sandman.” While Chet does occasionally fret bass notes with his thumb over the neck, he doesn’t use the technique nearly as often as Merle. Instead, Chet’s signature boom-chick pattern focuses almost solely on the moving bass line, instead of the bass line and rhythm together. He uses an inside-outside picking pattern with the thumb, while plucking melody and rhythm parts with his right-hand index, middle, or ring fingers.
Unlike Merle, Chet only anchors his pinky on the pickguard. This seems to allow for more dexterity when plucking the melody line. Chet’s bass and rhythm fills aren’t as pronounced as Merle’s. Instead, he tends to put more emphasis on a nuanced, expressive melody.
For this exercise, I want you to become comfortable playing Chet’s signature boom-chick technique across changing chord progressions, so the primary goal with this exercise is to be able to transition from the first chord to the second chord and repeat without any noticeable gaps. Make sure you anchor your pinky on the pickguard. If this is too difficult, you could also try anchoring the ball of your wrist on the bridge like a bluegrass player. Either way, anchoring your hand gives you a reference point so you don’t lose your place and miss notes. It also keeps you from playing from your elbow, which requires far more energy and could cause some discomfort or even long-term damage. Remember to stay relaxed, and try to restrict most of your right-hand movement to your wrist and fingers.
Click here for Ex. 2
In Ex. 3, we’ll repeat these same boom-chick patterns with a melody and/or chords above them. To become comfortable with these musical syncopations, take the time to dissect the passages. I’ve written out the music so the boom-chick patterns are represented by notes with the stems facing down. All the other parts have the note stems facing up. Practice playing isolated parts in time with the music, and then after you’re comfortable with each part, work on combining them. If you are having trouble with this, slow down. There’s no limit to how slowly you can play a piece to better understand it. After you’ve played your way through a phrase, repeat that phrase until you’re comfortable playing it over and over without mistakes. A rule of thumb I picked up from middle school band is that if you can’t play a phrase ten times in a row without mistakes, you don’t really know it.
Eventually, playing these syncopations will feel effortless, and that’s when you can start experimenting with the melody line’s phrasing and gradually develop more complicated syncopations. On a more advanced level, think of the melody line as if you’re singing it, instead of picking it. Often vocalists will sing the words before or after the beat, based on what feels right in the moment. Thinking this way will dramatically increase the depth of your playing, and will truly make you sound like two guitar players instead of one.
Click here for Ex. 3
Practice Tips
Fingerstyle guitar can be a rewarding endeavor because it allows for so many musical options, and for so much independence as a musician. However, because fingerstyle guitar is often played solo, it’s imperative you know your material incredibly well. One way to test how well you can play a song is to practice it as if you’re playing it live. Play the song all the way through at a steady tempo without stopping to correct your mistakes. It’s a sobering way to practice because you may realize you’re nowhere near playing a song properly, but practicing this way will save you a great deal of embarrassment when you actually play the material in public.
Another tip is to record yourself practicing so you can listen to the song later, in a different state of mind from when you were performing it. I find that things that bothered me while I was playing a song will sound perfectly fine when listening back, yet other parts I thought I played well were completely wrong or just sloppy. The more you record yourself, the more your idea of yourself aligns with how the rest of the world sees and hears you. Figuratively speaking, you’re naked onstage when you play fingerstyle because every mistake you make is amplified. You don’t have a drummer to hide behind when you get off beat, or a rhythm section to take over for you when you hit the wrong chord.
Know the song’s chord progression in case you mess up on some fingerings, and tap your foot so your body feels the groove at all times. This will help you refocus when you get distracted while playing, which can happen to the best of us. We’ll never stop making mistakes, but we can get really good at recovering from them.


