

Hello, and welcome back to Mod Garage! After inspecting the neck of our Harley Benton guitar in last month’s column, it’s time now to dive into transforming a good neck into a great one.
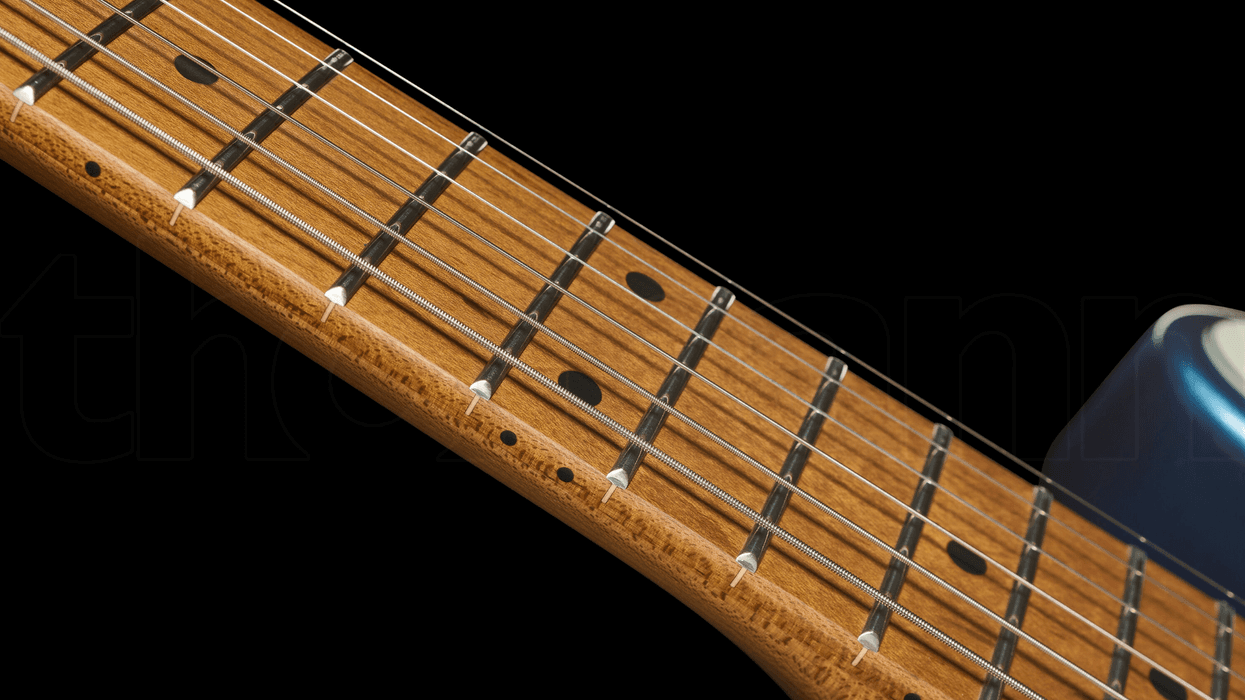
I always start by inspecting and checking the frets. Our guitar sports 21 frets that are in the medium-jumbo ballpark, noticeably wider than the standard Fender vintage frets. The fret job was done very well; the final polish of the frets could be better, but more about this later. All of our fret ends are nicely rounded, with no sharp bits anywhere. After checking the levelling with a straight edge, though, I was brought down to earth again: high spot alarm! After a closer examination with a fret rocking tool, our alarm was lowered to a nuisance alert: Exactly one fret was noticeably higher compared to the rest, and because it was obviously crowned, I checked this one even closer. It turned out that it wasn’t hammered in completely, and after three taps with the fretting hammer, the problem was solved. This is something I see a lot; often, it’s only one or two frets on the fretboard and our Harley Benton was no exception.
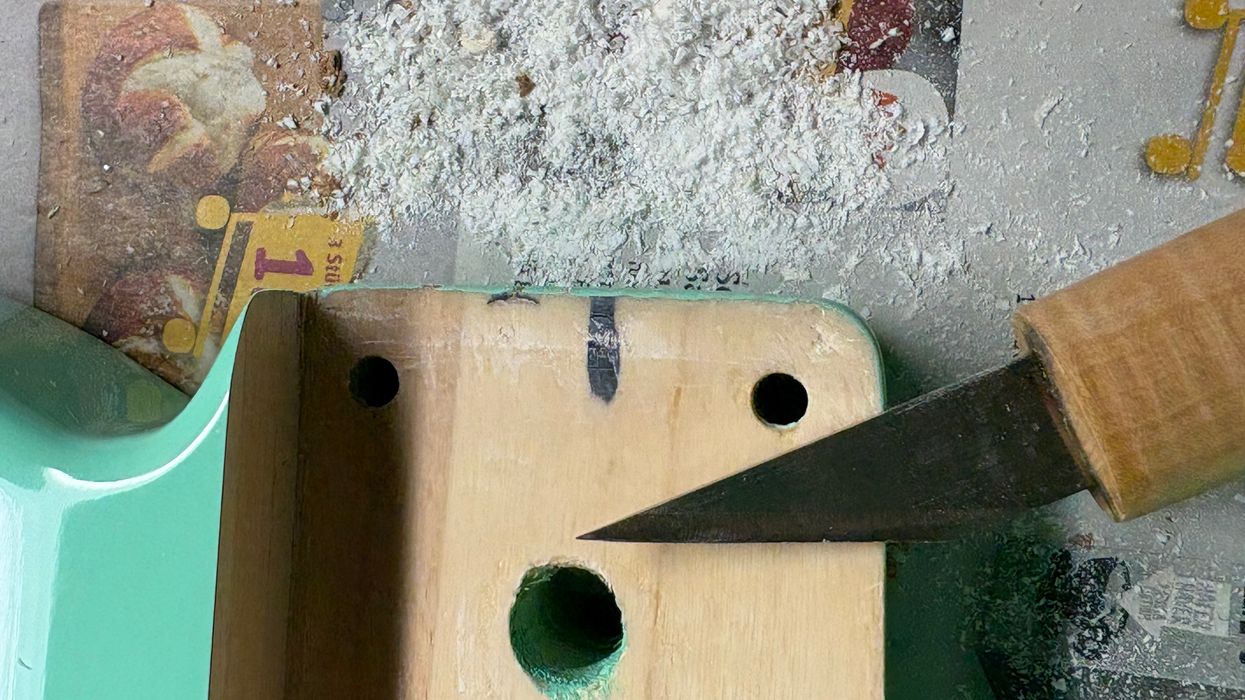
After another check with the straight edge, I was more than satisfied with the fret job—no further work necessary here. While checking the maple cap fretboard, I noticed that the clearcoat on frets two, three, and four wasn’t as polished as the rest, leaving these spots on the board feeling a bit raw. It took me five minutes to polish these spots with super-fine MicroMesh, and the problem was gone. Next, I noticed a gap where the fake skunk stripe meets the neck heel: While the end of the skunk stripe is rectangular, the routing in the neck heel is round. Usually, my inner monk would instantly come alive to correct this, but this time, I decided to leave it alone; it doesn’t affect our playability in any way, and it’s not even visible.
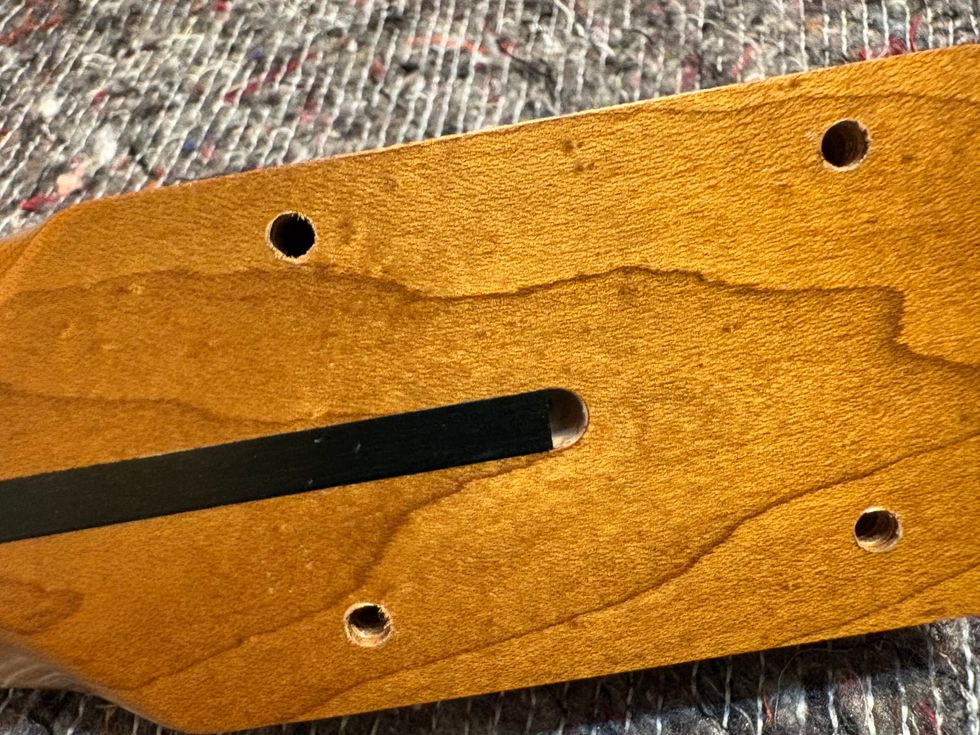
Photo courtesy SINGLECOIL (https://singlecoil.com)
After removing the plastic nut, I noticed that the routing was slightly misaligned. Not great, but maybe it can be compensated with the adjustment screws of the bridge saddles. If so, all is well; if not, then we’ve got trouble. But the guitar played in tune with the factory-installed strings, so let’s hold onto hope!
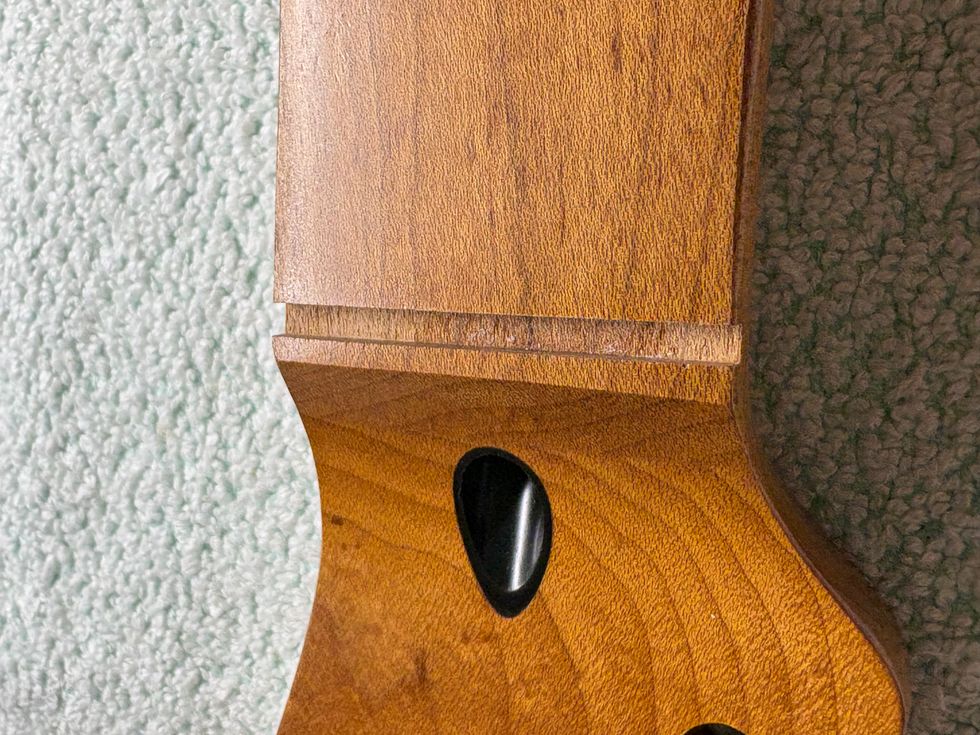
Photo courtesy SINGLECOIL (https://singlecoil.com)
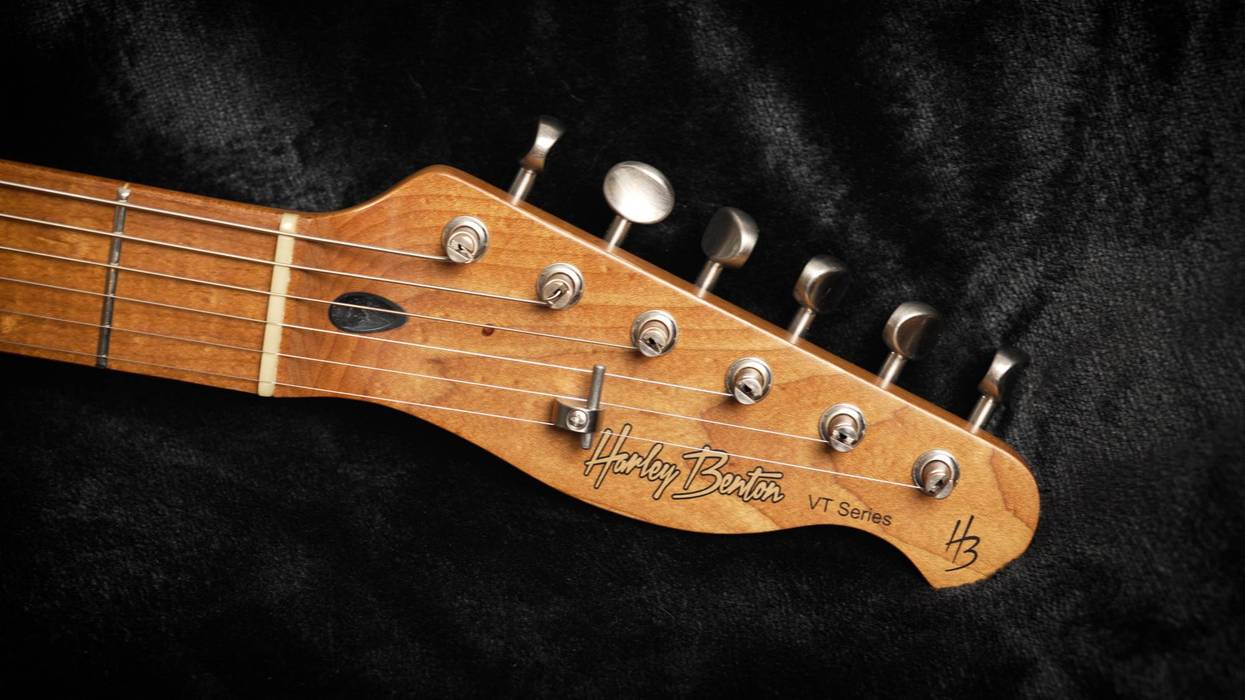
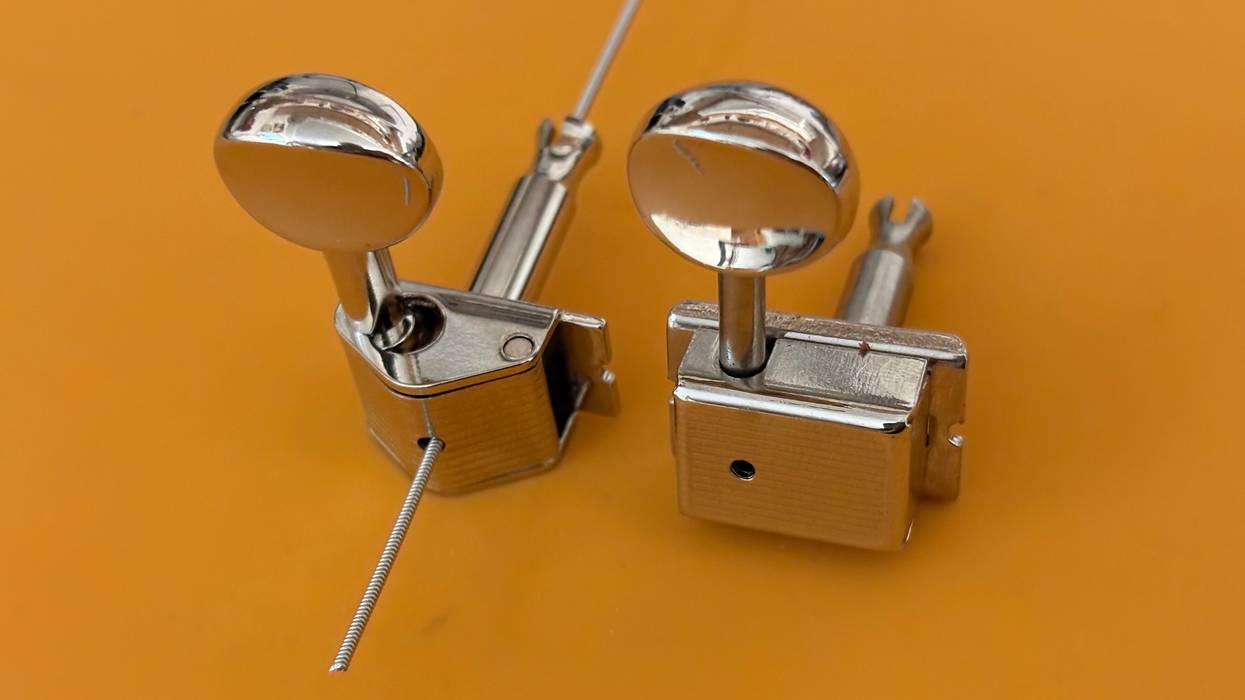
I decided to replace the two butterfly-style string trees for a setup that will guide only our G, B, and high E strings; guiding the D string is not necessary, and can negatively impact our tuning stability. This mod will also allow better access for bend behind the nut playing techniques. The tuners are Kluson-type knock-offs that not only weigh a lot, but also feature a string-guiding system that I’ve never seen before. These tuners usually feature a vertical hole down the center, and a slot in the top. You push the string end straight down into the hole in the center of the post, then bend the wire firmly into the slot before winding it up. This works great, but the vertical holes on our Harley Benton tuners are only a few millimetres deep, so the strings slip out when you try to secure them. At first, I thought it was only one of the tuners, but the whole set is plagued by the same issue. Now we have two good reasons to replace them: They’re way too heavy and almost impossible to use.
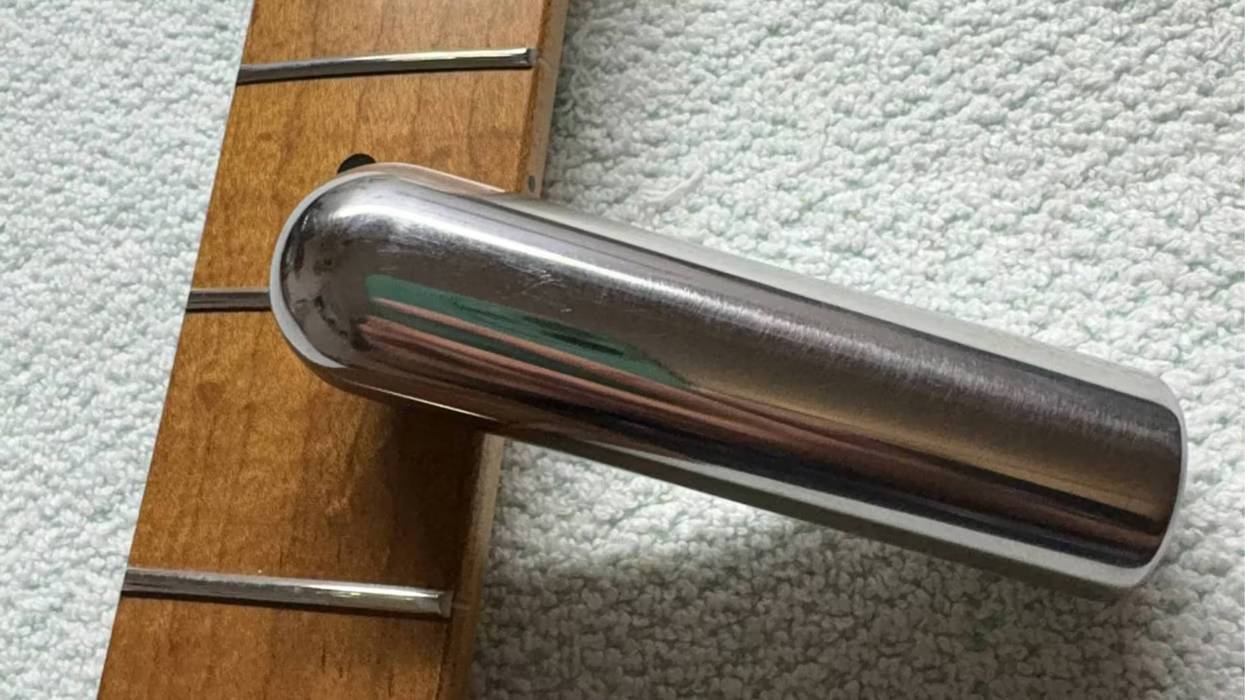
After this stocktaking, it’s clear that we’ll have to spend some money from our remaining $196 budget for new tuners, string trees, and a new nut. But let’s start with some work on the fretboard edges to give it the vintage, broken-in feeling of a guitar that’s been played for decades. These kinds of edges feel comfortable and round because they’ve received pressure and friction from your hand over decades; this is distinct from a rolled fretboard edge, a common custom-shop option. To give your neck this feel, you really only need two things: a round metal bar and some time. I prefer to use a thick metal pedal-steel slide for this job, but you can also use a bigger screwdriver or the like. If possible, clamp down your guitar and, with the metal bar at a 45-degree angle, move it along the edge of the fretboard, applying pressure. What we’re doing here is not making a rolled edge exactly, but hurrying up the natural process of compressing fibres. Keep moving the bar while applying pressure for some time, and check your results until you’re satisfied. Take your time: I find that each edge takes between 10 and 15 minutes, depending on how hard your fretboard material is. The maple on our neck seems to be very hard, and it took me roughly 20 minutes for each side of the neck. I even got to skip going to the gym the next day thanks to how hard my arm muscles were working!
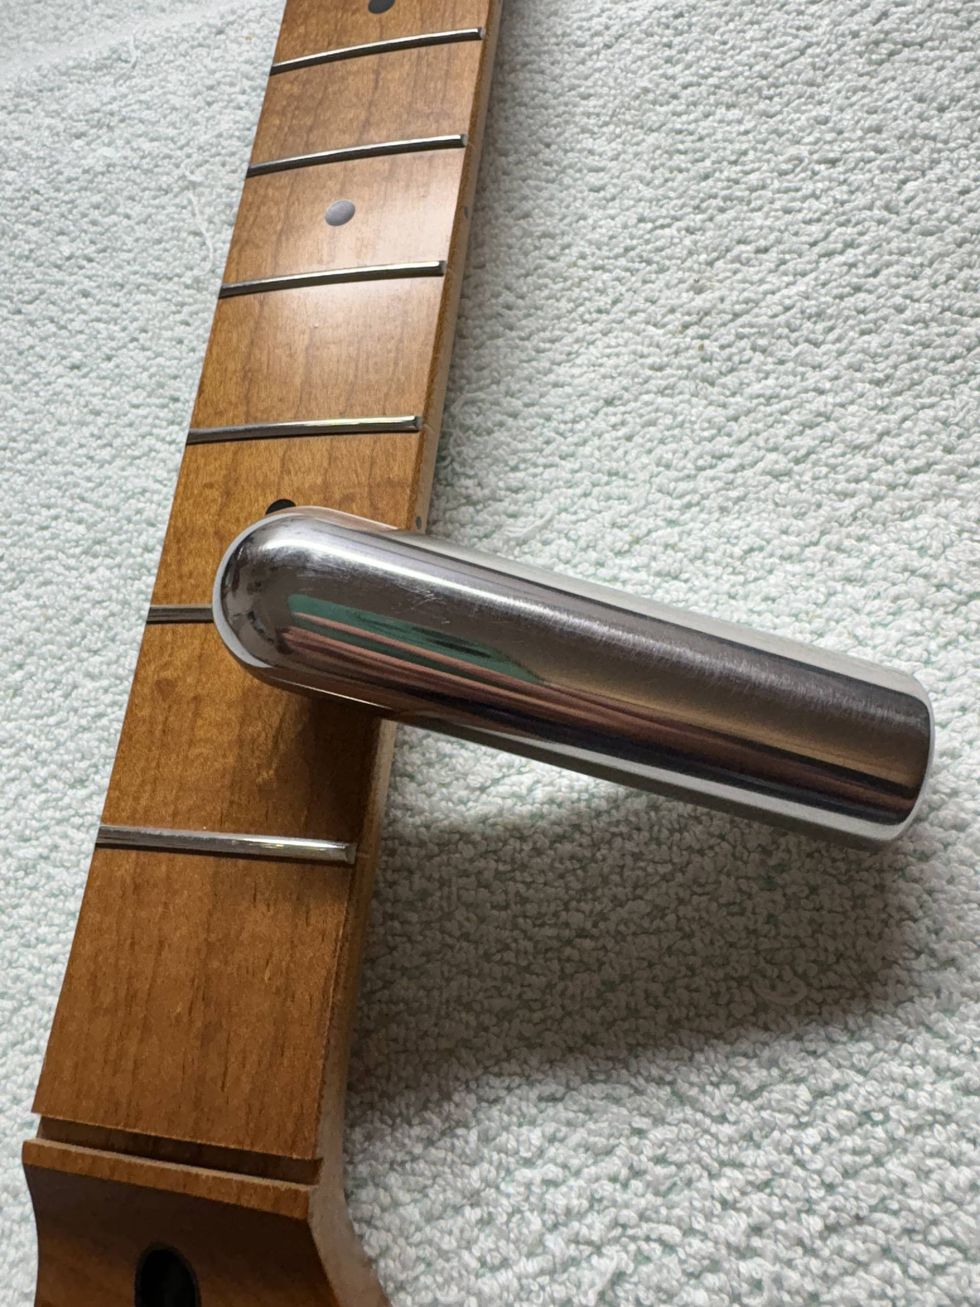
Photo courtesy SINGLECOIL (https://singlecoil.com)
If you want to alter the shape of the headstock, or remove or replace the logo, now is the time to do with everything removed from the headstock. I’m fine with it the way it is: The shape of the headstock is unmistakably Tele, and the logo style looks familiar. If you want to replace the logo, think about a custom one with your name on it—after all, you did the work on this guitar.
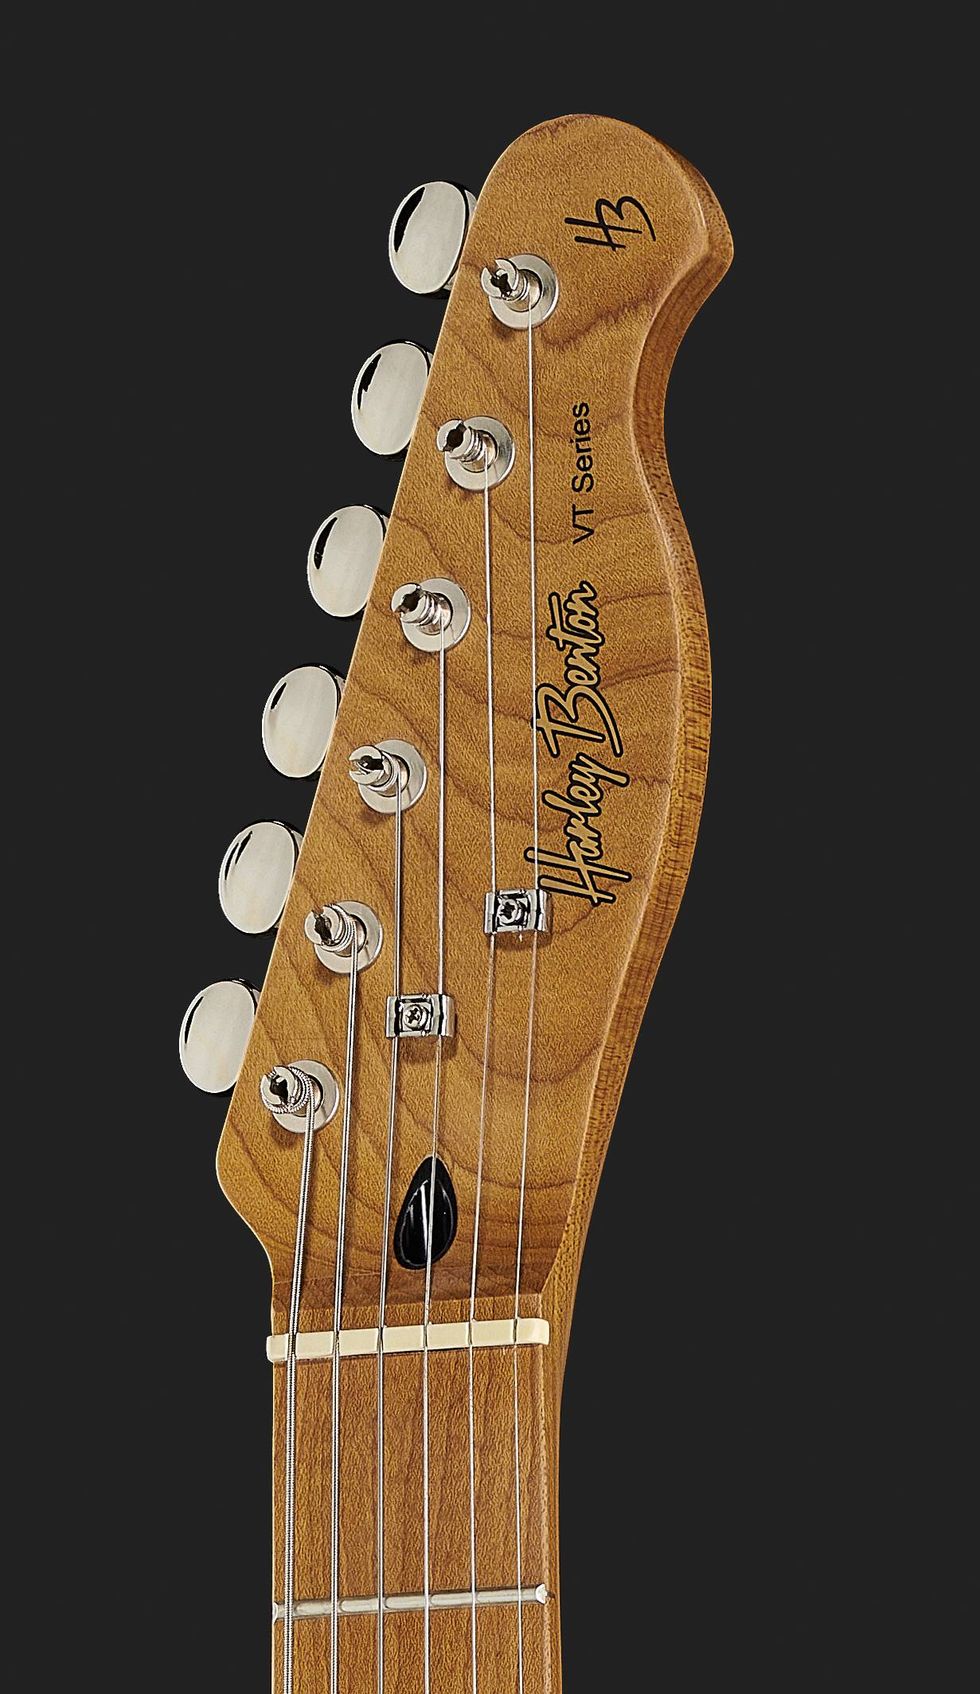
Photo courtesy SINGLECOIL (https://singlecoil.com)
Next month, it’ll be time to replace the tuners, the nut, and the string trees before we do a final killer polish job on the frets. We didn’t spend any of our $196 budget this month, but next time we’ll dig into it, so stay tuned. Until then ... keep on modding!