Welcome to the third part
of our ongoing look
at microphones. In our first
two installments, we discussed
three different types of mics:
dynamic, condenser, and ribbon.
We also examined polar
patterns, sound levels, pads, and
more. Check out Part 1 or Part 2
of this series if you missed them.
Now it’s time to apply what
we’ve learned and start to look
at how to choose the right mic
for your recordings. Right up
front, before you can make any
sort of decision about which
mic you might want to use,
you need to have a firm grasp
of two things: the type of mics
you have in your collection, and
how each of them sounds.
But how to do that?
The first step—knowing
the type of mics you have at
your disposal—requires some
homework, because dynamic,
condenser, and ribbon designs
perform differently. Your mics
may also have different polar
(pickup) patterns. And, they’ll
likely have different feature
sets (pads, low-frequency cuts,
switchable polar patterns, etc.).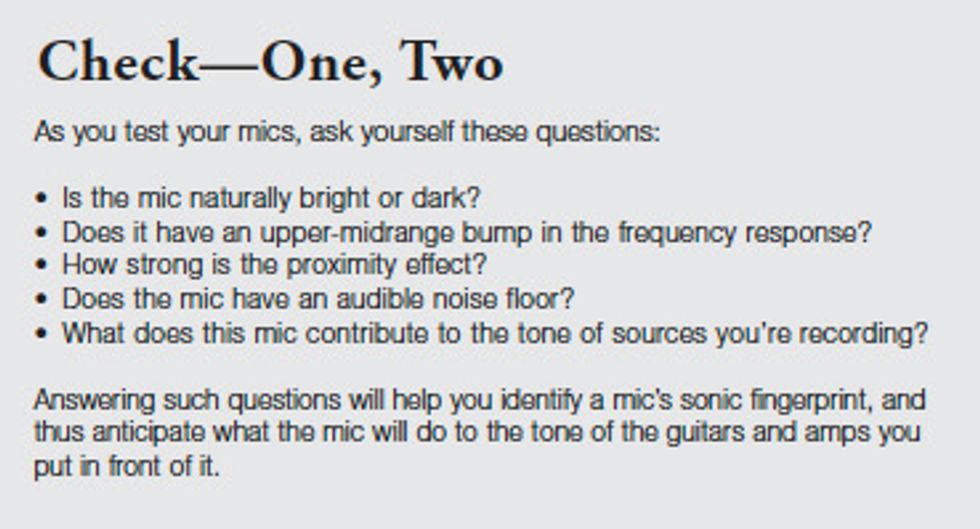 To acquaint yourself with each
mic, either break out the documentation
that came with it or
browse the manufacturer’s website
to learn all you can about that
model. You don’t need to absorb
all the tweaky spec stuff. Instead,
it’s the features and functions
that are important—you want to
know what the mic does and how
it works. It also helps to know the
frequency response (for example,
80 kHz–22 kHz) and to look at
the frequency-response graph—
which will show you if there is a
boost in a particular part of the
frequency range or if the response
rolls off the lows or highs.
To acquaint yourself with each
mic, either break out the documentation
that came with it or
browse the manufacturer’s website
to learn all you can about that
model. You don’t need to absorb
all the tweaky spec stuff. Instead,
it’s the features and functions
that are important—you want to
know what the mic does and how
it works. It also helps to know the
frequency response (for example,
80 kHz–22 kHz) and to look at
the frequency-response graph—
which will show you if there is a
boost in a particular part of the
frequency range or if the response
rolls off the lows or highs.
To answer the second question—how does each mic
sound?—you’re going to have to
put in some studio time. When
I get a new mic, I put it through
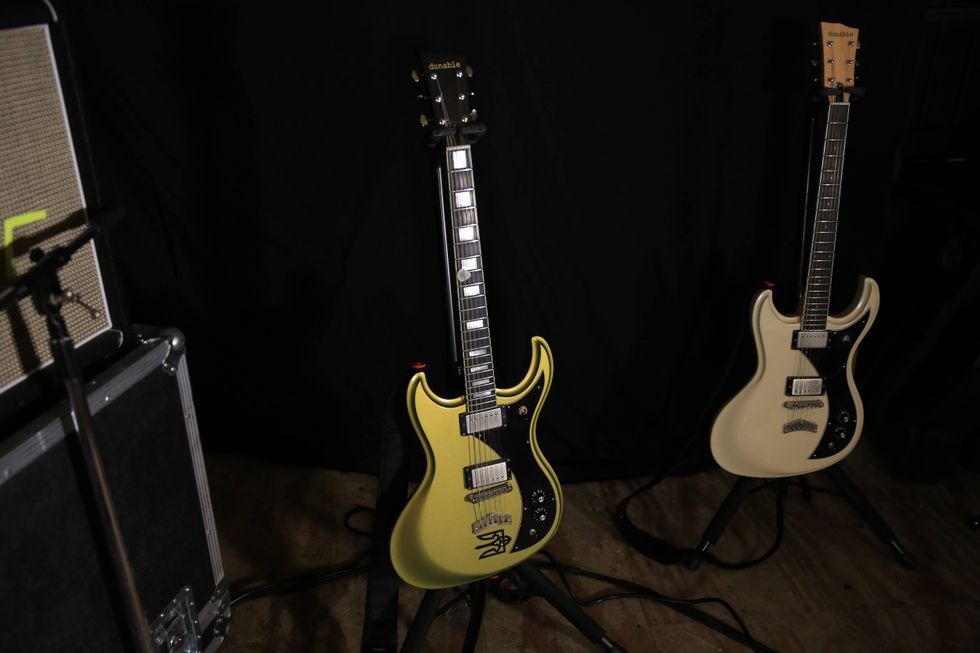
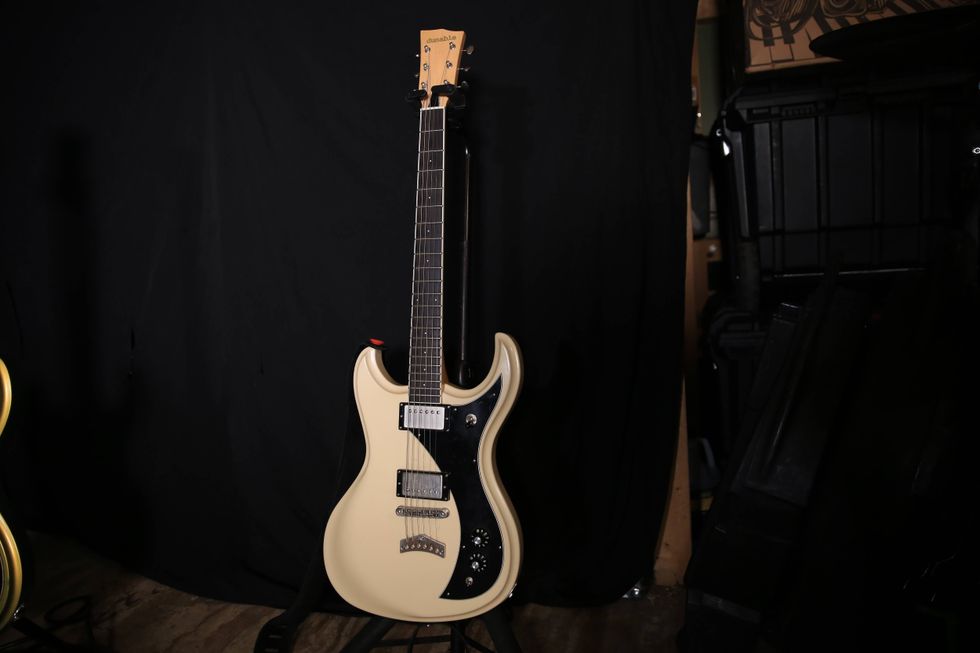
a battery of test recordings: electric
guitar, vocals, nylon- and
steel-string acoustic guitars, hand
percussion, and so on. First, I
record all those sources with any
switches on the mic off, then I’ll
engage each switch to hear what
difference it makes. This means
switching on the pad, then the
low-frequency cut, then changing
the polar pattern, etc. Each
switch affects the sound, and
you need to know how.
If you have more than a
couple of microphones, these
sorts of test recordings get hard
to manage. I like to create a
separate Pro Tools session file
on my computer for each type
of test recording. I have two
for electric guitar (one for clean
and one for dirty tones), one
for vocals, one for nylon-string,
etc. As each new mic comes
into my studio, I record its test
tracks into the appropriate session.
Over the years, I’ve accumulated
a pretty nice selection
of tracks highlighting each mic
that I own or that I’ve reviewed
or tested, and that allows me to
compare each mic to the others.
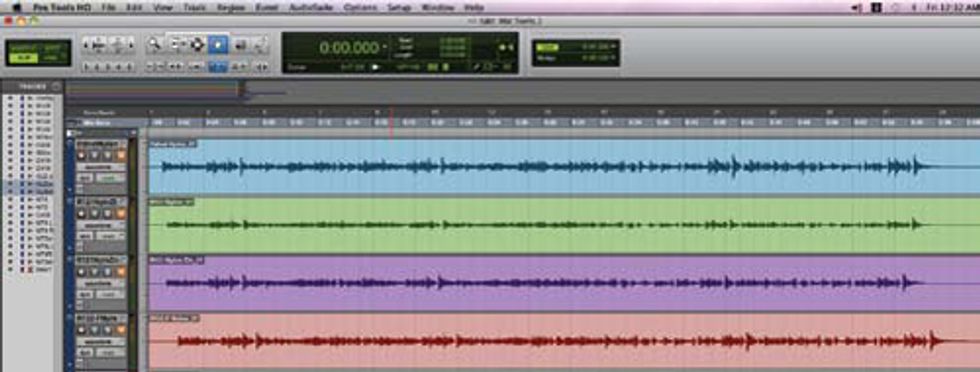
Testing your mics and keeping sound files of these tests allows you to compare and evaluate each mic you own in the context of the others. It’s good to test a mic with a variety of sources—electric guitars, nylon- and steel-string acoustics, vocals, percussion, drums, and so on. Shown here are some sound files from my mic-testing collection. Careful labeling of the mic model, source, and switch settings is imperative.
To keep these sonic tests as
consistent as possible, I play the
same music (I load in a track
I know well and play or sing
along with it), and I take very
careful notes so I can use the
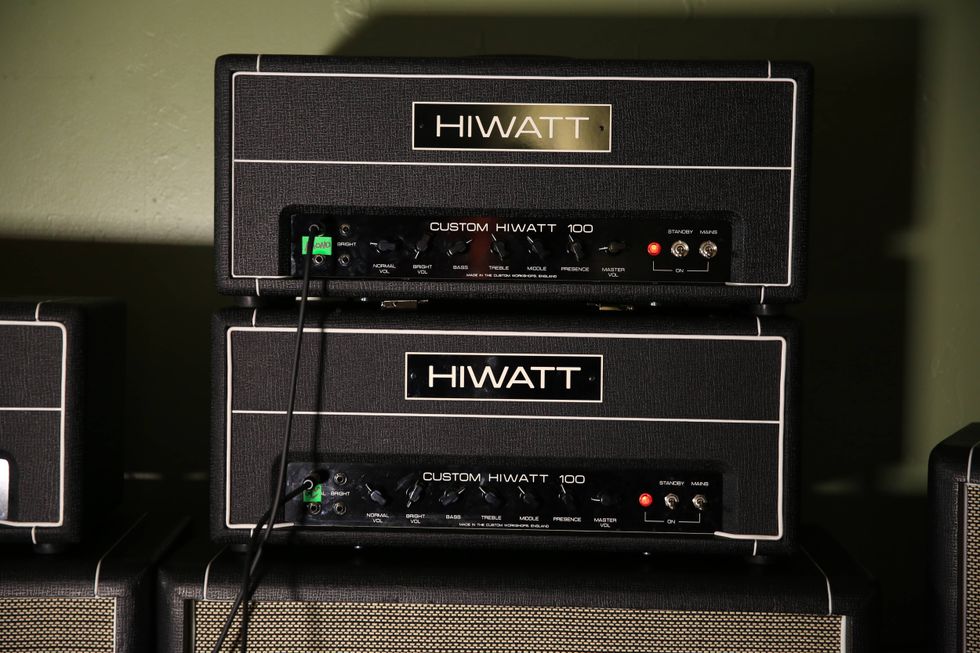
same mic positions and use the
same mic preamps and settings.
I don’t do any EQ’ing, compressing,
or other processing.
The idea is to get a straight
recording of each mic, so I can
do easy A/B comparisons and
really hear what each does.
I also have similar Pro Tools
sessions where I use the same
mic, but switch out different
preamps. You could also do
one where you use the same
mic and preamp, but change
the mic position. Regardless
of what you’re testing, you’re
basically following the scientific
method: Keep everything
the same except for one thing
you change for each test. This
approach really lets you hear
the difference that one change
makes—or doesn’t make.
Once you’ve got your test
tracks down on tape or hard
drive, spend some time listening
carefully to them. If you’ve
got tracks for a few mics, do
listening comparisons—this
will require careful volume-level
matching (a track that’s louder
will always sound better to our
ears than one that is quieter in
a direct comparison), and it’s
best if you can do such comparisons
“blind” without knowing
which mic you’re hearing.
Have someone else switch the
tracks behind your back so you
can concentrate on what you’re
hearing, not what you’re seeing.
The goal is to get a firmly
grounded understanding of
how your mics operate and a
clear picture of their innate
sonic characteristics. Once you
have this knowledge, choosing
the best mic for each situation
becomes much easier. We never
know exactly how a mic will
sound until it’s in front of the
guitar or amp, but at least these
tests provide a good starting
point for choosing the best mic
for a particular application.
Next month, we’ll continue
our discussion of how to choose
the best mics to capture your
tones. See you then! By the way,
if you have suggestions for topics
you’d like to see covered here
or questions about any of my
columns, drop me a line at
magman@mitchgallagher.com.

Mitch Gallagher is
the former editor in chief of
EQ magazine. He’s written
more than 1000 articles
and six books on recording
and music technology, and
has released an instructional
DVD on mastering. His upcoming book is
entitled Guitar Tone: Pursuing the Ultimate
Electric Guitar Sound. To learn more, visit


![Rig Rundown: Russian Circles’ Mike Sullivan [2025]](https://www.premierguitar.com/media-library/youtube.jpg?id=62303631&width=1245&height=700&quality=70&coordinates=0%2C0%2C0%2C0)