Time to Start Building Pedals? Here’s the Ultimate DIY Kit Roundup

Want to try your hand at stompbox assembly but don’t know where to start? We fired up our soldering irons to bring you a deep dive on making pedal kits.
Building your own pedal can feel unattainable—like something only geniuses and magicians can do. Or at least people who took an electronics course. Many of us are content to leave it that way. Those things on our boards sound cool when you click ’em, and that’s all we need to know. But some of us want to get our hands dirty and figure out what ticks behind the click. If you’re in the latter camp, this one’s for you.
There are a wealth of pedal-kit options today, from long-standing DIY-focused companies to established pedal builders who want to get in on the fun. But, really, how hard is building a pedal? Can any of us just, like, do it? And where are the best places to start?
Well, we’re here to tell you that, yes, any of us can. Both of us have limited experience—Jason is brand new, and Nick started building kits last year (you can watch his inauspicious beginnings over on our YouTube channel). But with nothing but some baseline soldering skills and a sense of adventure, we set out to survey the pedal-kit market by doing. What we’ve assembled are six kits from JHS, Third Man, StewMac, Aion FX, General Guitar Gadgets, and Pedal Parts and Kits that range from the simplest no-solder option to step-by-step builds to kits that’ll have you testing components and following wiring diagrams to complete the task. We’ve rated each kit: “tone” for the overall sound of the pedal, “design/build” for the experience of building the kit, and “value.”
If you build a few of these, you’ll probably end up with a better idea of what your pedals are doing, pick up some skills, and have some new pedals for much cheaper than you might otherwise. The next step is learning to mod and design your own circuits, and then you’ll be on your way to launching your own pedal company!
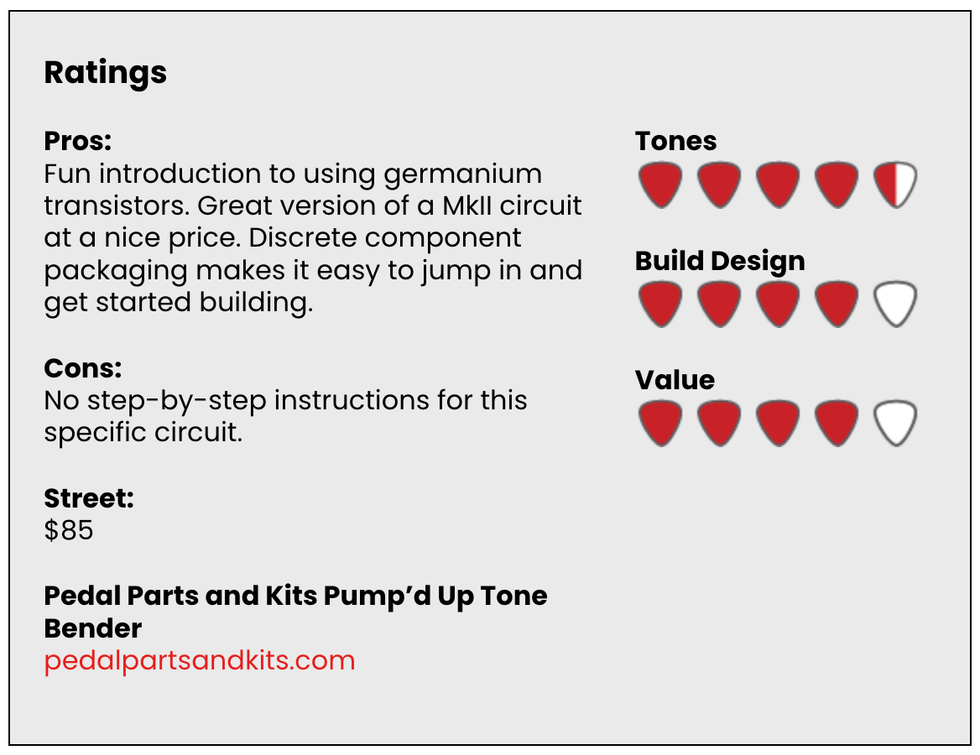
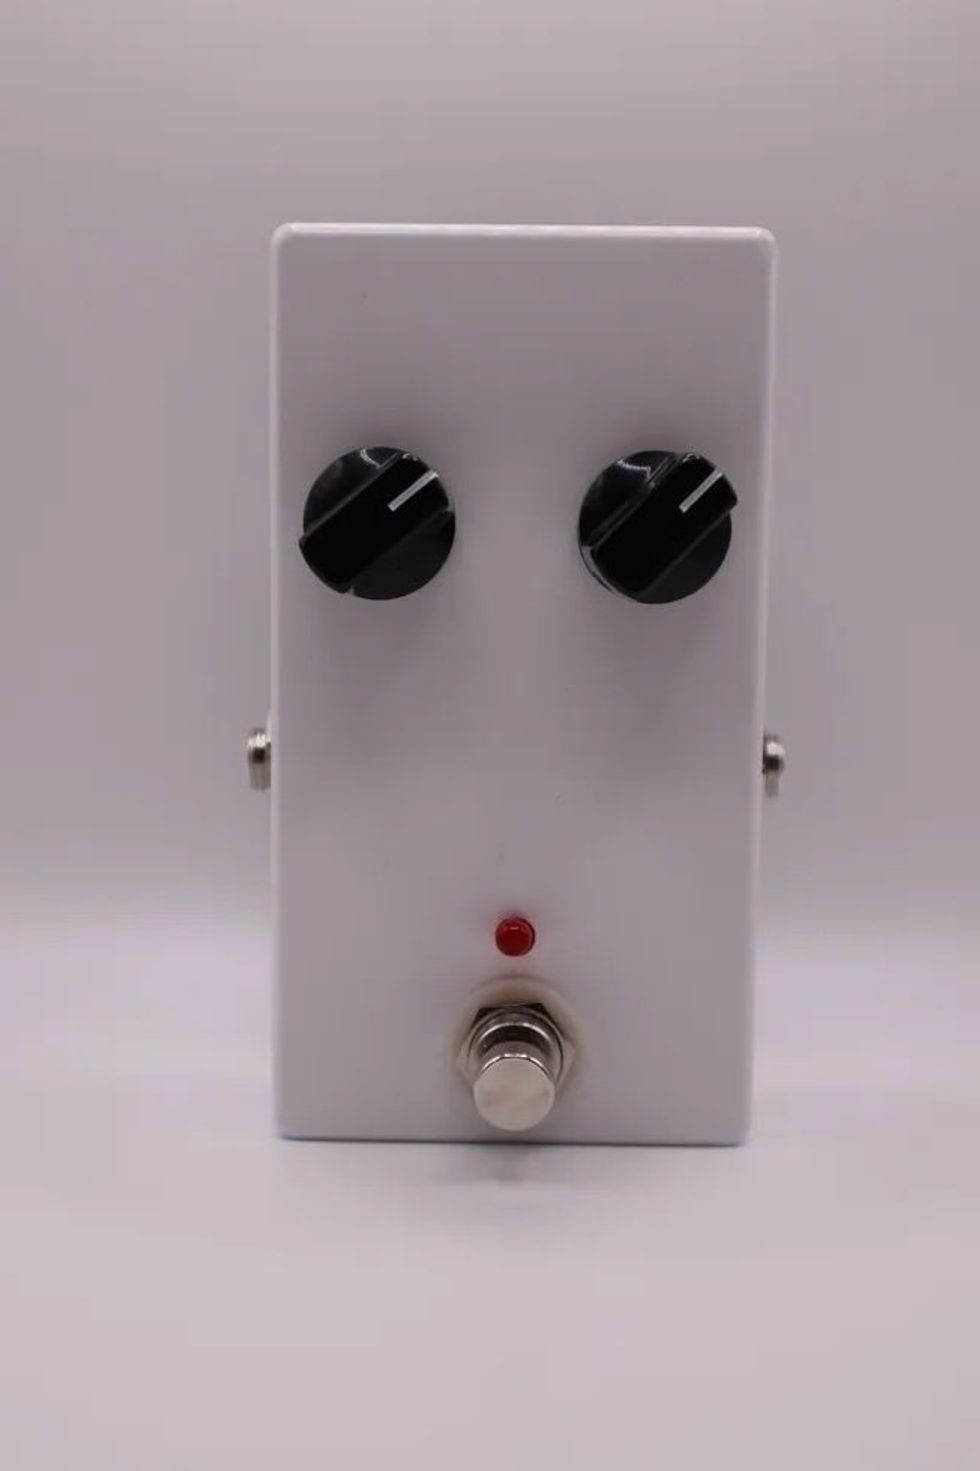
Pedal Parts and Kits sells all the parts and components you might need for pedal building, plus a variety of kits created in collaboration with GuitarPCB, which sells printed circuit boards (PCBs) and hosts a forum. I opted for their Pump’d Up Tone Bender, which is a MkII clone featuring vintage germanium PNP transistors. This design adds a charge pump to the power section, inverting the circuit to a modern negative ground, and allows the pedal to be daisy chained.
Right out of the box, I was impressed by the packaging of the Pump’d Up Tone Bender (PUTB). Each component group was separated into its own bag and clearly labeled. The resistors were separated by value, which made it easy to get started.
Tone Bender circuits are relatively simple, and this kit includes a handful of resistors and capacitors and a single IC. The germanium transistors include sockets, which makes installation easy, plus they allow for some transistor experimentation later if that’s your kind of thing. The kit includes a well-spaced 3PDT board for easy switch installation.
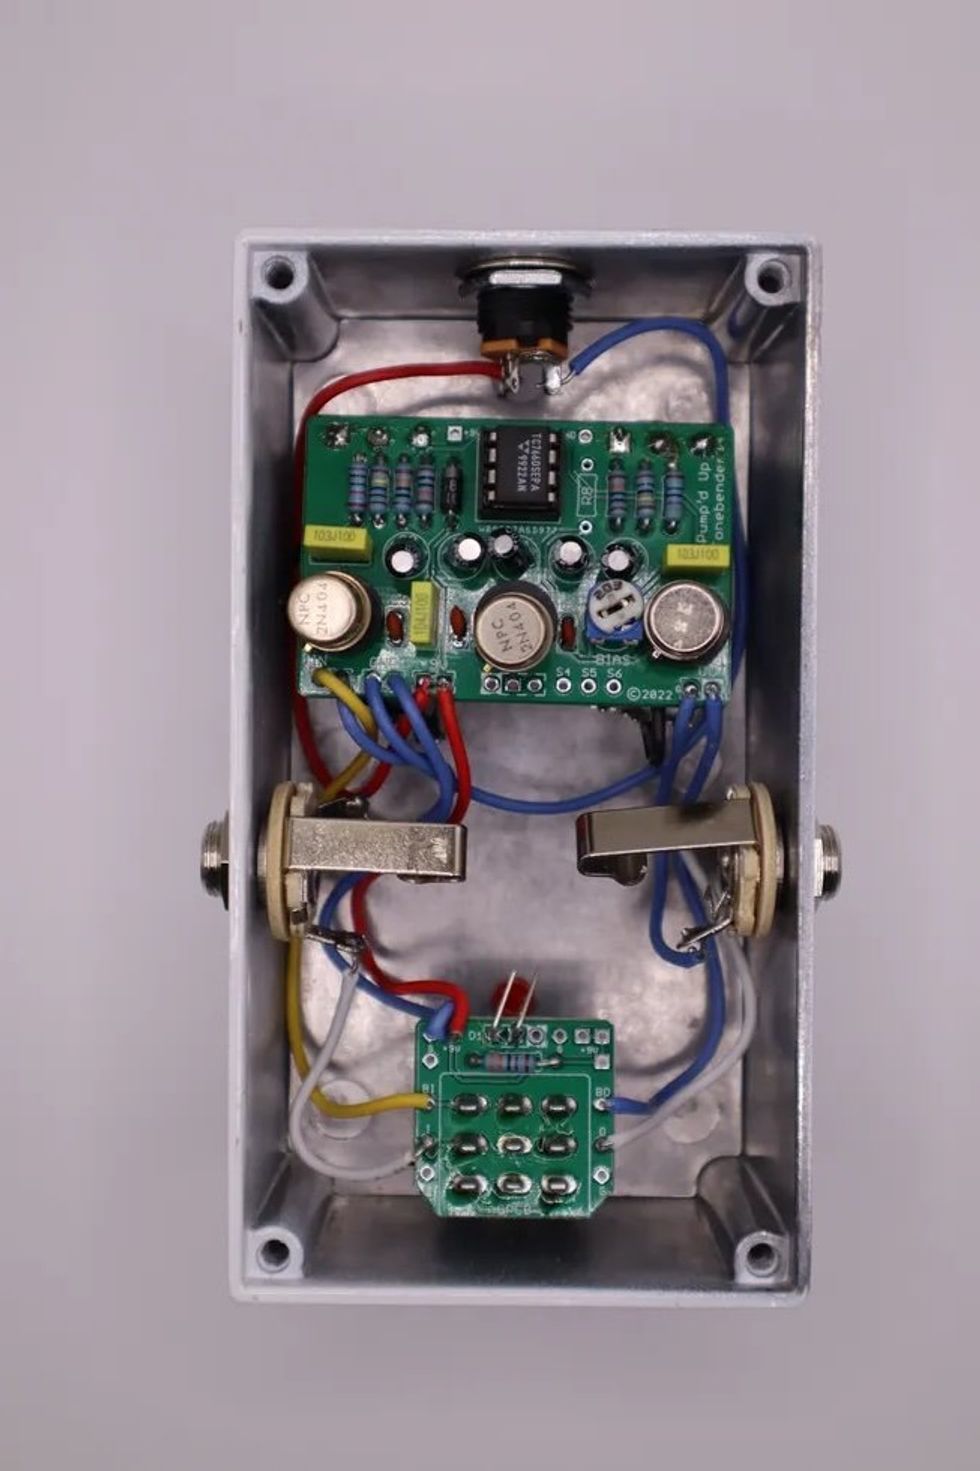
Documentation for the PUTB doesn’t include step-by-step instructions. Instead, Pedal Parts and Kits offers an online beginners build guide that will help any entry-level kit builder get started. I followed the included wiring diagram. It's clear and easy to follow, so I had no problem getting this together in a couple hours. The only time I went off script is with the pots, which can be mounted directly to the PCB, but I chose to wire them up instead.
The PUTB is a great-sounding Tone Bender MkII clone, with all the personality, versatility, and response you’d expect. There’s a world of usable, cutting tones across the range of the control set, and I could feel myself channeling Jimmy Page when I plugged my Tele and the PUTB into an old Fender Champ. At $85, if you’re up to the task, the PUTB is a fantastic way to get your hands on a MkII.—NM
Entering the General Guitar Gadgets realm can feel like wading into the deep end of the pedal-kit pool. Their site is loaded with a wide range of projects, and PCBs and kits are the company’s sole business. And if you’re at the point you’re ready to peruse schematics, the GGG site is a great resource because they make schematics available for each project.
Every GGG kit includes universal pedal-building instructions, project-specific instructions, a schematic, and a wiring diagram. Like the Pump’d Up Tone Bender build, this is for more experienced builders, not necessarily because it’s complicated but because the directions are more streamlined.
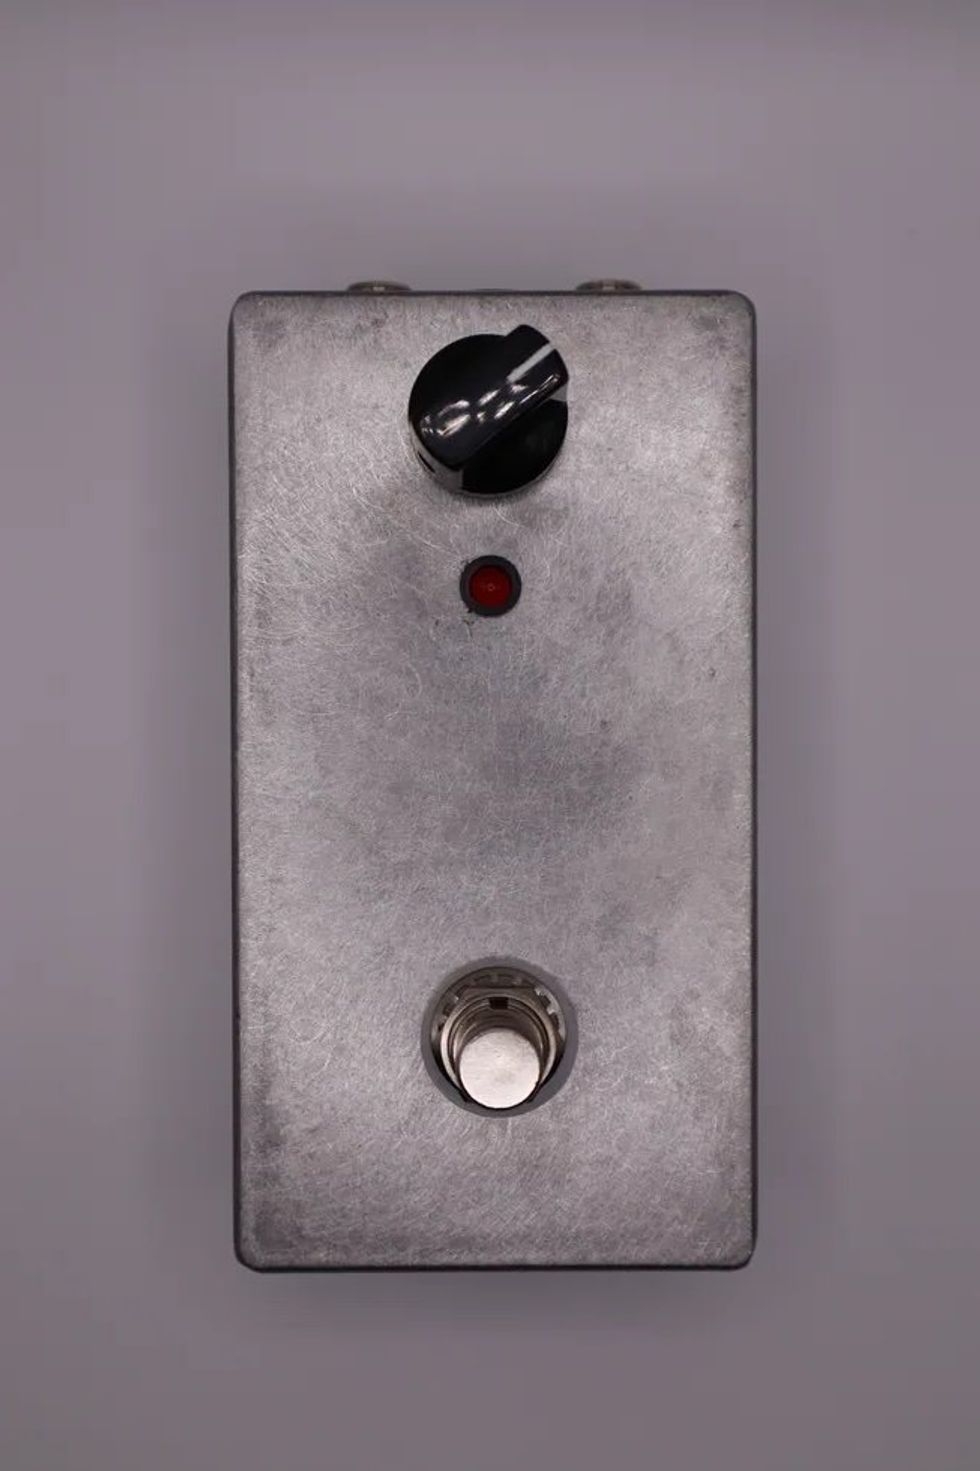
The D-Verb is based around the Belton Accutronics BTDR-2H, aka the “Belton Brick” reverb designed by Brian Neunaber. It’s a commonly used digital spring reverb module that can be found in plenty of pedals from small and large manufacturers. The pedal’s circuit consists of a handful of resistors, a few capacitors, one transistor, a pair of IC chips, and the reverb block.
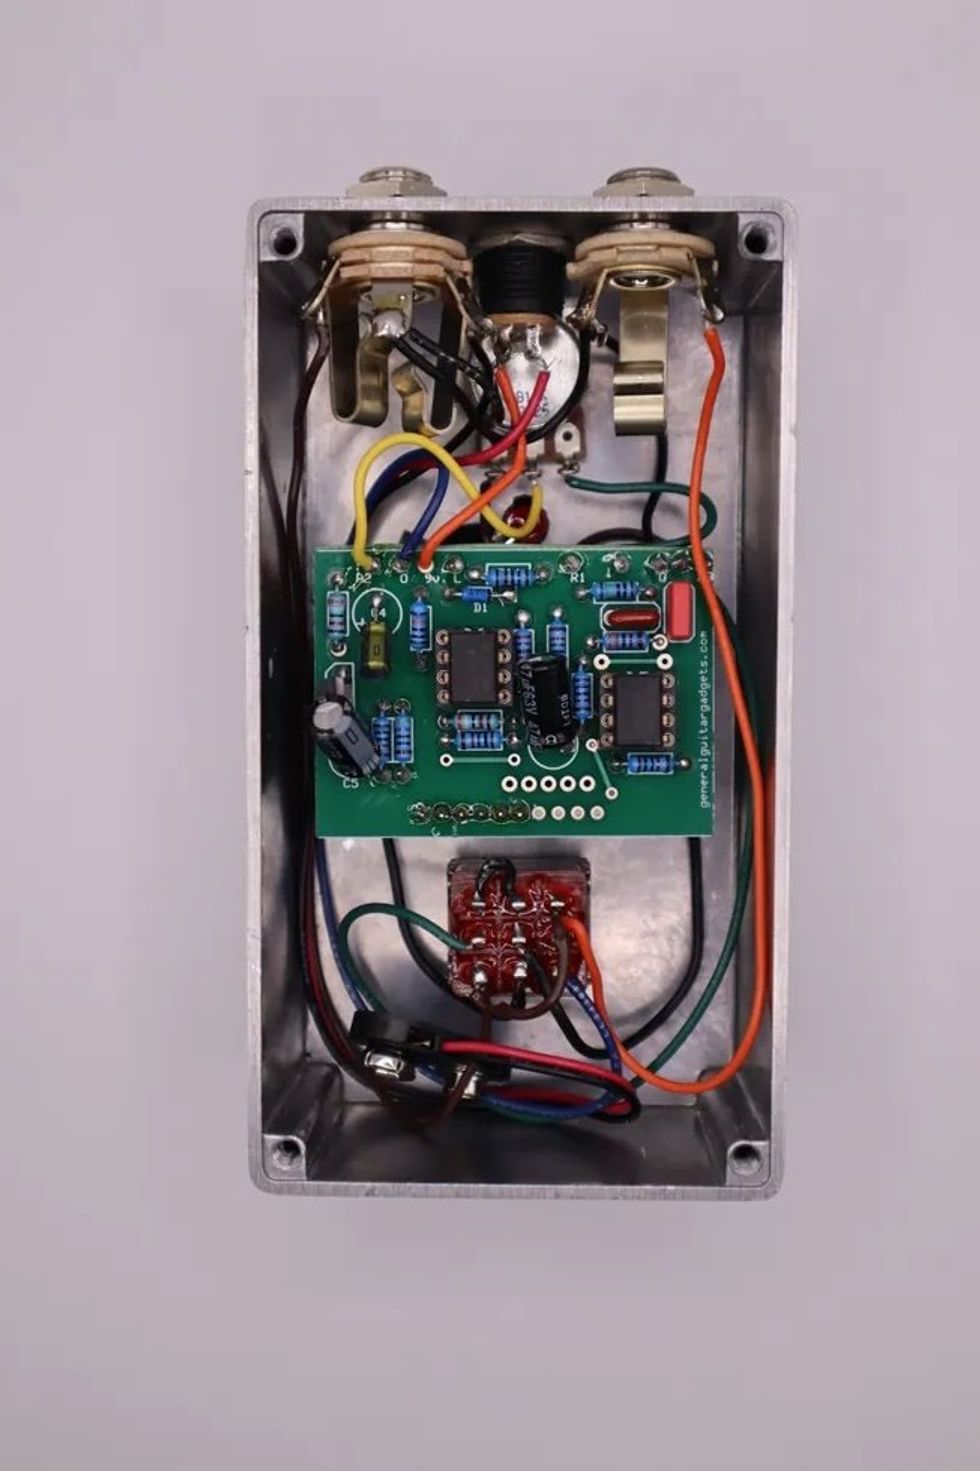
The circuit board came together fast and the reverb block simply plugs into the PCB and gets a round of solder. The trickiest part of this kit is wiring up the footswitch, which doesn’t include a circuit board, so you have to get in there and connect everything yourself. It can be tricky to wire a switch for the first time, but it’s a good learning experience that’ll show you, at least a little bit, what’s going on in your switches.
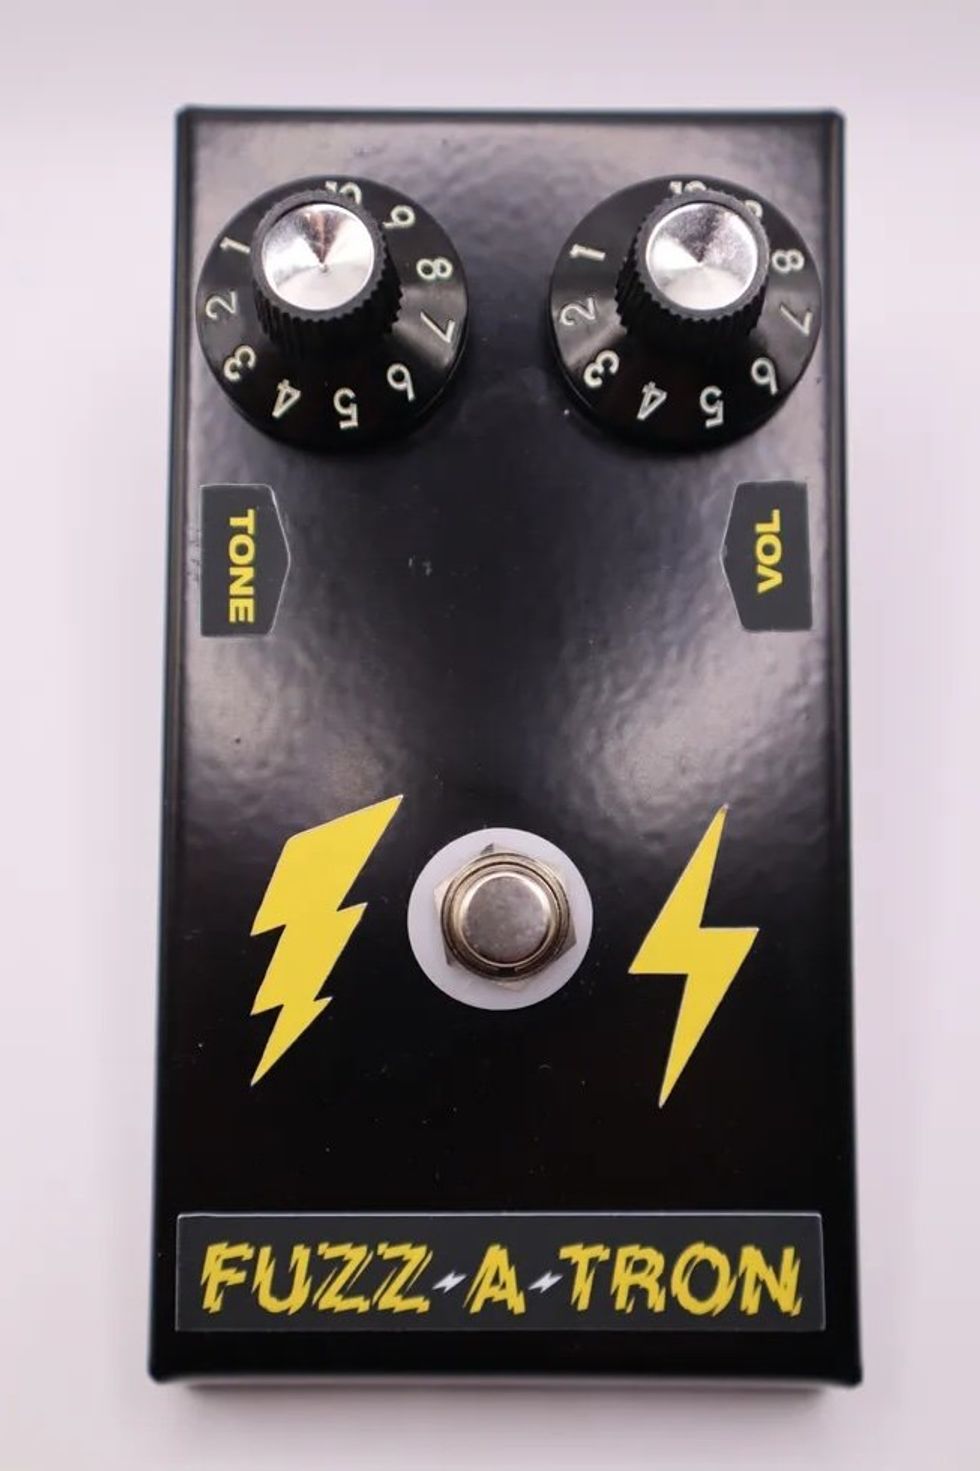
The pedal sounds great—there’s a reason so many pedals use the Belton Brick. While most of those units include other controls or more advanced circuitry, the D-Verb is a simple, 1-knob effect that controls less or more. At subtle settings, it sounds suitably springy, while cranking the control adds some soft repeats with a nice level of drip. Overall, an easy build for a great no-frills reverb unit. —NMVintage-style fuzzes are the ultimate fodder for DIY pedal builders. Some of the best fuzz pedals consist of just a few components, so it’s easy to get your hands on a great circuit even when you’re just developing your skills. There are plenty of places to get started on your kit-building journey, but I’d argue that the Third Man Fuzz-a-Tron sets a new benchmark.
The Fuzz-a-Tron’s circuit is simple, consisting of just two transistors, four capacitors in two sizes, and four resistors that are all the same value, so there’s no testing components—just open the bag and get going. The confined space of small enclosures can be a real patience-tester, and tightly packed PCBs can make for some stressful soldering. The Fuzz-a-Tron alleviates those issues with a well-spaced PCB and an enclosure with plenty of space to maneuver. Once it’s all finished, builders can customize their wedge-shaped box with the included sticker sheet.
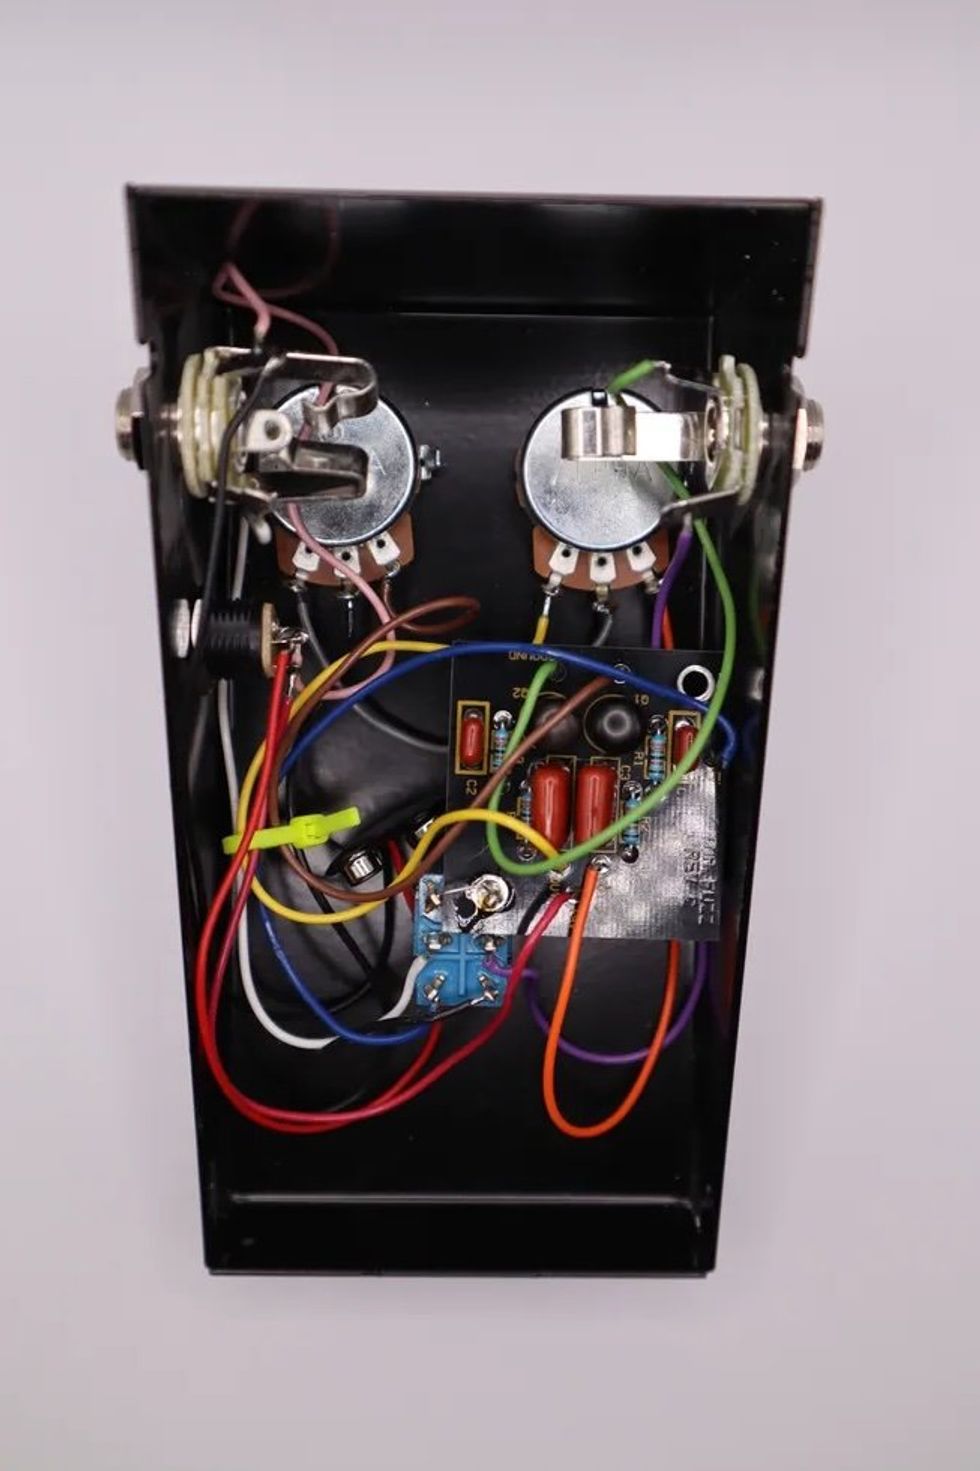
Third Man not only included detailed step-by-step instructions with the Fuzz-a-Tron, but made a build-along video that takes any guesswork out of the process and makes this the most well-documented kit I’ve seen.
The Fuzz-a-Tron sounds as retro as its shape suggests. Its volume and tone controls are interactive, and I prefer both fully cranked, where it sizzles like a Fuzzrite, but with a little less cutting treble and a tight midrange. Although there’s no LED on this pedal, which some will dislike, that is in line with plenty of vintage fuzzes. You’ll know whether it’s on or not, no matter the setting.
The Fuzz-a-Tron offers the best learning experience for beginning builders. That alone justifies your time. If the stickers feel a little gimmicky, don’t use ’em and decorate it on your own. Ultimately, the Fuzz-a-Tron’s vintage-voiced tone and great looks make it an essential stop on the kit-building journey. —NM
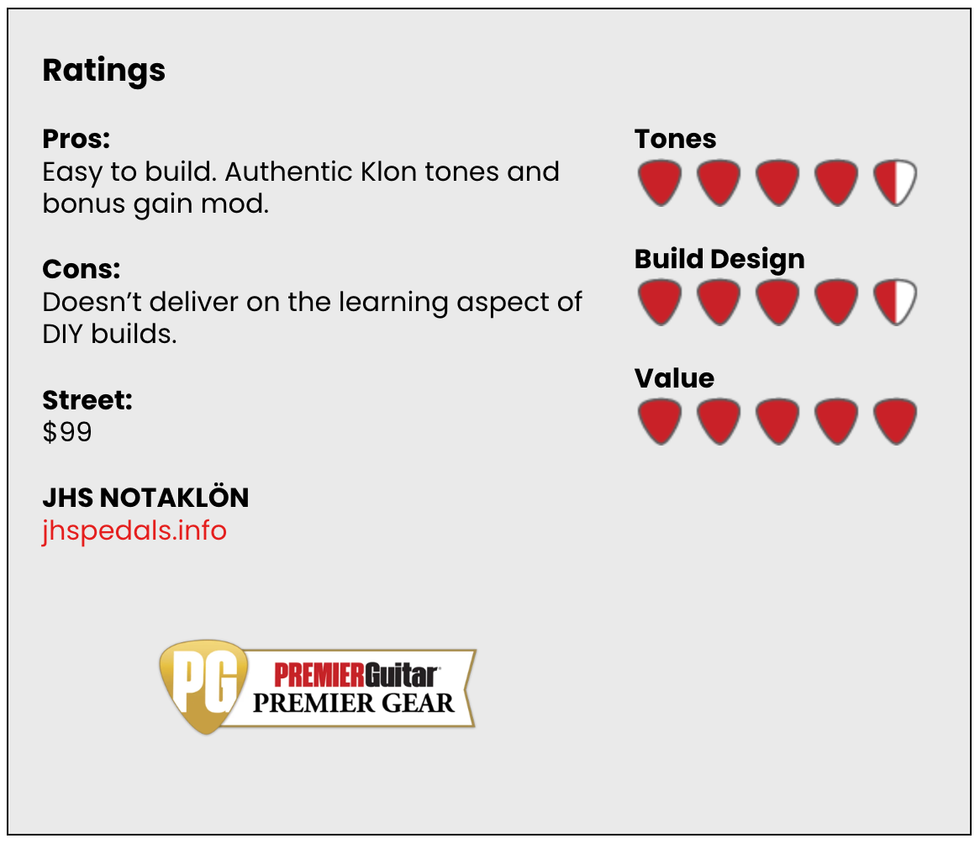
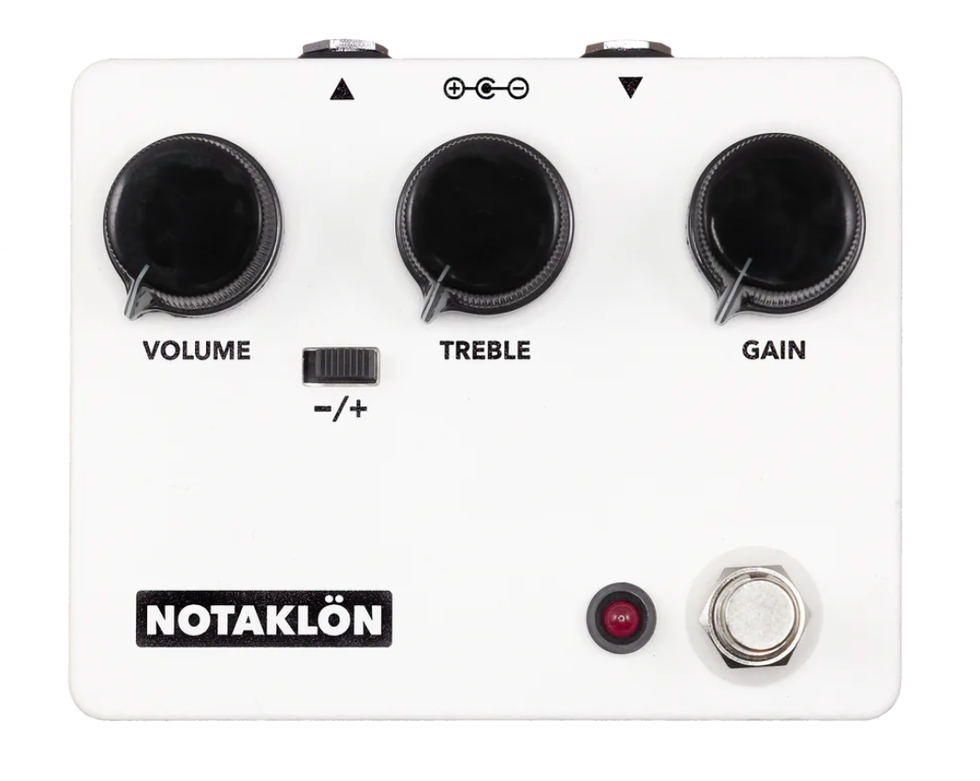
The Klon Centaur is arguably the most imitated circuit there is—even with DIY kits. A little over a decade ago, JHS made their own Klon clone, but it was discontinued after Klon’s Bill Finnegan started making the KTR. (On Reverb, these rare JHS models are going for close to $1,000.) Last November, JHS introduced the NOTAKLÖN, which is a complete pedal kit, but with a twist—no soldering skills needed. Admittedly, that puts the barrier to entry much lower than the other kits represented here, which makes this a solid first step for those looking for a foolproof initial build.
Building the NOTAKLÖN isn’t unlike building a very useful Lego project. The directions are mostly picture-based, all the parts fit together, and they include a few tools that you can punch out directly from the circuit board. Company founder Josh Scott even remembered to include a bit of GOOP to cover up those “magic” diodes.
I’ve tried quite a few Klon clones, and I have to say this JHS is up there with the very best. It gives you that real pronounced midrange, and paired with a slightly dirty amp, it can be set up for an incredible boost. The bonus feature is the switch on the front that works in Scott’s Shamrock mod, which adds more volume, mids, and an extra clipping gain stage.
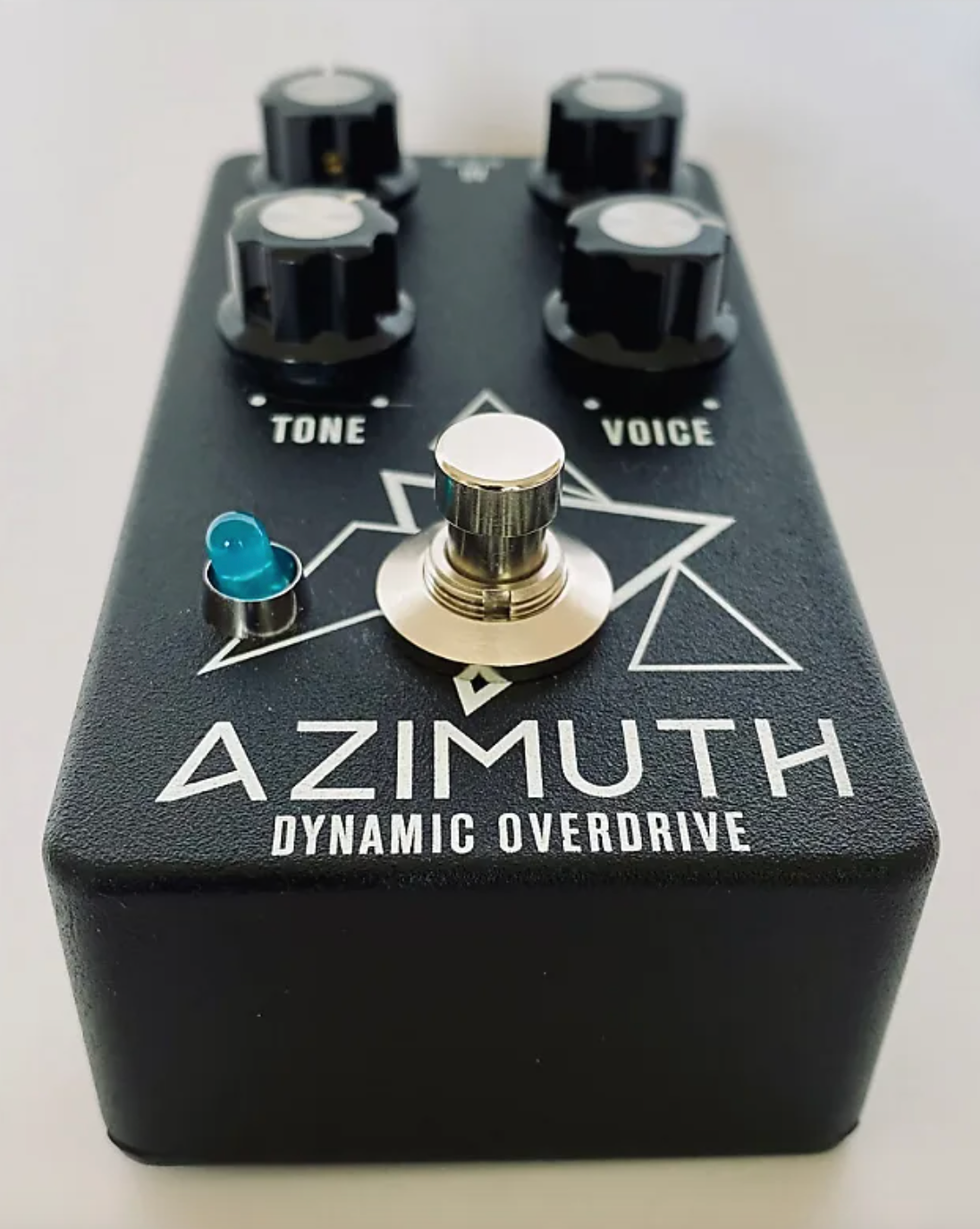
Within about 20 minutes, I had gone from opening the box to kicking it on for the first time. The build feels incredibly solid. Combined with the extremely streamlined directions and the nearly unbeatable $99 price tag, the Notaklön delivers on nearly every front.—JSNot many guitarists are as closely connected to a singular tone as Robben Ford is to his Dumble Overdrive Special. Even though Dumble’s creations cover a wide range of tones, it’s Ford’s Dumble that set the benchmark. The original Hermida Zendrive was one of the first pedals that copped that D-style tone. Aion FX’s Azimuth is a DIY version that’s great for beginners since it doesn’t include a lot of parts, but teaches you plenty about basic pedal construction.
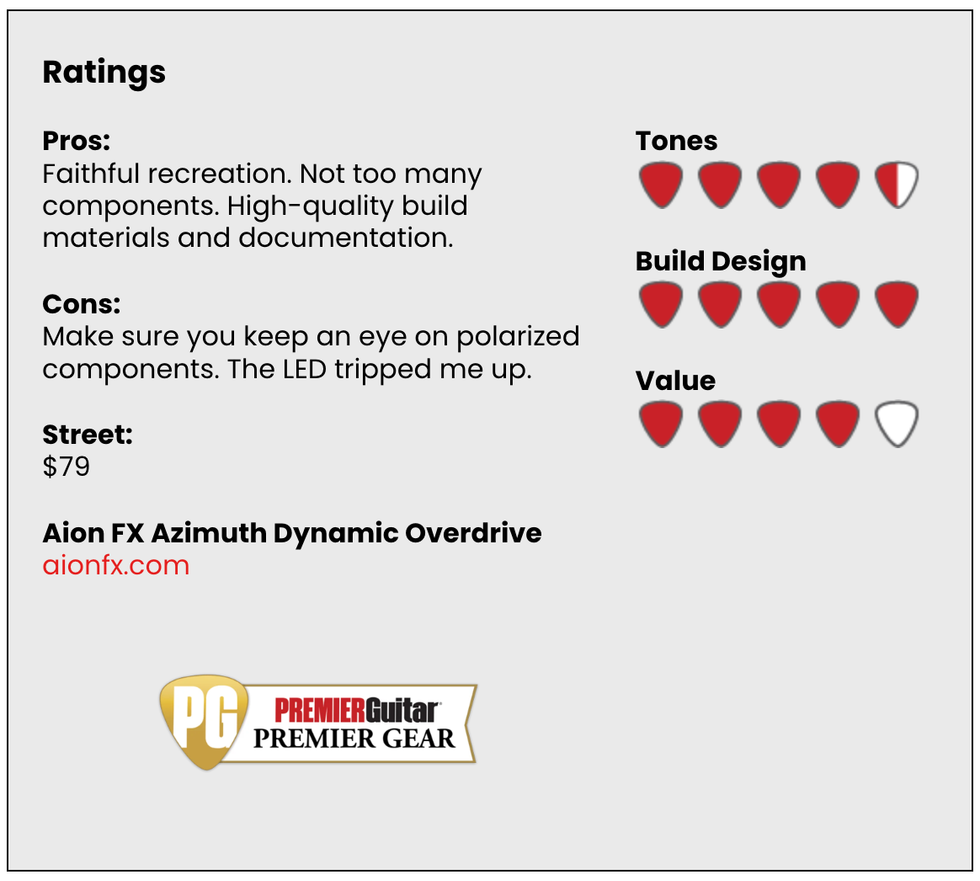
The kits from Aion are impeccably assembled. You get a bag of all the parts and components, a powder-coated enclosure, and a thoughtfully created build document. This was the very first pedal I ever built, so I needed to get my soldering skills together, but after that, assembly went very smoothly. In retrospect, I really like how Aion chooses ribbon connectors and enclosed input/output jacks for their builds. It keeps down, or limits, the amount of loose wires down and prevents any bad connections.
I previously owned a Lovepedal-era Zendrive and remembered how dynamic and smooth it sounded. Naturally, after playing the Azimuth, I was really regretting selling that pedal. With this circuit, the magic is really in the voice control, which helps tailor the low-end response. As you can hear in the clips, it sounds full and round, with plenty of punch. If the used prices for a Zendrive are a bit out of reach, then getting your hands on an Azimuth—even with the extra work—would be well worth it.—JS
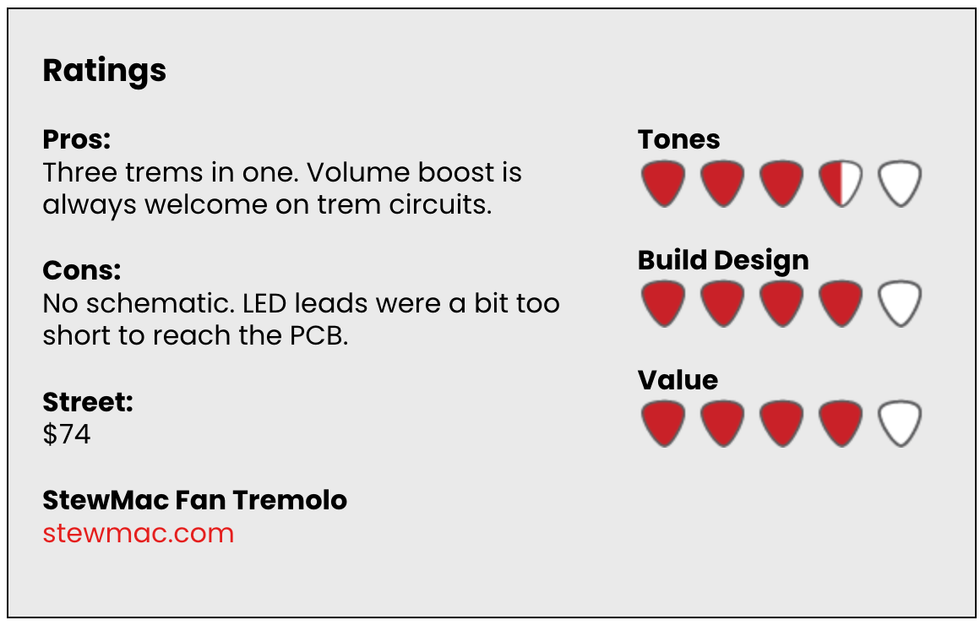
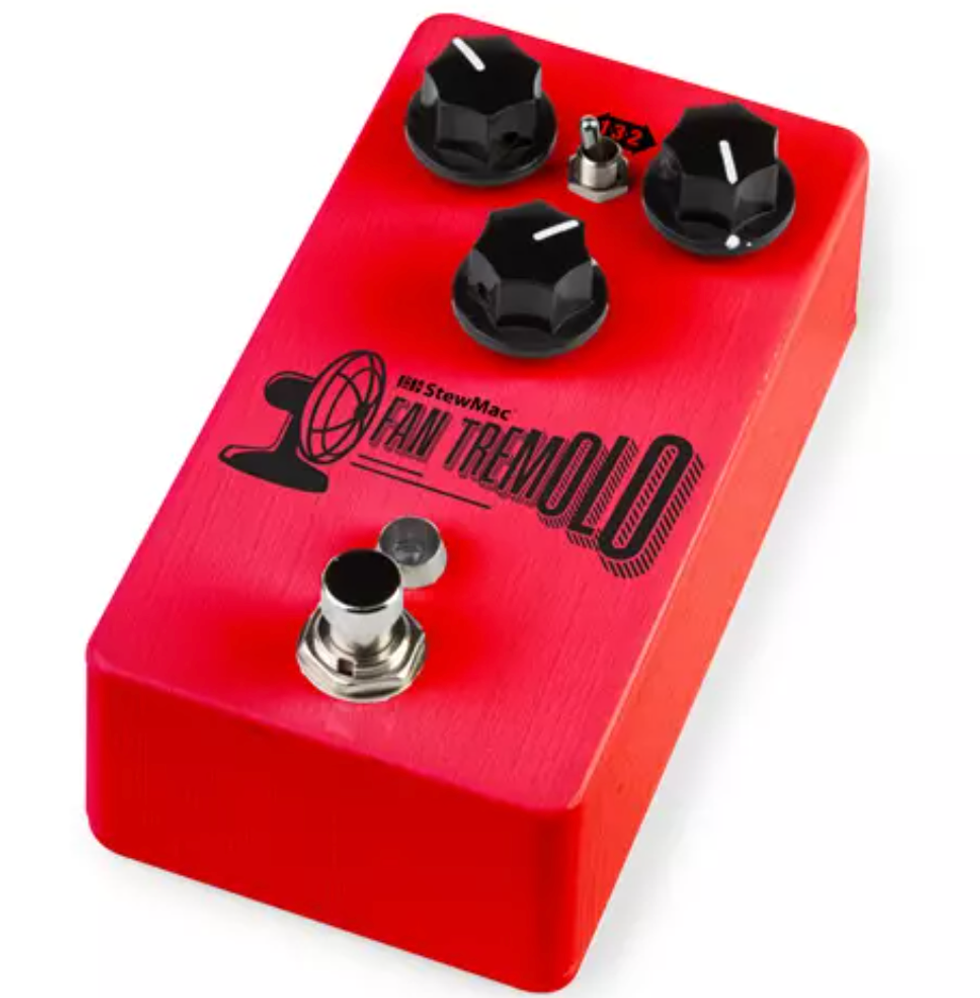
Tremolo might be one of my favorite effects. Adding a bit of whirl to an arpeggio or doubling a lead line with something more aggressive that borders on a ring mod is always fun. StewMac has long been a go-to for any kind of repair tools, but their line of DIY pedal kits are sturdy, useful, and fun. Out of their line of kits, I chose the Fan Tremolo not only because of my fandom (sorry), but also because this circuit offers three different flavors: vintage-style ’60s, heavier ’70s style, and a pristine digital version.
This was the second pedal I had built, and I’m glad my soldering skills were proven before I started because this design needed a slightly more delicate touch. Plus, it tested my troubleshooting abilities, which is necessary no matter what kit you’re building.
Out of the box, the components were high-quality and the step-by-step instructions were clear and concise. Out of the three builds I did for this story, this was the only one that really gave me a crash course in deciphering the color bands on resistors. This is one step where a multimeter can help alleviate any doubts between brown and violet and black. After sorting all the parts, it took me most of an afternoon to complete the entire build.
My favorite setting was the thicker ’70s sound. It’s chewy and warm. Admit it: It’s nearly impossible not to break into “Born on the Bayou” when you're rocking a trem at a very specific speed. Although it had a bit more wire work and took a focused touch in certain places, the Fan Tremolo would be a solid first step for aspiring pedal builders who want to dip into modulation. Just take your time.—JS
John Doe and Billy Zoom keep things spare and powerful, with two basses and a single guitar–and 47 years of shared musical history–between them, as founding members of this historic American band.
There are plenty of mighty American rock bands, but relatively few have had as profound an impact on the international musical landscape as X. Along with other select members of punk’s original Class of 1977, including Patti Smith, Richard Hell, and Talking Heads, the Los Angeles-based outfit proved that rock ’n’ roll could be stripped to its bones and still be as literate and allusive as the best work of the songwriters who emerged during the previous decade and were swept up in the corporate-rock tidal wave that punk rebelled against. X’s first three albums–Los Angles, Wild Gift, and Under the Big Black Sun-were a beautiful and provocative foundation, and rocked like Mt. Rushmore.
Last year, X released a new album, Smoke & Fiction, and, after declaring it would be their last, embarked on what was billed as a goodbye tour, seemingly putting a bow on 47 years of their creative journey. But when PG caught up with X at Memphis’s Minglewood Hall in late fall, vocalist and bassist John Doe let us in on a secret: They are going to continue playing select dates and the occasional mini-tour, and will be part of the Sick New World festival in Las Vegas in April 12.
Not-so-secret is that they still rock like Mt. Rushmore, and that the work of all four of the founders–bassist, singer, and songwriter Doe, vocalist and songwriter Exene Cervenka, guitarist Billy Zoom, and drummer D.J. Bonebreak–remains inspired.
Onstage at Minglewood Hall, Doe talked a bit about his lead role in the film-festival-award-winning 2022 remake of the film noir classic D.O.A. But most important, he and Zoom let us in on their minimalist sonic secrets.Brought to you by D’Addario.
Gretsch A Sketch
Since X’s earliest days, Billy Zoom has played Gretsches. In the beginning, it was a Silver Jet, but in recent years he’s preferred the hollowbody G6122T-59 Vintage Select Chet Atkins Country Gentleman. This example roars a little more thanks to the Kent Armstrong P-90 in the neck and a Seymour Duncan DeArmond-style pickup in the bridge. Zoom, who is an electronics wiz, also did some custom wiring and has locking tuners on the guitar.
More DeArmond
Zoom’s sole effect is this vintage DeArmond 602 volume pedal. It helps him reign in the feedback that occasionally comes soaring in, since he stations himself right in front of his amp during shows.
It's a Zoom!
Zoom’s experience with electronics began as a kid, when he began building items from the famed Heath Kit series and made his own CB radio. And since he’s a guitarist, building amps seemed inevitable. This 1x12 was crafted at the request of G&L Guitars, but never came to market. It is switchable between 10 and 30 watts and sports a single Celestion Vintage 30.
Tube Time!
The tube array includes two EL84, 12AX7s in the preamp stage, and a single 12AT7. The rightmost input is for a reverb/tremolo footswitch.
Set the Controls for the Heart of the Big Black Sun
Besides 3-band EQ, reverb, and tremolo, Zoom’s custom wiring allows for a mid-boost that pumps up to 14 dB. Not content with 11, it starts there and goes to 20.
Baby Blue
This amp is also a Zoom creation, with just a tone and volume control (the latter with a low boost). It also relies on 12AX7s and EL84s.
Big Bottom
Here is John Doe’s rig in full: Ampeg and Fender basses, with his simple stack between them. The red head atop his cabs is a rare bird: an Amber Light Walter Woods from the 1970s. These amps are legendary among bass players for their full tone, and especially good for upright bass and eccentric instruments like Doe’s scroll-head Ampeg. “I think they were the first small, solid-state bass amps ever,” Doe offers. They have channels designated for electric and upright basses (Doe says he uses the upright channel, for a mid-dier tone), plus volume, treble, bass, and master volume controls. One of the switches puts the signal out of phase, but he’s not sure what the others do. Then, there’s a Genzler cab with two 12" speakers and four horns, and an Ampeg 4x10.
Scared Scroll
Here’s the headstock of that Ampeg scroll bass, an artifact of the ’60s with a microphone pickup. Doe seems to have a bit of a love/hate relationship with this instrument, which has open tuners and through-body f-style holes on its right and left sides. “The interesting thing,” he says, “is that you cannot have any treble on the pickup. If you do, it sounds like shit. With a pick, you can sort of get away with it.” So he mostly rolls off all the treble to shake the earth.
Jazz Bass II
This is the second Fender Jazz Bass that Doe has owned. He bought his first from a friend in Baltimore for $150, and used it to write and record most of X’s early albums. That one no longer leaves home. But this touring instrument came from the Guitar Castle in Salem, Oregon, and was painted to recreate the vintage vibe of Doe’s historic bass.
A dual-channel tube preamp and overdrive pedal inspired by the Top Boost channel of vintage VOX amps.
ROY is designed to deliver sweet, ringing cleans and the "shattered" upper-mid breakup tones without sounding harsh or brittle. It is built around a 12AX7 tube that operates internally at 260VDC, providing natural tube compression and a slightly "spongy" amp-like response.
ROY features two identical channels, each with separate gain and volume controls. This design allows you to switch from clean to overdrive with the press of a footswitch while maintaining control over the volume level. It's like having two separate preamps dialed in for clean and overdrive tones.
Much like the old amplifier, ROY includes a classic dual-band tone stack. This unique EQ features interactive Treble and Bass controls that inversely affect the Mids. Both channels share the EQ section.
Another notable feature of this circuit is the Tone Cut control: a master treble roll-off after the EQ. You can shape your tone using the EQ and then adjust the Tone Cut to reduce harshness in the top end while keeping your core sound.
ROY works well with other pedals and can serve as a clean tube platform at the end of your signal chain. It’s a simple and effective way to add a vintage British voice to any amp or direct rig setup.
ROY offers external channel switching and the option to turn the pedal on/off via a 3.5mm jack. The preamp comes with a wall-mount power supply and a country-specific plug.
Street price is 299 USD. It is available at select retailers and can also be purchased directly from the Tubesteader online store at www.tubesteader.com.
The compact offspring of the Roland SDE-3000 rack unit is simple, flexible, and capable of a few cool new tricks of its own.
Tonalities bridge analog and digital characteristics. Cool polyrhythmic textures and easy-to-access, more-common echo subdivisions. Useful panning and stereo-routing options.
Interactivity among controls can yield some chaos and difficult-to-duplicate sounds.
$219
Boss SDE-3 Dual Digital Delay
boss.info
Though my affection for analog echo dwarfs my sentiments for digital delay, I don’t get doctrinaire about it. If the sound works, I’ll use it. Boss digital delays have been instructive in this way to me before: I used a Boss DD-5 in a A/B amp rig with an Echoplex for a long time, blending the slur and stretch of the reverse echo with the hazy, wobbly tape delay. It was delicious, deep, and complex. And the DD-5 still lives here just in case I get the urge to revisit that place.
Tinkering with theSDE-3 Dual Digital Delay suggested a similar, possibly enduring appeal. As an evolution of the Roland SDE-3000rack unit from the 1980s, it’s a texture machine, bubbling with subtle-to-odd triangle LFO modulations and enhanced dual-delay patterns that make tone mazes from dopey-simple melodies. And with the capacity to use it with two amps in stereo or in panning capacity, it can be much more dimensional. But while the SDE-3 will become indispensable to some for its most complex echo textures, its basic voice possesses warmth that lends personality in pedestrian applications too.
Tapping Into the Source
Some interest in the original SDE-3000 is in its association with Eddie Van Halen, who ran two of them in a wet-dry-wet configuration, using different delay rates and modulation to thicken and lend dimension to solos. But while EVH’s de facto endorsement prompted reissues of the effect as far back as the ’90s, part of the appeal was down to the 3000’s intrinsic elegance and simplicity.
In fact, the original rack unit’s features don’t differ much from what you would find on modern, inexpensive stompbox echoes. But the SDE-3000’s simplicity and reliable predictability made it conducive to fast workflow in the studio. Critically, it also avoided the lo-fi and sterility shortcomings that plagued some lesser rivals—an attribute designer Yoshi Ikegami chalks up to analog components elsewhere in the circuit and a fortuitous clock imprecision that lends organic essence to the repeats.
Evolved Echo Animal
Though the SDE-3 traces a line back to the SDE-3000 in sound and function, it is a very evolved riff on a theme. I don’t have an original SDE-3000 on hand for comparison, but it’s easy to hear how the SDE-3 bridges a gap between analog haze and more clinical, surgical digital sounds in the way that made the original famous. Thanks to the hi-cut control, the SDE-3’s voice can be shaped to enhance the angular aspect of the echoes, or blunt sharp edges. There’s also a lot of leeway to toy with varied EQ settings without sacrificing the ample definition in the repeats. That also means you can take advantage of the polyrhythmic effects that are arguably its greatest asset.
“There’s a lot of leeway to toy with varied EQ settings without sacrificing the ample definition in the repeats.”
The SDE-3’s offset control, which generates these polyrhythmic echoes, is its heart. The most practical and familiar echos, like quarter, eighth, and dotted-eighth patterns, are easy to access in the second half of the offset knobs range. In the first half of the knob’s throw, however, the offset delays often clang about at less-regular intervals, producing complex polyrhythms that are also cool multipliers of the modulation and EQ effects. For example, when emphasizing top end in repeats, using aggressive effects mixes and pitch-wobble modulation generates eerie ghost notes that swim through and around patterns, adding rhythmic interest and texture without derailing the drive behind a groove. Even at modest settings, these are great alternatives to more staid, regular subdivision patterns. Many of the coolest sounds tend toward the foggy reverb spectrum. Removing high end, piling on feedback, and adding the woozy, drunken drift from modulation creates fascinating backdrops for slow, sparse chord melodies. Faster modulations throb and swirl like old BBC Radiophonic Workshop sci-fi sound designs.
By themselves, the modulations have their own broad appeal. Chorus tones are rarely the archetypal Roland Jazz Chorus or CE type—tending to be a bit darker and mistier. But they do a nice job suggesting that texture without lapsing into caricature. There are also really cool rotary-speaker-like textures and vibrato sounds that offer alternatives to go-to industry standards.
The Verdict
The SDE-3’s many available sounds and textures would be appealing at $219—even without the stereo and panning connectivity options, a useful hold function, and expression pedal control that opens up additional options. The panning capabilities, in particular, sparked all kinds of thoughts about studio applications. Mastering the SDE-3 takes just a little study—certain polyrhythms can be dramatically reshaped by the interactivity of other controls and you need to take care to achieve identical results twice. But this is a pedal that, by virtue of its relative simplicity and richness and breadth of sounds, exceeds the utility of some similarly priced rivals, all while opening up possibilities well outside the simple echo realm
Reader: T. Moody
Hometown: Myrtle Beach, South Carolina
Guitar: The Green Snake
Reader T. Moody turned this Yamaha Pacifica body into a reptilian rocker.
With a few clicks on Reverb, a reptile-inspired shred machine was born.
With this guitar, I wanted to create a shadowbox-type vibe by adding something you could see inside. I have always loved the Yamaha Pacifica guitars because of the open pickup cavity and the light weight, so I purchased this body off Reverb (I think I am addicted to that website). I also wanted a color that was vivid and bold. The seller had already painted it neon yellow, so when I read in the description, “You can see this body from space,” I immediately clicked the Buy It Now button. I also purchased the neck and pickups off of Reverb.
I have always loved the reverse headstock, simply because nothing says 1987 (the best year in the history of the world) like a reverse headstock. The pickups are both Seymour Duncan—an SH-1N in the neck position and TB-4 in the bridge, both in a very cool lime green color. Right when these pickups got listed, the Buy It Now button once again lit up like the Fourth of July. I am a loyal disciple of Sperzel locking tuners and think Bob Sperzel was a pure genius, so I knew those were going on this project even before I started on it. I also knew that I wanted a Vega-Trem; those units are absolutely amazing.
When the body arrived, I thought it would be cool to do some kind of burst around the yellow so I went with a neon green. It turned out better than I imagined. Next up was the shaping and cutting of the pickguard. I had this crocodile-type, faux-leather material that I glued on the pickguard and then shaped to my liking. I wanted just a single volume control and no tone knob, because, like King Edward (Van Halen) once said, “Your volume is your tone.”
T. Moody
I then shaped and glued the faux-leather material in the cavity. The tuning knobs, volume knob, pickguard, screws, and selector switch were also painted in the lemon-lime paint scheme. I put everything together, installed the pickups, strung it up, set it up, plugged it in, and I was blown away. I think this is the best-playing and -sounding guitar I have ever tried.
The only thing missing was the center piece and strap. The latter was easy because DiMarzio makes their ClipLock in neon green. The center piece was more difficult because originally, I was thinking that some kind of gator-style decoration would be cool. In the end, I went with a green snake, because crocodiles ain’t too flexible—and they’re way too big to fit in a pickup cavity!
The Green Snake’s back is just as striking as the front.