Guitar Tone: Pursuing the Mitch Gallagher Course Technology Chasing tone is a major priority amongst guitar freaks and, for most of us, it’s a lifelong pursuit. It’s actually more
The breadth and quality of Pigtronix output in recent years has been impressive. And for its efforts and ingenuity, the Long Island-based stompbox company has garnered the favor of
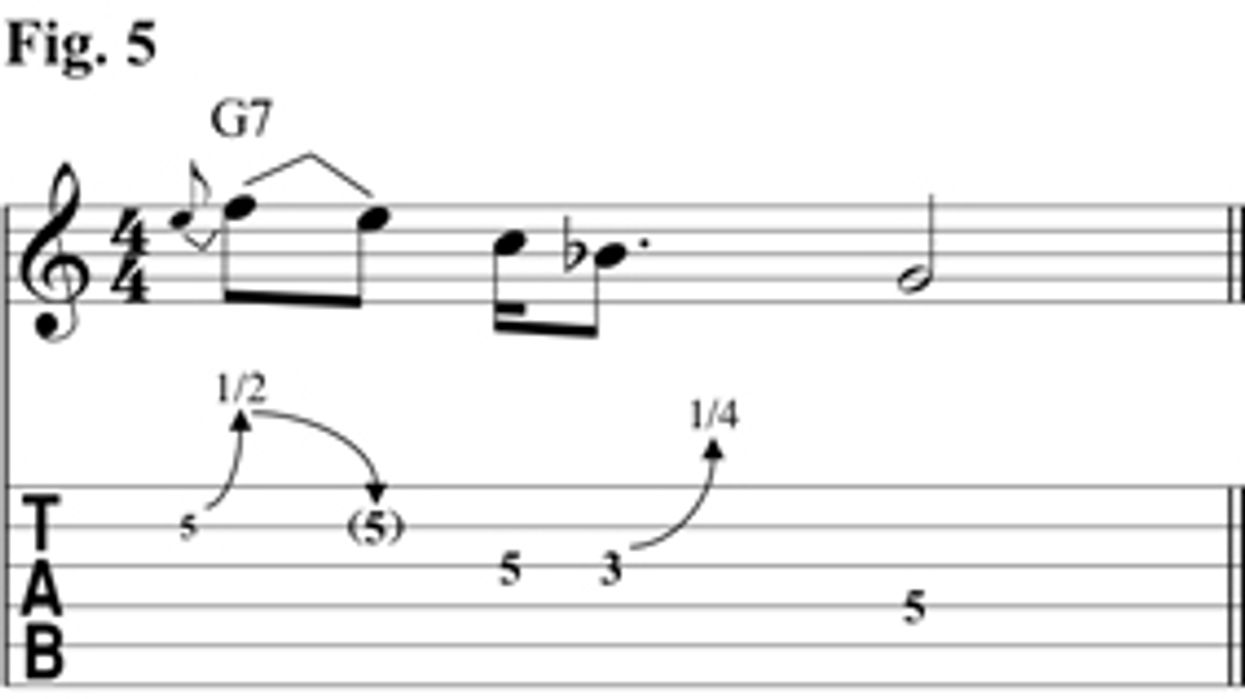
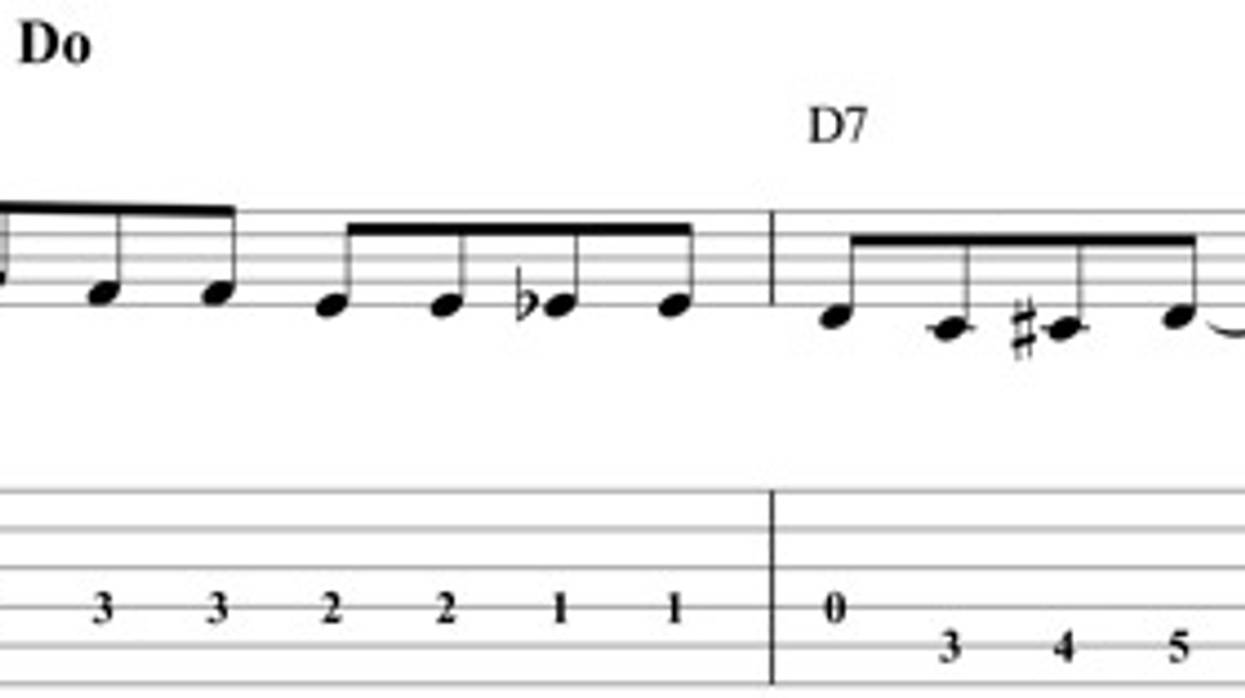
Chops: Beginner Theory: Beginner Lesson Overview: • Learn what not to do over a turnaround. Ever. • Create licks in the style of the three Kings. • Understand how
Amid uncertainty about
Sonic Youth’s future,
intrepid alt-rock pioneer
Lee Ranaldo plows ahead
with Between the Times
and the Tides—a solo LP
that finds the Jazzmastertoting
icon collaborating
with Nels Cline and avantrock
composer Alan Licht
on songs that deftly bridge
pop, avant, and the singersongwriter
ethos.
Once upon a time, acoustic guitarists needed to haul a van’s worth of gear to a gig to amplify their instruments and vocals. Today’s sound-reinforcement gear is far more
Chops: Intermediate Theory: Intermediate Lesson Overview: • Understand a few basic arranging techniques in DADGAD tuning. • Create open-string or campanella melodies. • Learn how to combine fretted and
Fig. 1 The reversed control plate with the 3-way switch at the rear. Fig. 2. Wiring for the reversed control plate with the volume pot in the front position,
On “When the Levee Breaks” from Led Zeppelin IV, Jimmy Page’s guitar parts are panned left and right, and mixed quite dry with some deep flange. Conversely, the drums
Grammy-winning, jazz-soul phenom
Esperanza Spalding risked everything
when she left a 10-year classical career
for the jazz scene. Since then, she’s
played some of the most prestigious
events in the world, including at the White
House and Nobel Prize ceremonies.
Here she ruminates on fretless bass,
friendship, and the fine art of listening.