Columns Beyond Emulation: Amp Sims, AI, and the Coming Saturation Point Putro SehatKeket SoldirDec 07, 2025
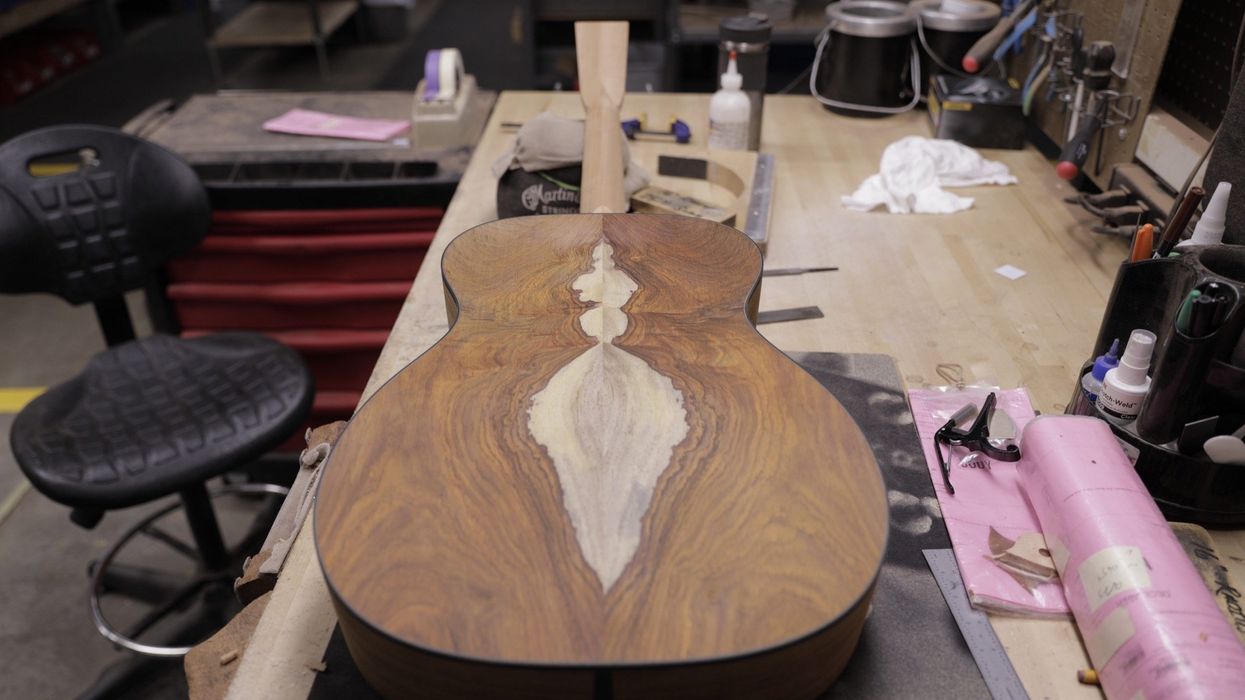
Mod Garage Electric Guitar Tonewood Teardown: Can We Get Good Sounds From Cheap Guitars? Dirk WackerJul 24, 2025
100 Guitarists Tony Iommi, the Dark Lord of Down Tuning with Angus Clark Jason ShadrickNick MillevoiMar 17, 2025
100 Guitarists John McLaughlin: From Miles to Mahavishnu and Way Beyond Jason ShadrickNick MillevoiJan 27, 2025
Pedals Diamond Dark Cloud Review A menu of vintage-voiced, modulated, harmonic, and reverse delays makes an intriguing smorgasbord of echo textures.Charles SaufleyDec 09, 2024
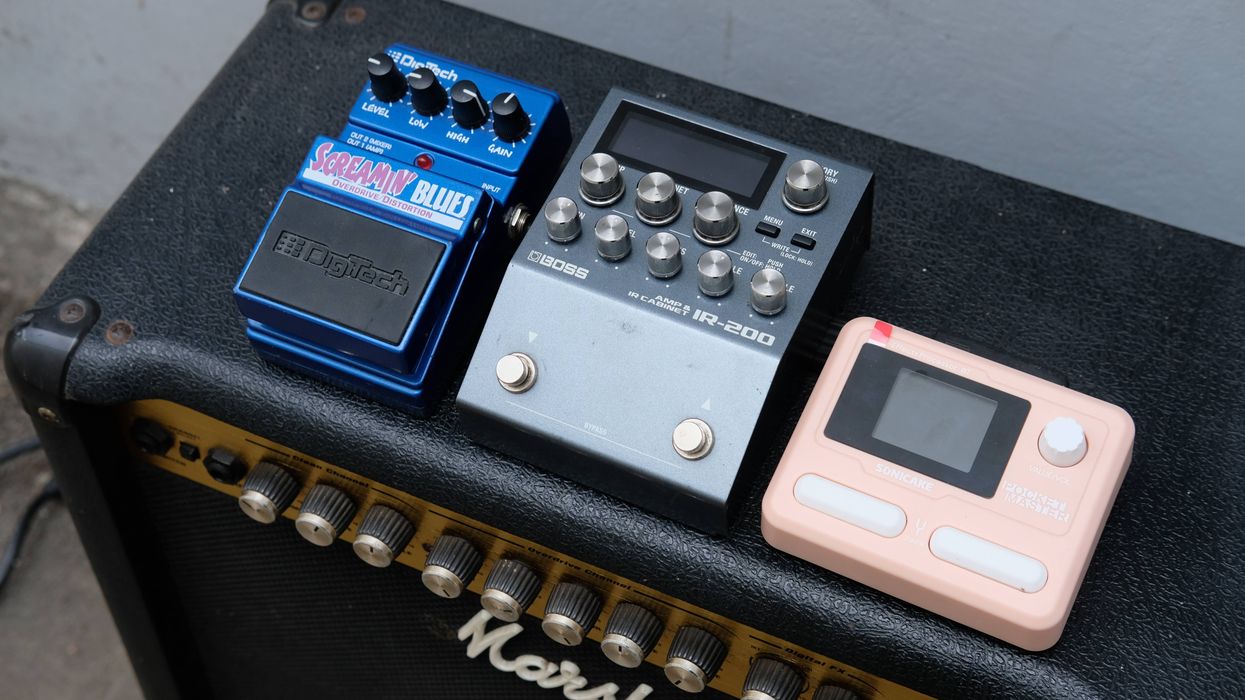
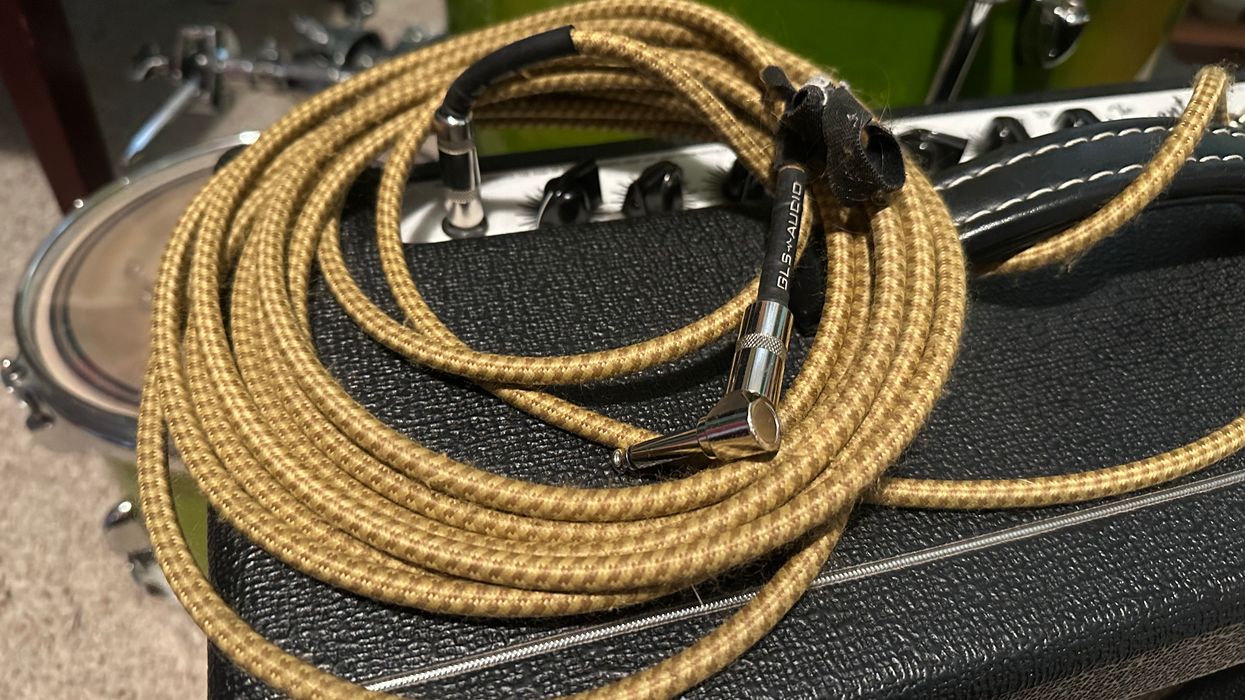
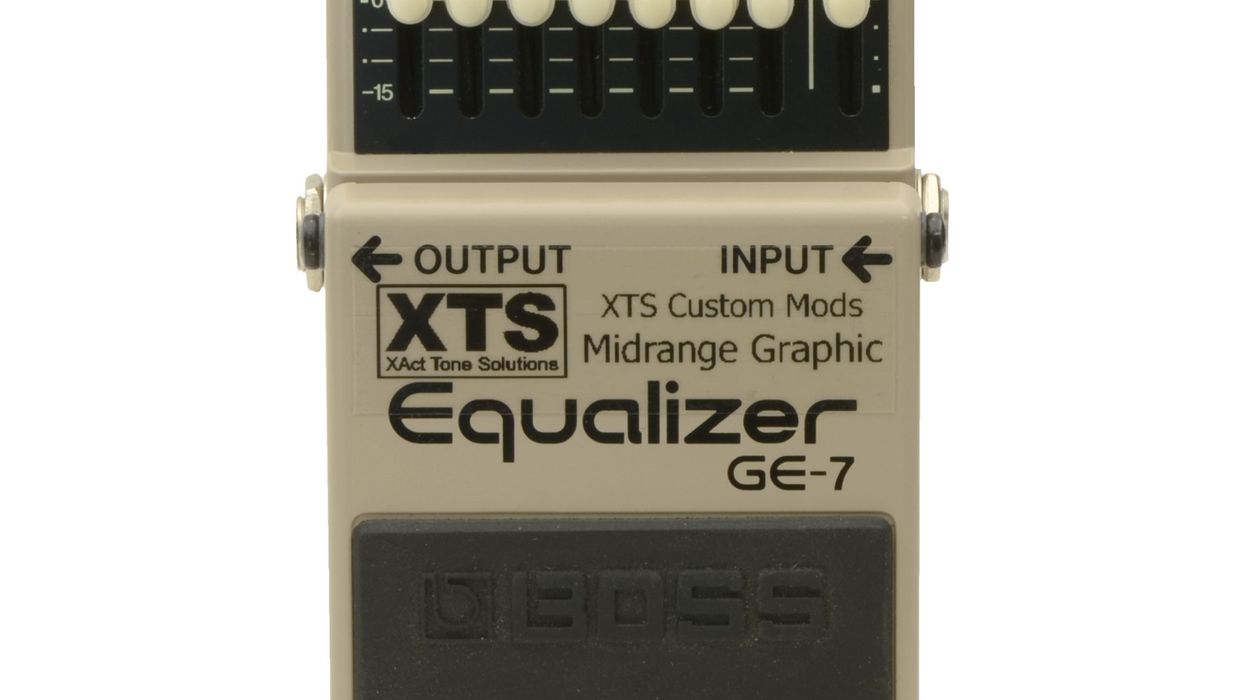
State of the Stomp How to Boost Your Guitar Tone with EQ Savvy Ever think of adding EQ to your signal chain? Here’s a brief but definitive guide on how to get started.Barry O’NealApr 12, 2024
Mod Garage The Fender Marauder Wiring The scoop on the rarest of Fender solidbodies. Dirk WackerMar 25, 2024
Acoustic Soundboard Decoding the Not-So-Secret Language of Acoustic Guitar Tone Why do we all reach for the same words when describing our acoustic guitars? Luthiers chime in on how we talk about sound.Raymond MorinJan 23, 2024
Tuning Up The Gestalt of Tone What does a banana with a humbucker wedged into it really prove about guitar sound? Ted DrozdowskiDec 25, 2023
Mod Garage All About Eric Johnson’s “Virginia” Strat Dig the details of the shredder’s iconic guitar and recreate EJ’s wiring.Dirk WackerAug 20, 2023
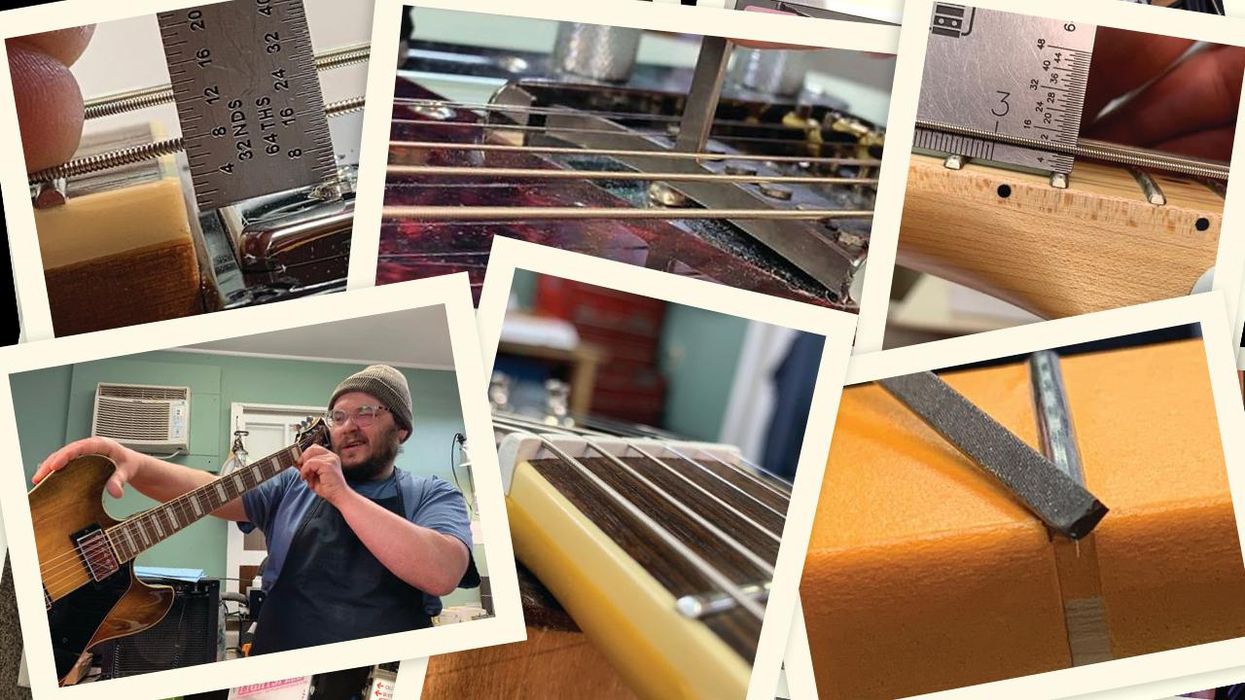
Guitar & Bass Mods DIY: Seven Ways to Soup Up Your New Guitar Luthier Dave Helmer shows you how to cure buzzy strings, bad intonation, gnarly frets, high action, and other common troubles with off-the-shelf axes.Dave HelmerApr 14, 2022
Reviews Neural DSP Quad Cortex Review This heavyweight digital solution packs a mighty punch. How does it stand up to the competition?Jason ShadrickSep 30, 2021