Photo by Jim Arbogast Question & Obsession Question of the Month: Desert Island Pedals Premier Guitar Staff Apr 23, 2024
Reviews Meris MercuryX Review A powerful new reverb covers almost every imaginable incarnation of the effect. Luke Ottenhof Feb 10, 2024
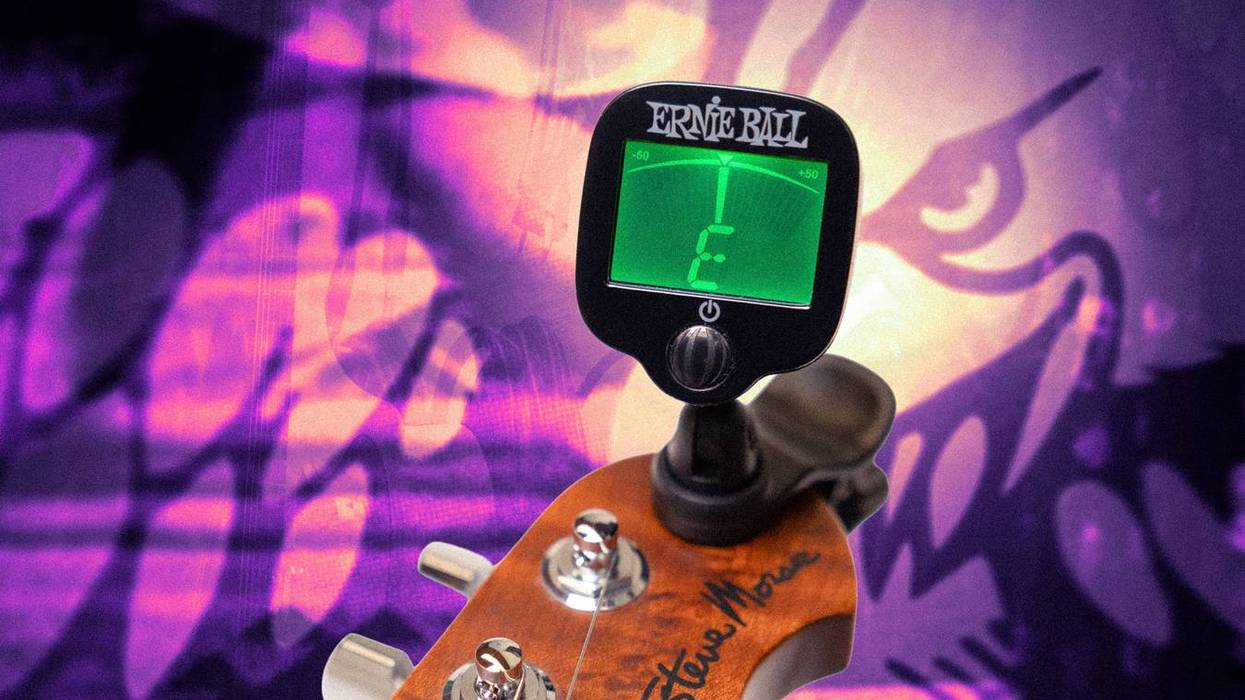
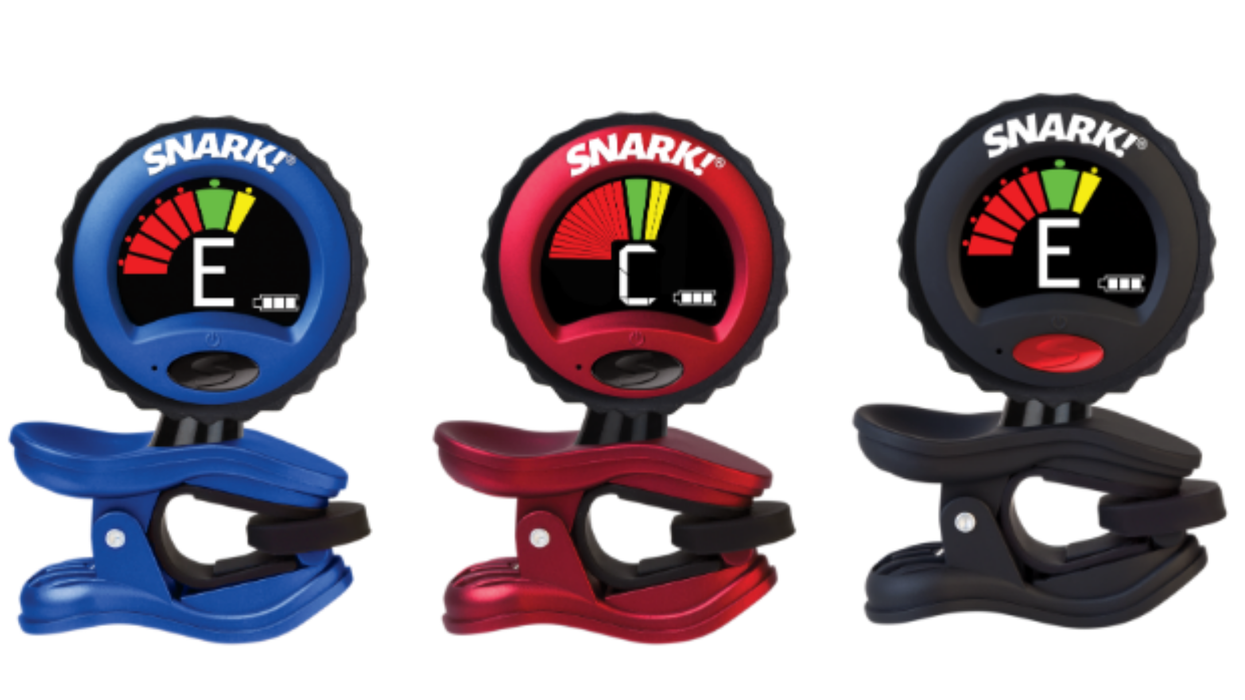
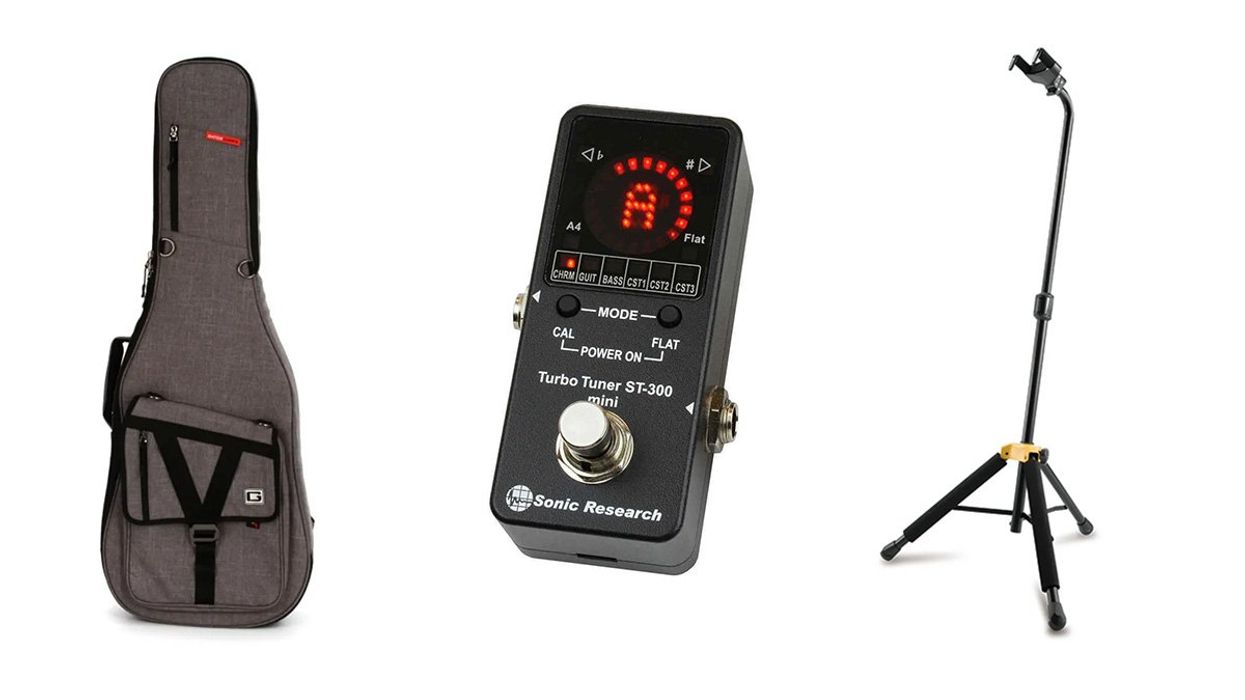
Tools for the Task 10 Essentials Every Guitarist Needs Don’t leave for a gig without accessories like these. Jason Shadrick Oct 22, 2023
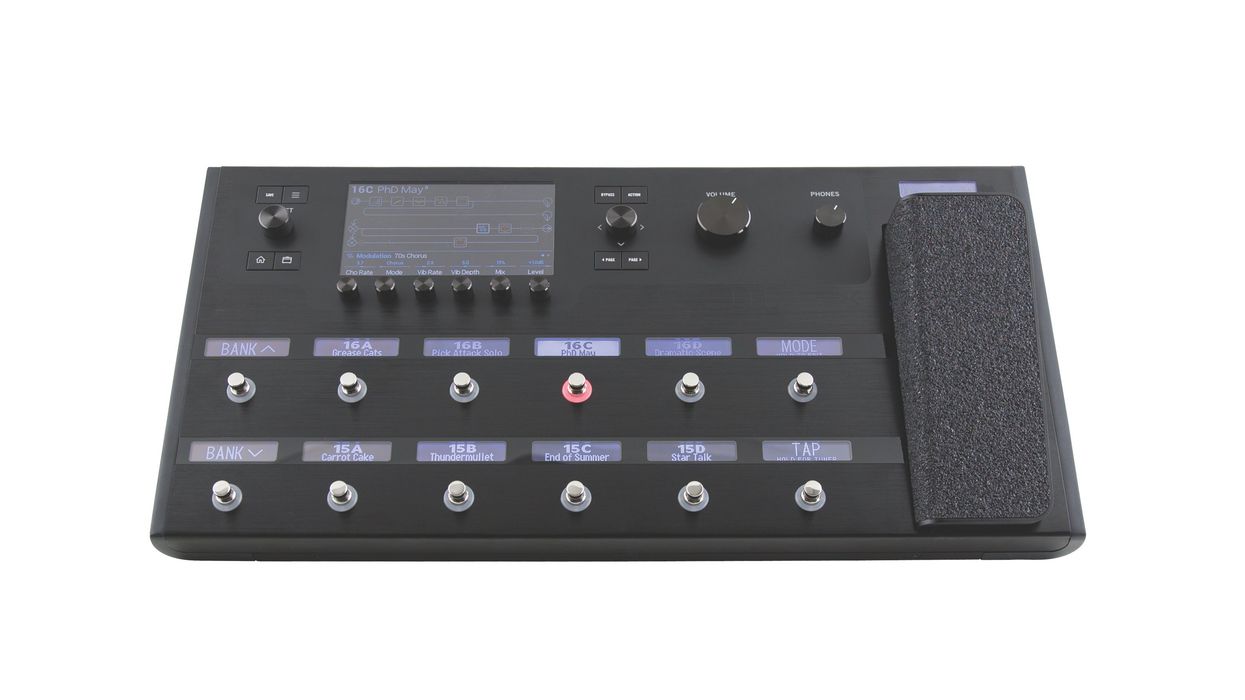
The Good Stuff A Working Bassist Changes His Profile PG contributor Steve Cook shares his long and winding journey from tape-cassette-amp DIY-er to Line 6 Helix evangelist. Steve Cook Aug 24, 2023
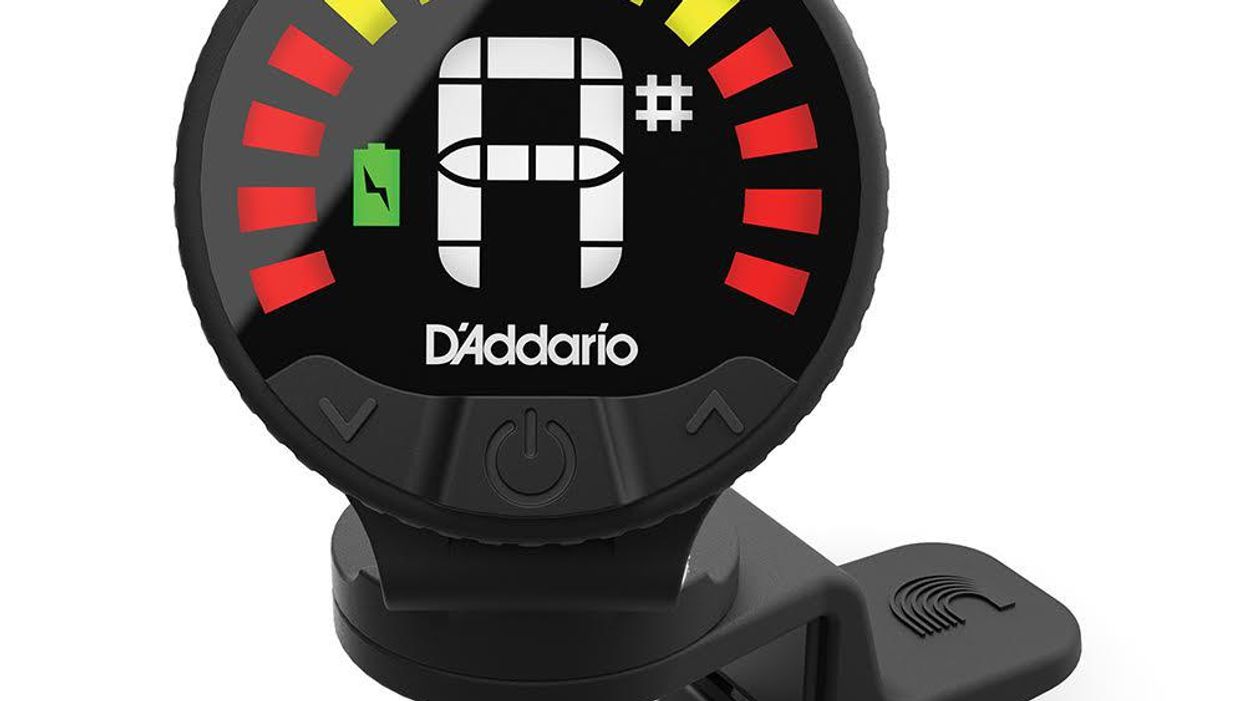
NAMM Cherub Flow Tune Clip, 3 in 1 Metro Tuner & String Instrument Mate Demos | NAMM 2023 PG Staff Apr 14, 2023
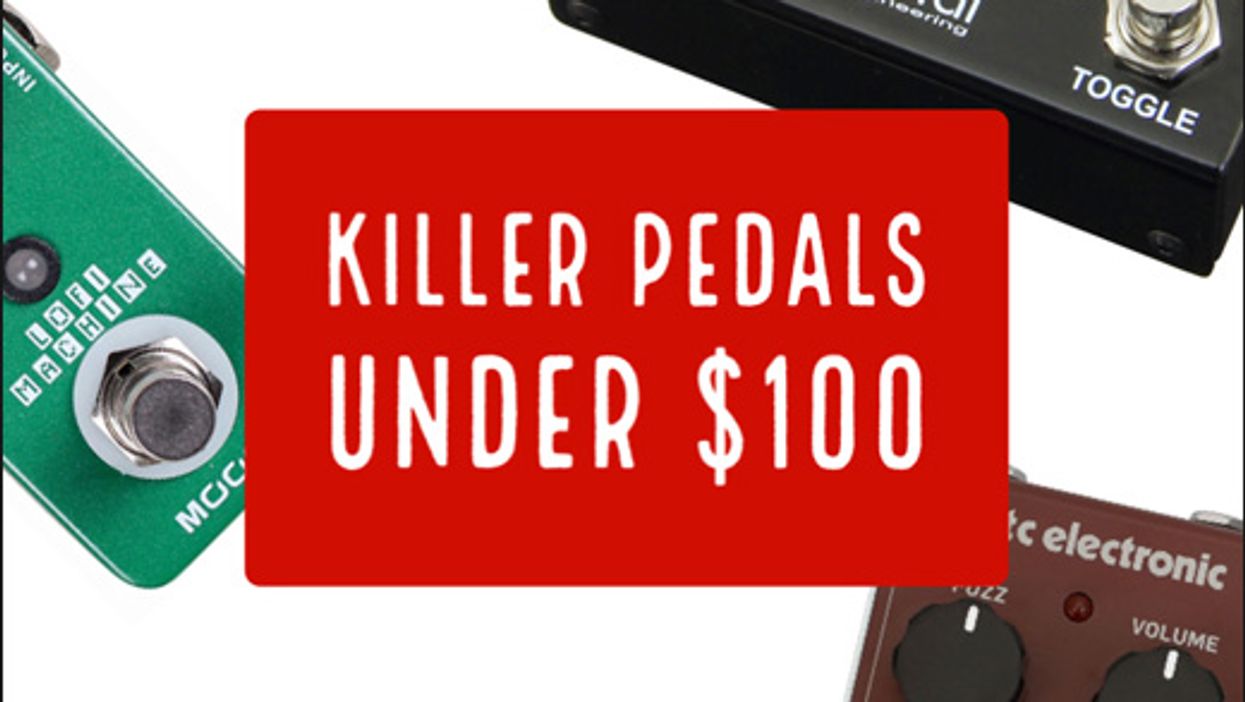
Effects Killer Pedals Under $100 PG editors pick their favorite pedalboard-tested bargain stomps—tremolos, dirt boxes, tuners, switchers, and more. Premier Guitar Staff Mar 08, 2021
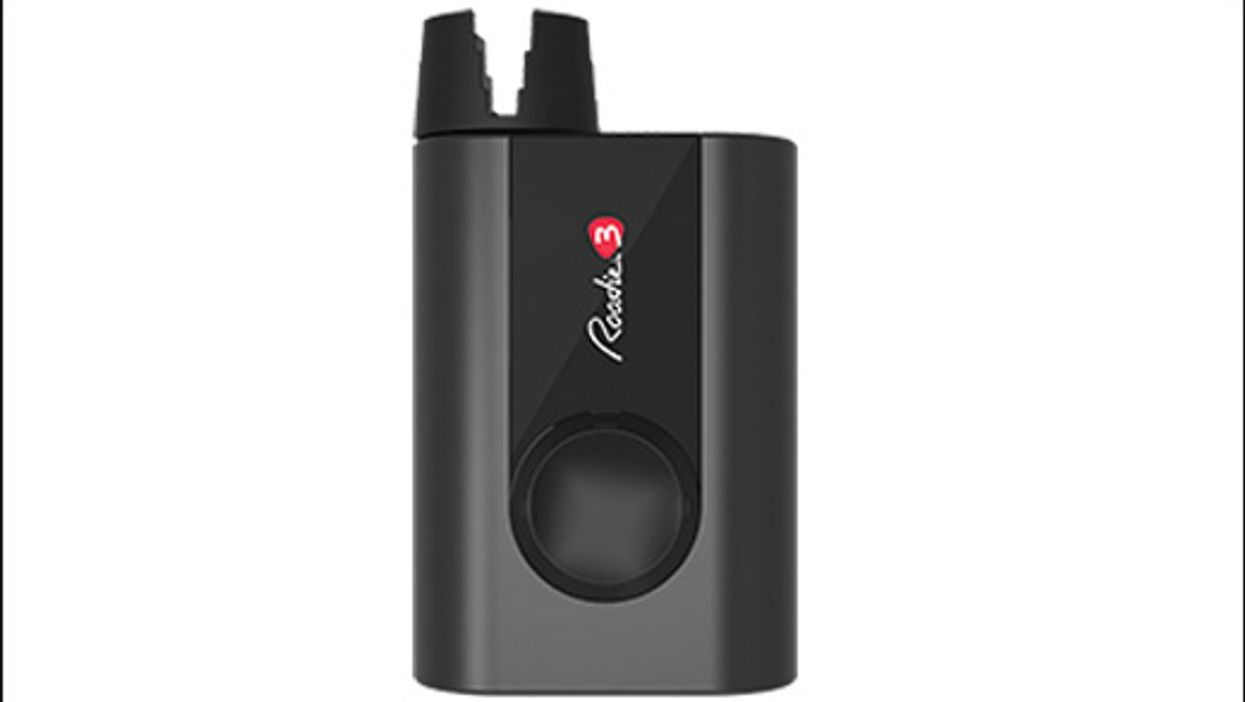
Gear Automatic for the Headstock This motorized tuner promises to tune your guitar for you—is it too good to be true? The PG Band Industries Roadie 3 review. Rich Osweiler Mar 07, 2021