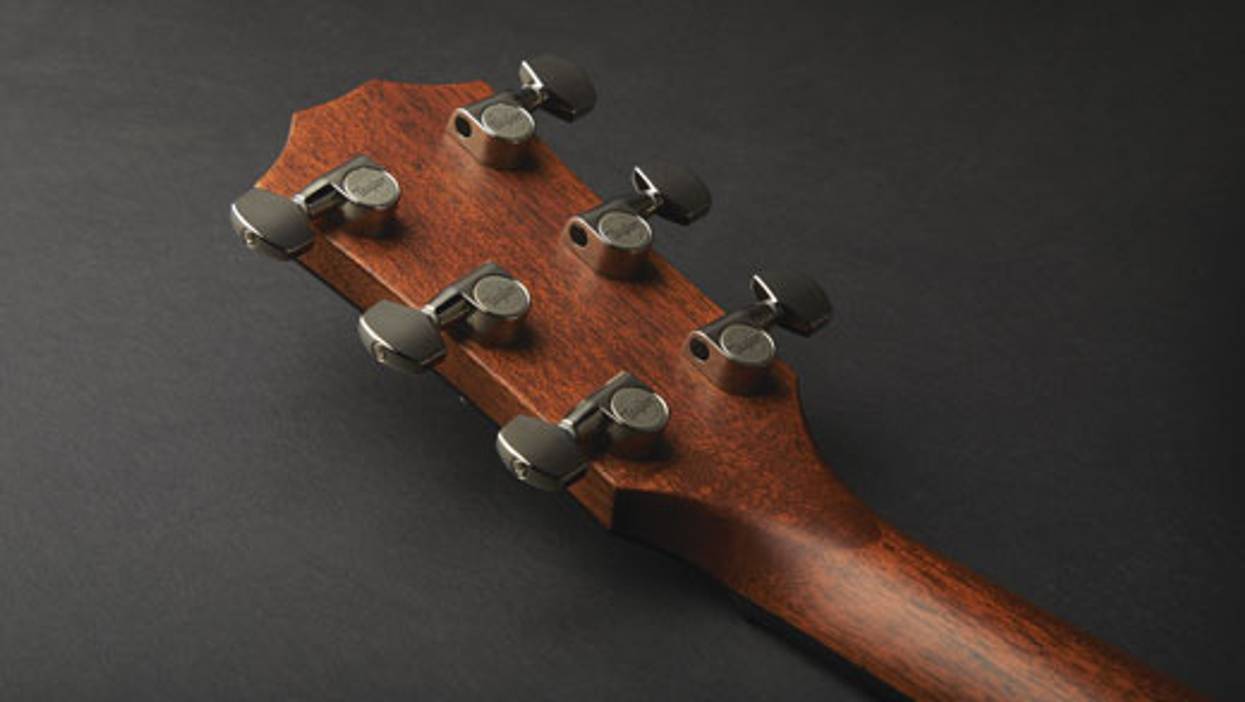
Thanks to the extraordinarily fine adjustment offered by modern tuning machines, today’s players can take their tuning to a level of accuracy only dreamed of in eras past.
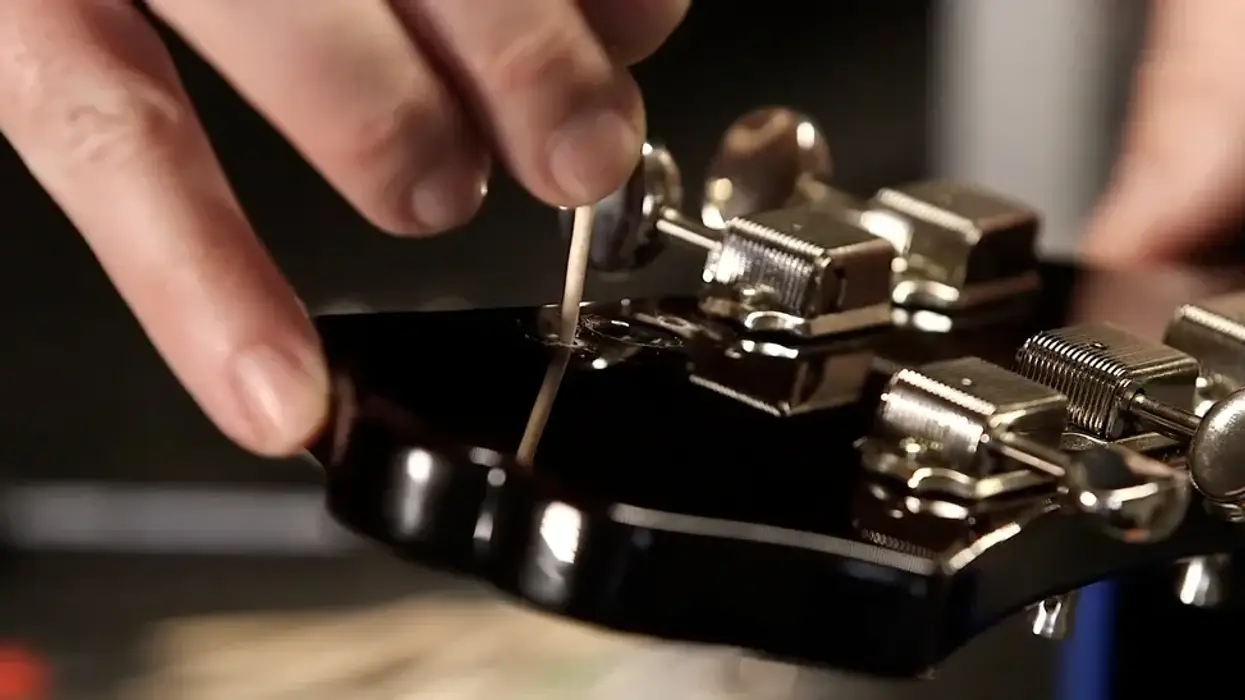
The 505F series design allows you to upgrade your vintage Fender tuners to a more modern style locking tuner without making any modifications to your guitar.