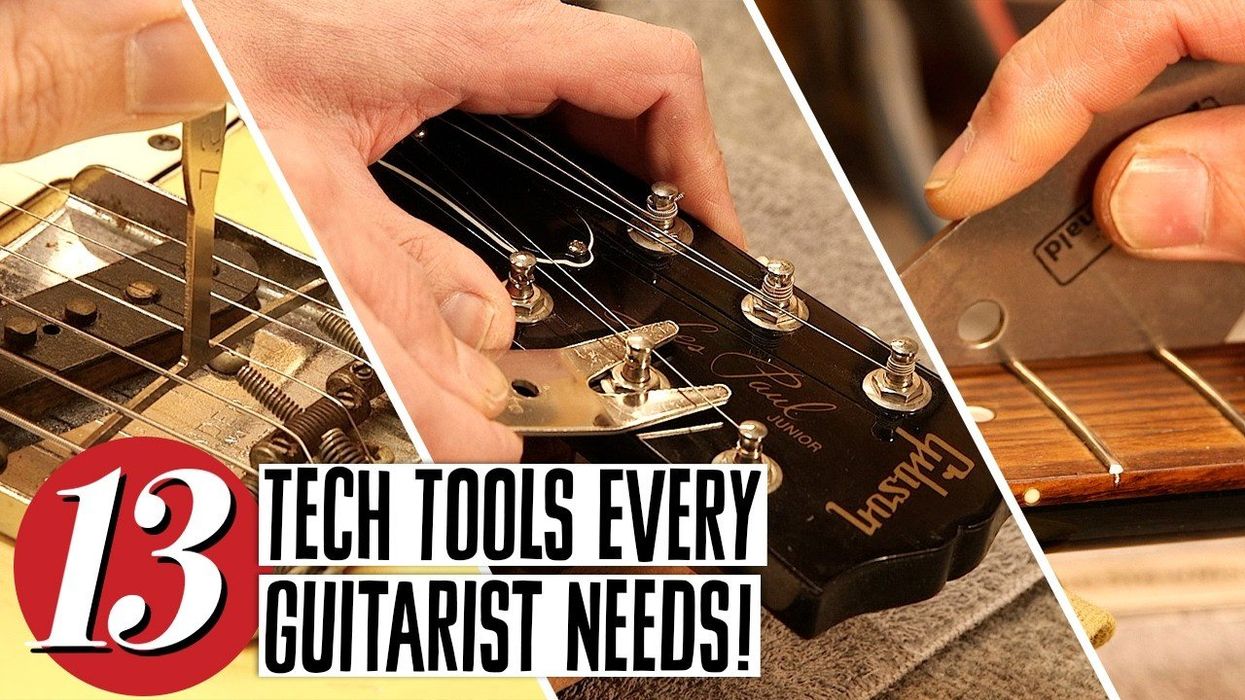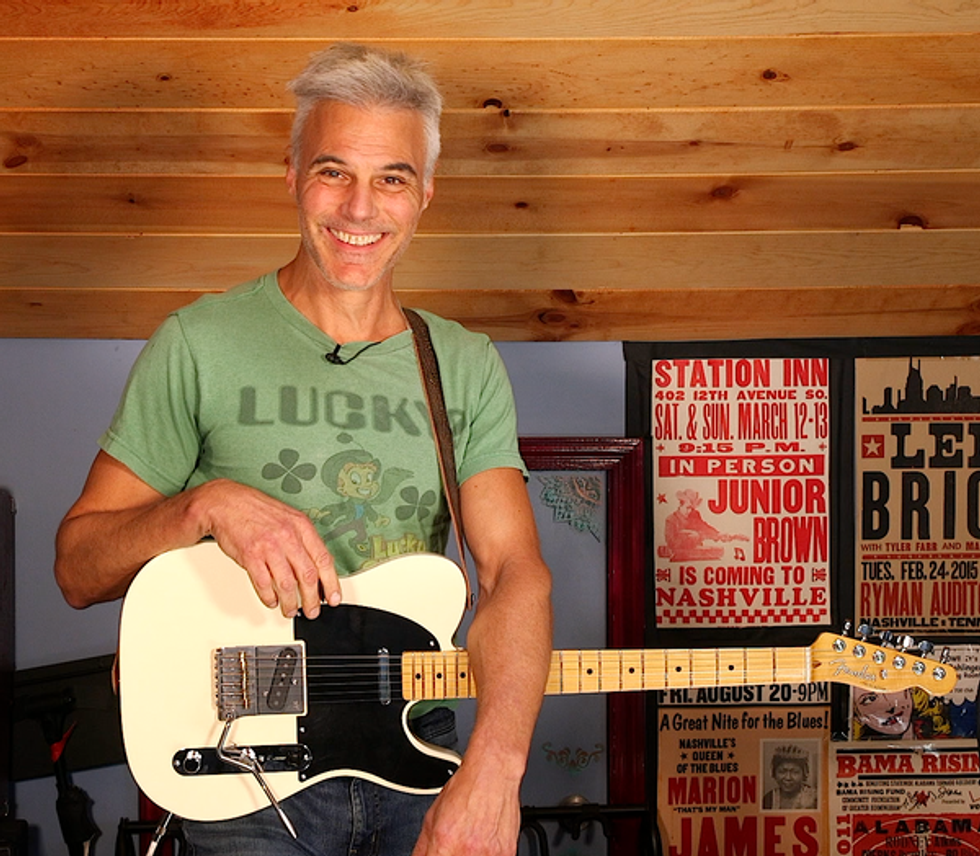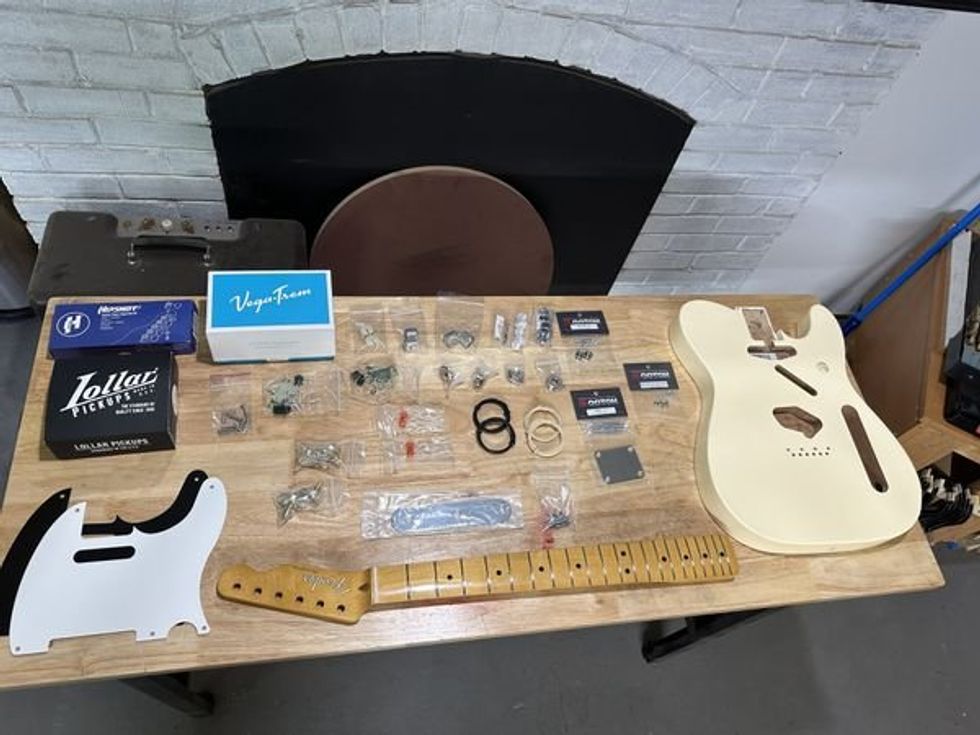
How easy? Spend 5 minutes with Marshall Dunn, currently touring as Steve Earle’s guitar tech and co-founder of Nashville’s Stage Right Repairs, and he’ll show you. Special thanks to Music City indie venue Eastside Bowl, where we filmed Dunn at work on a stock Fender Mustang Bass.
Dunn starts by removing the strings and bridge screws, and cautions against removing the ground wire. Even though this is a quick mod, Dunn suggests taking it slow and steady (like all work done on your instrument), so he confirms the screw-hole alignment and shows you how to use a tape measure to confirm that the saddles are at the correct scale length for the instrument. He next shows how to use the two strings he removed from the bass initially to check the alignment of the new strings with the fretboard. It’s a matter of checking the relationship of the strings for proper spacing. The saddle notches in the Badass Bridge make that alignment even easier.
Once the Badass is installed, he explains how to do a quick, proper setup—and then it’s time to plug into a Fender Rumble 500 and let the Mustang and its new bridge do the talking. “Ultimately,” Dunn concludes, “I think if you’re going to mod your instrument and it’s gonna make you like it more, it’s gonna make you want to play it more …that’s the whole point. It’s pretty cool what you can do with just a couple of hand tools and just a little bit of time.”
For more information on Leo Quan Badass Bridges, go to allparts.com.