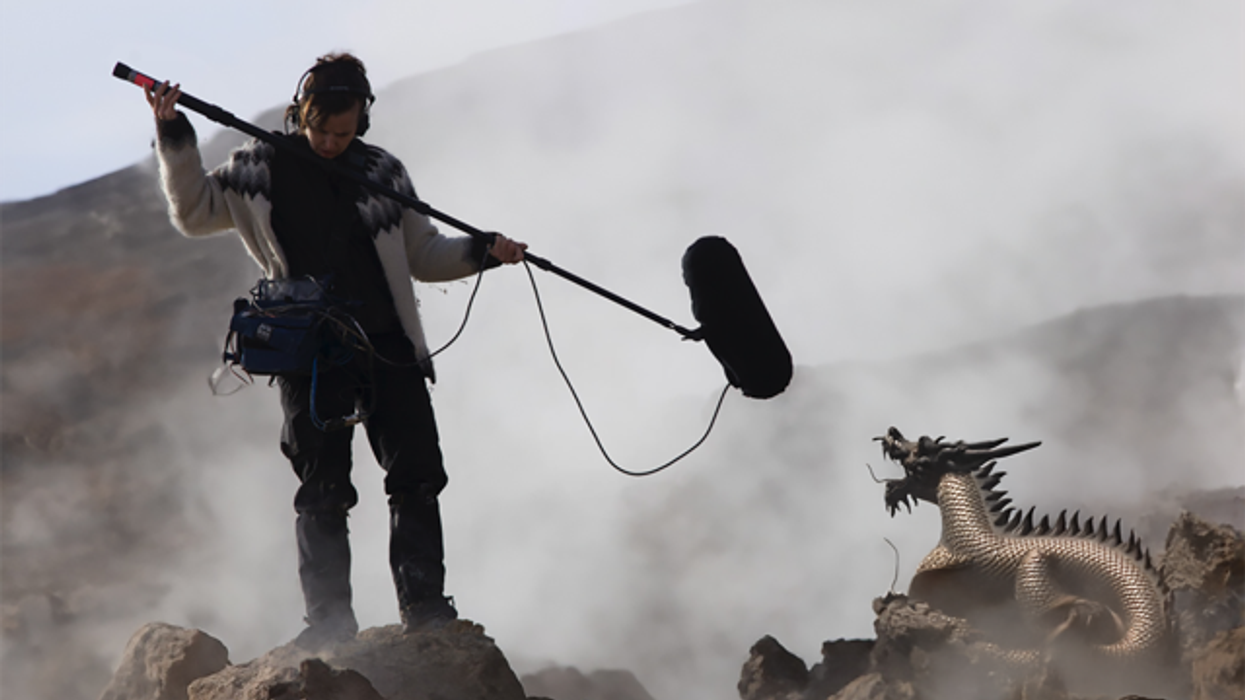

Greetings, and welcome! Last month, I began the first of a multi-part Dojo series centered around field recording and making your own sound libraries by focusing on the recording process. This time, I’m going to show you ways to organize and create a library from the recordings you’ve made. We discover things by noticing patterns in nature, and we create things by imposing our own patterns back into nature as well. This is exactly what you’re doing by taking the uncontrolled, purely observant recordings you’ve made in the natural world and prepping them as raw material for new patterned, controlled forms of musical expression. Tighten up your belts, the Dojo is now open.
Easy Access Needs
Before you start diving in and heavily editing your recordings, identify what you have and determine how to categorize it for easy retrieval. A well-organized sample library is crucial for musicians, producers, and sound designers. It enables smoother workflows, saves time, and nurtures creativity by providing easy access to the perfect sounds. Whether you are starting from scratch or adding to an existing collection, a systematic approach can make a world of difference.
Take stock of your files, identify patterns, themes, and timbres, and then decide on potential categories for folders that make sense for your workflow. Typically, I will make dozens and dozens of raw recordings (empty stairwells, gently tapping two drinking glasses together, placing a contact mic on industrial equipment, etc.) and I will prearrange them into sub categories before I even start to edit. My top-level folders are: percussive and melodic. I may divide further depending on the source material.
For instance, recordings that could become drum hits can be separated into folders for kicks, snares, hi-hats, and percussion. Melodic information that might be used for one-shots or loops can be sorted by potential instrument type or key. This will save you hours of time later. For those who work with a specific genre, it can also be useful to group recordings by their possible stylistic context, like industrial, cinematic, or soundscapes.
Working with Raw Material
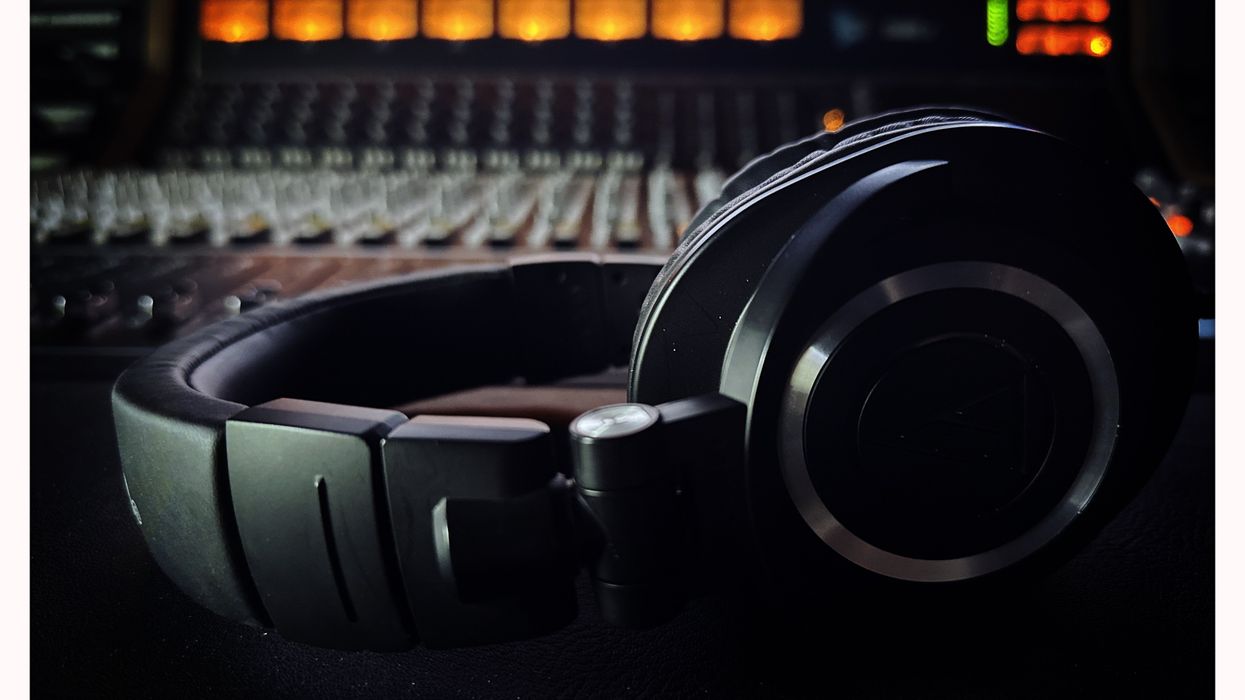
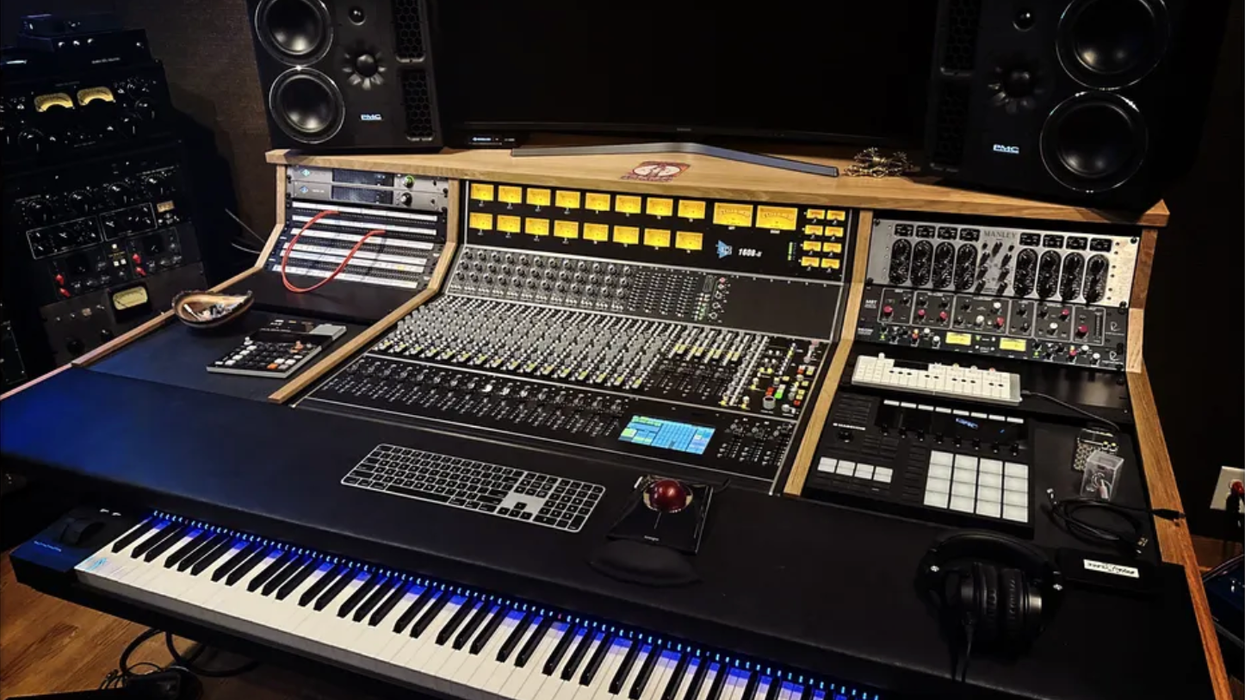
What are the best ways to start working with the raw recordings? First, make sure you have some way to edit them. Open your DAW and create a new session. Be sure to include the date and “raw recordings” in your session title and save the session. Next, import the file(s) into your DAW as a new audio track, or hardware sampler (for old schoolers). Then start listening for anything that ignites your imagination. Keep it short and pay attention to what you’re hearing. Ask yourself, “What would this be cool for?” Here’s a personal tip: Don’t delete everything that is not of immediate interest, just mute the sections that you’re not identifying with right now—they might become amazing once you start to process them with delays, reverb, and pitch shifting. Once you’ve got loads of appealing individual snippets and you’ve trimmed the start and ending for each one, you’re going to bounce or export each individual element to a specified folder on your hard drive. Now it’s time to think about file naming conventions.
“A well-organized sample library is crucial for musicians, producers, and sound designers.”
Clear and consistent file names are crucial. They ensure you can search for samples directly through your operating system or DAW without relying solely on folder hierarchies. Include lots of details like sample type, tempo, key, or sound source in the file name because it makes it easier to locate quickly in the future. For example, instead of naming a file “loop001.wav,” a more descriptive name like “Broken_Guitar_Arp_Raw.wav” provides instant context. I like using “Raw” at the end of my file name so I know it is in its original state. If you want to add processing like distortion, amp sims, modulation, and time-based effects, go ahead! Export each iteration with a new file name, e.g., “Broken_Guitar_Arp_TapeDelay.wav.”
Building a sample library isn’t just about organization—it’s also about curation. Remember that the quality of your library is way more important than its size. Focus on making high-quality samples. Take the time to audition each of your recordings to weed out those of inferior sound quality. This decluttering process helps streamline your workflow and ensures that every file in your collection adds value.
Next month, I’ll guide you through ways to import and use your samples in your recording sessions. Namaste.

![Devon Eisenbarger [Katy Perry] Rig Rundown](https://www.premierguitar.com/media-library/youtube.jpg?id=61774583&width=1245&height=700&quality=70&coordinates=0%2C0%2C0%2C0)