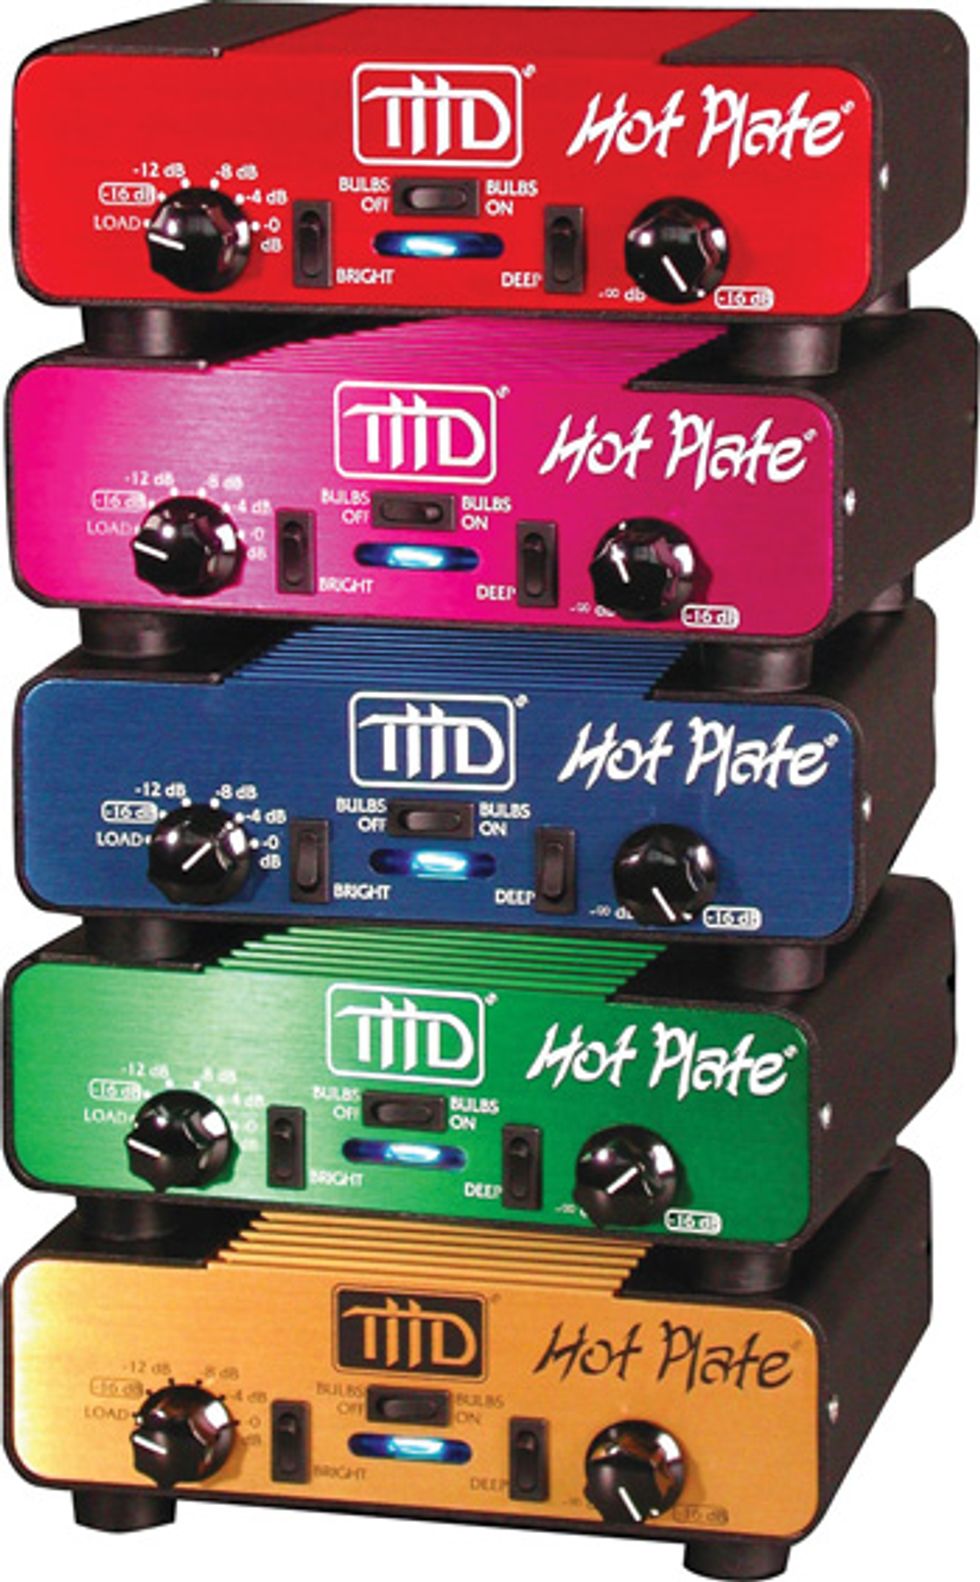
A band that doesn't mic their amps looks to pump the low end out into the room using a THD Hot Plate setup.
THDās Hot Plate comes in five different models, each designed to match the specific impedance of your amplifier and speaker cabinet or, if itās a combo, its internal speakers.
Hi Jeff,
In your August 2012 Ask Amp Man
column, Taming a Fender Hot Rod
DeVille, you offered several suggestions
for reducing amp volume. One was to
use a power attenuator, such as a āTHD
Hot Plate, Tube Amp Doctor Silencer,
Rivera RockCrusher, Tone King Ironman,
Dr. Z Air Brake, and Alessandro Muzzle.
Inserted between the output of the amp
and the speaker, these devices allow you to
adjust your amp to the settings that sound
and feel the best, and then attenuate the
amount of power being sent to the speaker.ā
Iāve been considering using a THD Hot Plate to do this very thing with my DeVille. My plan is to crank the amp a little bit loud (probably at about 2 or 3) through a Fender Band-Master VM 212 8 Ī© enclosure. The goal would be to pump the low end out into the room. Currently only the highs are getting out front because we donāt mic the amps in my band. Then I plan to place the Hot Plate between the DeVille and its internal speakers, and turn down the volume a bit going to these speakers. With the combo sitting on top of the enclosure, Iād listen to the DeVille without getting blastedāessentially it would be my monitor, set to a volume output thatās comfortable to sing with.
Will this configuration work for my
purposes? Will the Hot Plate cause resistance
or electronic problems with the amp?
Thanks,
Richard Peninger
Hi Richard,
This is an interesting question. The configuration
you suggest seems unique, at
least to me. Iām not quite sure how the end
result will turn out in terms of acoustics,
but I can certainly help you get the set up
working electrically.
The first thing youāll need to acquire is an attenuator. If the attenuator is impedance dependant, choose one that matches the impedance of your comboās speaker configuration. If your DeVille is the 4x10 model, the combo speaker load is 8 Ī©. If you have a 2x12 DeVille, the internal load is 4 Ī©, so choose your attenuator accordingly.
Next youāll need a splitter box or splitter cable. This will split the DeVilleās speaker output signal to the different speaker loads. A simple aluminum, metal, or even plastic box with three 1/4" jacks (one acts as the input and the other two are wired in parallel as outputs) would be the easiest solution here. If you choose to use a cable assembly to split the speaker signal, steer clear of a āheadphoneā splitter, as the gauge of wire used in these will probably not be sufficient to carry the output power of the amplifier. A failure here can cause catastrophic results, so use the right equipment for the job.
Another piece of the puzzle will be either a speaker extension cable to increase the length of the speaker wire connected between the DeVille and its speakers, or a replacement cable thatās long enough to let you connect the combo speakers to the attenuator device, should you choose to place the attenuator somewhere other than inside the combo. Iād recommend the second optionāreplacing the existing combo speaker cableāas the molded plastic plugs on these cables tend to become problematic over time.
One final item to acquire is simply a 1/4" plugāno wires, nothing connected to it. This is needed to ātrickā the amplifier. More on that in a moment.
Now letās get everything connected. First, unplug the internal speaker cable from the ampās speaker output. Next, connect the input of the splitter box or cable to the extension speaker output of your DeVille. Now connect your Band-Master extension speaker cabinet to one of the outputs of the splitter.
Then connect the splitterās other output to the input of your attenuator and connect the output of the attenuator to your DeVilleās internal speakers. Please be sure to use proper speaker cable for all these connections and not instrument cable. The latter is designed to carry low-level voltage, not high power.
Lastly, insert the sole 1/4" plug into the DeVilleās main speaker output. This is a critical step, as without it, the amplifier will be outputting into a direct short, which again can cause major issues.
This plug accomplishes two things: It removes the direct short on the output of the amplifier, and that in turn allows signal to flow to the extension speaker output, which is a āswitchingā type of jack. By plugging the input of the splitter box into the extension speaker output, the extension speaker jack switches output transformer taps. In the case of the 4x10 combo, it switches from the 8 Ī© tap to the 4 Ī© tap. For the 2x12 combo, it switches from the 4 Ī© to the 2 Ī© tap. This impedance switching is necessary to properly match the output impedance of the amp to that additional speaker load.
There you have it. As I mentioned, Iām not sure if this will acoustically satisfy your needs, but now youāll at least be able to properly experiment with the configuration. I hope this will allow your DeVille to delight!
Warning: All tube amplifiers contain lethal voltages. The most dangerous voltages are stored in electrolytic capacitors, even after the amp has been unplugged from the wall. Before you touch anything inside the amp chassis, itās imperative that these capacitors are discharged. If you are unsure of this procedure, consult your local amp tech.
Jeff Bober is one of the godfathers of the low-wattage amp revolution, co-founded and was the principal designer for Budda Amplification. Jeff launched EAST Amplification in 2010, and he can be reached at pgampman@gmail.com.
A well-organized sample library is crucial for musicians, producers, and sound designers. It enables smoother workflows, saves time, and nurtures creativity by providing easy access to the perfect sounds.
Greetings, and welcome! Last month, I began the first of a multi-part Dojo series centered around field recording and making your own sound libraries by focusing on the recording process. This time, Iām going to show you ways to organize and create a library from the recordings youāve made. We discover things by noticing patterns in nature, and we create things by imposing our own patterns back into nature as well. This is exactly what youāre doing by taking the uncontrolled, purely observant recordings youāve made in the natural world and prepping them as raw material for new patterned, controlled forms of musical expression. Tighten up your belts, the Dojo is now open.
Easy Access Needs
Before you start diving in and heavily editing your recordings, identify what you have and determine how to categorize it for easy retrieval. A well-organized sample library is crucial for musicians, producers, and sound designers. It enables smoother workflows, saves time, and nurtures creativity by providing easy access to the perfect sounds. Whether you are starting from scratch or adding to an existing collection, a systematic approach can make a world of difference.
Take stock of your files, identify patterns, themes, and timbres, and then decide on potential categories for folders that make sense for your workflow. Typically, I will make dozens and dozens of raw recordings (empty stairwells, gently tapping two drinking glasses together, placing a contact mic on industrial equipment, etc.) and I will prearrange them into sub categories before I even start to edit. My top-level folders are: percussive and melodic. I may divide further depending on the source material.
For instance, recordings that could become drum hits can be separated into folders for kicks, snares, hi-hats, and percussion. Melodic information that might be used for one-shots or loops can be sorted by potential instrument type or key. This will save you hours of time later. For those who work with a specific genre, it can also be useful to group recordings by their possible stylistic context, like industrial, cinematic, or soundscapes.
Working with Raw Material
What are the best ways to start working with the raw recordings? First, make sure you have some way to edit them. Open your DAW and create a new session. Be sure to include the date and āraw recordingsā in your session title and save the session. Next, import the file(s) into your DAW as a new audio track, or hardware sampler (for old schoolers). Then start listening for anything that ignites your imagination. Keep it short and pay attention to what youāre hearing. Ask yourself, āWhat would this be cool for?ā Hereās a personal tip: Donāt delete everything that is not of immediate interest, just mute the sections that youāre not identifying with right nowāthey might become amazing once you start to process them with delays, reverb, and pitch shifting. Once youāve got loads of appealing individual snippets and youāve trimmed the start and ending for each one, youāre going to bounce or export each individual element to a specified folder on your hard drive. Now itās time to think about file naming conventions.
āA well-organized sample library is crucial for musicians, producers, and sound designers.ā
Clear and consistent file names are crucial. They ensure you can search for samples directly through your operating system or DAW without relying solely on folder hierarchies. Include lots of details like sample type, tempo, key, or sound source in the file name because it makes it easier to locate quickly in the future. For example, instead of naming a file āloop001.wav,ā a more descriptive name like āBroken_Guitar_Arp_Raw.wavā provides instant context. I like using āRawā at the end of my file name so I know it is in its original state. If you want to add processing like distortion, amp sims, modulation, and time-based effects, go ahead! Export each iteration with a new file name, e.g., āBroken_Guitar_Arp_TapeDelay.wav.ā
Building a sample library isnāt just about organizationāitās also about curation. Remember that the quality of your library is waymore important than its size. Focus on making high-quality samples. Take the time to audition each of your recordings to weed out those of inferior sound quality. This decluttering process helps streamline your workflow and ensures that every file in your collection adds value.
Next month, Iāll guide you through ways to import and use your samples in your recording sessions. Namaste.
This versatile ramping phaser is distinguished by a fat voice, vibrato section, and practical preamp.
Uncommonly thick phaser voice. Useful range of ramping effects. The practical preamp section can be used independently. Nice vibrato mode.
Visually cluttered design. Some ramping effects can be difficult to dial in with precision.
$249
Beetronics FX
beetronicsfx.com
The notion behind a ramping phaser predates the phaser pedal by many moonsānamely in the form of thetwo-speed Leslie rotating speaker. A Leslie isnāt a phaser in the strictest sense, though the physics behind what the listener perceives are not dissimilar, and as any phaser devotee can tell you, there are many audible similarities between the two. At many phase rates and intensities, a phaser stands in convincingly for a Leslie, and the original king of phasers, theUniVibe was conceived as a portable alternative to rotary speakers.
Fundamentally, the analog 6-stageBeetronics Larva Morphing Phaser (which, henceforth, we shall call the LMP) effectively mimics the acceleration and deceleration of a two-speed Leslie speaker. That isnāt a new concept in the pedal universe. But Beetronicsā take offers many cool variations on that ramping effect. It also features a wet-signal-only vibrato setting and a nice sounding preamp. And at its core is a rich, deep phase voice that is a distinct alternative to many standard-bearing phasers.
Thick As Honey
There is an inherent richness in the low-to-mid range in the LMPās phase voiceāeven at the lowest resonance settings. Beetronics lofty sonic goal and inspiration were the famously warm and dusky Moogerfooger MF-103 12 -stage Phaser, and it certainly It sounds thicker than any of my vintage or vintage-clone phasers, including both 4- and 6-stage models. The heft of this phaser voice will be enough to sell the LMP to some prospective customers. Surely the preamp, which lends its own fatness, contributes something to the low-mid weight. On the other hand, I used the LMPās preamp alone in front of each of the vintage phasers I tested and each still sounded comparatively thin in that part of the EQ spectrum, so there is something in the modulation section of the LMP circuit that adds its own thump and heft. When you use the phaser in clean and low-gain overdrive situations, that low-mid bump can sound pretty nice, especially if a bright amp or guitar are in the chain or you use reverb or another effect that tends to emphasize treble peaks. Things can get a little more complicated when you stack effects, use big, mid-scooped fuzzes, or situate your phaser at the front of an effects chain. A potential buyer would be wise to investigate how that tone profile fits with the most permanent parts of their rig, and some may dig a more traditional sound that makes room for more detail, but in general I loved the sound, particularly in minimalist effect arrays.
Fluid States
The ramping or āmorphingā effect that is the marquee feature in the LMP is engaging, practical, and opens up many possibilities, particularly in terms of segues and phrase punctuation. Obviously, the independent sets of rate and depth controls for each phase circuit enable morphs between very different phase textures. But itās the ramp-shape switch that makes the LMP much more than just two phasers in one. In the leftmost position, phaser 1 will ramp up or down to the phaser 2 position at the rate determined by the ramp speed control and stay fixed there until you hit the left footswitch again (clip 1). If you also set the ramp speed to zero, this makes the switches between the two phasers instantaneous.
In the middle position, the left footswitch assumes non-latching functionality. It will ramp to the phaser 2 speed when you hold the switch and return to phaser 1 speed when you release. And when you set the ramp rate to zero, you can create momentary and instantaneous switches between speeds as you hold or release the switch (clip 2). In the rightmost position, phaser 1 ramps to phaser 2 as you hold the switch and then moves back to the phaser 1 rate immediately after it is released. I enjoyed using radically different phaser rates for these functions most, but more subdued and mellow shifts are no less useful for lending musical interest in the right context.
Hits From the Hive
Beetronics famously has fun with their pedal designs. Enclosure graphics are typically bold and eye-engaging, and while that makes the companyās wares feel like treasures among meat-and-potatoes stomps, it can make the pedals needlessly busy to some. A number of players will no doubt feel the same about the LMP, and the cluttered enclosure graphics and blinking lights can have the effect of making the pedal seem less approachable than it is. In fact, the LMP is pretty intuitive once you learn which control is which. The phaser knobs are mirror images of each other. The preamp controls (preamp level and master output) are comparatively petite but grouped conveniently in the center. The chrome-ringed (and very range-y) ramping speed and resonance controls are visually distinct from the rest of the knobs, while the two 3-way toggles for ramping shape and the preamp-only, preamp + phaser, and vibrato + phaser modes are easy to sort out. Itās no model of minimalist, easy-to-read graphics, and I wouldnāt want to sort out this pedal for the first time on a dark stage. In general, though, functionality does not suffer much for the bold appearance.
The Verdict
The U.S.-made LMP is a solid, high-quality piece of work that makes its $249 price tag much more digestible. And the degree to which you perceive the cost as excessive will certainly depend on the degree to which you consider phaser, rotary, and vibrato sounds foundational within your musical creations. Accordingly, you should consider the value score here on a sliding scale. But with a fine-sounding and functional preamp section and ramping capability broad enough to span simple Leslie emulation, and radical shifts that can themselves serve as dramatic musical hooks and punctuation, the Larva Morphing Phaser could, for the right player, ā¦ um ā¦ābeeā more than the sum its parts
The voice of the guitar can make the unfamiliar familiar, expand the mind, and fill the heart with inspiration. Donāt be afraid to reach for sounds that elevate. A host of great players, and listening experiences, are available to inspire you.
In late fall, I had the good fortune of hearing David Gilmour and Adrian Belew live, within the same week. Although itās been nearly two months now, Iām still buzzing. Why? Because Iām hooked on tone, and Gilmour and Belew craft some of the finest, most exciting guitar tones Iāve ever heard.
Theyāre wildly different players. Gilmour, essentially, takes blues-based guitar āoutsideā; Belew takes āoutsideā playing inside pop- and rock-song structures. Both are brilliant at mating the familiar and unfamiliar, which also makes the unfamiliar more acceptable to mainstream earsāthereby expanding what might be considered the āacceptableā vocabulary of guitar.
Belew was performing as part of the BEAT Tour, conjuring up the music of the highly influential King Crimson albums of the ā80s, and was playing with another powerful tone creator, Steve Vai, who had the unenviable role of tackling the parts of Crimson founder Robert Fripp, who is a truly inimitable guitarist. But Vai did a wonderful job, and his tones were, of course, superb.
To me, great tone is alive, breathing, and so huge and powerful it becomes an inspiring language. Its scope can barely be contained by a venue or an analog or digital medium. At Madison Square Garden, as Gilmour sustained some of his most majestic tonesāthose where his guitar sound is clean, growling, foreign, and comforting all at onceāit felt as if what was emanating from his instrument and amps was permeating every centimeter of the building, like an incredibly powerful and gargantuan, but gentle, beast.
āThe guitar becomes a kind of tuning fork that resonates with the sound of being alive.ā
It certainly filled me in a way that was akin to a spiritual experience. I felt elevated, joyful, relieved of burdensāthen, and now, as I recall the effect of those sounds. That is the magic of great tone: It transports us, soothes us, and maybe even enlightens us to new possibilities. And that effect doesnāt just happen live. Listen to Sonny Sharrockās recording of āPromises Kept,ā or Anthony Pirog soloing on the Messtheticsā Anthropocosmic Nest, or Jimi Hendrixās āFreedom.ā (Or, for that matter, any of the Hendrix studio recordings remixed and remastered under the sensibilities of John McDermott.) Then, thereās Jeff Beckās Blow by Blow, and so many other recordings where the guitar becomes a kind of tuning fork that resonates with the sound of being alive. The psychoacoustic effects of great tones are undeniable and strong, and if we really love music, and remain open to all of its possibilities, we can feel them as tangibly as we feel the earth or the rays of the sun.
Sure, that might all sound very new age, but great tones are built from wood and wires and science and all the stuff that goes into a guitar. And into a signal chain. As youāve noticed, this is our annual āPro Pedalboardsā issue, and I urge you to considerāor better yet, listen toāall the sounds the 21 guitarists in our keystone story create as you examine the pedals they use to help make them. Pathways to your own new sounds may present themselves, or at least a better understanding of how a carefully curated pedalboard can help create great tones, make the unfamiliar familiar, and maybe even be mind-expanding.
After all these years, some players still complain that pedals have no role other than to ruin a guitarās natural tone. They are wrong. The tones of guitarists like Gilmour, Belew, Vai, Hendrix, Pirog, and many more prove that. The real truth about great tones, and pedals and other gear used with forethought and virtuosity, is that they are not really about guitar at all. They are about accessing and freeing imagination, about crafting sounds not previously or rarely heard in service of making the world a bigger, better, more joyful place. As Timothy Leary never said, when it comes to pedalboards and other tools of musical creativity, itās time to turn on, tune up, and stretch out!
Follow along as we build a one-of-a-kind Strat featuring top-notch components, modern upgrades, and classic vibes. Plus, see how a vintage neck stacks up against a modern one in our tone test. Watch the demo and enter for your chance to win this custom guitar!