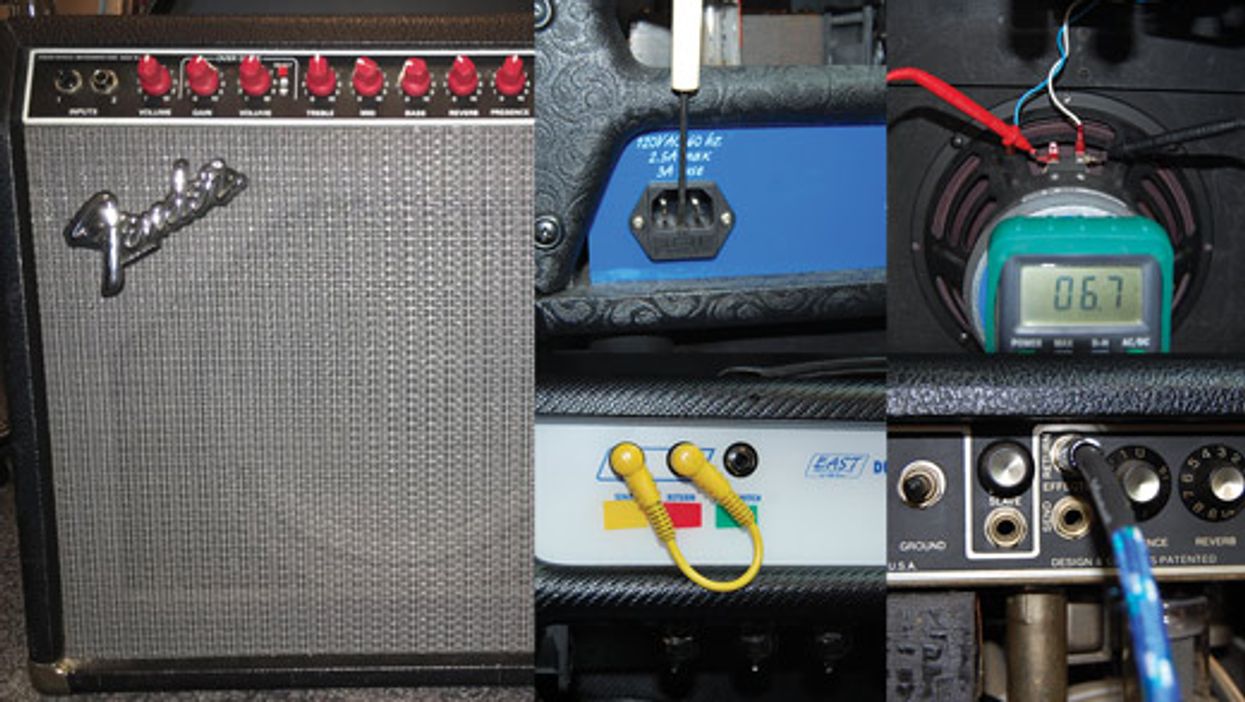
Pro-Advice Ask Amp Man: Positively Negative Feedback Wanna shake up an old Fender? Try modding the negative feedback loop. Jeff Bober Jan 04, 2018
Ask Amp Man Ask Amp Man: Add Some Marshall Grit to a Fender Bassman How to convert a half-unused tube into a gain stage. Jeff Bober Nov 27, 2017
Reviews Ask Amp Man: Beefing Up a Fender Deluxe Reverb Reissue How to add reverb and tremolo—and new tonal colors—to the “normal” channel of a workhorse amp. Jeff Bober Nov 01, 2017
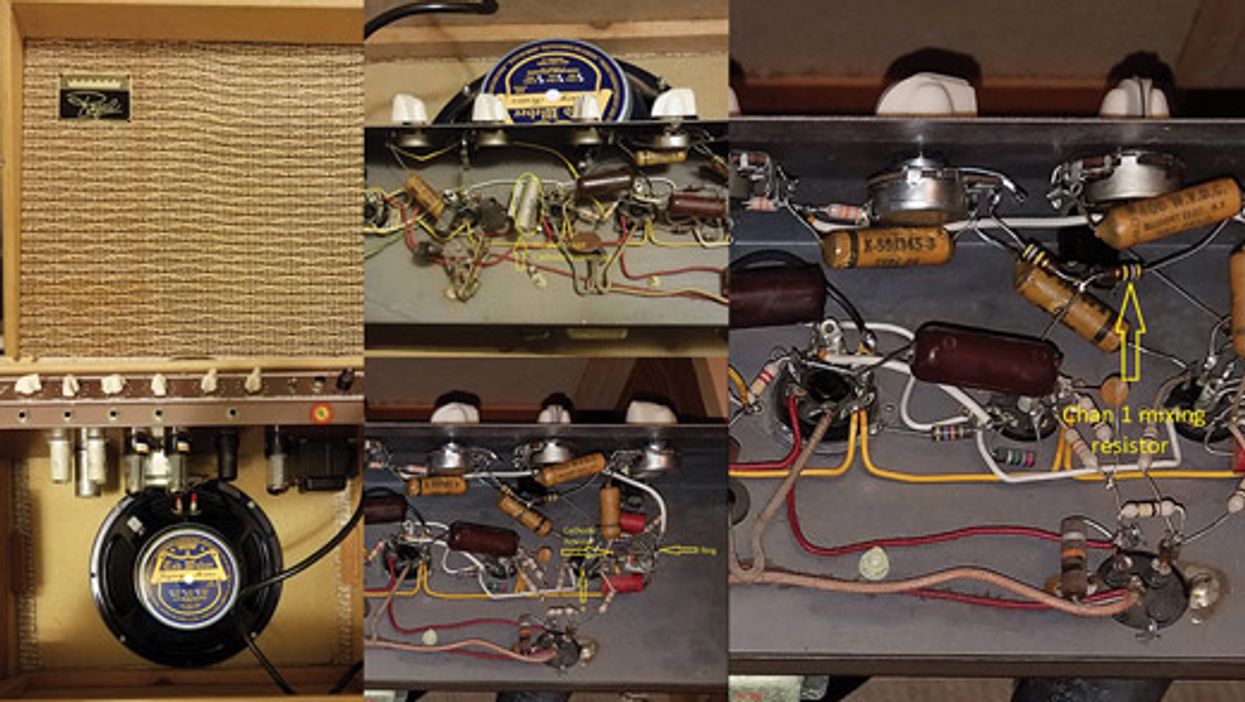
Pro-Advice Ask Amp Man: A ’60s Premier Combo Gets Cleaned up for Dirty Work Restoring a cool Multivox-made 1x12 G2R amp to its original nasty state. Jeff Bober Oct 16, 2017
Gear Ask Amp Man: Modding a Supro 6420 Thunderbolt A few simple mods may, or may not, make a vintage Supro Thunderbolt ready to rumble on modern stages. Jeff Bober Sep 01, 2017
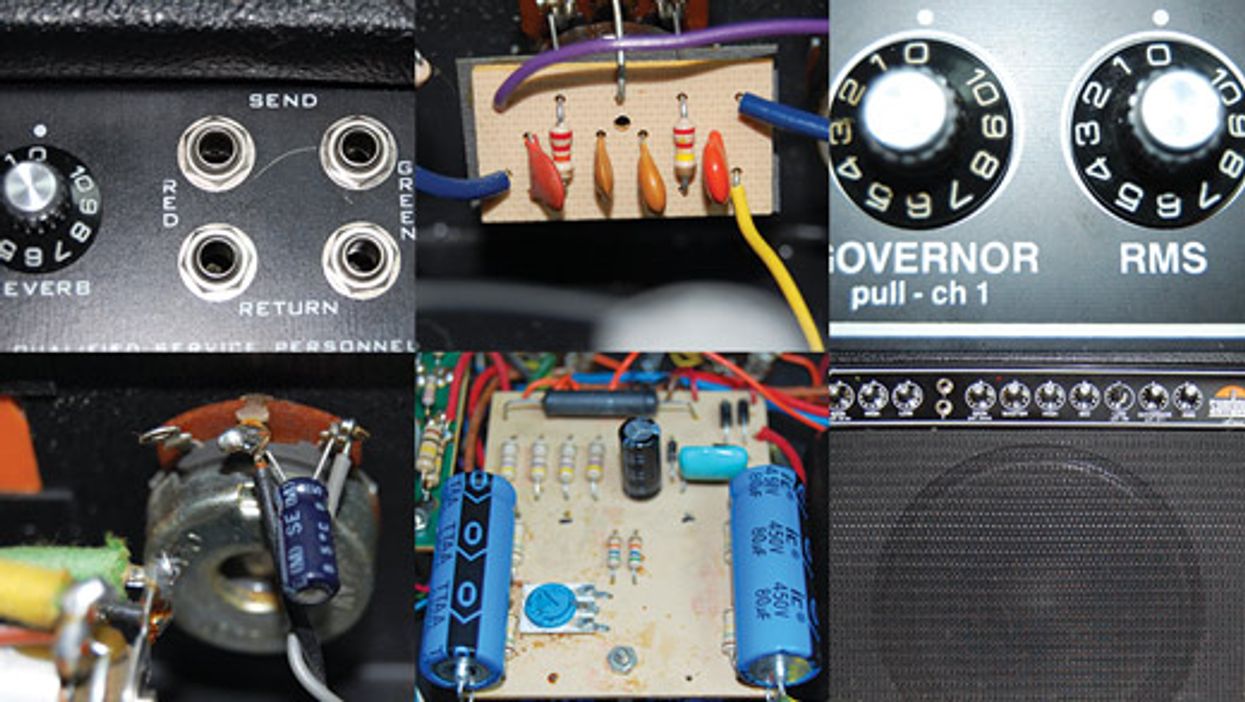
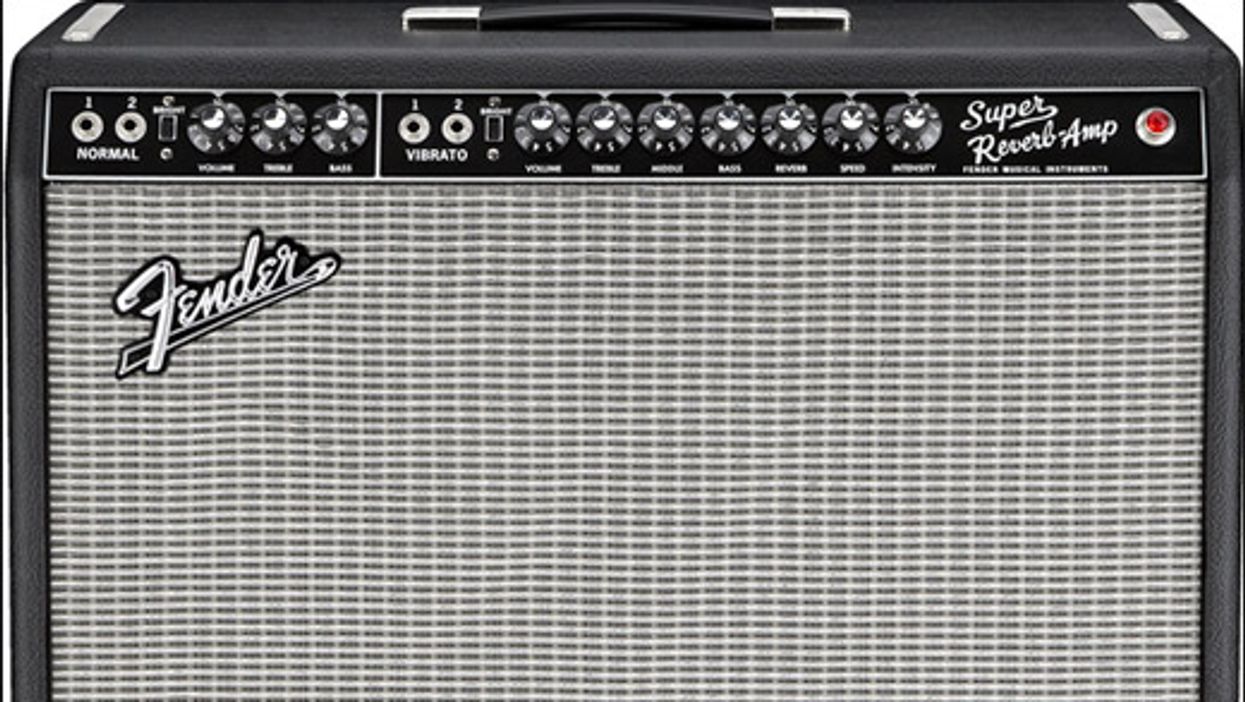
Reviews Ask Amp Man: Modding for Headphones and an Effects Loop How to use a Super Reverb, with a slew of pedals quietly looped in, for late-night practice. Jeff Bober Aug 04, 2017
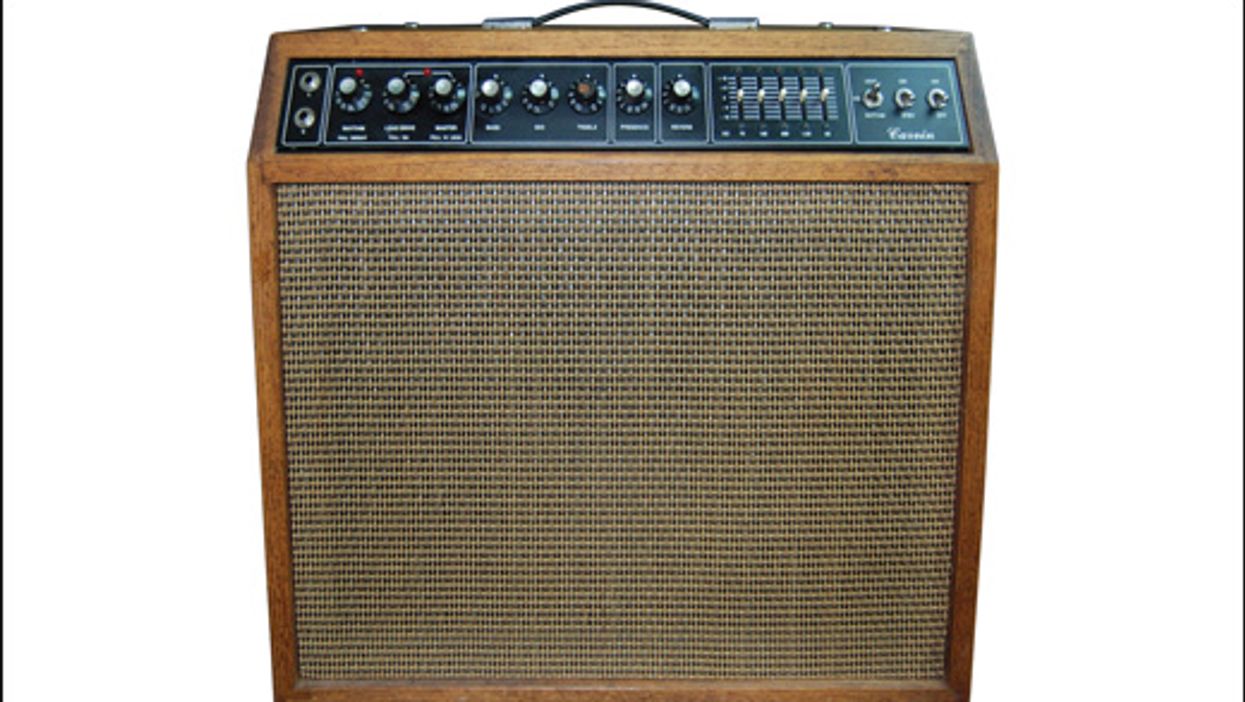
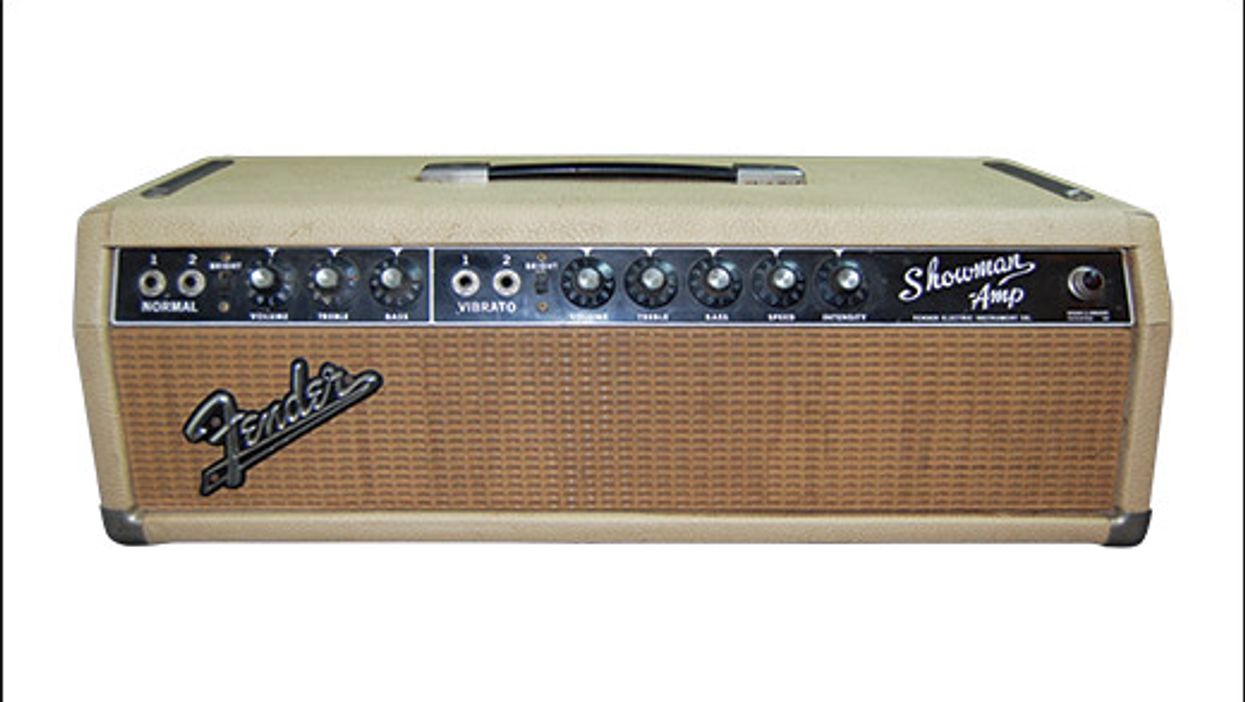
Gear Ask Amp Man: A Vintage Showman, Not Ready for Prime Time This oddball 1963 Fender head demanded serious examination. Jeff Bober Jun 30, 2017
Gear Ask Amp Man: A Space-Age Gibson Titan Gets Relaunched A rare find from 1964 lands on the workbench and is up and running after a little ground control. Jeff Bober Jun 11, 2017
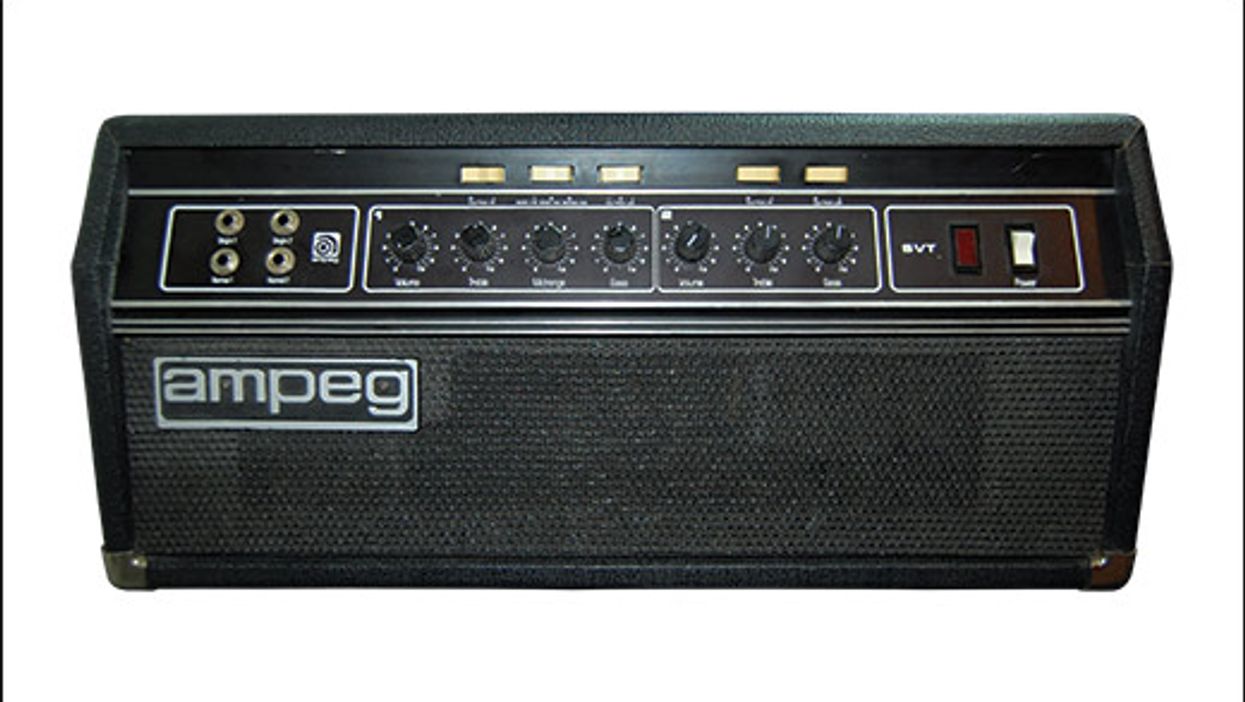
Gear Ask Amp Man: Limited Edition Ampeg SVT A rare “Skunk Works” production amp is brought out of the woodwork and up to speed. Jeff Bober May 12, 2017
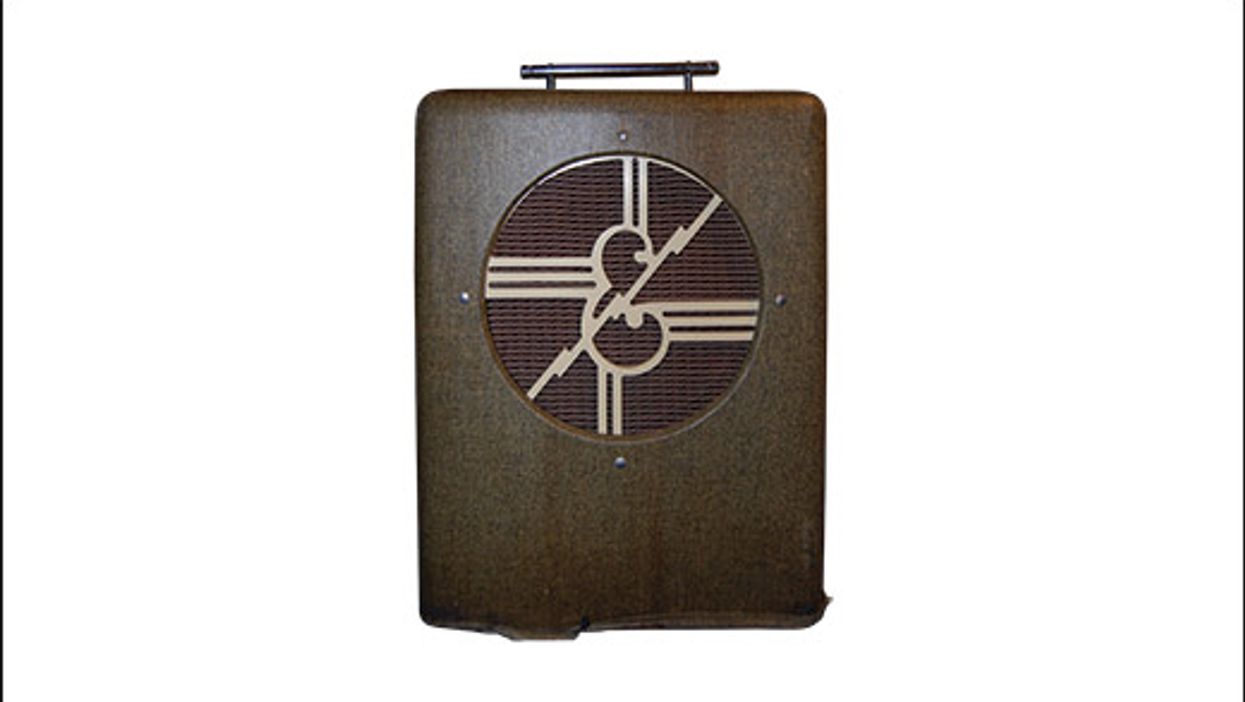
Reviews Ask Amp Man: Troubleshooting an Epiphone Electar Amp Man does a total resurrection of an old lap-steel amp riddled with puzzling dysfunction and mismatched tubes. Jeff Bober Apr 14, 2017