


Hello Jeff,
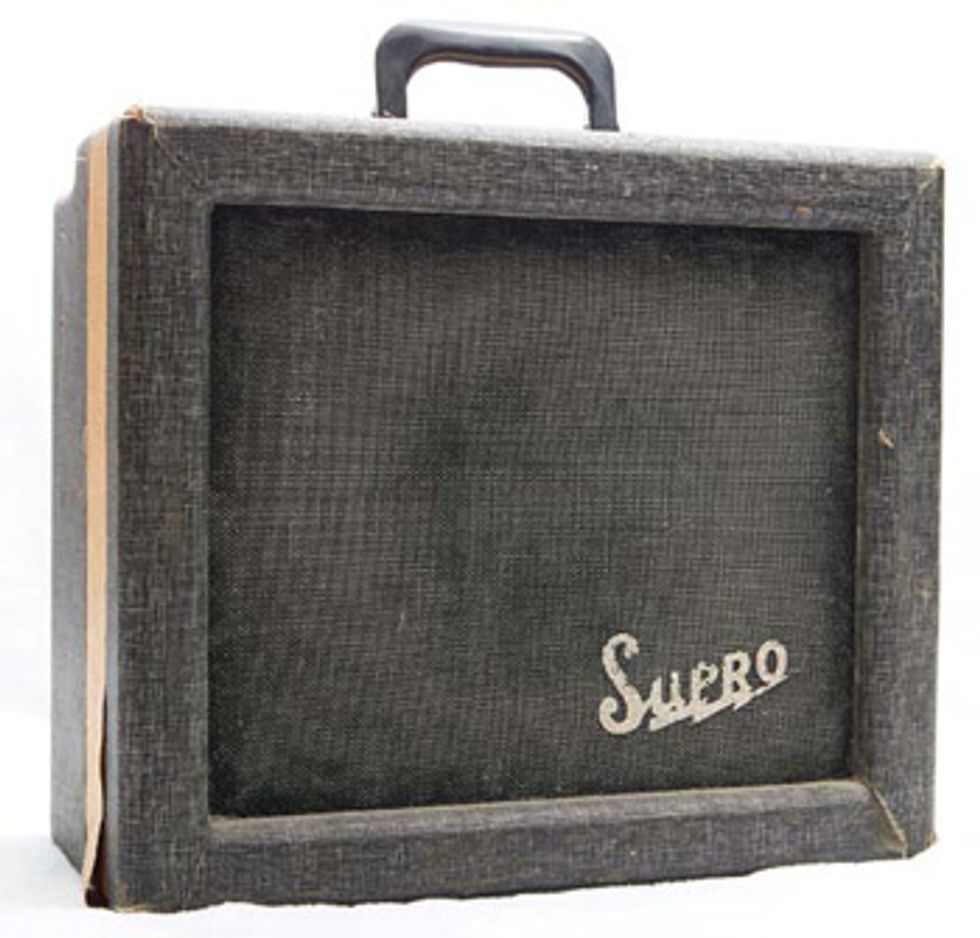
I enjoy your amp column every month—please keep up the good work! I’ve just acquired a mid- to late-1950s Supro combo amplifier, most likely a Spectator model, and have every hope of making it usable. If not for the stage, then as a studio tool.
The tubes look very clean and are probably original, although I’m going to take them to my local electronics store to have them tested. The speaker has serial codes that match several years from the ’50s models. I haven’t plugged the combo in yet, probably due to your July 2010 “Turning Your Amp On” column!
Could you cover restoring an amp like this? I don’t necessarily want to restore it to original condition—just make it safe and playable. Oh, and clean—there was a wasp nest inside! I’d like to keep any removed parts for the sake of collectability, but realize that the amp probably needs a grounded plug and maybe other safety precautions. I appreciate any information you might offer. Thank you for your time.
—John Gilbert
Hello John,
Thanks for reading the column and for your comments. Let’s see if I can shed some light on your restoration question.
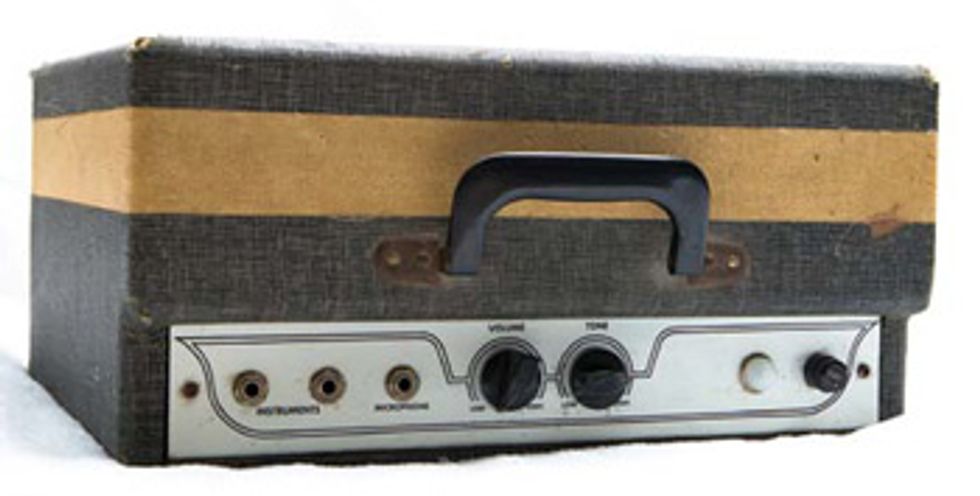
Not being familiar with this particular Supro model, I went hunting for a schematic. Once I found it, I realized that this very basic amp would be an excellent candidate for a first-time restoration. Actually, I’ve seen a couple of different versions of a schematic for this model, one with a simple Volume control or a Volume and Tone setup. Yours is obviously the latter, which has three inputs, a 6SL7 preamp tube, a 5Y3 rectifier tube, and a single 6V6 or a pair of 6V6 output tubes running parallel in a single-ended configuration.
Either way, this is a pretty basic amp. As far as sourcing parts, most typical replacement parts that I discuss here should be available from the many tube amp parts suppliers on the web, including Mojo Musical Supply, Antique Electronics, and Amplified Parts.
First, regarding tubes and commercial tube checkers: They may have been okay to keep your television running in the early days of black-and-white broadcasts, but they don’t really provide a comprehensive way to check the quality of audio tubes. My suggestion would be to at least replace the two 6V6 output tubes, as fresh tubes in the output stage can bring a huge improvement in sound. Generally speaking, once the restoration is finished, if the amp functions fine with the 5Y3 rectifier tube, it’s really not necessary to replace it. As far as the 6SL7 preamp tube is concerned, if the amp is producing any popping or crackling noises after the initial overhaul, replace this tube. If it continues to generate extraneous noises, you may need to replace additional components. I’ll cover this in Part 2 of this restoration series.
Replacing the line cord is definitely a good idea, especially since there’s a good chance that it’s dry rotted and possibly crumbling in your hands. Unsolder the two existing line cord connections, remove the old cord, and replace it with a new 3-conductor grounded cord. Referring to the Supro schematic at hand, I’d recommend connecting the black (or brown) lead to the power switch and the white (or blue) lead to the fuse holder.
You should also see a 0.05 μF 600V capacitor with one lead attached to a fuse holder terminal and the other lead attached to the chassis, possibly using a solder lug. I would recommend replacing this capacitor with a currently available 0.047 μF 600V cap. A Sprague Orange Drop or any other poly-cap would be fine for this location. Once that’s replaced, attach the green (with yellow stripe) wire to the chassis at this point, either using a separate solder lug or soldering directly to the existing capacitor lead connection. This will add a safety ground to your chassis, as well as leave the common line of the AC power tied to ground and through the grounding capacitor.
Next month, in the second half of this Supro restoration column, we’ll discuss how to give the amp a good electrical cleaning, evaluate its filter capacitors, troubleshoot noise, and more.
Jeff Bober one of the godfathers of the low-wattage amp revolution, co-founded and was the principal designer for Budda Amplification. Jeff has just launched EAST Amplification, and he can be reached at pgampman@gmail.com.
I enjoy your amp column every month—please keep up the good work! I’ve just acquired a mid- to late-1950s Supro combo amplifier, most likely a Spectator model, and have every hope of making it usable. If not for the stage, then as a studio tool.
The tubes look very clean and are probably original, although I’m going to take them to my local electronics store to have them tested. The speaker has serial codes that match several years from the ’50s models. I haven’t plugged the combo in yet, probably due to your July 2010 “Turning Your Amp On” column!
Could you cover restoring an amp like this? I don’t necessarily want to restore it to original condition—just make it safe and playable. Oh, and clean—there was a wasp nest inside! I’d like to keep any removed parts for the sake of collectability, but realize that the amp probably needs a grounded plug and maybe other safety precautions. I appreciate any information you might offer. Thank you for your time.
—John Gilbert
 |
 |
Thanks for reading the column and for your comments. Let’s see if I can shed some light on your restoration question.
Not being familiar with this particular Supro model, I went hunting for a schematic. Once I found it, I realized that this very basic amp would be an excellent candidate for a first-time restoration. Actually, I’ve seen a couple of different versions of a schematic for this model, one with a simple Volume control or a Volume and Tone setup. Yours is obviously the latter, which has three inputs, a 6SL7 preamp tube, a 5Y3 rectifier tube, and a single 6V6 or a pair of 6V6 output tubes running parallel in a single-ended configuration.
Either way, this is a pretty basic amp. As far as sourcing parts, most typical replacement parts that I discuss here should be available from the many tube amp parts suppliers on the web, including Mojo Musical Supply, Antique Electronics, and Amplified Parts.
First, regarding tubes and commercial tube checkers: They may have been okay to keep your television running in the early days of black-and-white broadcasts, but they don’t really provide a comprehensive way to check the quality of audio tubes. My suggestion would be to at least replace the two 6V6 output tubes, as fresh tubes in the output stage can bring a huge improvement in sound. Generally speaking, once the restoration is finished, if the amp functions fine with the 5Y3 rectifier tube, it’s really not necessary to replace it. As far as the 6SL7 preamp tube is concerned, if the amp is producing any popping or crackling noises after the initial overhaul, replace this tube. If it continues to generate extraneous noises, you may need to replace additional components. I’ll cover this in Part 2 of this restoration series.
Replacing the line cord is definitely a good idea, especially since there’s a good chance that it’s dry rotted and possibly crumbling in your hands. Unsolder the two existing line cord connections, remove the old cord, and replace it with a new 3-conductor grounded cord. Referring to the Supro schematic at hand, I’d recommend connecting the black (or brown) lead to the power switch and the white (or blue) lead to the fuse holder.
You should also see a 0.05 μF 600V capacitor with one lead attached to a fuse holder terminal and the other lead attached to the chassis, possibly using a solder lug. I would recommend replacing this capacitor with a currently available 0.047 μF 600V cap. A Sprague Orange Drop or any other poly-cap would be fine for this location. Once that’s replaced, attach the green (with yellow stripe) wire to the chassis at this point, either using a separate solder lug or soldering directly to the existing capacitor lead connection. This will add a safety ground to your chassis, as well as leave the common line of the AC power tied to ground and through the grounding capacitor.
Next month, in the second half of this Supro restoration column, we’ll discuss how to give the amp a good electrical cleaning, evaluate its filter capacitors, troubleshoot noise, and more.
Jeff Bober one of the godfathers of the low-wattage amp revolution, co-founded and was the principal designer for Budda Amplification. Jeff has just launched EAST Amplification, and he can be reached at pgampman@gmail.com.


