
Intermediate
Intermediate
- Develop an understanding of how to approach chord tones with bends.
- Learn to think and phrase like a pedal-steel player.
- Create old-school, honky-tonk lines with a twist.
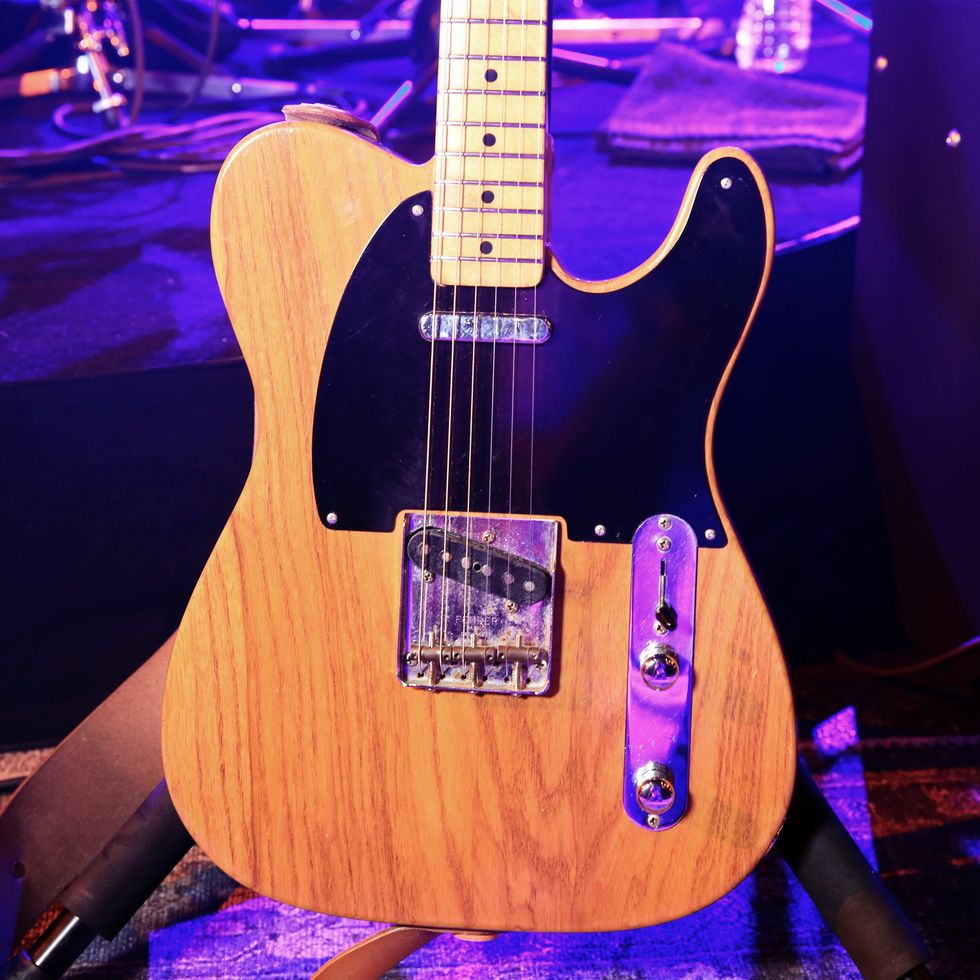
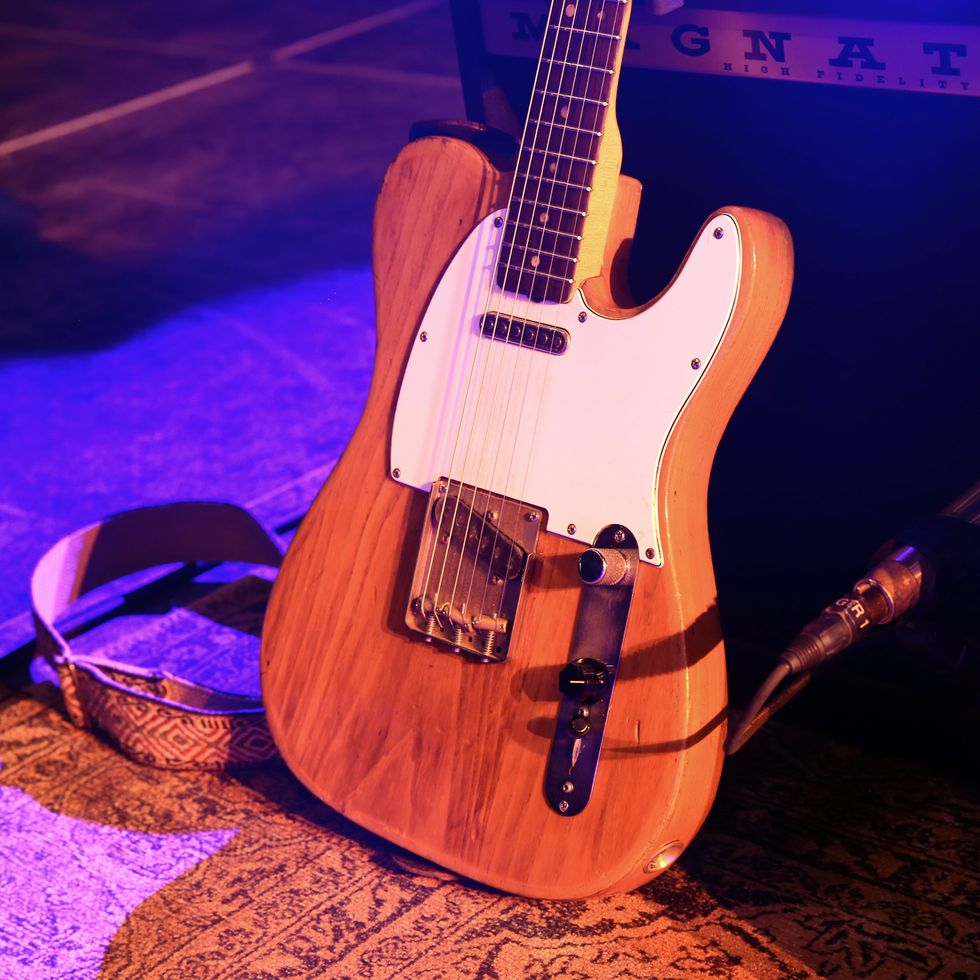
Let’s face it folks, pedal-steel is a pillar of the country music sound. It’s one of my favorite instruments—not just in country, but all music genres. The ability to play complex chords, the range of the instrument, the way you can manipulate bends (with knee levers and pedals), and the lyrical quality and tone add so much to the country sound. The textures and chord voicings can really beef up a rhythmic part, but also can make you cry in your beer with a single-note line that includes so much articulation and manipulation it can make your head spin. We are going to mainly focus on a one element that really makes the pedal-steel guitar special and very difficult to emulate on guitar: bending notes.
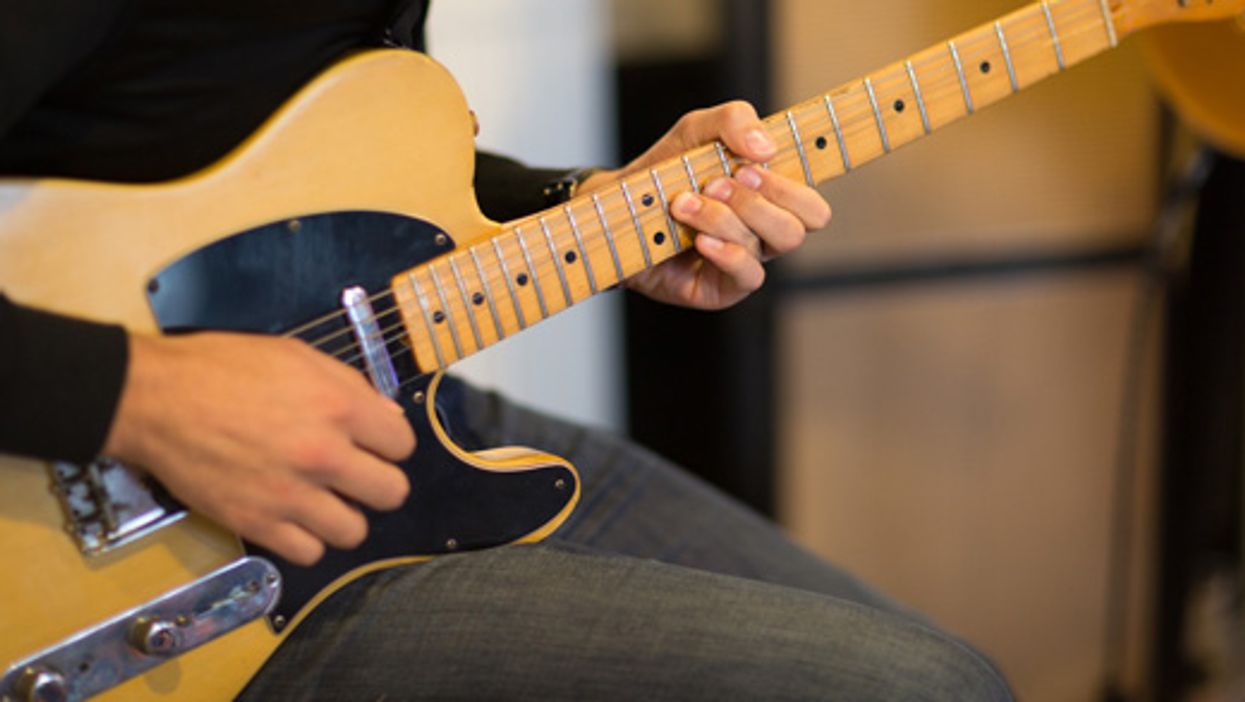
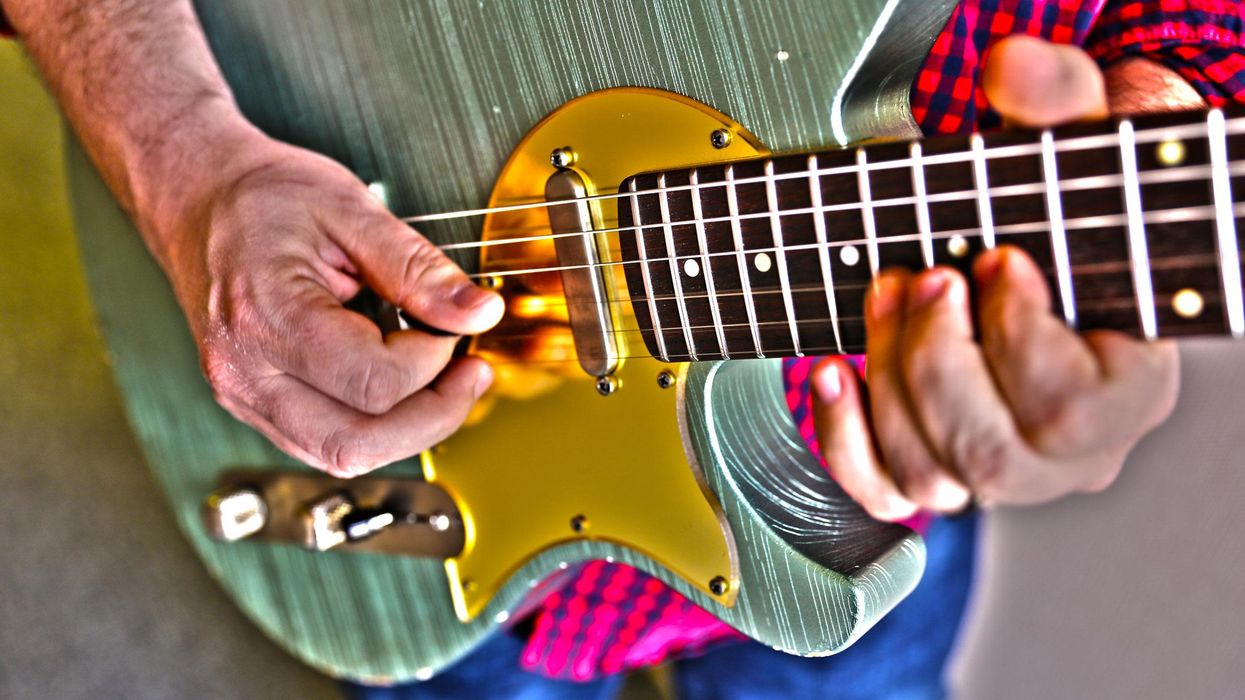
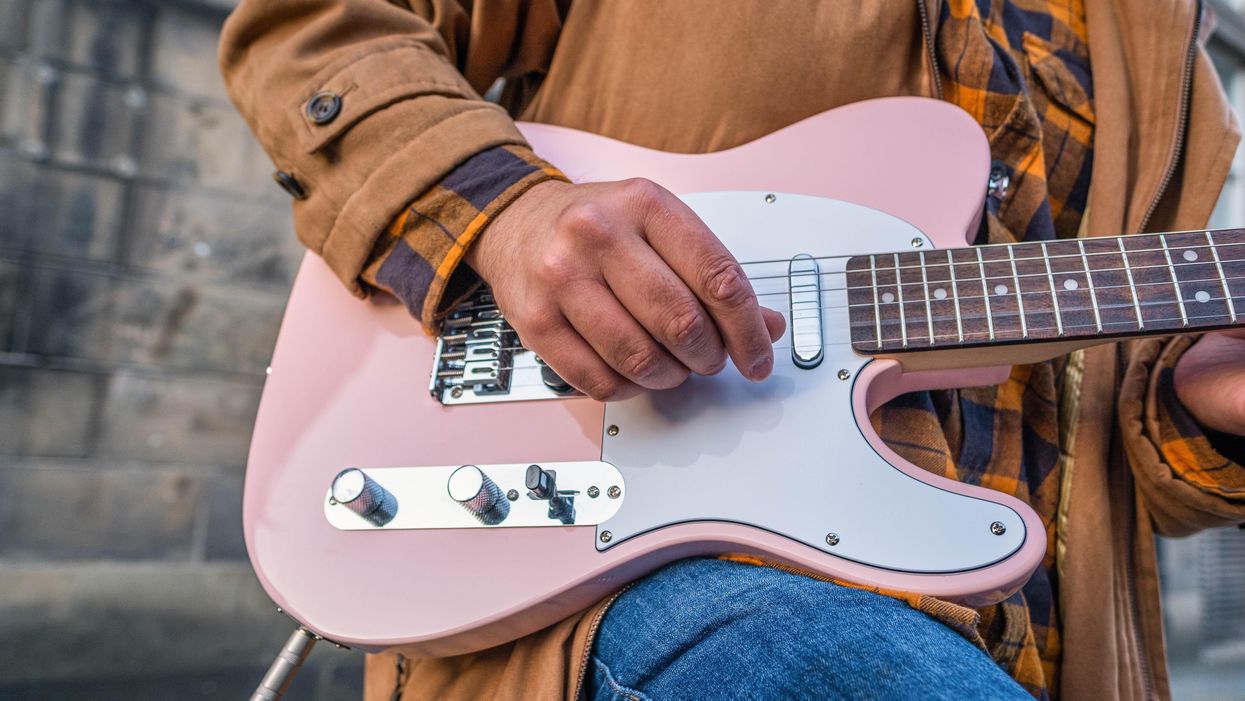
Most guitar players typically will bend with their ring finger. In some of these examples you will be bending with your index and middle as well—in a very foreign fashion. Think of it like lifting weights and adding more independence to each individual finger. It’s not easy and will take time if you’re not used to this technique. Keep in mind, you do not need any bender built into your guitar. Your fingers will do all the work. I also didn’t include any licks using a volume pedal although you could incorporate one if you desire
Now let’s break down these licks!
The first two examples will give you a good idea of how to start thinking like a pedal-steel player. Ex. 1 is a simple A major scale (A–B–C#–D–E–F#–G#) but certain notes are bent instead of fretted. Note the half-step bend on the 3 (bend that with your middle finger) and the full-step bend on the 7th fret of the 2nd string, as well as the half-step bend to get back to the A. Mastering playing in tune is vital to having that pedal-steel effect on guitar. I would also let the first note played in this example ring until you’ve reached the 2nd string. This will give the line a cascading effect. Listen to the audio example and try to match the phrasing and articulation of the line. For all examples a healthy dose of reverb helps notes “sing” more.
Ex. 1
Ex. 2 is a descending line that starts with a pre-bend. You will see this technique a lot. It’s a key component in getting the sound. Ring finger does all the bends on this lick.
Ex. 2
While there is only one bend in this example, you’ll need to hold the bend on the 12th fret of the 3rd string while moving your pinky from the 13th fret down to the 12th fret on the 1st string. This is a pretty standard type of steel lick that I always use in my playing. It works great over a C chord.
Ex. 3
The tricky part about Ex. 4 is connecting the two separate bends. You do this by releasing the bend at the 11th fret on the 3rd string and sliding down to the 9th fret then bending up again. It should be seamless and immediate to get the phrasing correct. All bends are done with your ring finger. This is just a great lick to play over an E chord.
Ex. 4
In Ex. 5 we add an element of chicken picking with a “cluck” or dead note before the first three bends. We work down the neck with a series of pre-bent double-stops. It’s a standard but effective pedal-steel technique, but it’s tricky. The first bend in measure 1 bends the 1st string up a half-step while the 2nd string goes up a whole-step. It sounds complicated, but because of the differing string gauges, it actually works pretty naturally. Just go for it. The next double-stop bend requires both the 3rd and 2nd strings to go up a whole-step. Attitude is more important than intonation, so do it with no fear. For the final Gsus2 to G bend, barre your pinky on the top two strings and use your middle finger to bend up a whole-step.
Ex. 5
Ex. 6 works well if you’d like pedal-steel bends over minor chords. This lick uses some open strings, which creates a nice tension that emphasizes the 9 (B) against the Am chord. As you work your way down the neck, you’ll need to bend with the middle finger on the 7th fret of the 3rd string. More notes in this lick but well worth the work.
Ex. 6
Ex. 7 is another pre-bend lick that uses unison notes, which is common for steel players. In this turnaround lick, use your in index to bend down on the 2nd fret of the 3rd string. You could think of this as an end of a tune lick so using rubato or a free feel is cool.
Ex. 7
Here (Ex. 8) we move into a repetitive lick with a triple-stop slide at the end barred with the index finger. Notice we start in a simple D minor shape. Adding a bend gives it lots of texture and once bent, the chord functions nicely as a G7. The middle finger is busy on this lick, bending up a whole-step on the 14th fret of the 3rd string.
Ex. 8
Hopefully you’ve enjoyed some of these licks. They aren’t easy but they add some cool textures, tension, and resolution to your guitar lines. Make sure to really try to nail the part as close to the recording as you can. It’s taken me years of practice and thousands of gigs to really have some of these ideas and licks under my fingers. This is just a small microcosm of the possibilities of these kinds of licks. Let them inspire you to try to write your own or fit them into a tune you already play.
I like incorporating pedal-steel bends into my playing because it makes me think about different musical elements. Experiment with half- and whole-step bends, as well as pre-bends, and learn to phrase more like a pedal-steel player. It’s fun and challenging and will add tons of color and options when creating musical lines.
- Cosmic Country: A Bad Case of the Bends - Premier Guitar ›
- Orange Guitar: “Little” Steel Guitar Voicings - Premier Guitar ›
- Twang 101: Pedal Steel Bends 101 - Premier Guitar ›
- Pedal to the Metal: A Short History of the Pedal Steel Guitar ... ›
- Chromatic Twang - Premier Guitar ›
This wonky Zim-Gar was one of many guitars sold by importer Gar-Zim Musical Instruments, operated by Larry Zimmerman and his wife.
The 1960s were strange days indeed for import guitars, like this cleaver-friendly Zim-Gar electric.
Recently I started sharing my work office with a true gem of a guy … one of the nicest fellas I’ve ever come across. If you’ve been following my column here, you might remember my other work mate Dylan, who is always telling me about new, fad-type things (like hot Honey guitars) and trying to convince me to use AI more. (What can I say, he’s a millennial.) But Steve, on the other hand, is about 10 years my senior and is a native New Yorker—Brooklyn actually, from the Canarsie neighborhood. Steve is a retired teacher and spent many years teaching in the Brownsville area of Brooklyn, and man, he has some amazing stories.
Mostly we talk about music and sports (he’s exiled here among us Philadelphia sports fans) and he’s just endlessly interesting to me. He has a huge appetite and can eat a whole pizza. When he talks, he sounds like one of the Ramones and he still has an apartment in Rockaway Beach. We both love Seinfeld and, like George Costanza, Steve knows where all the great bathrooms are across New York City. Since he’s been added to my circle (and is such a mensch), I decided I should work him into a column.
So here’s the connection: Back in the day there were many American importers, dealers, and wholesalers. A lot of them were based in New York, Chicago, and Los Angeles, but I only know of one guitar importer located in Brooklyn: Gar-Zim Musical Instruments. The company was run by Larry Zimmerman and his wife, and the couple had some success importing and selling Japanese guitars and drums. I used to see early Teisco imports with the Zim-Gar badge, which was the brand name of Gar-Zim. I’ve also seen Kawai guitars with the Zim-Gar label, but the Zimmerman’s seemed to sell cheaper and cheaper gear as the ’60s wore on, including the piece you see here.
“This build reminds me of the cutting boards I used to make in wood shop back in my high school days.”
The model name and factory origin of this guitar is a mystery to me, but this build reminds me of the cutting boards I used to make in wood shop back in my high school days. The guitar is just flat across the top and back, with absolutely no contouring or shaping. Its offset body is plywood with a thin veneer on the top and back. From a distance this guitar actually looks kind of nice, but up close you can see a rather crude and clunky instrument that offers little flexibility and playability. The non-adjustable bridge is off center, as is the tremolo. It was really hard to get this guitar playing well, but in the end it was worth it, because the pickups were the saving grace. Another example of gold-foils, these units sound strong and raw. The electronics consist of an on/off switch for each pickup and a volume and tone knob. The tuners are okay, and the headstock design is reminiscent of the Kay “dragon snout” shape of the mid to late ’60s, which is where I would place the birthdate of this one, probably circa 1966. Everything is just so goofy about this build—even the upper strap button is located on the back of the neck. It reminds me of that era when simple wood factories that were making furniture were tasked with building electric guitars, and they simply didn’t know what they were doing. So, you get oddities like this one.
Gar-Zim continued to sell guitars and other musical instruments through the 1970s and possibly into the ’80s. I once even saw a guitar with the label Lim-Gar, which is totally puzzling. I think there should’ve been a Stee-Gar designation for my new buddy Steve-o! Yes, good readers, with guitars and me, there are always just a few degrees of separation.
Dive into the ART Tube MP/C with PG contributor Tom Butwin. Experience how this classic tube-driven preamp and compressor can add warmth and clarity to your sound. From studio recordings to re-amping and live stage applications, this time-tested design packs a ton of features for an affordable price.
Art Tube Mp Project Series Tube Microphone/Instrument Preamp
Designed in Rochester NY and originally released in 1995, the Tube MP is celebrating its 30th anniversary in 2025.
The Tube MP/C is the most fully-featured member of the Tube MP family, designed for recording guitarists and bassists. It is a tube mic preamp and instrument DI with advanced features including an optical compressor/limiter and switchable line/instrument output levels for use as a re-amping device.
The Oceans Abyss expands on Electro-Harmonix’s highly acclaimed reverb technology to deliver a truly immersive effects workstation. The pedal is centered around dual reverb engines that are independently programmable with full-stereo algorithms including Hall, Spring, Shimmer and more. Place these reverbs into a customizable signal path with additional FX blocks like Delay, Chorus, Tremolo, or Bit Crusher for a completely unique soundscape building experience.
Electro-Harmonix has paved the way for powerful, accessible reverbs since the release of the original Holy Grail and now we’ve pushed the envelope deeper with the fully-equipped Oceans Abyss. Featuring a customizable signal path with up to 8 effects blocks, the Oceans Abyss can be configured as individual reverb, modulation, EQ, delay, bit crusher, saturation or volume effects, or as countless combinations for incredibly creative effect shaping. From a simple Spring reverb to a lush stereo field featuring stereo hall and shimmer reverbs, chorus, delay, overdrive, and tremolo, you can go from surf to shoegaze instantly, without breaking a sweat.
Deep parameter editing is accessible via the high-visibility OLED display with multiple graphical views and easy-to-read designs. Expression/CV control over nearly every parameter gives artful control of your effects and dynamics. Fully-stereo I/O plus an FX Loop allows for use with any instrument, recording set up, or live rig. 128 programmable presets via onboard footswitching or MIDI ensure perfect recall in all performance situations. MIDI IN/OUT ports with MIDI IN support of PC, CC, and Tempo Clock expand the already immense talents of the Oceans Abyss. Connect with UBS-C to Windows or Mac for effects editing, preset management, and more with the free EHXport™ app (coming soon).
- Two Stereo Reverbs available at once, each fully pannable in the stereo field
- 10 reverb types to choose from: Room, Hall, Spring, Plate, Reverse, Dynamic, Auto-Infinite, Shimmer, Polyphonic, Resonant
- Additional FX blocks: Delay (Digital, Analog and Tape emulations), Tremolo, Chorus, Flanger, Phaser, Graphic EQ, Saturation, Bit Crusher, External FX Loop, Volume
- Create custom signal path routing with up to 8 effects blocks. Two blocks may be re-verb, the rest may be any of the additional FX blocks.
- Infinite reverb sustain with the press of a footswitch
- Stereo Audio I/O
- Stereo FX Loop routing on TRS Jacks
- Dual action footswitches allow for momentary or latching use
- Easily enable or disable tails
- 128 fully customizable presets
- All controls can be saved to presets
- Dive deep into global and preset settings to set up Oceans Abyss for your specific needs
- Illuminated slide pots and buttons
- High-visibility OLED graphical display
- Multiple graphical views: Signal Path, Performance, Settings, Physical, Explorer
- Easy-to-navigate menu system
- Ergonomic NavCoder knob allows rotary and directional navigation through menus
- EXPRESSION / CV input to control nearly any parameter in any FX block
- Footswitch input allows for adding up to three external footswitches, each assigna-ble to a number of functions
- MIDI In and Out. MIDI IN supports PC, CC (over nearly every available parameter), and Tempo Clock
- USB-C port to connect to Windows or Mac and interface with EHXport™ app (coming soon)
- 96kHz / 24-bit sample rate conversion
- Supplied with 9.6VDC / 500mA power supply
Our columnist’s silver-panel Fender Bandmaster.
How this longstanding, classic tube amp design evolved from its introduction in 1953.
I have a silver-panel Bandmaster Reverb that I don’t think I’ve talked about enough in this column. It’s one of the most versatile and flexible amps I own, so I use it for everything. It’s portable, has tube-driven reverb and tremolo, and has a full set of EQ knobs including the critical bright switch, which we discussed the importance of earlier this year (“How to ‘Trebleshoot’ a Vintage Fender Amp,” March 2025). The amp is not only pedal-friendly; the flexible 4-ohm output impedance will handle almost all speaker configurations and sound any way you’d like. Let’s take a deeper look at the Fender Bandmaster amp and walk through its development through the years.
The first Bandmaster was introduced in 1953 as a wide-panel tweed amp with Fender’s 5C7 circuit. This rare combo was loaded with a single 15" Jensen P15N and powered by dual 6L6GC tubes in push-pull configuration to produce a modest 25 watts. The 6L6GCs were cathode biased and along with the 5U4GB rectifier tube contributed to a forgiving sag, early breakup, and a midrange-y voice.
Fender made several changes when they launched that amp’s successor in 1955, the more widely known 5E7 narrow-panel Bandmaster, a well-proven amp that has come back as a reissue model. It was still a dual-channel amp—instrument and microphone—but the newer 5E7 model had a fixed bias and a negative feedback loop, providing a louder, firmer, and cleaner tone. Most importantly, the single 15" speaker was replaced by three 10" speakers, making it very similar to the narrow-panel tweed Bassman, the granddaddy of all Marshall amps. This Bandmaster had three speakers instead of the Bassman’s four, and it delivered 25–30 watts instead of 40. It offered early breakup with a midrange-y, big and full tone.
For those not acquainted with tweed amps, the volume and EQ knobs behave differently than on silver- and black-panel Fender amps. The volume pot can act like a distortion control, while the EQ knobs control the volume, and many players I’ve talked to have not really unlocked this secret. This works because, in these circuits, the volume pot sits right before the preamp tube, which allows it to push the tube into full distortion. Since the EQ pots are located right after and are capable of reducing the volume, you’re able to distort the preamp at low volume settings.
“Things became more standardized in 1964 with the arrival of the black-panel AB763 Bandmaster, an amp I have worked on a lot and appreciate for its robustness, simplicity, and versatility.”
In 1960, a short-lived and rare Bandmaster dressed in brown tolex and a black faceplate appeared with the 5G7 circuit. From here on, all Bandmasters had the modern top-mounted chassis. With this circuit, the Bandmaster started to both look and sound more like a black-panel amp. It kept the 3x10" speakers but got a diode rectifier and bigger transformers resulting in a 45-watt output. Tremolo was introduced for the first time, and both channels were now intended for guitar.
The following year, a blonde 6G7 Bandmaster followed as a smaller amp head paired with a 1x12 extension cabinet. It had the timeless early blonde looks with cream tolex, brown faceplate, oxblood grill cloth, large Fender logo, and white knobs. But halfway into the blonde era, towards 1964, things turned strange and rather confusing. There were suddenly two 12" speakers, black knobs, a wheat-colored grill cloth, a more slim black-panel-style Fender logo, a black faceplate, and all in various combinations close to the transition into ’64.
Things became more standardized in 1964 with the arrival of the black-panel AB763 Bandmaster, an amp I have worked on a lot and appreciate for its robustness, simplicity, and versatility. It offers a pure, clean, scooped black-panel tone that’s somewhere between a Vibrolux Reverb and Pro Reverb, which share the medium-sized 125A6A output transformer and dual 6L6GC tubes. With its medium/high power and flexible 4-ohm output impedance, it can drive all kinds of speaker cabinets—as long as you stay between 2 and 8 ohms, you are safe.
For a short time in 1967–68, there was a transitional Bandmaster with aluminum trim and black-panel innards before the all-new silver-panel Bandmaster Reverb replaced it in 1968. The small-head cabinet had grown in size and, unfortunately, weight to accommodate the reverb tank. The amp got a 5U4GB rectifier tube along with a few general silver-panel changes to the circuit. Several silver-panel models existed with minor differences until a 70-watt beast version came along in 1977 with master volume.
To my own 1968 Bandmaster Reverb, I have done a few adjustments. First, I made a custom baffle to hold two 8" speakers. I installed a pair of WGS G8C speakers that fit perfectly on the baffle board without colliding with the reverb tank or transformers. Sometimes, I use only one of the 8" speakers for bedroom volume levels. Second, I reversed the bias circuitry to standard AB763 specs, making it easier to adjust bias correctly on both power tubes. If you are into sparkling clean and funky Strat sounds, you would love this little 2x8" combo.