

I’m always thrilled to see a tweed Fender amp come across my bench. During the tweed era, Fender was producing some of their most dynamic amplifiers, which are still heavily sought after today. Most of the time, I have the pleasure of working on the more common tweed Champs and Deluxes. This month, I was lucky to have a rarer 1958 tweed Bandmaster on the bench for a full restoration.
The Bandmaster was introduced in 1953 as the 5C7. This was during the “wide panel” cabinet era, which quickly shifted to the narrow panel cabinets a few years later. The wide panel 5C7 housed one 15" speaker, while the 5E7 narrow panel Bandmaster housed a total of three 10" speakers. The amp pumps out roughly 25-30 watts of power, and with a ton of natural distortion through the trio of speakers, this amp is one of the more unique of the Fender tweeds.
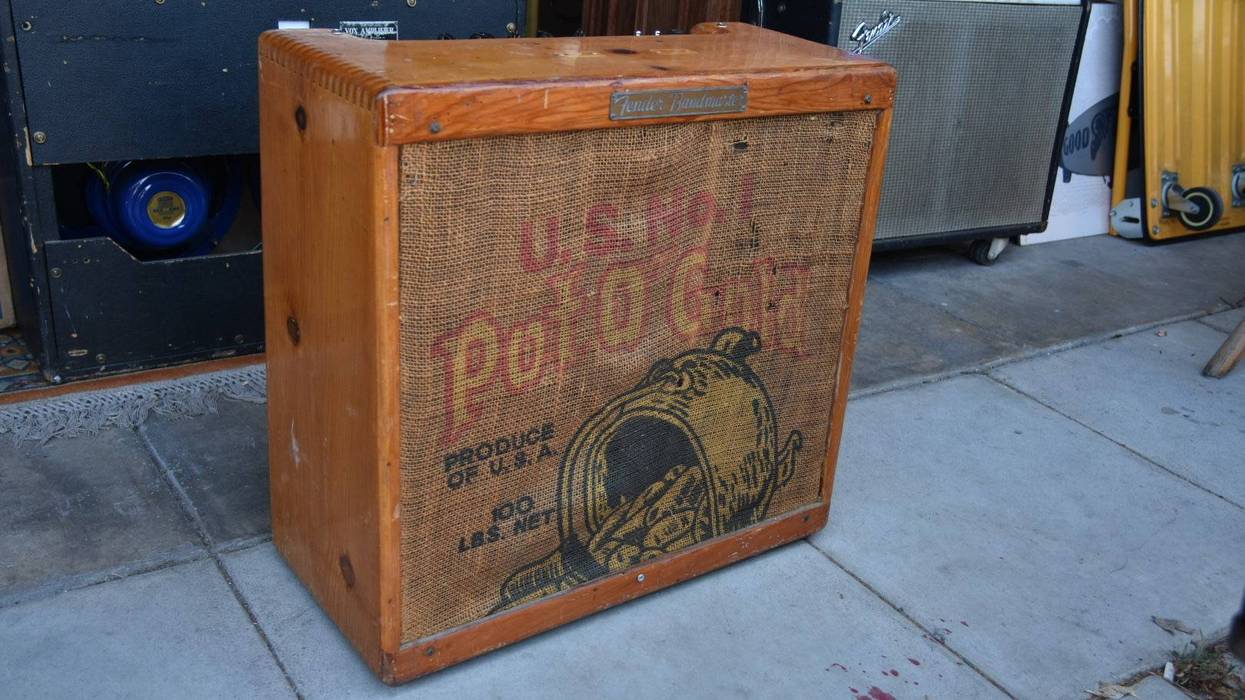
The Bandmaster was brought into the shop by a father who wanted to restore the amp for his daughter to use. Aesthetically, this amp is one of a kind. The cabinet had been previously stripped of its tweed, and now sports a beautiful exposed wood finish. The grill cloth had been replaced with an old burlap “Pot O Gold” potato sack, which gives the amp some very unique character.
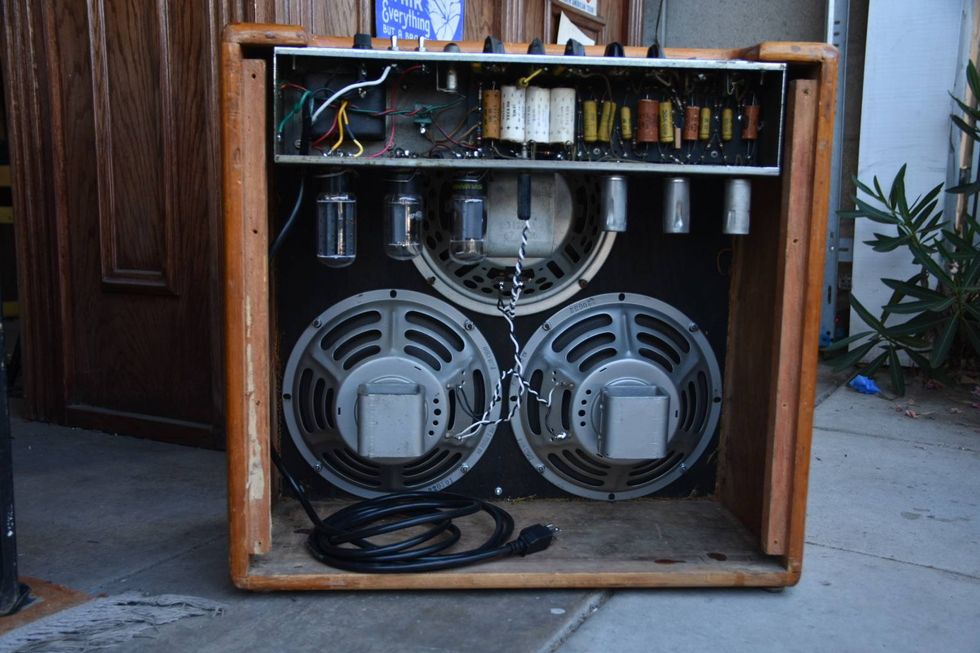
The circuitry in this amp had been mostly untouched. Exposure to the elements left the chassis very dirty, with many broken wires and cracked solder joints. I knew that I would be replacing all of the electrolytic capacitors, which is necessary for an amp of this age. With tweed amps, I like to install the new capacitors inside the old cardboard covers to preserve the original aesthetics. There is nothing like removing the back panel of a tweed amp and seeing those ’50s-era colors and textures.
“This Bandmaster simply oozes soul, and zaps life into the guitar.”
With this amp, it was very important for me to clean out the chassis. So much dust and debris was covering the circuitry and tube sockets, which could certainly cause some safety or overheating issues. With the large electrolytics out of the way, I was able to really get in there and remove as much dirt as possible. This is where the air compressor and shop vac come in handy! Once the chassis was clean, I went through and re-soldered every connection. The fresh, shiny solder joints will help the amp function more reliably than with the dull, cracking joints.
After this first round of work, I installed a grounded 3-prong power cable. The amp was now safe to actually turn on and test. Immediately, I noticed the power and standby switches were sticking and needed to be replaced. I installed new toggle switches and the amp fired right up. Once I confirmed that everything was working properly, I let the amp run for a while to listen for any noise issues. Miraculously, I did not hear any pops, crackles, or hum, which means the restoration is almost complete!
The final circuit check comes down to the coupling capacitors. In this amp, we have beautiful yellow Astron capacitors with green writing. All of these capacitors are original, and in order to leave them all in, I need to make sure they’re still healthy. Some of these capacitors are part of the tone stack, which shapes the guitar signal by blocking or passing specific frequencies. The other coupling capacitors pass the guitar signal from one gain stage to the other. Often these capacitors connect to the plates of the preamp tubes, where signal from one stage has just been amplified. There is a high DC voltage applied to the plates of the preamp tubes, which is necessary to power the tube. We don’t, however, want that high voltage to travel through the coupling capacitor and into the rest of the signal path.
I go through the schematic and check any coupling capacitor that connects to a high voltage point. I confirm the high DC voltage on one side of the cap with my multimeter, and then check the DC voltage on the other side. The goal is to see close to 0 VDC, but sometimes the capacitors will break down and begin to leak the DC voltage into that signal path. If I see more than 1 or 2 volts on the other side of that cap, I may opt to replace it. Sometimes that leaked voltage will cause noise or scratchy controls. In the case of the potato sack amp, I was able to leave all of those yellow Astrons original.
This amp sounded so sweet. I had never played through a tweed Bandmaster before, so this was a treat for me. There was so much natural growl and lively touch response, but without being too loud. There’s no surprise that this amp was favored by guitar players such as Joe Walsh and Pete Townsend. This Bandmaster simply oozes soul, and zaps life into the guitar.