Dear Amp Man,
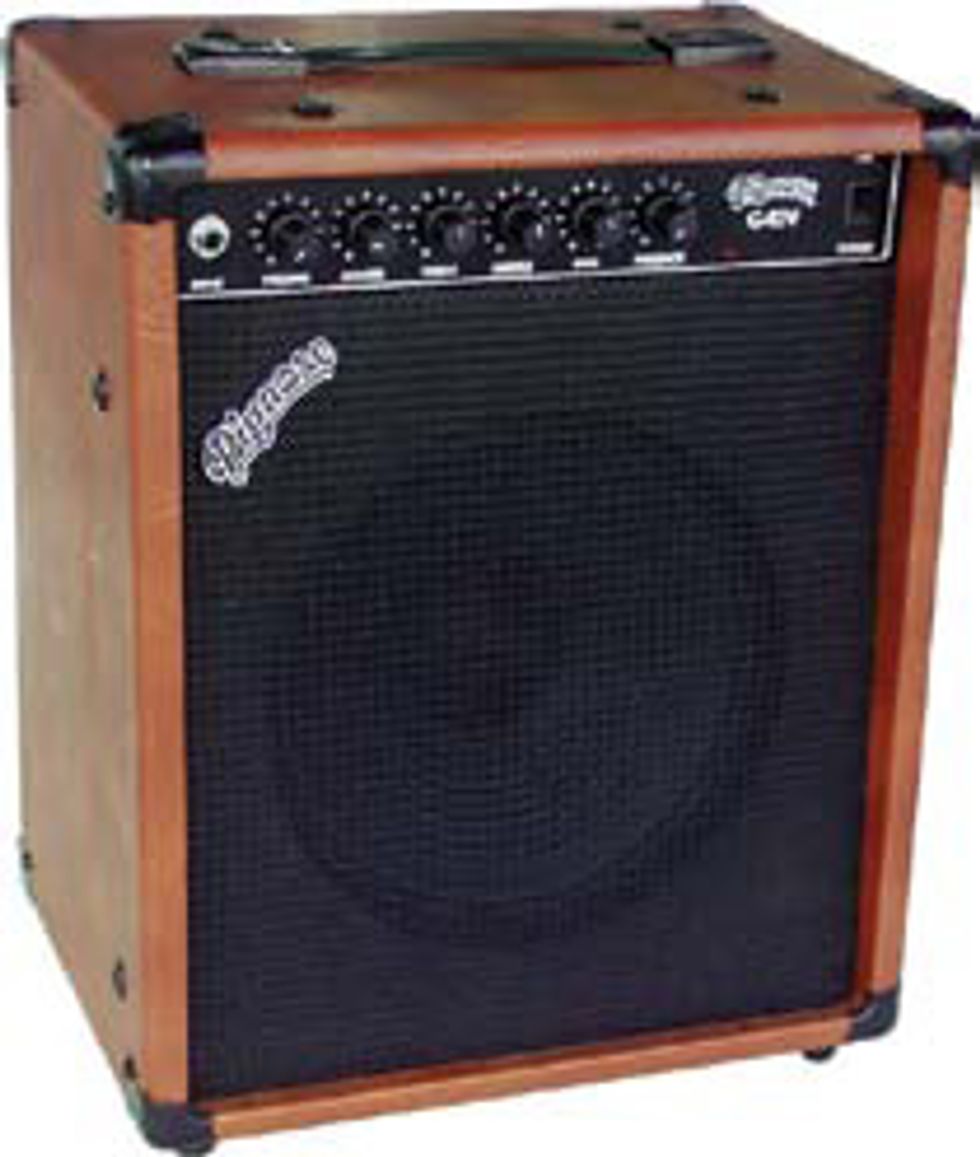
Please write a column about the Pignose G40V. I have not
used mine in five years, so I’m curious what’s necessary to
get it up and running. Also, please discuss any mods, like a
standby switch or speaker/line out. I have replaced the factory
speaker with an Eminence Legend. Also, what are your
thoughts on converting the G40V to a head, since its cabinet
is so small? Thanks!
—John Mitchell, Escondido, CA
Hi John,
 |
An amp that has been sitting this long is more than likely going to need a bit of electrical cleaning. You’ll need to invest in a couple of cans of electronic cleaner—one with lubricant and one without. Clean the input jack and the pots with the lubricant cleaner. Clean the tube sockets with cleaner only. Due to limited space, I won’t go into cleaning details right now, but I’m sure you can find instructions online if you need them.
Also, as a general practice, many techs recommend that you “reform” the electrolytic capacitors in an amplifier that has been unused for years. While I don’t believe that’s necessary for an amp that’s been idle for only five years, if you have the ability to do this, it certainly wouldn’t hurt.
Warning: Working inside an amp is very dangerous—it can even be lethal. So if you are not familiar with the inner workings of a tube amplifier and the possible hazards involved, please have this work performed by someone who is.
To do this, remove all the tubes and connect the amp to a Variac or similar variable line-voltage device. With the Variac set to zero volts, turn the amp on. If you have the ability to measure the B+ (high) voltage in the amp, attach your negative meter lead to a good chassis ground point and connect the positive lead to the center-tap lead of the output transformer.
From here, you’ll be able to measure the B+ immediately after the rectifier circuit. Turn the Variac on and slowly raise the level until you measure approximately 50 volts at this point. If you do not have the ability to measure internal voltages, this would more than likely be a setting of 10 to 15 volts on the Variac. From this point on, there really aren’t any particular “correct” intervals between increasing the setting, but every 10 minutes or so, raise the Variac approximately 10 volts. Do this until the Variac setting reaches 100 volts. You can then lower the Variac to zero and turn off and disconnect the amp. This process should have raised the caps to near their maximum voltage ratings.
Why didn’t we raise the Variac to the full 120V AC line level? With no tubes in the amp, there is no load on the power supply. With no load on the supply, the supply output voltage becomes substantially higher and would stand a good chance of over-voltaging the filter caps. If this happens, the caps can explode. Confetti everywhere! It looks like someone just had a New Year’s Eve party inside your amp—not good.
If all is well with the amp, at this point you should have a functioning G40V. Now we can move on to the extras.
You mentioned adding a standby switch, and I think that’s a good idea. Vacuum tubes should be at operating temperature prior to having high voltage applied to them, and I’m sure its omission on this amp was purely a price-point issue.
But you can install one, and here’s the most effective way I see to do this. Locate the two red leads attached to the power supply circuit board that come from the mains transformer. Disconnect both leads from the circuit board. Install a good quality DPST (double-pole/single-throw) switch of your choosing on the front panel next to the power switch. Connect these two red leads to a left and right set of terminals on the switch. From the other left and right set of terminals on the switch back, run a new pair of wires to the initial circuit-board connections. You now have a standby switch to save those tubes.
You also asked about converting the G40V to a head, since the cabinet was so small. Personally, I wouldn’t do it. Being that the amp is not much bigger than a large amp head anyway, why give up the option of having a portable, self-contained combo amp for rehearsals or small gigs? To play larger venues, all you need to do is unplug the internal speaker and connect the amp to a 2x12 or 4x12 cabinet—in essence, using the G40V as a head. You currently have the best of both worlds, in my opinion.
Next month, I’ll talk about adding a line out and discuss a few more possible modifications. Until then, keep dreaming about playing that cool little piggy!
 Jeff Bober is one of
the godfathers of the
low-wattage amp revolution,
co-founded and was
the principal designer for
Budda Amplification. Jeff recently launched EAST
Amplification, and he can be reached at
pgampman@gmail.com.
Jeff Bober is one of
the godfathers of the
low-wattage amp revolution,
co-founded and was
the principal designer for
Budda Amplification. Jeff recently launched EAST
Amplification, and he can be reached at
pgampman@gmail.com.