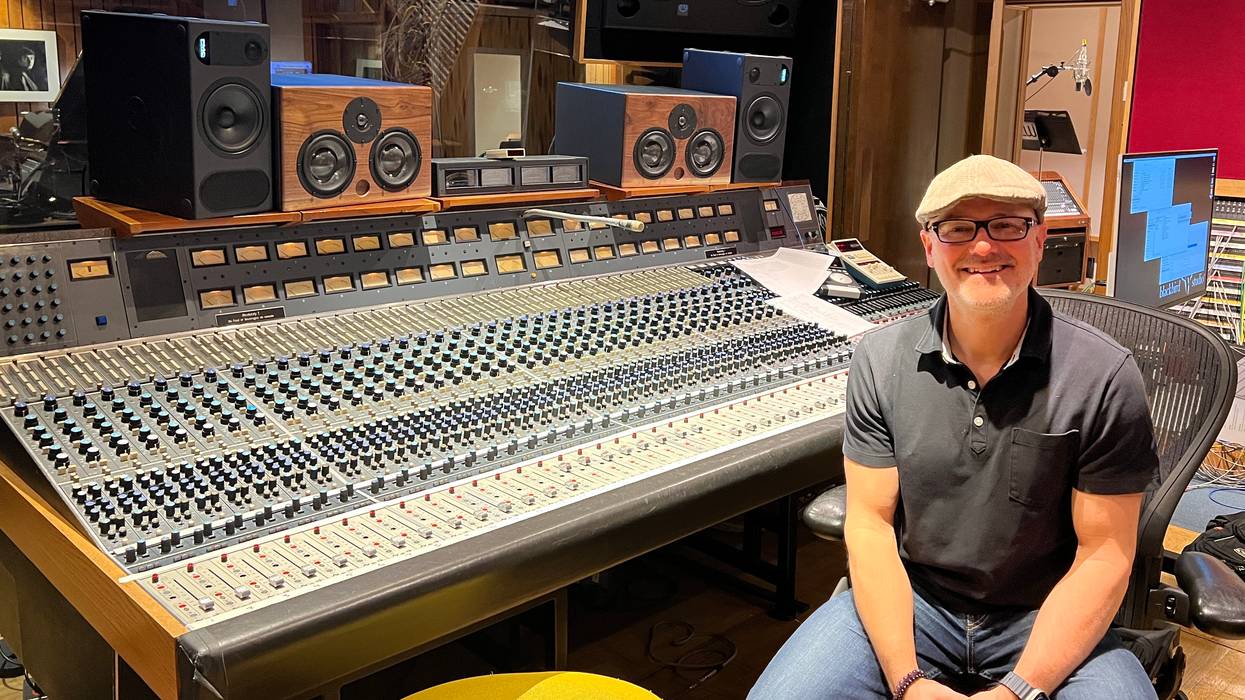

Improve your recordings using your own samples. Bryan Clark, house producer at Nashville’s Blackbird Studio, tells you how to take the final steps in building your own sample library.
Mastering the sample import process in your chosen DAW can significantly enhance your creativity and streamline your workflow. With a clear understanding of the tools and techniques available, you will be better equipped to bring your musical ideas to life and make your productions stand out.
This month, we finish up a three-part series on creating your own sample libraries. In this final installment, I’m going to give you the basic ways to import your samples into various popular DAWs. Each one has its unique workflow and user interface, but the fundamental process remains very similar. This Dojo guide will cover how to import samples into Ableton Live, LUNA, Logic Pro, Pro Tools, and Studio One.
Ableton Live
Steps to Import Samples
Drag and Drop: Simply locate the sample file in your computer’s file explorer, then drag and drop it directly into an audio track in the session or arrangement view.
Browser Window: Use Ableton’s built-in browser (on the left-hand side). Navigate to the sample’s location on your hard drive, then drag it into the workspace.
Create a Simpler or Sampler Instrument: Drag the sample into a MIDI track with Simpler or Sampler loaded. This allows you to trigger the sample using MIDI notes.
Tips: Use the warp feature for time-stretching and syncing samples to your project’s tempo.
Organize your samples into collections using the “Add Folder” option in the browser.
LUNA
Steps to Import Samples
Drag and Drop: Drag the sample from your file explorer directly into the timeline. Then hold the CTRL key down, click on the end of the loop, and drag it to the length it needs to be.
Browser/Workspace: Use the media browser to navigate to your sample’s location on your hard drive. Drag it into an audio track in your session.
Audio Track Import: Right-click on an empty area in the timeline or a track and select “Import Audio” to locate and add your sample.
Tips: Use LUNA’s built-in varispeed capabilities to match your sample to the session’s tempo.Logic Pro
Steps to Import Samples
Drag and Drop: Drag the sample from the Finder directly into an audio track in the workspace.
File Browser: Use the file browser (accessible via the media sidebar or “F” key) to locate and drag samples into the timeline.
Quick Sampler: Drag your sample onto a MIDI track with the Quick Sampler plugin loaded. This lets you play the sample chromatically.
Tips: Use Logic’s flex time feature to sync samples to your project’s tempo. Organize samples into Logic’s library for quick access.Pro Tools
Steps to Import Samples
Import Audio Dialog: Go to File > Import > Audio; then locate your sample and click “Convert” or “Add” to bring it into the session.
Drag and Drop: Drag the sample directly from your file explorer into an audio track.
Workspace Browser: Use the workspace (accessible via Window > New Workspace) to locate your sample. Drag it into your session.
Tips: Use the elastic audio feature for tempo matching and pitch adjustments.
Place your samples into playlists for efficient access during editing.
Studio One
Steps to Import Samples
Drag and Drop: Drag your sample directly from your file explorer into the timeline or browser.
Browser: Open Studio One’s browser (on the right-hand side), navigate to the folder containing your sample, and drag it into your project.
Sampler Track: Drag the sample onto a MIDI track, and use the Sample One sampler for additional manipulation.
Tips: Enable the “Stretch Audio Files to Song Tempo” option in the browser for automatic tempo synchronization. Create sample folders within Studio One’s browser for quick access.General Best Practices
Regardless of the DAW you use, it is important to maintain a smooth and efficient workflow. Organize your sample library with clear folder names and categories to make locating files easy (see last month’s installment for detailed strategies). Where possible, learn DAW-specific shortcuts for importing and editing samples to save time. Always check if your DAW offers a feature to sync the sample’s tempo to your project to ensure seamless integration. Finally, regularly back up your sample collection to avoid losing important audio files and preserve your creative assets! Seriously. Do it now.
Next month, we’re off to “console” land and I’ll be investigating console emulations (hype or not?), summing bus processors, and more to give you a more “studio” sound. Until then, blessings and namaste.