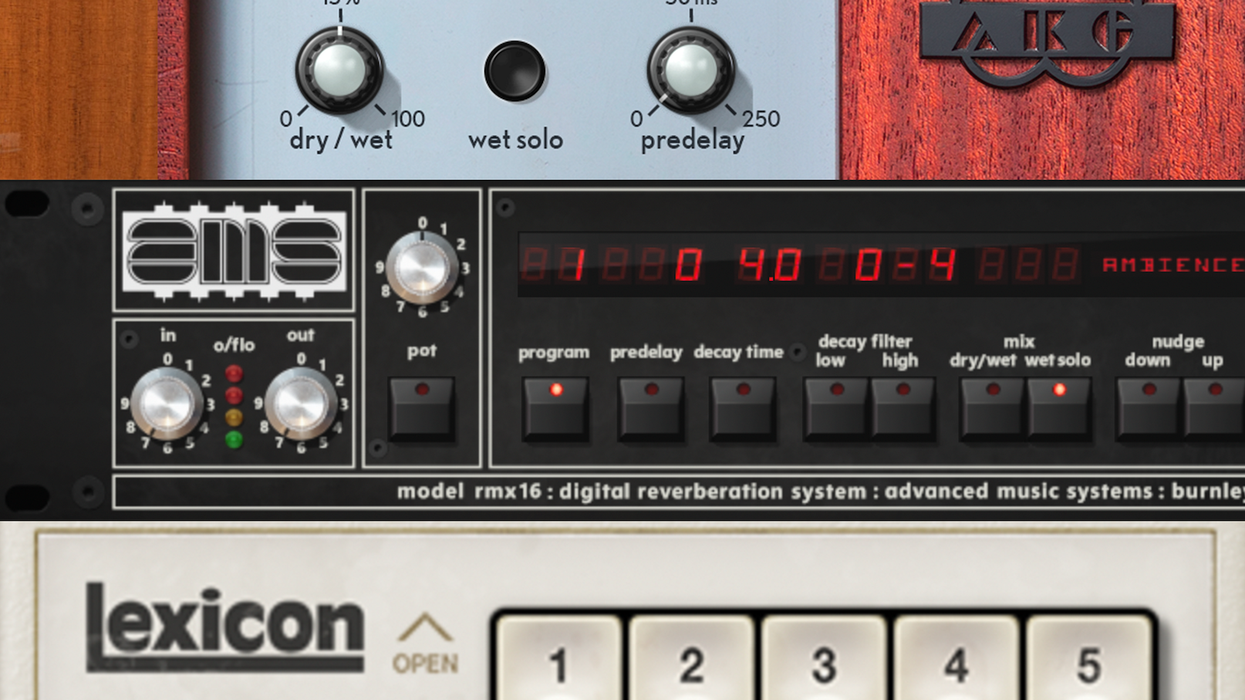


There’s been a subtle yet welcome return to one of my favorite corners of recording technology: the rack effects of the late ‘70s through the late ‘90s. Units made by Yamaha, T.C. Electronic, Lexicon, and Eventide, which were all once everywhere, spent far too many years relegated to the spandex audio detention hall and largely forgotten about. Now these vintage boxes are finding their way back into studios (they certainly are in mine). And for good reason.
They’re dripping with personality, charm, and built-in limitations. They are gloriously grainy. Wobbly and unpredictable. Some have tiny displays and menus that feel like programming your grandmother’s VCR in 1991—you have to read the manual. But those limitations are often insignificant to the character, charm, timbre, and bang for your buck!
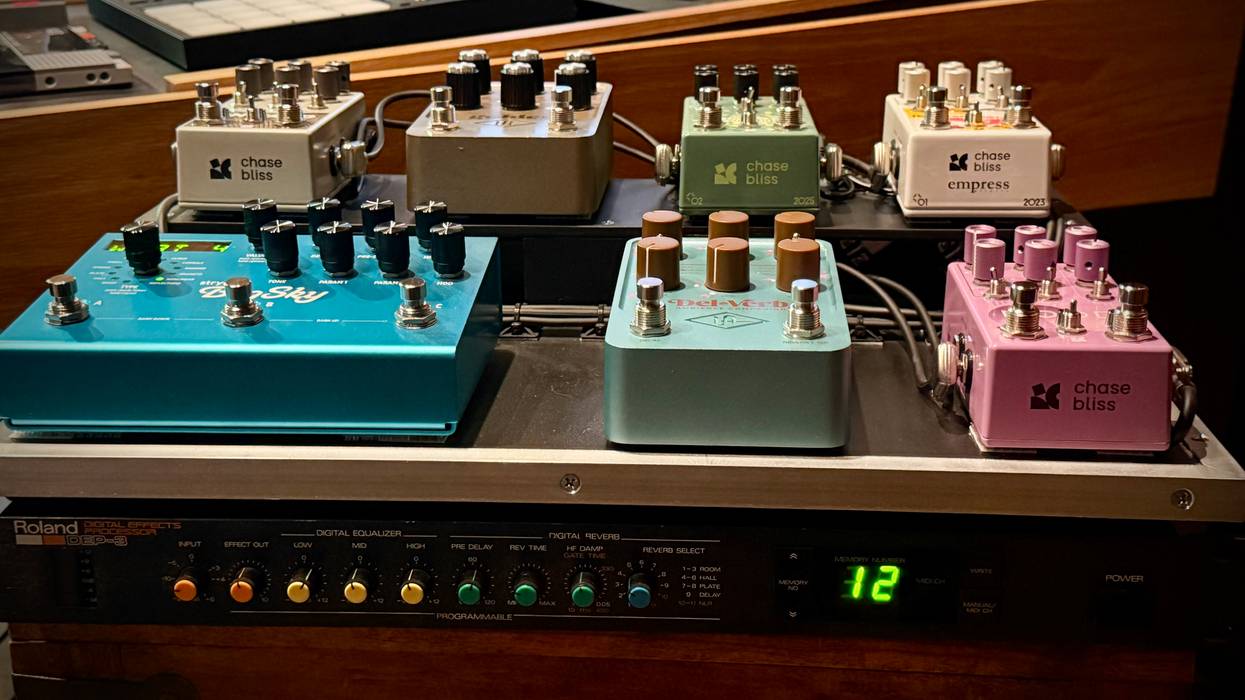
Add to this the fact that most modern guitarists, without thinking of it this way, already own an entire external-effects system: the pedalboard. Half a dozen pedals can easily cover compression, fuzz, and overdrive, as well as modulation effects (chorus, phaser, etc.) and time effects like delays and reverbs. So there’s never been a better time to learn how to use your gear as a hardware insert inside your DAW. Tighten up your belts, the Dojo is now open.
The Basic Signal Path
For conventional rack gear—compressors, EQs, reverbs, multi-effects processors, or devices with external audio inputs—the routing is straightforward:
DAW track → interface line output → rack gear → interface line input → DAW
Mono hardware requires one output and one input. Stereo hardware requires a pair. And many are mono in, stereo out (especially true for multi-effects processors designed to be used by guitar players back in the day).
Planning on using your pedalboard as a hardware insert? You’ll need to add a step in between that will take your signal from line level down to instrument level before hitting your pedalboard, and then bring it back up to line level before you come back into your DAW (See my Dojo article about this, “What You Should Know About Using Guitar Pedals With Other Instruments,” from September, 2022). Use a simple re-amp box to accomplish this. A typical pedal loop becomes:
DAW → interface line output → re-amp box input → pedalboard → re-amp box output → interface input → DAW
Some modern pedals can accept line level directly, but check the manufacturer’s specifications rather than making assumptions.
“Most modern guitarists, without thinking of it this way, already own an entire external-effects system: the pedalboard.”
Setting Up a Hardware Insert
So how do we do this? For starters, you have to physically connect inputs and outputs of the hardware to your interface.
1. Choose unused interface I/O
Pick a line level mono channel or stereo pair that isn’t feeding your monitors, headphones, or another device.
2. Connect the send
Run the selected interface output to the rack unit’s input. For pedals, go from the interface output into the re-amp box first, then to the pedalboard.
3. Connect the return
Connect the hardware output to an available interface input. With pedals, take the output and return through the re-amp box, and finally back into your interface.
4. Establish levels
Rack equipment expects line level. Pedals generally don’t. Start conservatively and make sure neither the hardware input nor your interface return is clipping.
5. Create the hardware insert in the DAW
Tell the software which physical output is the send and which physical input is the return. This varies by DAW, so be sure to read the manual to find the easiest way to do this.
6. Follow the signal
Press play and verify signal at the interface output, the external device, and, finally, the interface input. If the hardware meters are moving but you hear no return, stop troubleshooting the send—the problem is downstream.
7. Compensate for latency
The trip out of the interface and back takes time. All three DAWs below provide a way to compensate for it.
Pro Tools, Logic, and LUNA
In Pro Tools, open Setup > I/O > Insert. Name the hardware insert path. Pro Tools organizes hardware inserts around defined physical I/O mappings, so the Insert page needs to agree with your actual interface connections. Once configured, that path appears in the track’s insert menu. Setup > I/O > H/W Insert Delay handles additional round-trip compensation. The input and output channel numbers must match!
In Logic Pro, choose Utility > I/O on the channel. Logic lets you select the hardware Output and Input directly inside the I/O utility, so send and return can be different channel numbers. Its Latency Detection/Ping function measures the round trip and applies compensation.
In LUNA Pro, choose an insert slot, open Hardware Inserts, and select New Hardware Insert. Like Logic, LUNA lets you select the outgoing Output and returning Input independently. Press Calc to measure the round-trip latency and save the completed configuration as a preset if you use that hardware regularly.
Once that routing is established, the rack in the corner—and the pedalboard at your feet—becomes a much bigger part of the studio. Until next time, namaste.