

During a recent episode of my podcast (The Earworm Podcast), a cringe-worthy word was mentioned: “impedance.” Most of the time, impedance is one of those words that makes musicians suddenly remember they have somewhere else to be. But have no fear, there’ll be no math in this article. I’m going to decode this word for you and give you ways to make sure your mics sound their best!
During a recent episode of my podcast (The Earworm Podcast), a cringe-worthy word was mentioned: “impedance.” Most of the time, impedance is one of those words that makes musicians suddenly remember they have somewhere else to be. But have no fear, there’ll be no math in this article. I’m going to decode this word for you and give you ways to make sure your mics sound their best!
A while back (the September 2022 issue, to be exact), I discussed mic level, instrument level, line level, and speaker level, and looked at why sending audio from a DAW through guitar pedals requires the right level and impedance translation.
What is impedance? Simply, it is how much a circuit resists, or “pushes back,” against an alternating-current audio signal. Your microphone(s) has an output impedance. Your preamp has an input impedance. The relationship between those two can affect level, frequency response, transient response, noise, and more.
With modern microphones and preamps, “matching impedance” usually does not mean making the two numbers identical. Far from it. This idea comes from a world where engineers were trying to transfer maximum electrical power. In the studio, we are usually trying to transfer voltage (a.k.a., your music) cleanly. So, we normally want a microphone with a low output impedance feeding a preamp with a much higher input impedance (10x or higher!).
“What is impedance? Simply, it is how much a circuit resists, or ‘pushes back,’ against an alternating-current audio signal.”
A common rule of thumb is that the preamp’s input impedance should be at least ten times higher than the microphone’s output impedance. If a mic’s output impedance is 150 ohms, you generally want the preamp’s input to present a load of at least 1.5 kΩ (1,500 ohms) to 3kΩ (3,000 ohms). Lower input impedance values force the microphone’s diaphragm (or ribbon, if a ribbon mic) to work harder, and results in a general loss of high and low frequencies. This can sometimes be used to create a more “vintage” feel, but generally there are better ways to achieve this—you want your mic to work at peak performance.
So where do you find these numbers? Start with the microphone’s spec sheet. Look for “output impedance,” “rated impedance,” “nominal impedance,” or “recommended load impedance.” Don’t skip past this section just because it looks like math class. It is telling you what kind of preamp input impedance the microphone expects.
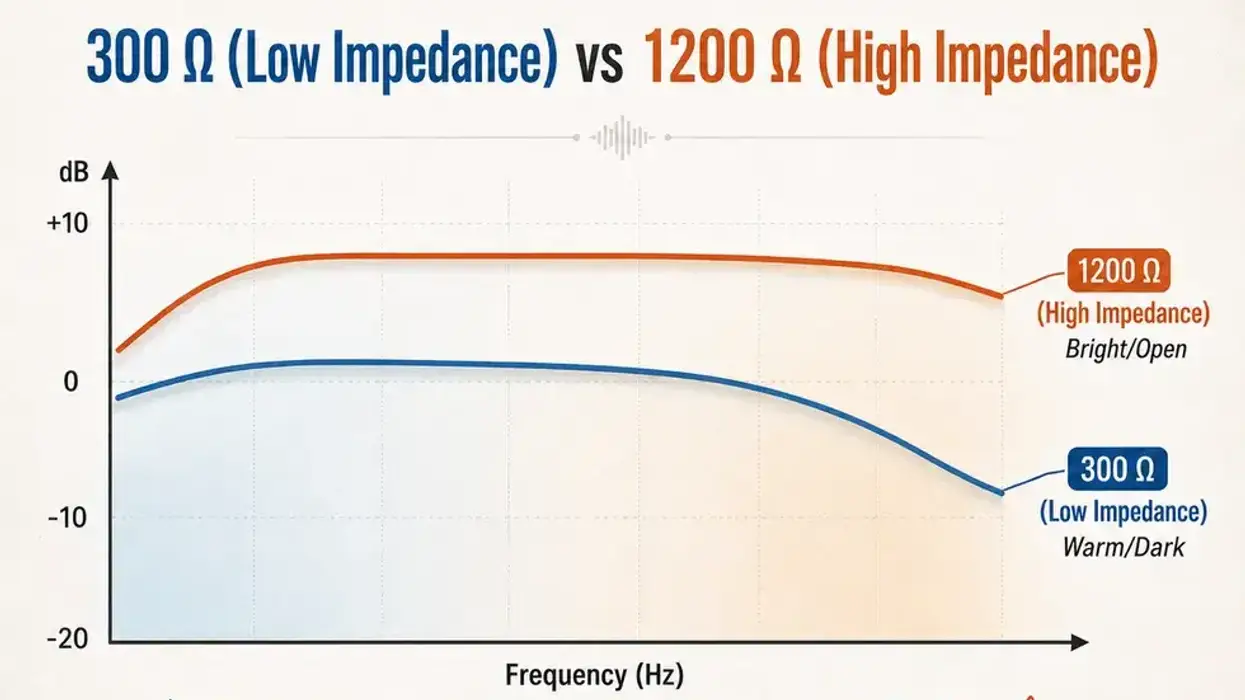
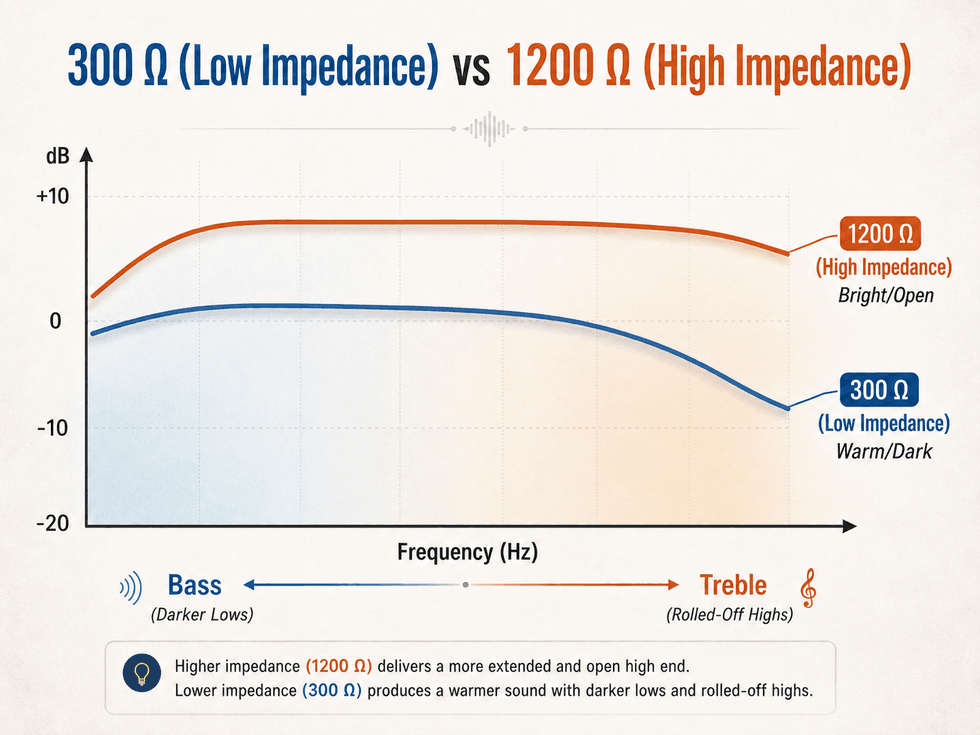
Then check your preamp or audio interface specs. Many modern interface preamps sit around 1.5kΩ to 3kΩ ohms, which works well for condensers and dynamics. Some outboard preamps offer switchable or variable input impedance—300 ohms, 1.2 kΩ, 2.4 kΩ, 10 kΩ, and so on. These switches can change how a microphone behaves.
Again, remember that when the preamp input impedance is too low, the microphone is loaded down. The mic must work harder to drive the preamp. This can result in less output level, a duller top end, a thinner low end, softened transients, more distortion at higher levels, and more audible noise, because you’ll need to crank the gain—thus giving you a non-ideal signal to noise ratio.
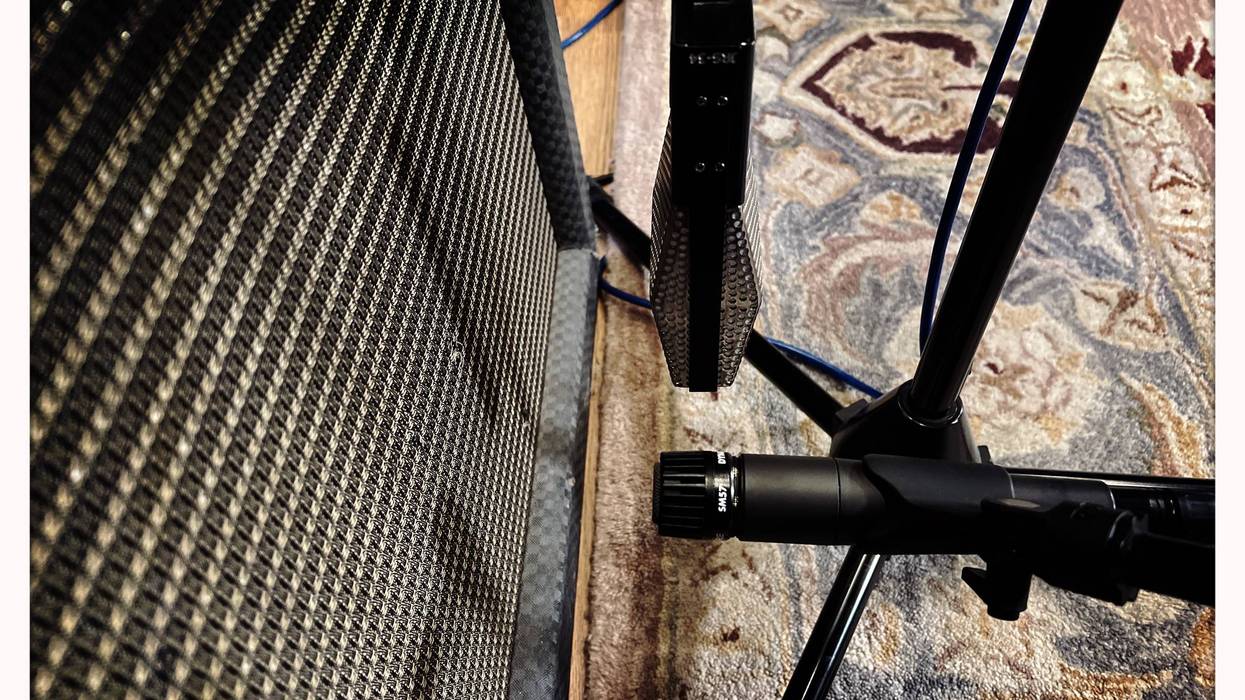
This really shows up with passive ribbon mics (AEA, Cloud, and Royer). These mics greatly benefit from a high-input-impedance preamp with plenty of clean gain to let them bloom: wider lows, smoother highs, better transient response, and that big, dimensional ribbon character we love on guitar amps, brass, drums, and strings. Load them with too low an impedance, and the same mic can sound choked, woolly, noisy, or underwhelming—but that might be exactly what you’re after. There are variable-impedance boosters like the Cloudlifter CL-Z ($249 street) that are worth a look.
Condenser microphones and active ribbons are less preamp-dependent because internal buffer circuits keep their output impedance constant. Still, check the spec sheet—the goal is to let the mic speak in its natural voice before you decide whether to color it.
And that brings us to the fun part. Variable impedance can be used creatively. A higher setting often gives a more open, extended, professional recording. A lower setting can slightly darken the mic, reduce level, change the low end, or make transients feel more rounded. With the right source, that can be useful. With the wrong one, it can feel like someone threw a blanket over the microphone.
Here’s a simple Dojo experiment: Pick one dynamic mic and one ribbon, if you have them. Dedicate each on a guitar amp, acoustic guitar, or vocal. Record the same passage through every input impedance setting your preamp offers. Match the playback levels before judging. Once the levels are equal, listen for low-end weight, top-end openness, pick attack, sibilance, room detail, and noise. What do you hear?
Until next time, may your impedances be friendly, your noise floor low, and your tones full of life. Namaste.





![Rig Rundown: The Black Crowes’ Rich Robinson [2026]](https://www.premierguitar.com/media-library/youtube.jpg?id=66952027&width=1245&height=700&quality=70&coordinates=0%2C0%2C0%2C0)