
Innovation in the world of guitar technology doesn’t always come from engineers, craftspeople, or musicians. In the case of the now ubiquitous Leo Quan Badass line of hardware, change came from within the world of retail and repair.
In the early ’70s, two Bay Area music-store owners and repairmen, Leo Malliaris and Glen Quan, recognized a need for replacement guitar and bass bridges that were adjustable for string height and intonation—something that hasn’t always been easy or accurate—and, importantly, simple enough for owners to install. Under the Leo Quan marquee, the pair began manufacturing the Badass line of dense cast zinc bridges, while a trend was developing toward increasing mass in the quest for more sustain. (This was the era of the brass nut, aluminum necks, and even brass pickguards and knobs.)
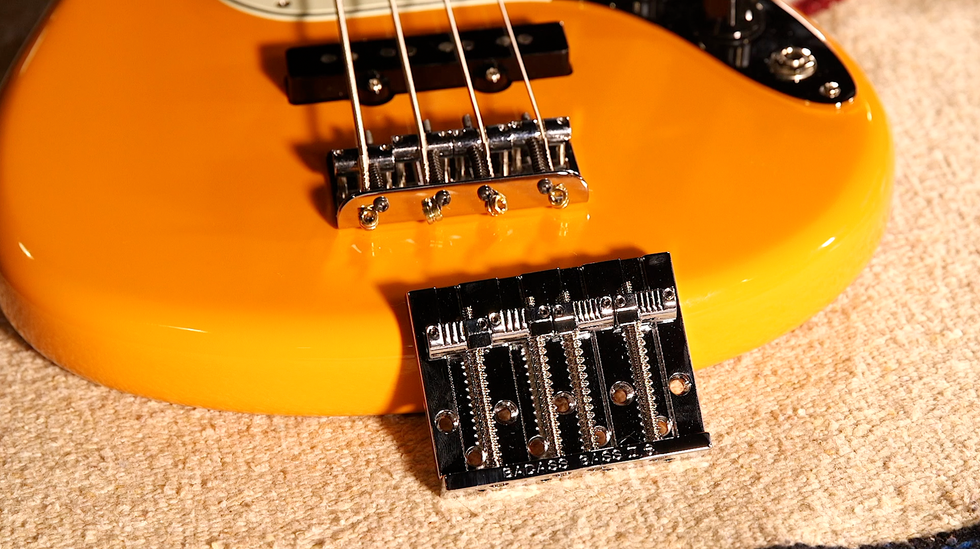
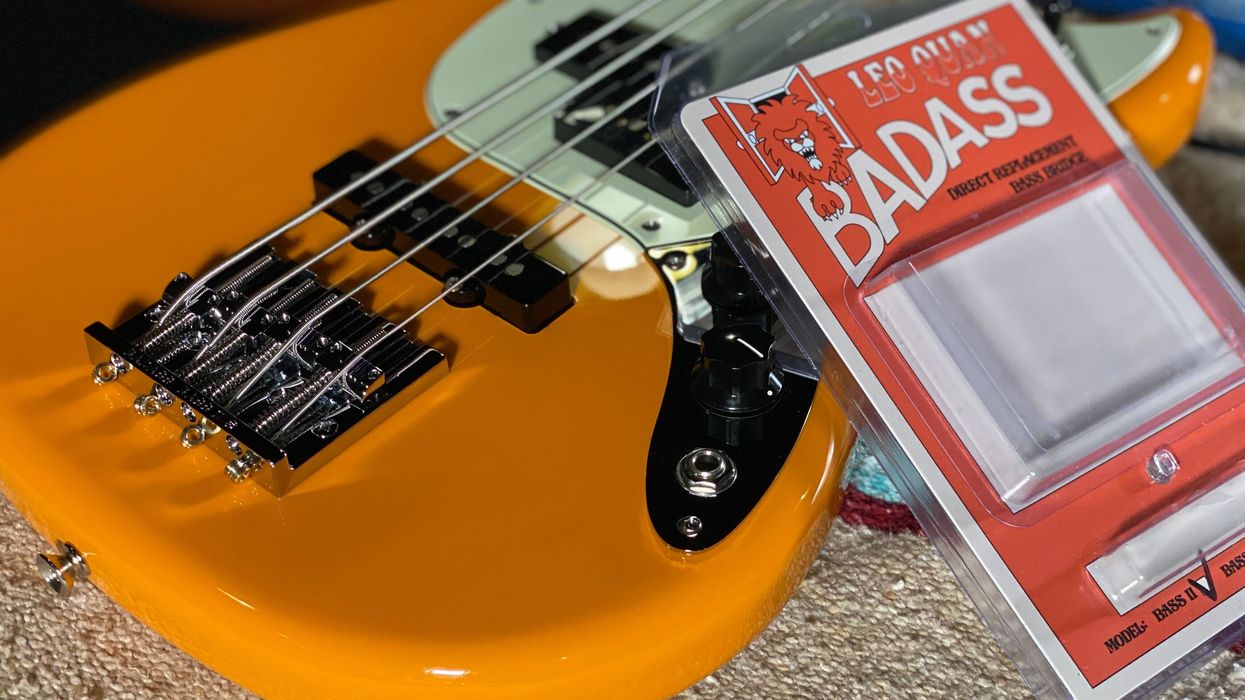
Fig. 1
Since then, the Badass Bridge (Fig. 1) became a popular replacement for many instruments because of its ease of use, high mass, reputed improved intonation, and heavy ’70s vibes. They were so commonly installed on Fender basses that the Badass II was released as a direct-fit replacement so installation could be performed by anyone so inclined. Let me show you how easy it is as I swap out the bridge on a Fender Mustang bass.
Bridge swaps are something I’ve done many times over the years, as both a guitarist and bass player, and as a tech. As I write this piece, I’m on an international tour handling instruments for Steve Earle, but when I’m at home in Nashville, I’m also plenty busy as one of the co-founders of Stage Right Repairs. Also, while reading this piece, consider going to the Premier Guitar YouTube channel to follow along with our companion video.
Remove the strings and bridge
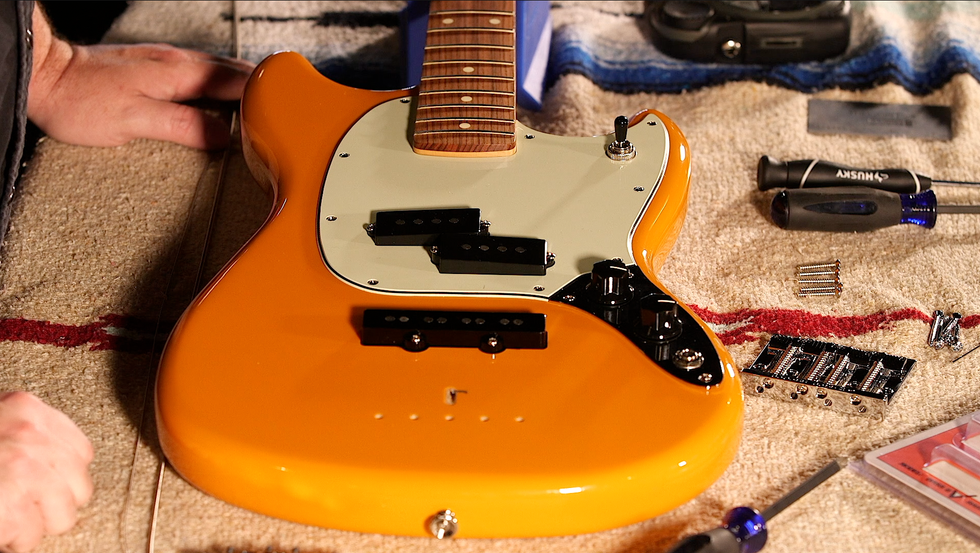
Fig. 2
Use an appropriately sized screwdriver to remove the five mounting screws. Make sure the bridge’s ground wire is visible (Fig. 2)—it should sit on top of the body making contact with the bridge. This connects the controls to the bridge, to the strings, and to you, all of which provide necessary shielding against noise.
Check the fit
Set the bridge on the bass and observe how the mounting holes align with the existing ones. It should be very close, if not exact. With the bridge in place, go ahead and drive in two of the mounting screws to hold it in place. Don’t use electric drivers for this project—hand tools require more effort but run less risk of damaging the bass.
Pro Tip: When installing screws, let the tip rest at the top of the hole, then turn the screw counter-clockwise with your fingers until you feel it drop into the thread, then tighten. It’s less strain on your wrist and better for your instrument long-term.
Check location
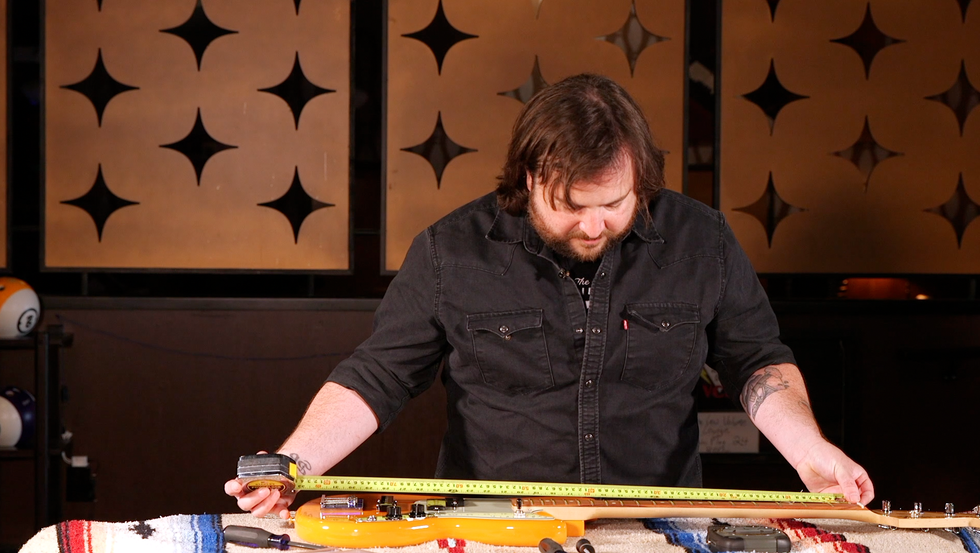
Fig. 3
The bridge needs to be centered and located appropriately for your scale length, which is found by doubling the distance from the front edge of the nut (the fretboard side) to the middle of the crown of the 12th fret wire. Fender basses are usually 30"–34" with few exceptions. Ideally, the scale-length measurement (Fig. 3) should land near the middle of the saddle adjustment area. As long as you have room to move the saddles forward or backward from your scale-length measurement, you will be okay.
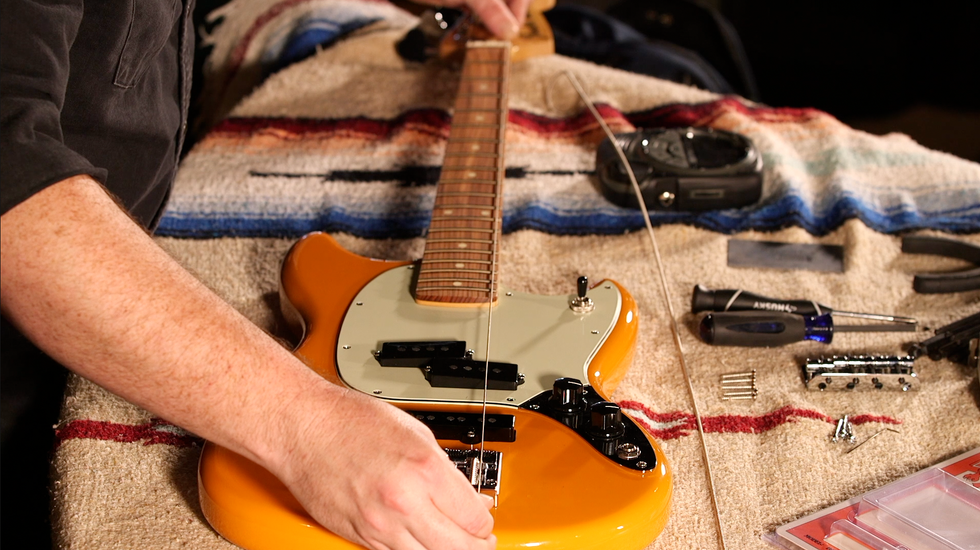
Fig. 4
Next, check to make sure you can set your string spacing appropriately. Check by holding a string in the farthest bass-side nut slot and hold the other end on the saddles, then repeat on the treble side (Fig. 4). The outside strings should be parallel to the sides of the fretboard, and you should have room to move the outside strings farther left and right than necessary.
Mount the bridge
If the bridge location works without having to drill new holes, use the rest of your mounting screws to secure the bridge. Make sure all five screws are equally holding the bridge securely against the body. If the bridge needs to be in a different location, it may be best to visit your local repair tech for advice.
Quick setup
If you are not comfortable making truss rod adjustments or don’t understand the concepts listed below, that’s okay. Contact your local repair tech; they should be able to take care of this part. If you are comfortable with working on your instrument, here are the steps I recommend. Note that this will not cover everything on a traditional setup—just the steps needed to get your instrument playable.
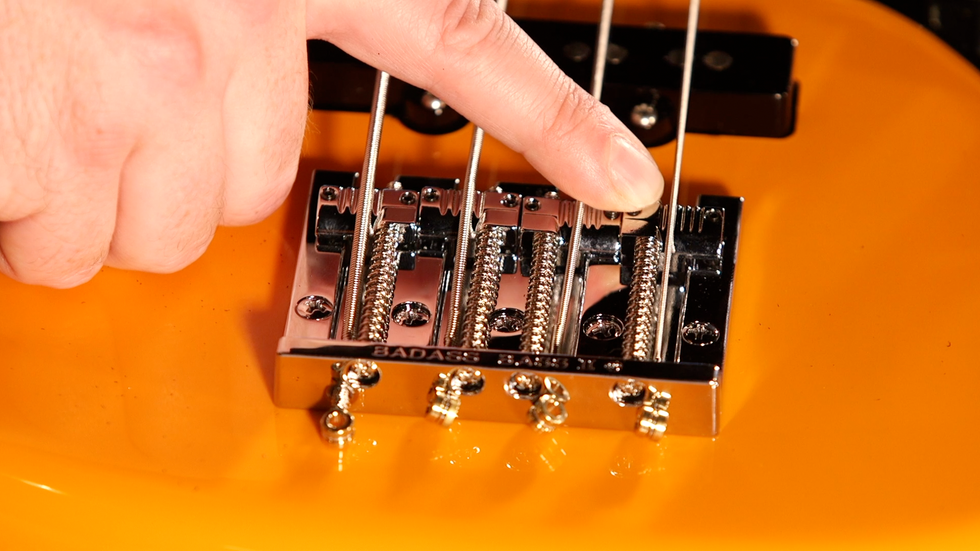
Fig. 5
Double check your string spacing. With the outside strings set so they are parallel with the sides of the neck, make sure the inside strings are spaced as evenly as possible (Fig. 5). Your strings should roughly line up with the pole pieces on both pickups, but it’s okay if they’re not perfectly centered.
Tune to pitch, whatever tuning you normally use or plan on using with this instrument.
Make sure your neck has the appropriate amount of relief. You can either use a straight edge along the tops of the frets, or hold a string down at the first fret and at the fret that meets the body, measure relief around the 7th to 10th fret area. You’ll want to see at least a very small gap between the strings and the frets here—I suggest not much more than a business card’s thickness to start with.
Set your string height by measuring the distance between the very top of the 12th fret and the bottom surface of the string. The goal is to compromise between higher action, providing clean notes with some fretting effort, and lower action, which is easier to play but may generate fret buzz. This is personal preference and should complement your playing style and desired sound.
Set your intonation using the most accurate tuner you have. Play the highest string open and tune exactly to pitch. Then, fret the octave at the 12th fret and see how your tuner reads this note. The octave should be in tune with the open string. If the fretted octave note is sharp relative to the open note, the string needs to be longer, so use a small screwdriver to move the saddle further away from the nut. If the fretted octave is flat relative to the open note, then do the opposite—shorten the string by moving the saddle closer to the nut. Re-tune and check the octave again, repeating until it’s in tune. Repeat the process on each string.
Set your pickup height. The key here is finding a balance in output across your strings and between pickups, if you have more than one. As a general rule, each pickup will need to be closest to the smaller strings and farther away from the larger ones. Pickups that are nearer to the bridge will need to be closer to the strings overall than pickups closer to the neck. Use your ears.What’s the difference?
First, play your bass without plugging into anything. Do you notice more treble or bass response? Does the body vibrate more or less than it did before? How long will an open note sustain? What about fretted notes? Now, plug into your usual setup, whether that’s an amp or a recording interface, and go through the same steps. Now you can compare differences in tone, response, or feel.
“Does it really make a difference?” is a common question about high-mass hardware. My answer is always this: You may or may not notice a dramatic difference from replacing just one component of your instrument. Any search for proof either way will end in frustration, so stay away from the forums on this one, trust me. All that matters is that you play your instrument, and if a minimally intrusive modification like this makes you happy, you’ll play more. That’s the whole point.
YouTube It
Follow along step-by-step with tech Marshall Dunn as he installs a Leo Quan Badass Bridge on a Fender Mustang bass.
![Rig Rundown: AFI [2025]](https://www.premierguitar.com/media-library/youtube.jpg?id=62064741&width=1245&height=700&quality=70&coordinates=0%2C0%2C0%2C0)


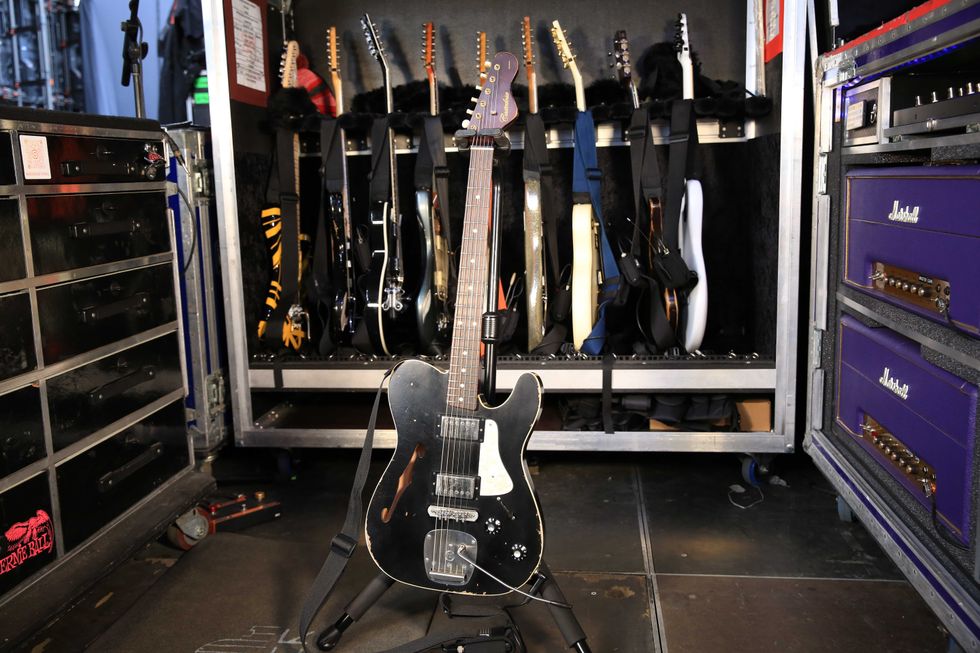
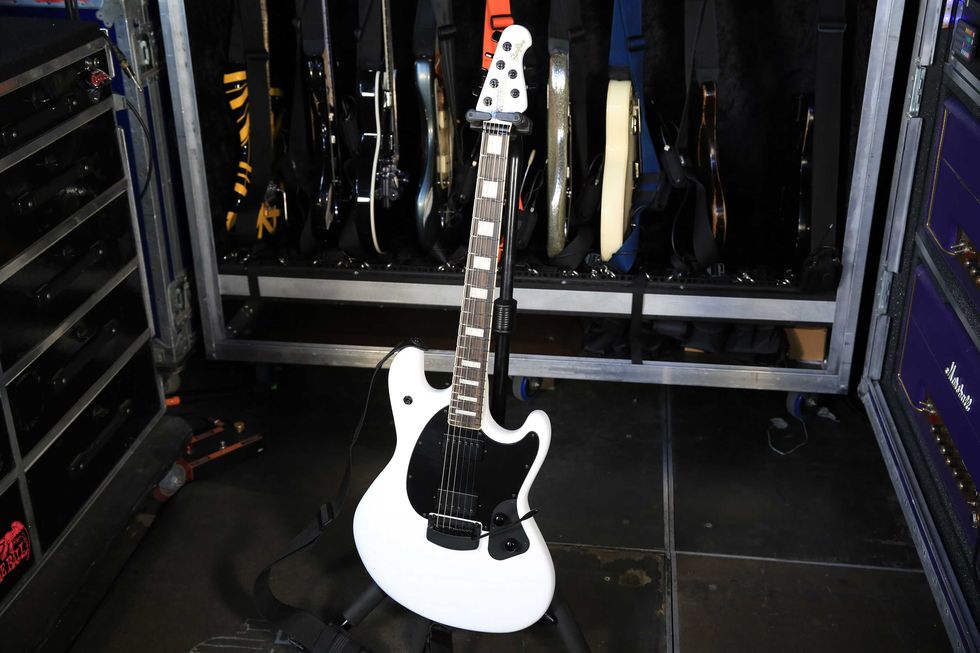
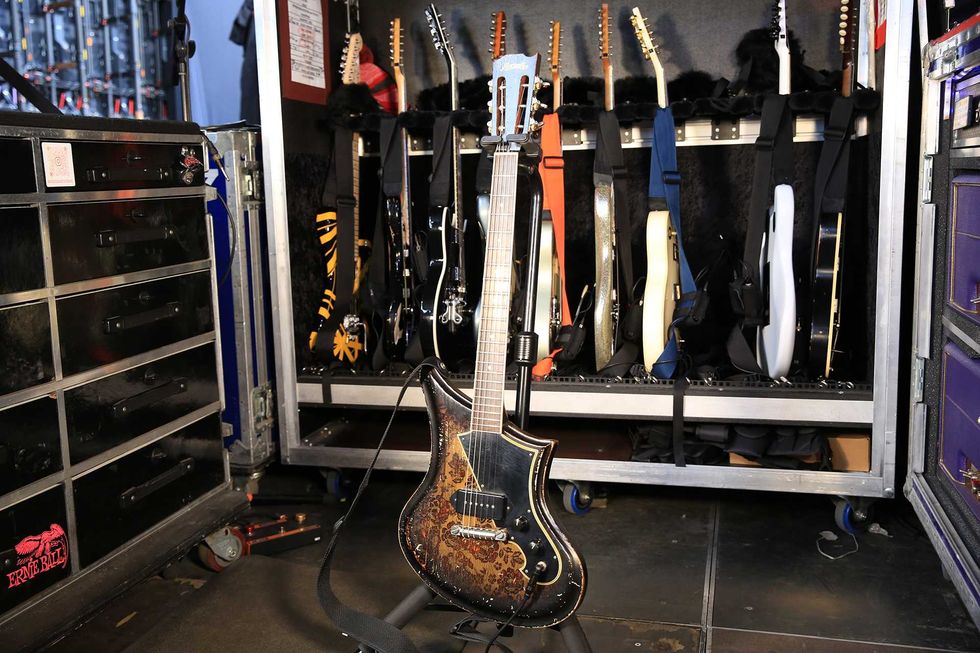
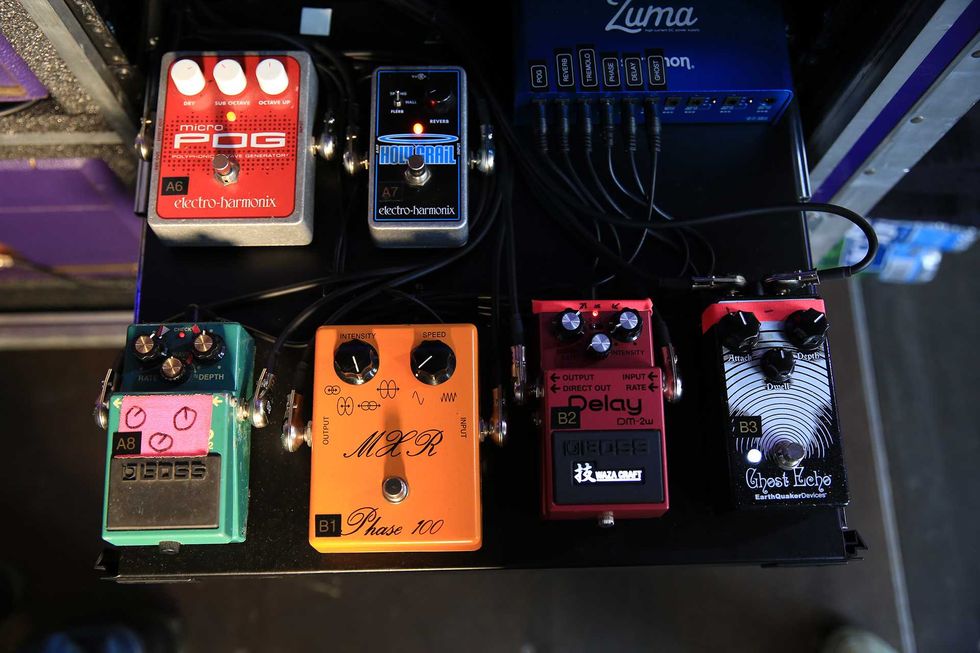
 Shop Scott's Rig