Building your own pedal can feel unattainable—like something only geniuses and magicians can do. Or at least people who took an electronics course. Many of us are content to leave it that way. Those things on our boards sound cool when you click ’em, and that’s all we need to know. But some of us want to get our hands dirty and figure out what ticks behind the click. If you’re in the latter camp, this one’s for you.
There are a wealth of pedal-kit options today, from long-standing DIY-focused companies to established pedal builders who want to get in on the fun. But, really, how hard is building a pedal? Can any of us just, like, do it? And where are the best places to start?
Well, we’re here to tell you that, yes, any of us can. Both of us have limited experience—Jason is brand new, and Nick started building kits last year (you can watch his inauspicious beginnings over on our YouTube channel). But with nothing but some baseline soldering skills and a sense of adventure, we set out to survey the pedal-kit market by doing. What we’ve assembled are six kits from JHS, Third Man, StewMac, Aion FX, General Guitar Gadgets, and Pedal Parts and Kits that range from the simplest no-solder option to step-by-step builds to kits that’ll have you testing components and following wiring diagrams to complete the task. We’ve rated each kit: “tone” for the overall sound of the pedal, “design/build” for the experience of building the kit, and “value.”
If you build a few of these, you’ll probably end up with a better idea of what your pedals are doing, pick up some skills, and have some new pedals for much cheaper than you might otherwise. The next step is learning to mod and design your own circuits, and then you’ll be on your way to launching your own pedal company!
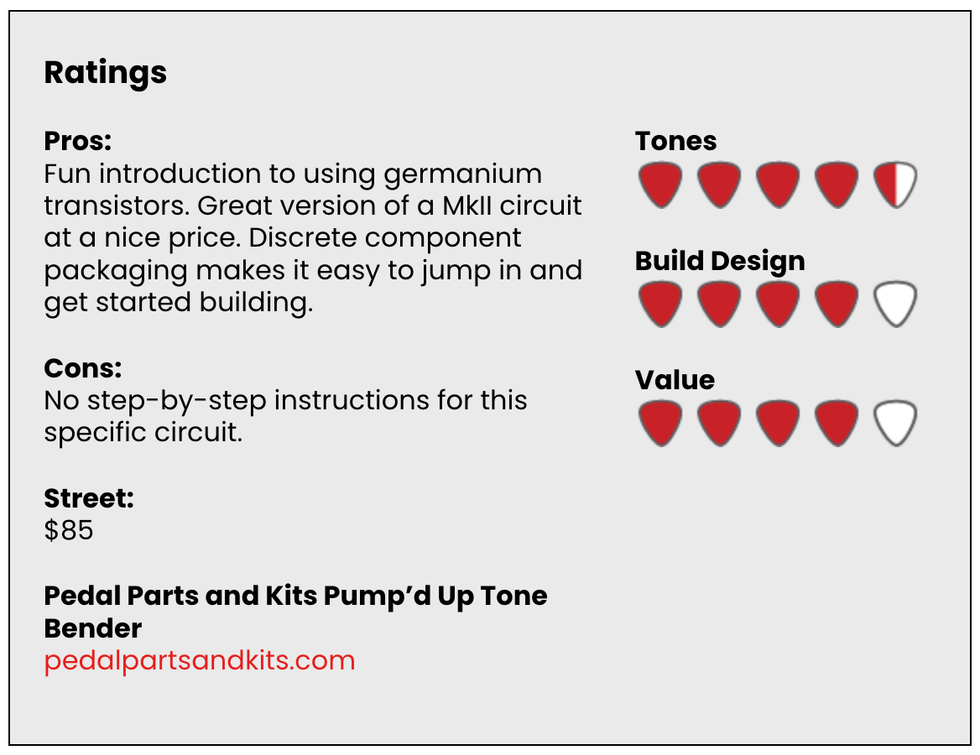
Pedal Parts and Kits sells all the parts and components you might need for pedal building, plus a variety of kits created in collaboration with GuitarPCB, which sells printed circuit boards (PCBs) and hosts a forum. I opted for their Pump’d Up Tone Bender, which is a MkII clone featuring vintage germanium PNP transistors. This design adds a charge pump to the power section, inverting the circuit to a modern negative ground, and allows the pedal to be daisy chained.
Right out of the box, I was impressed by the packaging of the Pump’d Up Tone Bender (PUTB). Each component group was separated into its own bag and clearly labeled. The resistors were separated by value, which made it easy to get started.
Tone Bender circuits are relatively simple, and this kit includes a handful of resistors and capacitors and a single IC. The germanium transistors include sockets, which makes installation easy, plus they allow for some transistor experimentation later if that’s your kind of thing. The kit includes a well-spaced 3PDT board for easy switch installation.
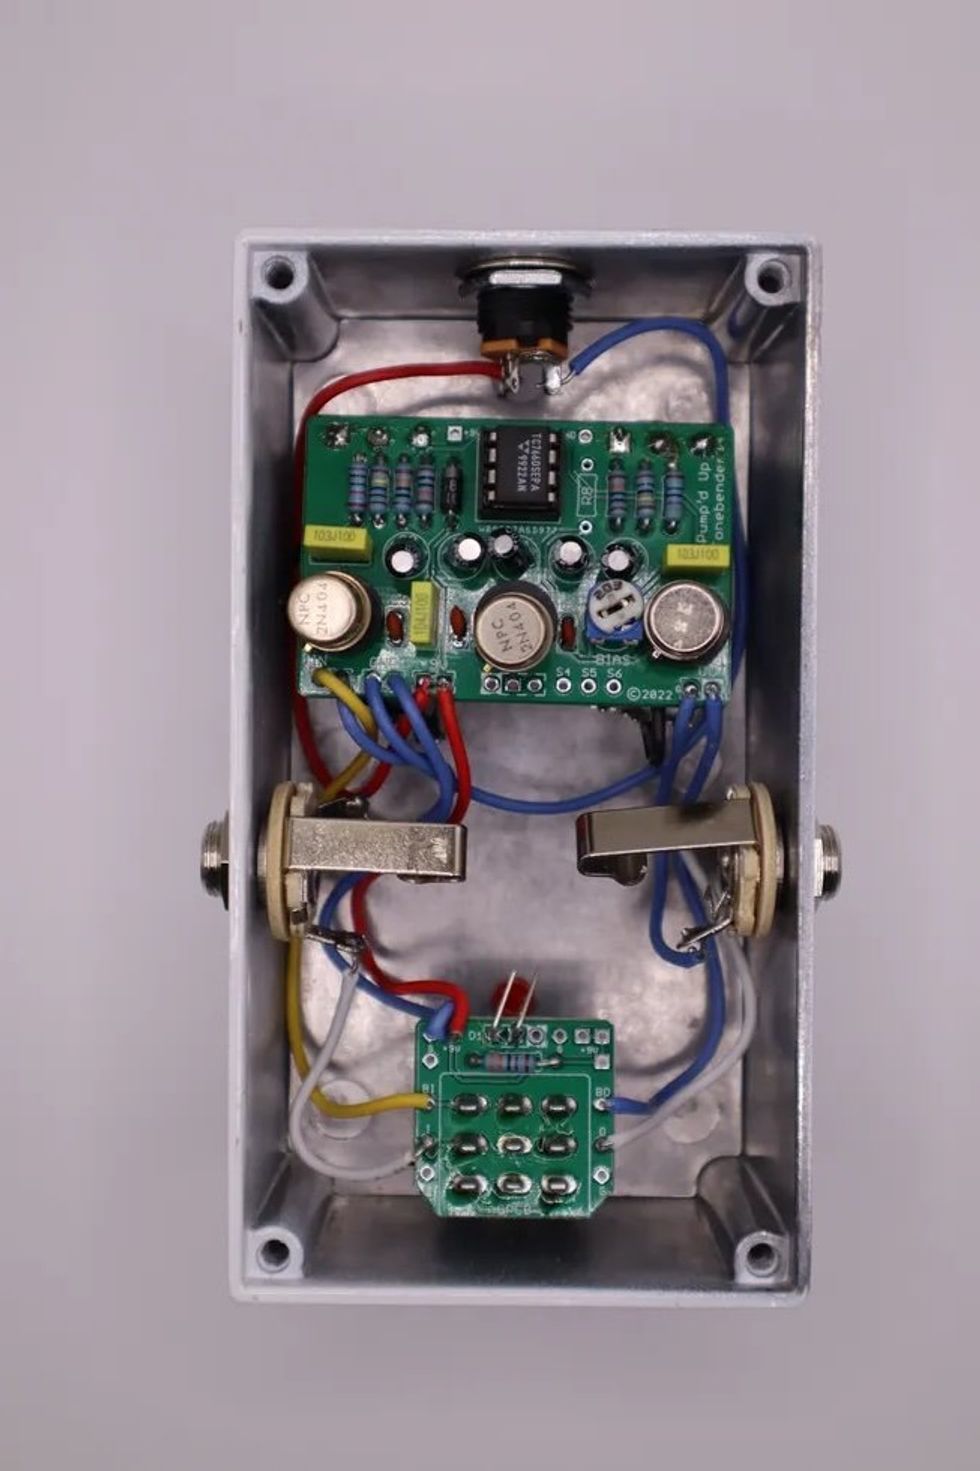
Documentation for the PUTB doesn’t include step-by-step instructions. Instead, Pedal Parts and Kits offers an online beginners build guide that will help any entry-level kit builder get started. I followed the included wiring diagram. It's clear and easy to follow, so I had no problem getting this together in a couple hours. The only time I went off script is with the pots, which can be mounted directly to the PCB, but I chose to wire them up instead.
The PUTB is a great-sounding Tone Bender MkII clone, with all the personality, versatility, and response you’d expect. There’s a world of usable, cutting tones across the range of the control set, and I could feel myself channeling Jimmy Page when I plugged my Tele and the PUTB into an old Fender Champ. At $85, if you’re up to the task, the PUTB is a fantastic way to get your hands on a MkII.—NM
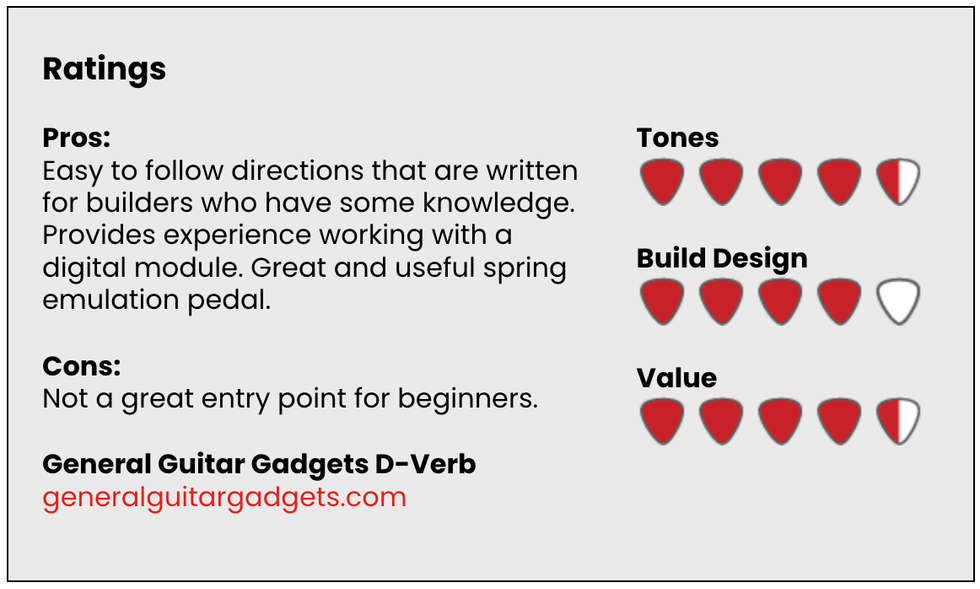
Entering the General Guitar Gadgets realm can feel like wading into the deep end of the pedal-kit pool. Their site is loaded with a wide range of projects, and PCBs and kits are the company’s sole business. And if you’re at the point you’re ready to peruse schematics, the GGG site is a great resource because they make schematics available for each project.
Every GGG kit includes universal pedal-building instructions, project-specific instructions, a schematic, and a wiring diagram. Like the Pump’d Up Tone Bender build, this is for more experienced builders, not necessarily because it’s complicated but because the directions are more streamlined.
The D-Verb is based around the Belton Accutronics BTDR-2H, aka the “Belton Brick” reverb designed by Brian Neunaber. It’s a commonly used digital spring reverb module that can be found in plenty of pedals from small and large manufacturers. The pedal’s circuit consists of a handful of resistors, a few capacitors, one transistor, a pair of IC chips, and the reverb block.
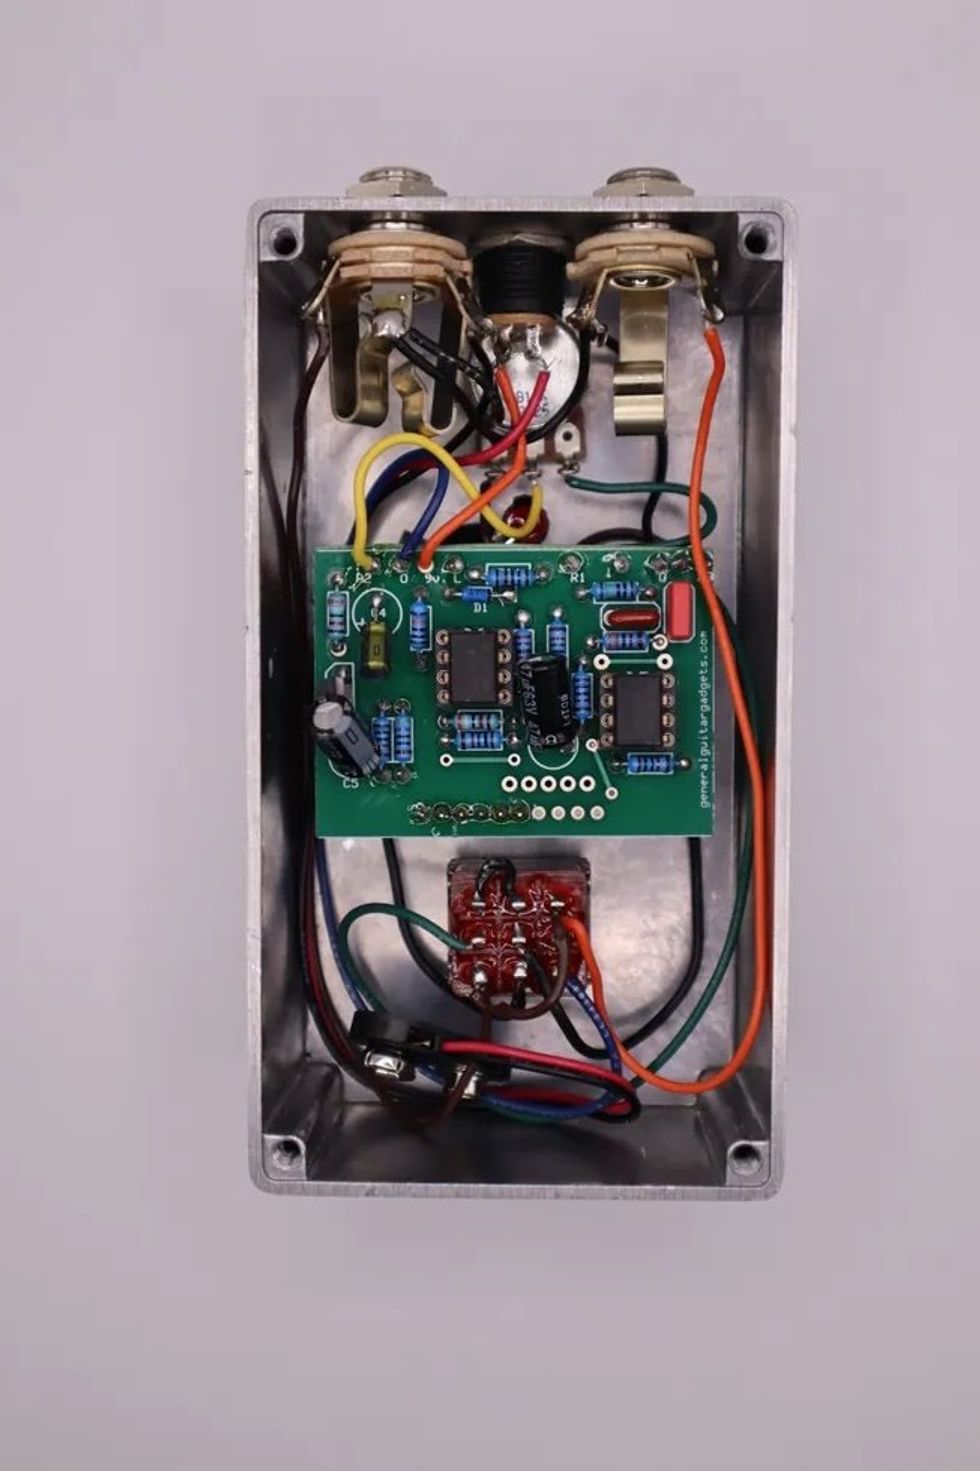
The circuit board came together fast and the reverb block simply plugs into the PCB and gets a round of solder. The trickiest part of this kit is wiring up the footswitch, which doesn’t include a circuit board, so you have to get in there and connect everything yourself. It can be tricky to wire a switch for the first time, but it’s a good learning experience that’ll show you, at least a little bit, what’s going on in your switches.
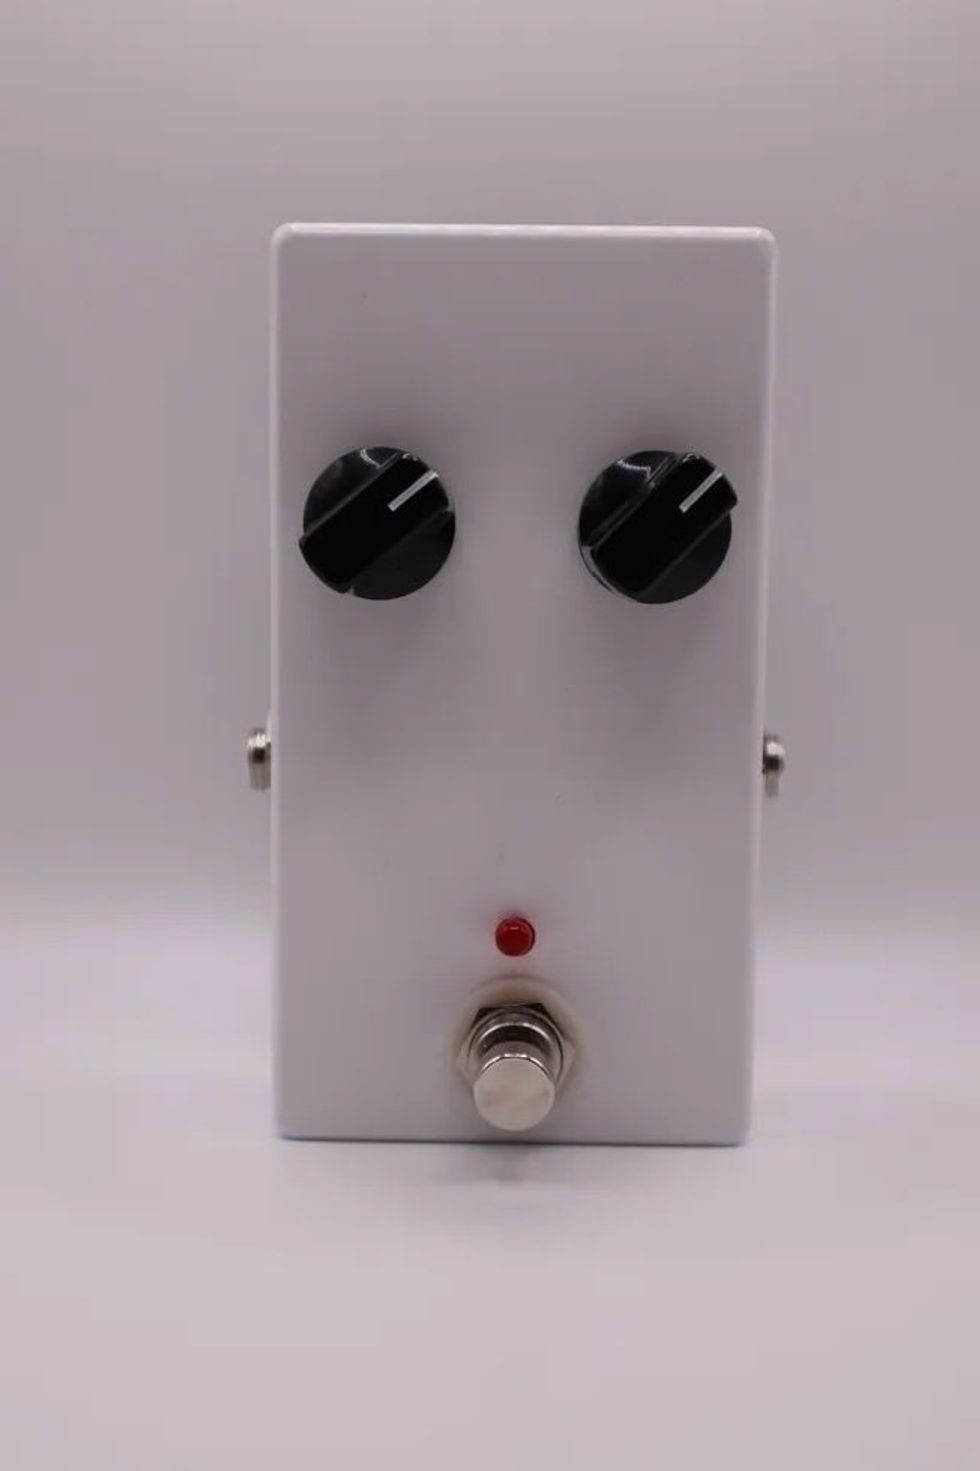
The pedal sounds great—there’s a reason so many pedals use the Belton Brick. While most of those units include other controls or more advanced circuitry, the D-Verb is a simple, 1-knob effect that controls less or more. At subtle settings, it sounds suitably springy, while cranking the control adds some soft repeats with a nice level of drip. Overall, an easy build for a great no-frills reverb unit. —NM
Vintage-style fuzzes are the ultimate fodder for DIY pedal builders. Some of the best fuzz pedals consist of just a few components, so it’s easy to get your hands on a great circuit even when you’re just developing your skills. There are plenty of places to get started on your kit-building journey, but I’d argue that the Third Man Fuzz-a-Tron sets a new benchmark.
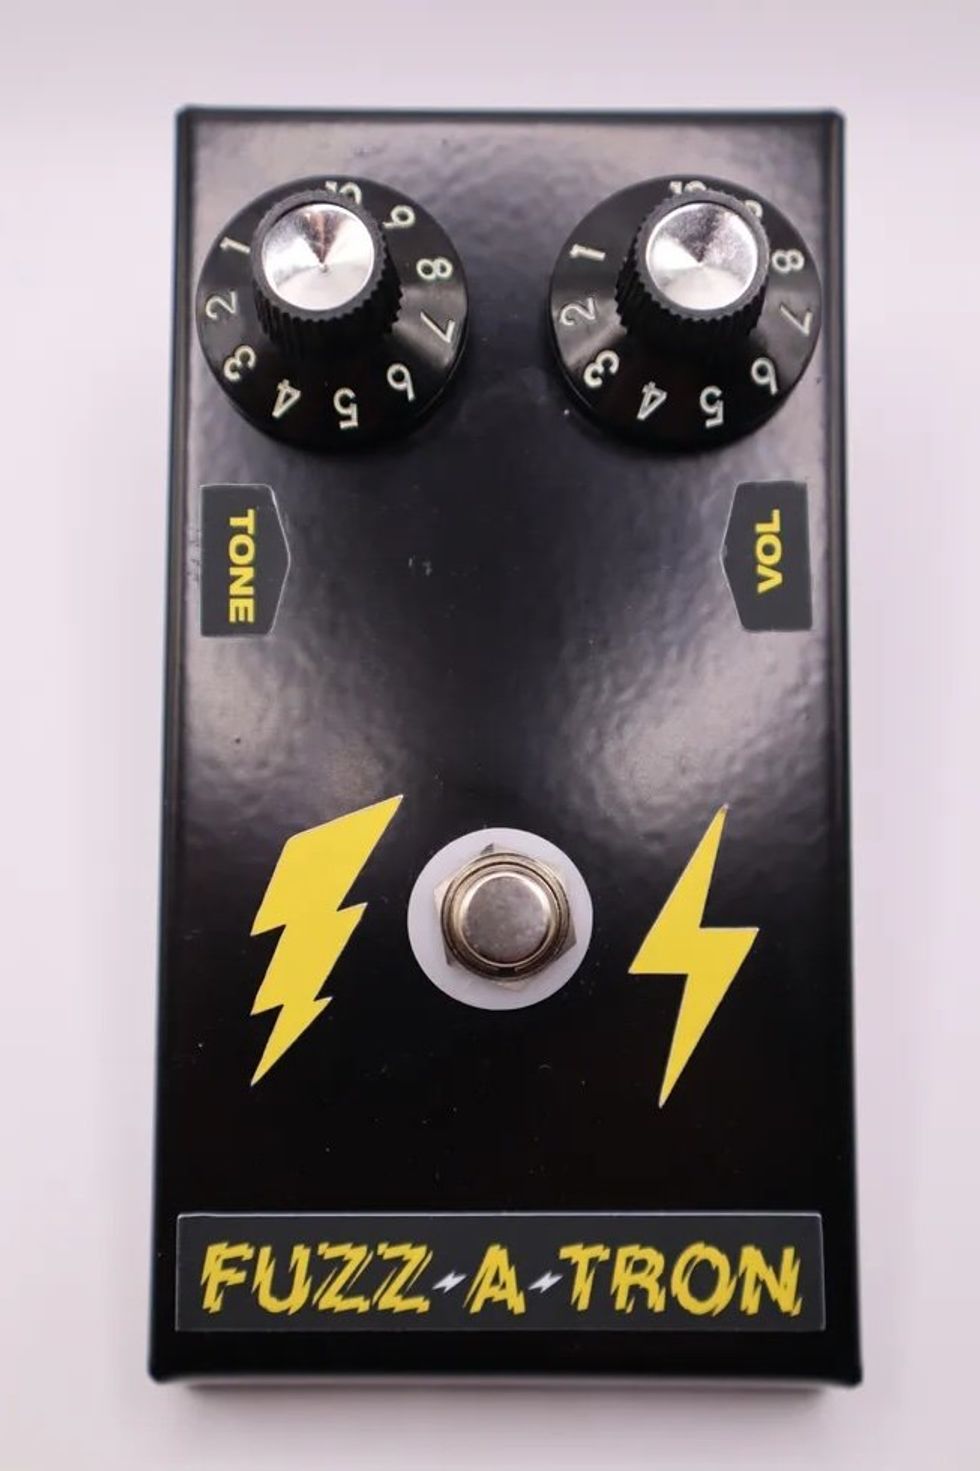
The Fuzz-a-Tron’s circuit is simple, consisting of just two transistors, four capacitors in two sizes, and four resistors that are all the same value, so there’s no testing components—just open the bag and get going. The confined space of small enclosures can be a real patience-tester, and tightly packed PCBs can make for some stressful soldering. The Fuzz-a-Tron alleviates those issues with a well-spaced PCB and an enclosure with plenty of space to maneuver. Once it’s all finished, builders can customize their wedge-shaped box with the included sticker sheet.
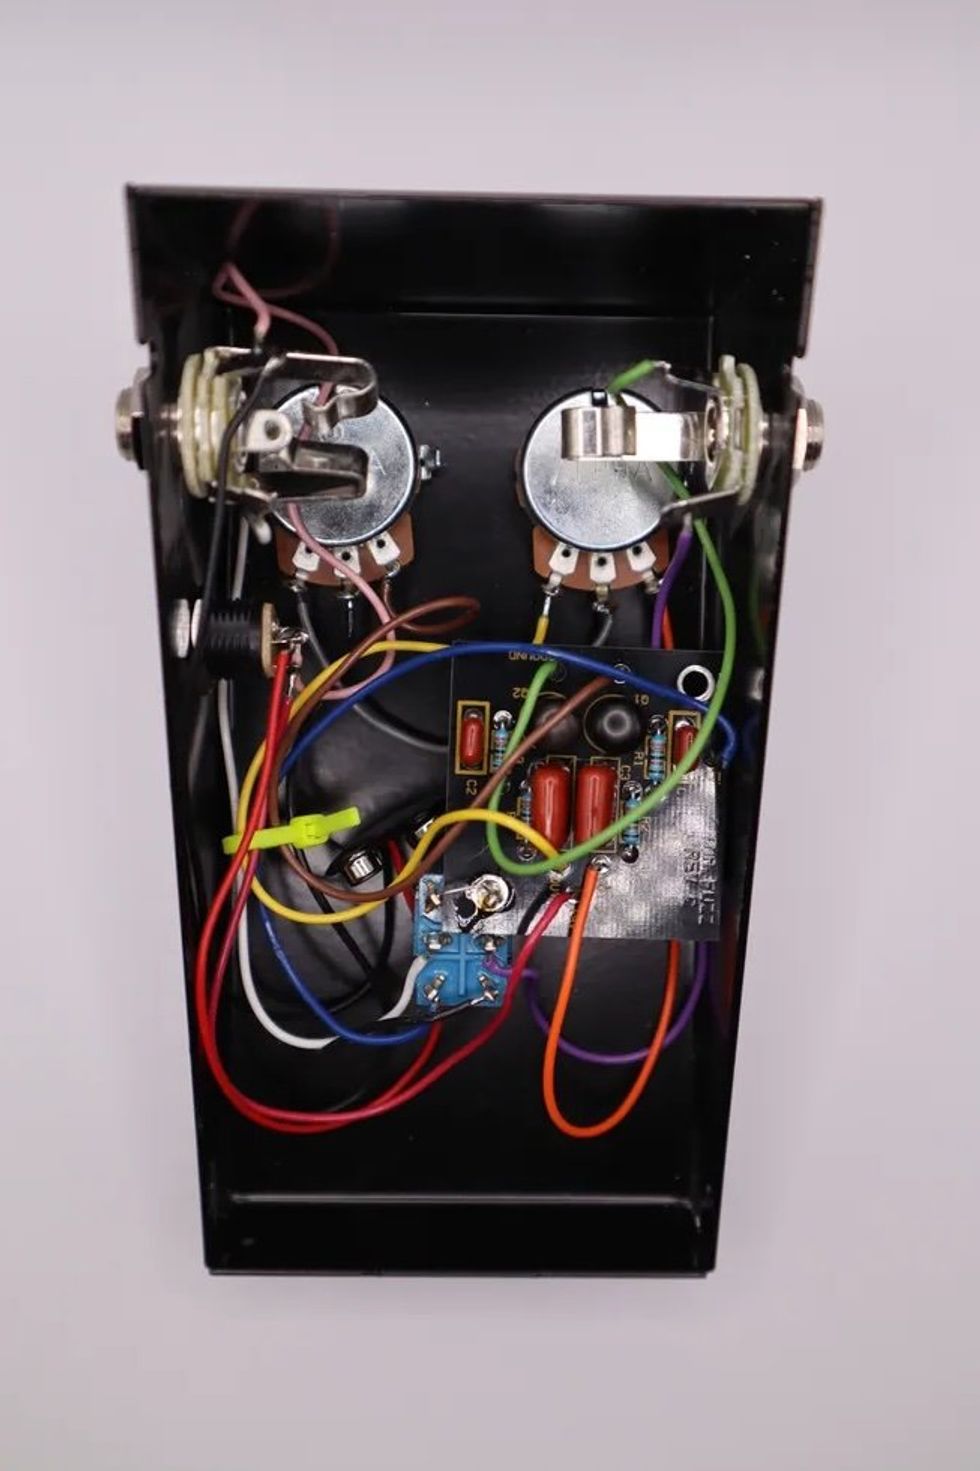
Third Man not only included detailed step-by-step instructions with the Fuzz-a-Tron, but made a build-along video that takes any guesswork out of the process and makes this the most well-documented kit I’ve seen.
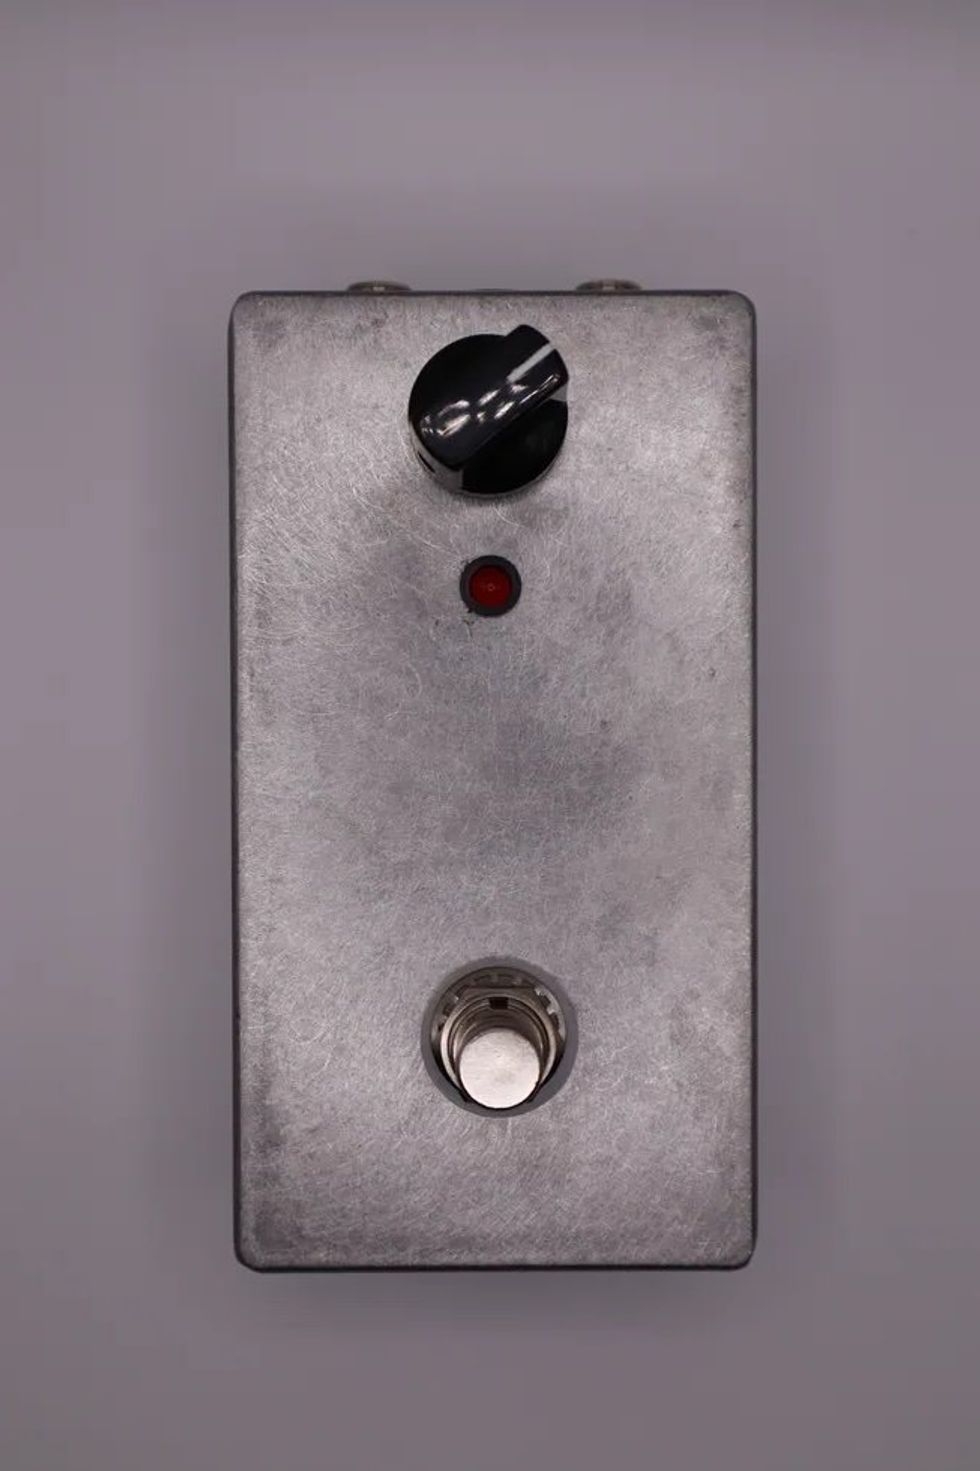
The Fuzz-a-Tron sounds as retro as its shape suggests. Its volume and tone controls are interactive, and I prefer both fully cranked, where it sizzles like a Fuzzrite, but with a little less cutting treble and a tight midrange. Although there’s no LED on this pedal, which some will dislike, that is in line with plenty of vintage fuzzes. You’ll know whether it’s on or not, no matter the setting.
The Fuzz-a-Tron offers the best learning experience for beginning builders. That alone justifies your time. If the stickers feel a little gimmicky, don’t use ’em and decorate it on your own. Ultimately, the Fuzz-a-Tron’s vintage-voiced tone and great looks make it an essential stop on the kit-building journey. —NM
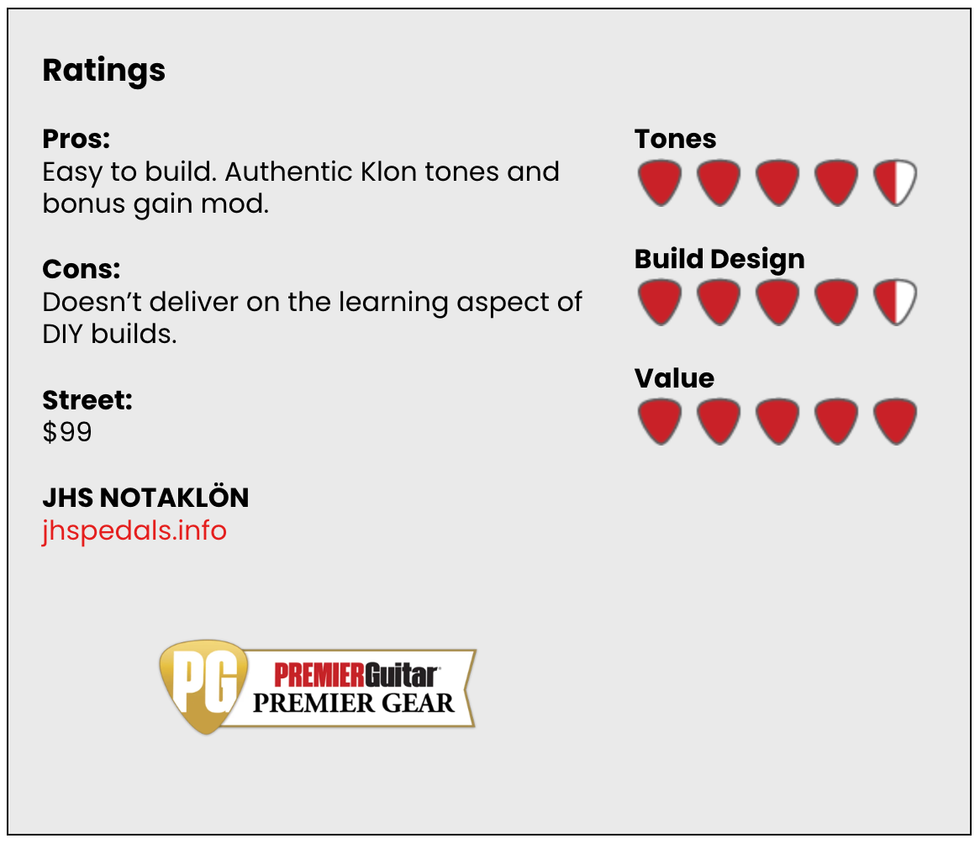
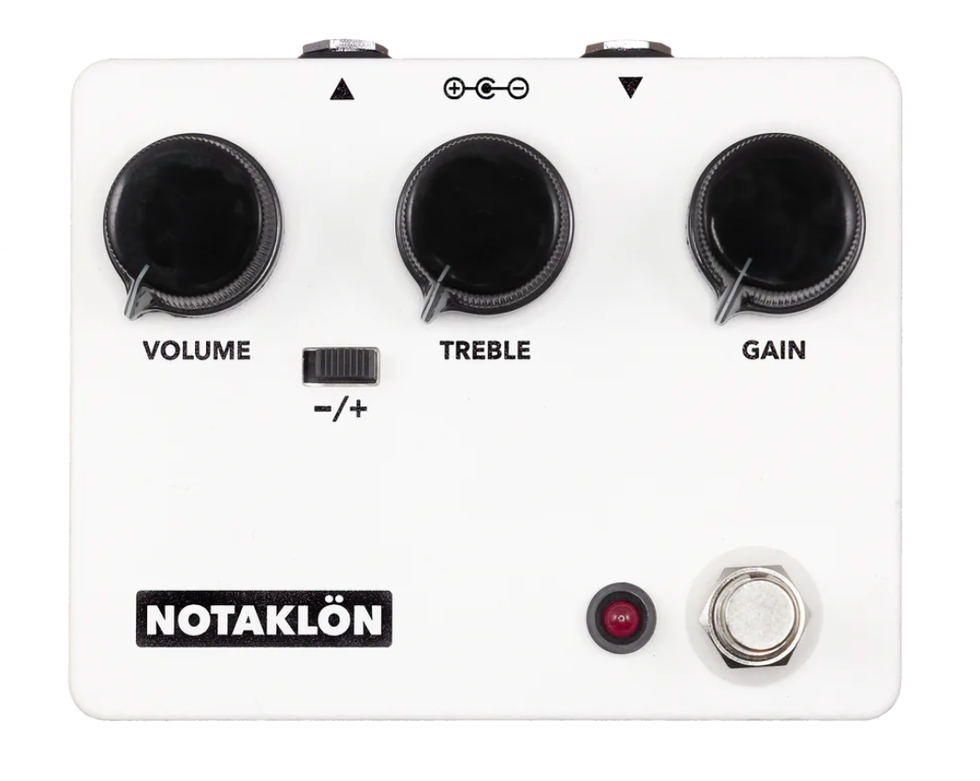
The Klon Centaur is arguably the most imitated circuit there is—even with DIY kits. A little over a decade ago, JHS made their own Klon clone, but it was discontinued after Klon’s Bill Finnegan started making the KTR. (On Reverb, these rare JHS models are going for close to $1,000.) Last November, JHS introduced the NOTAKLÖN, which is a complete pedal kit, but with a twist—no soldering skills needed. Admittedly, that puts the barrier to entry much lower than the other kits represented here, which makes this a solid first step for those looking for a foolproof initial build.
Building the NOTAKLÖN isn’t unlike building a very useful Lego project. The directions are mostly picture-based, all the parts fit together, and they include a few tools that you can punch out directly from the circuit board. Company founder Josh Scott even remembered to include a bit of GOOP to cover up those “magic” diodes.
I’ve tried quite a few Klon clones, and I have to say this JHS is up there with the very best. It gives you that real pronounced midrange, and paired with a slightly dirty amp, it can be set up for an incredible boost. The bonus feature is the switch on the front that works in Scott’s Shamrock mod, which adds more volume, mids, and an extra clipping gain stage.
Within about 20 minutes, I had gone from opening the box to kicking it on for the first time. The build feels incredibly solid. Combined with the extremely streamlined directions and the nearly unbeatable $99 price tag, the Notaklön delivers on nearly every front.—JS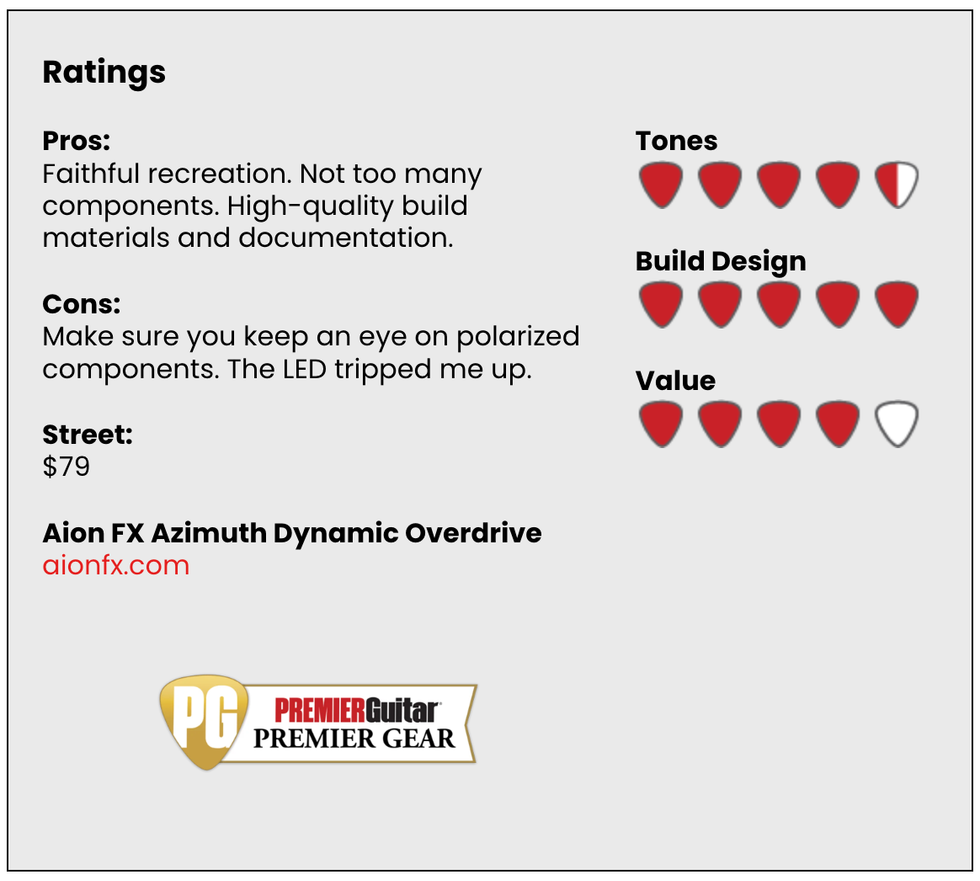
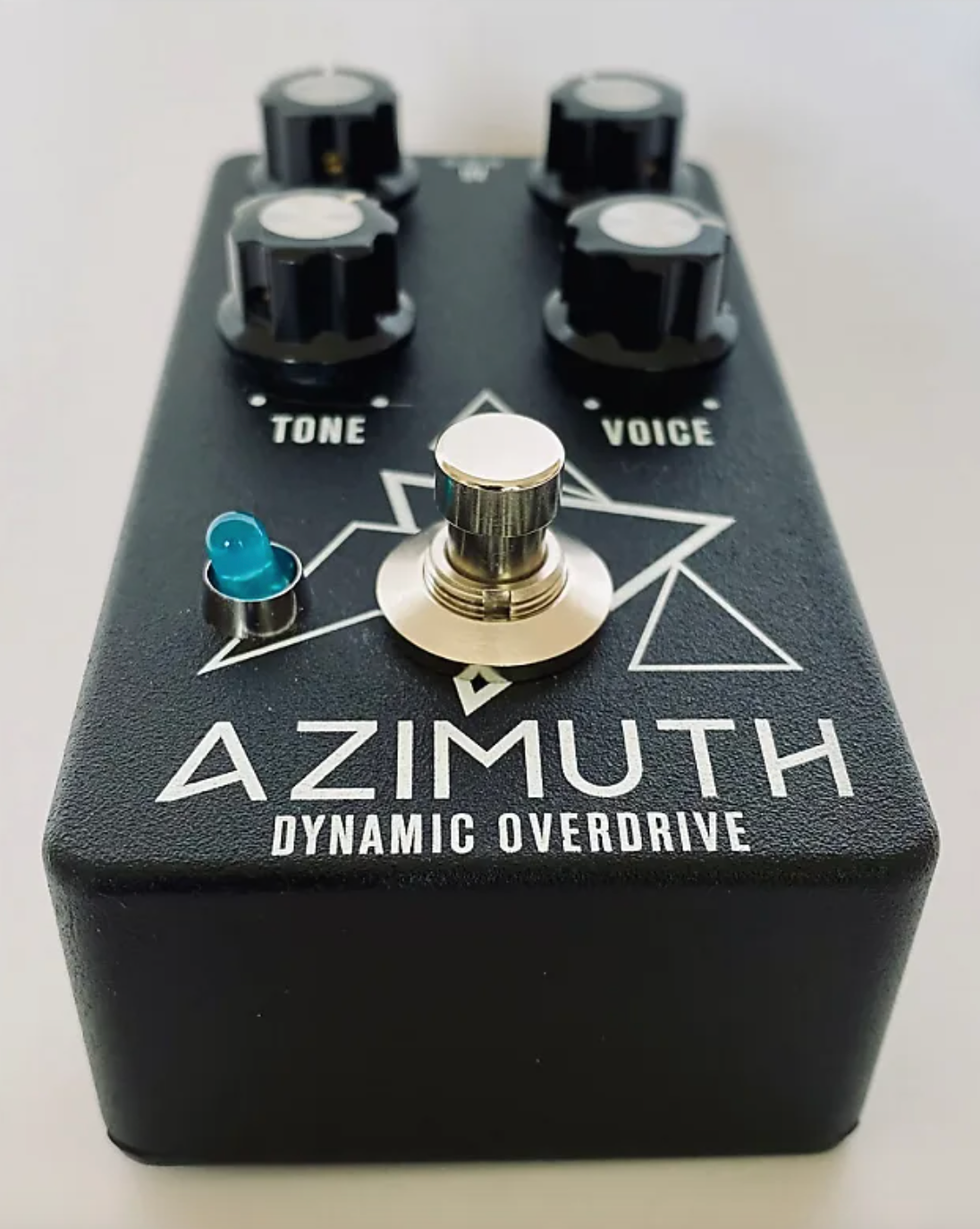
Not many guitarists are as closely connected to a singular tone as Robben Ford is to his Dumble Overdrive Special. Even though Dumble’s creations cover a wide range of tones, it’s Ford’s Dumble that set the benchmark. The original Hermida Zendrive was one of the first pedals that copped that D-style tone. Aion FX’s Azimuth is a DIY version that’s great for beginners since it doesn’t include a lot of parts, but teaches you plenty about basic pedal construction.
The kits from Aion are impeccably assembled. You get a bag of all the parts and components, a powder-coated enclosure, and a thoughtfully created build document. This was the very first pedal I ever built, so I needed to get my soldering skills together, but after that, assembly went very smoothly. In retrospect, I really like how Aion chooses ribbon connectors and enclosed input/output jacks for their builds. It keeps down, or limits, the amount of loose wires down and prevents any bad connections.
I previously owned a Lovepedal-era Zendrive and remembered how dynamic and smooth it sounded. Naturally, after playing the Azimuth, I was really regretting selling that pedal. With this circuit, the magic is really in the voice control, which helps tailor the low-end response. As you can hear in the clips, it sounds full and round, with plenty of punch. If the used prices for a Zendrive are a bit out of reach, then getting your hands on an Azimuth—even with the extra work—would be well worth it.—JS
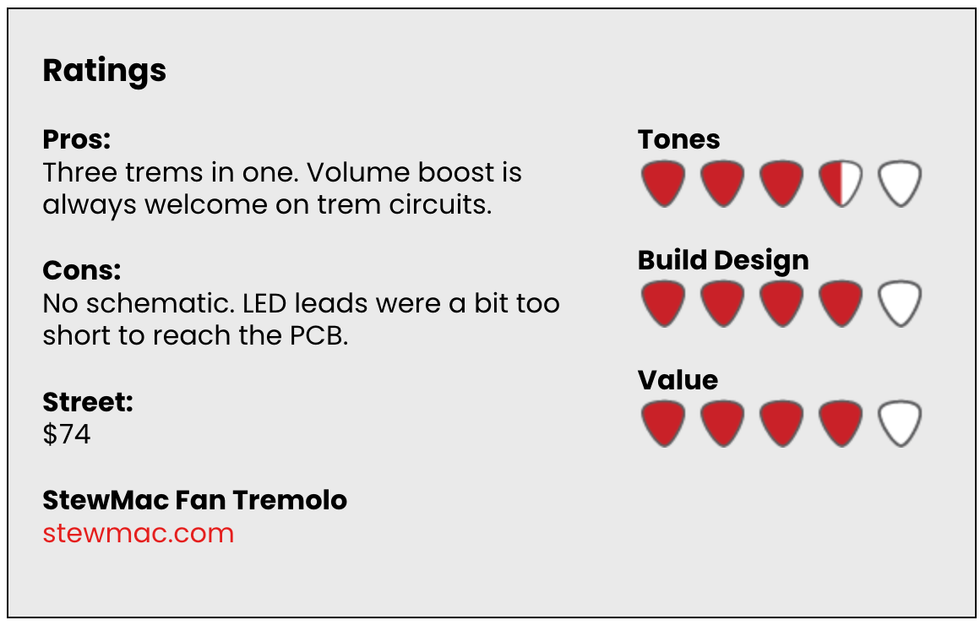
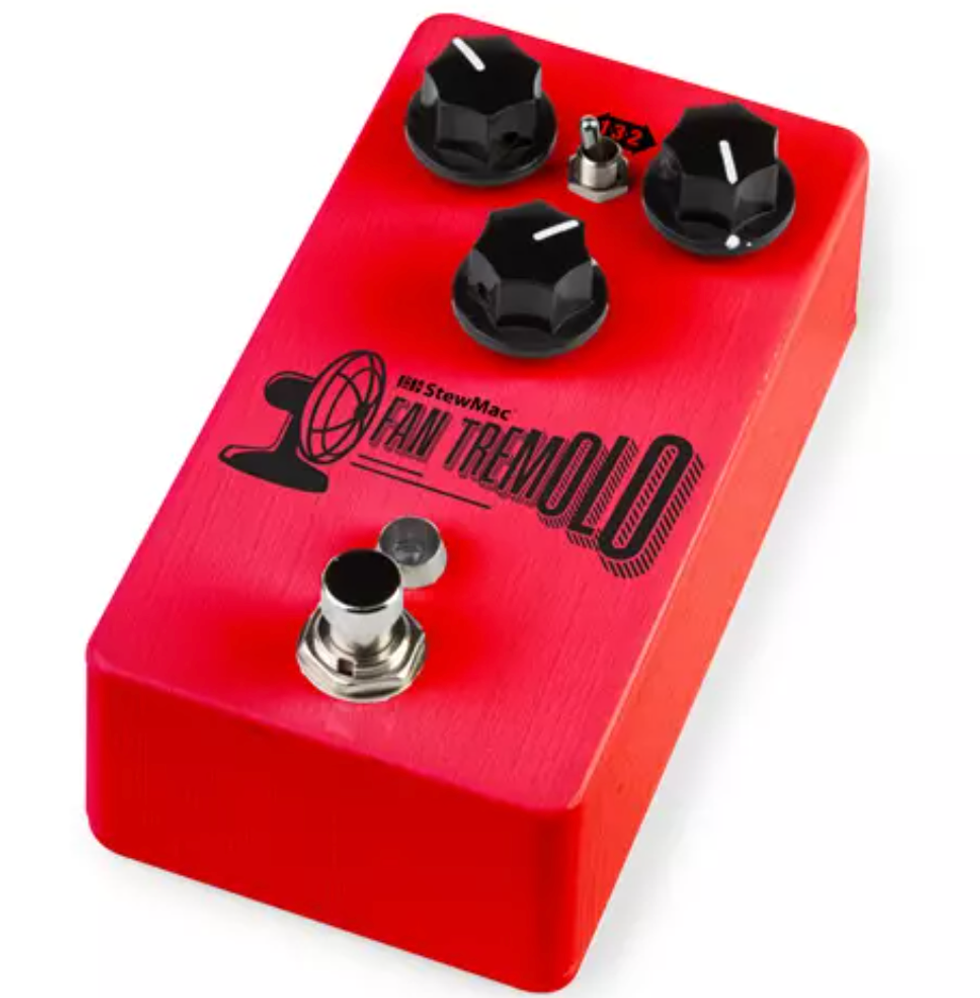
Tremolo might be one of my favorite effects. Adding a bit of whirl to an arpeggio or doubling a lead line with something more aggressive that borders on a ring mod is always fun. StewMac has long been a go-to for any kind of repair tools, but their line of DIY pedal kits are sturdy, useful, and fun. Out of their line of kits, I chose the Fan Tremolo not only because of my fandom (sorry), but also because this circuit offers three different flavors: vintage-style ’60s, heavier ’70s style, and a pristine digital version.
This was the second pedal I had built, and I’m glad my soldering skills were proven before I started because this design needed a slightly more delicate touch. Plus, it tested my troubleshooting abilities, which is necessary no matter what kit you’re building.
Out of the box, the components were high-quality and the step-by-step instructions were clear and concise. Out of the three builds I did for this story, this was the only one that really gave me a crash course in deciphering the color bands on resistors. This is one step where a multimeter can help alleviate any doubts between brown and violet and black. After sorting all the parts, it took me most of an afternoon to complete the entire build.
My favorite setting was the thicker ’70s sound. It’s chewy and warm. Admit it: It’s nearly impossible not to break into “Born on the Bayou” when you're rocking a trem at a very specific speed. Although it had a bit more wire work and took a focused touch in certain places, the Fan Tremolo would be a solid first step for aspiring pedal builders who want to dip into modulation. Just take your time.—JS



![Devon Eisenbarger [Katy Perry] Rig Rundown](https://www.premierguitar.com/media-library/youtube.jpg?id=61774583&width=1245&height=700&quality=70&coordinates=0%2C0%2C0%2C0)

