
It doesn’t have to be all cowboy boots and yee-haws!
Intermediate
Beginner
• Learn how to comp using hybrid picking.
• Add nuance to your playing by combining pick and finger string attacks.
• Add speed and fluidity to your lead playing.
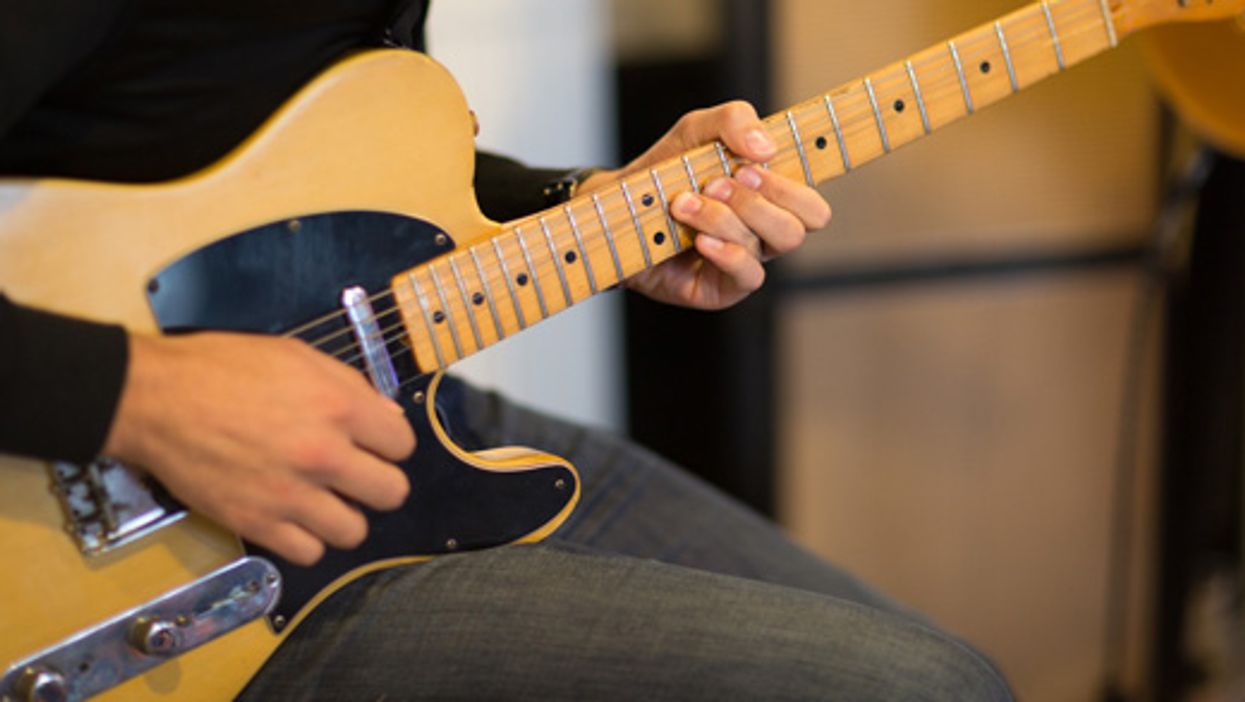
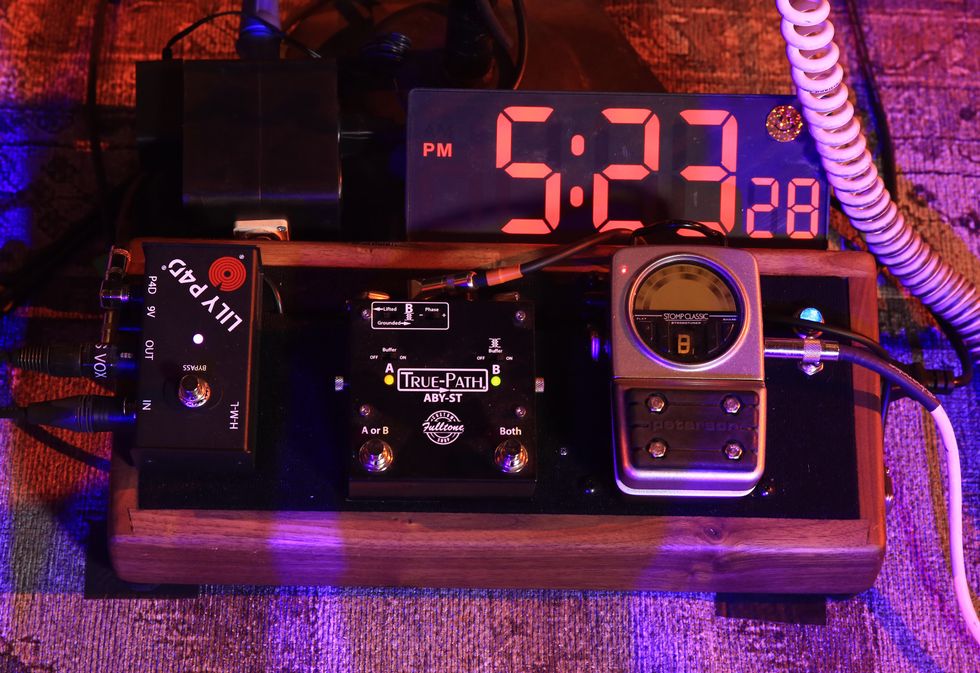
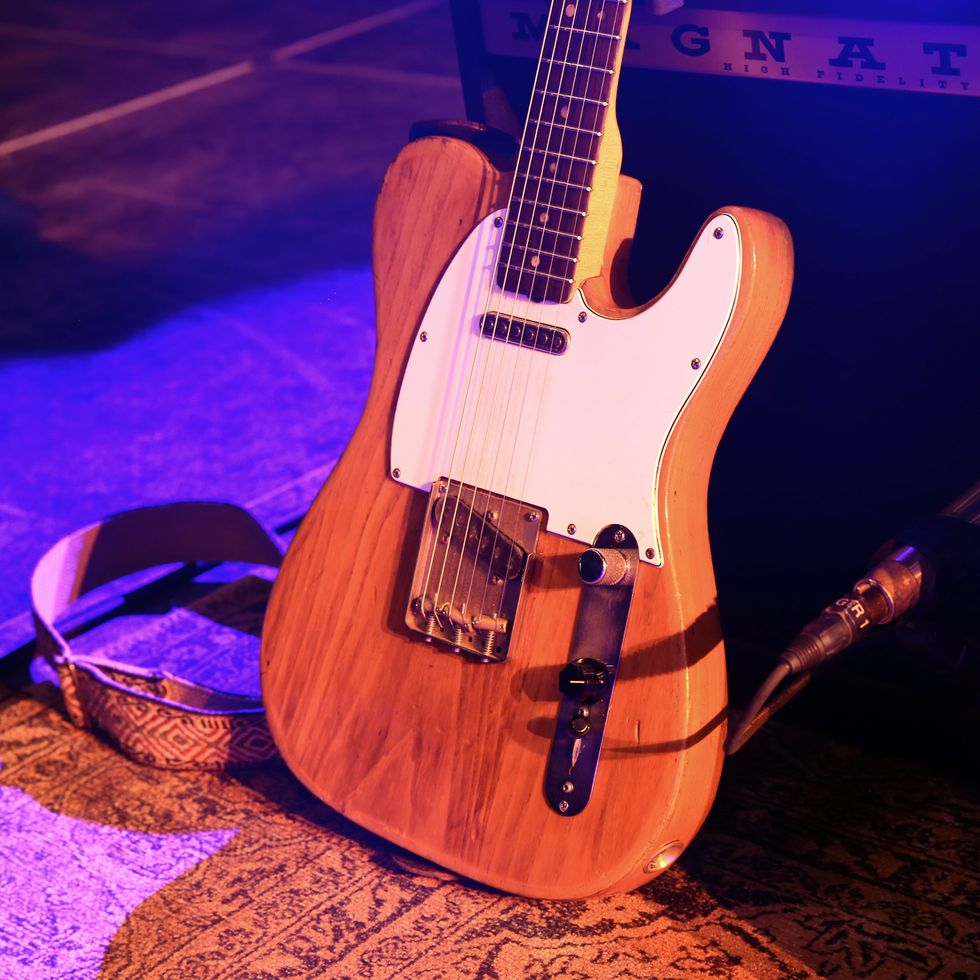
The first thing most guitarists think of when they hear the phrase “hybrid picking” is undoubtedly twangy Telecasters. While that may be the most common use of hybrid picking, it is far from the only application. Diving into hybrid picking opens a whole new world of control, timbre possibilities, ideas, speed, and more.
As beginning guitarists start to move into the intermediate level, they typically build speed by practicing alternate or economy picking. It makes complete sense–especially to someone who’s new to the journey–that if you’re holding a pick, that’s what you should strike the strings with. I grew up learning how to play taking a slightly different route. Personally, I found it easier to be faster–and cleaner–to hybrid pick phrases, lines, and solos. It clicked with me and therefore was the technique I homed in on when growing from a beginner to an intermediate player. My alternate and economy techniques still aren’t as comfortable as hybrid picking, so here are some ideas from a guy that learned things from a bit of a different perspective. If you feel like your playing has plateaued, this might help you to keep climbing.
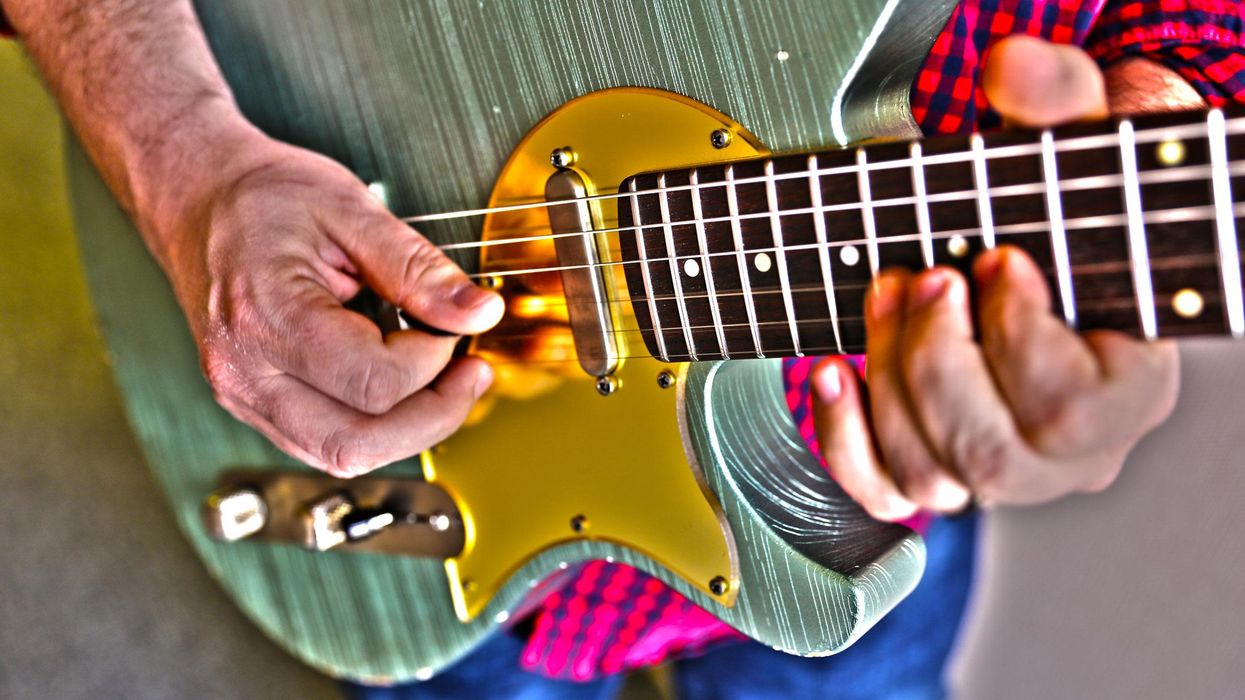
Small note: I use the pad of my fingers when hybrid picking and not the nail.
Step 1: Focus on the Small Differences
In Ex. 1 you’ll find what I consider to be one of the main benefits of getting comfortable with hybrid picking. I pick every note of the phrase on the first pass, but hybrid pick it on the second. On the second pass, the root note (open 4th string) is the only note the pick hits. I generally like to approach hybrid picking with an “each finger is assigned a string” method, meaning in this example the middle finger picks the note on the 3rd string and the ring finger picks the note on the 2nd string. Listening to the same two phrases played differently, you’ll note that there’s a tad more feel and nuance the second time through. These are subtle but can make all the difference in the world when it comes to creating, playing, recording, or performing parts. The combination of a mountain’s worth of small differences like this are what sets the pros apart!
Step 2: How to Play Chords with Hybrid Picking
Ex. 2 is how I love to use hybrid picking when comping. In this example the pick is handling everything on the 5th string while the middle finger picks the 4th string, the ring finger picks the 3rd string, and the pinky picks the 2nd string. Not only does hybrid picking this groove allow for a ton of control, it allows the pick to rhythmically separate from the rest of the fingers, creating a faux bassline. Again, using the middle, ring, and pinky fingers give a softer touch to the upper end of the chords, creating a more nuanced feel.
Step 3: Time to Go Low
Taking the idea of the pick handling the low end of the chords and giving the notes focus while the fingers contribute to clarity and softness on the upper end of the chords, we get Ex. 3. The pick only strikes the 6th string, while the middle finger picks the 3rd string, and the ring finger picks the 2nd string. This example of hybrid picking is widely used by guys like John Mayer and allows a player to have a ridiculous amount of control over what strings are being struck when playing something clean such as this.
Step 4: Let’s Get Sweeping
Applying this concept to lead playing, Ex. 4 replaces what would typically be an upward sweep with hybrid picking. The pick strikes the A note on the 7th fret of the 4th string. Then, the middle finger picks the C# on the 6th fret of the 3rd string, the ring finger picks the E note on the 5th fret of the 2nd string, and the pick strikes the F# on the 7th fret of the 2nd string. This is followed by a downward sweep of the same notes in reverse order. To end the lick, I pick the open 4th string. That’s when hybrid picking allows me to play a rolled Dmaj7 chord. These two embellishments are highly useful when both soloing and comping, and once again are a small touch that provides some “spice.”
Step 5: Enough with the Clean Stuff
Ex. 5 is a lick I use (I should probably say abuse) consistently. My sweep picking skills are abysmal. In part because I haven’t dedicated the appropriate time to practice them, but also partly because I tend to hybrid pick as a cheat or workaround. The lick is based on a G major arpeggio beginning at the 10th fret of the 5th string. I then pick the 4th string with my middle finger and the 3rd string with my ring finger. From there, I gather for a few notes with the pick on the 3rd string and repeat the pattern again across the fretboard. However, the second hybrid-picked part of the lick begins by striking the 9th fret of the 3rd string with the pick, then using my middle finger to pick the 8th fret of the 2nd string and my ring finger to pick the 7th fret of the 1st string. To end the arpeggio, I strike the 10th fret of the 1st string with the pick. The last bit of the phrase is a garden variety blues lick ending.
Hybrid picking is an extremely valuable tool that I think every guitar player should have in their arsenal. A player can have more control, feel, and timbral options compared to only using a plectrum, and it’s an easier way to add velocity with very minimal right-hand movement or tension. Try hybrid picking different grooves, licks, arpeggiated chord shapes, and even pieces of lead lines you already know to begin exploring how the technique can work for you.
- Future Rock: Country Shred - Premier Guitar ›
- What Bohlinger Plays: Hybrid-Picking Double-Stop Chromaticism ... ›
- Twang 101: Why You Should Care About Hybrid Picking - Premier ... ›
Build your own legendary boost pedal with StewMac! Enter the I Love Pedals giveaway now and return daily to boost your chances.
StewMac Two Kings Boost Pedal Kit, With White Enclosure
Can't wait 5 YEARS for an Analogman King of Tone? Now you can build a pedal that captures the tone of the amazing original. Raved about by players like John Petrucci, Gary Clark Jr, Samantha Fish, and Warren Haynes, you no longer have to wait to add it to your rig.
Inspired by a heavily-modded Marshall Blues Breaker, this 2-in-1 pedal is something completely different. It's transparent but still warm and gritty, with a full range of frequencies available, all while keeping the core tone of your guitar and amp.
Be sure to locate your sample library where it can be quickly referenced on your DAW.
Improve your recordings using your own samples. Bryan Clark, house producer at Nashville’s Blackbird Studio, tells you how to take the final steps in building your own sample library.
Mastering the sample import process in your chosen DAW can significantly enhance your creativity and streamline your workflow. With a clear understanding of the tools and techniques available, you will be better equipped to bring your musical ideas to life and make your productions stand out.
This month, we finish up a three-part series on creating your own sample libraries. In this final installment, I’m going to give you the basic ways to import your samples into various popular DAWs. Each one has its unique workflow and user interface, but the fundamental process remains very similar. This Dojo guide will cover how to import samples into Ableton Live, LUNA, Logic Pro, Pro Tools, and Studio One.
Ableton Live
Steps to Import Samples
Drag and Drop: Simply locate the sample file in your computer’s file explorer, then drag and drop it directly into an audio track in the session or arrangement view.
Browser Window: Use Ableton’s built-in browser (on the left-hand side). Navigate to the sample’s location on your hard drive, then drag it into the workspace.
Create a Simpler or Sampler Instrument: Drag the sample into a MIDI track with Simpler or Sampler loaded. This allows you to trigger the sample using MIDI notes.
Tips: Use the warp feature for time-stretching and syncing samples to your project’s tempo.
Organize your samples into collections using the “Add Folder” option in the browser.
LUNA
Steps to Import Samples
Drag and Drop: Drag the sample from your file explorer directly into the timeline. Then hold the CTRL key down, click on the end of the loop, and drag it to the length it needs to be.
Browser/Workspace: Use the media browser to navigate to your sample’s location on your hard drive. Drag it into an audio track in your session.
Audio Track Import: Right-click on an empty area in the timeline or a track and select “Import Audio” to locate and add your sample.
Tips: Use LUNA’s built-in varispeed capabilities to match your sample to the session’s tempo.Logic Pro
Steps to Import Samples
Drag and Drop: Drag the sample from the Finder directly into an audio track in the workspace.
File Browser: Use the file browser (accessible via the media sidebar or “F” key) to locate and drag samples into the timeline.
Quick Sampler: Drag your sample onto a MIDI track with the Quick Sampler plugin loaded. This lets you play the sample chromatically.
Tips: Use Logic’s flex time feature to sync samples to your project’s tempo. Organize samples into Logic’s library for quick access.Pro Tools
Steps to Import Samples
Import Audio Dialog: Go to File > Import > Audio; then locate your sample and click “Convert” or “Add” to bring it into the session.
Drag and Drop: Drag the sample directly from your file explorer into an audio track.
Workspace Browser: Use the workspace (accessible via Window > New Workspace) to locate your sample. Drag it into your session.
Tips: Use the elastic audio feature for tempo matching and pitch adjustments.
Place your samples into playlists for efficient access during editing.
Studio One
Steps to Import Samples
Drag and Drop: Drag your sample directly from your file explorer into the timeline or browser.
Browser: Open Studio One’s browser (on the right-hand side), navigate to the folder containing your sample, and drag it into your project.
Sampler Track: Drag the sample onto a MIDI track, and use the Sample One sampler for additional manipulation.
Tips: Enable the “Stretch Audio Files to Song Tempo” option in the browser for automatic tempo synchronization. Create sample folders within Studio One’s browser for quick access.General Best Practices
Regardless of the DAW you use, it is important to maintain a smooth and efficient workflow. Organize your sample library with clear folder names and categories to make locating files easy (see last month’s installment for detailed strategies). Where possible, learn DAW-specific shortcuts for importing and editing samples to save time. Always check if your DAW offers a feature to sync the sample’s tempo to your project to ensure seamless integration. Finally, regularly back up your sample collection to avoid losing important audio files and preserve your creative assets! Seriously. Do it now.
Next month, we’re off to “console” land and I’ll be investigating console emulations (hype or not?), summing bus processors, and more to give you a more “studio” sound. Until then, blessings and namaste.
Stretching the boundaries of reverb’s realm through dynamic and pitch control.
Nice core reverb sounds. Invites cool compositional and arrangement directions. High quality.
If you lack patience, it will be hard to unlock its coolest secrets.
$329
Gamechanger Audio Auto Reverb
gamechangeraudio.com
When the first Moog synthesizer appeared, it freaked out a lot of musicians—not least for the way it blurred the divisions between instruments and their roles. Was it percussion? A keyboard? A reed instrument? Many effects makers build from this philosophical foundation. The Latvian company Gamechanger often seems to revel in it—an attitude that’s manifest in the company’s Auto Series pedals, which includes the Auto Reverb.
There’s no reason you can’t use the Auto Reverb in a very straightforward fashion. The plate, spring, and hall settings are all very nice digital representations of their analog inspirations—and I’d be perfectly happy playing an instrumental surf set with the spring mode, for instance. But because you can control the parameters like the reverb’s level, decay, tone, and the filter with changes in pitch and dynamics, the Auto Reverb can function in highly orchestral ways, transforming itself from subtle to outlandish as a musical piece shifts in intensity or rises from low to high keys toward a blurred, hyper-spacious climax. While these attributes make the Auto Reverb a great fit for prepared guitar and conceptual pieces—and invites many themes and compositional ideas within those forms—it can just as easily be configured to create an especially dynamic and dramatic pop song arrangement on stage or in the studio that might otherwise be relegated to automations within a DAW. It’s fun to use, if not always intuitive. But knowing its ways can expand your musical options significantly.
Black Sabbath to Reunite for First Time in 20 Years—Ozzy Osbourne’s Final Performance
The original Sabbath lineup will reunite on July 5 in Birmingham, England, and be joined by Metallica, Pantera, Slayer, and more.
The concert will feature founding members Tony Iommi on guitar, bassist Geezer Butler, drummer Bill Ward, and singer Ozzy Osbourne. Profits from the show, called "Back to the Beginning," will be donated to charities including Cure Parkinson's.
On future Black Sabbath plans, Ozzy's wife, music manager, and TV personality Sharon Osbourne had this to say (via Reuters) about Ozzy: “While other bandmembers might continue to make records and perform, Black Sabbath's gig at the birthplace of the band will certainly be the 76-year-old's final performance.
"For Ozzy right now, it's definitely: 'I love you and good night'," she said.