Taylor Guitars has definitely earned the title of being an “original” guitar maker, especially in light of their numerous innovations throughout the years. Among them, of course, are their patented New Technology (NT) necks, which seem to stay stable and straight in most climates, and the company’s long-admired UV finishing process, which utilizes a finish and curing method that has consistently delivered excellent durability and acoustic properties.
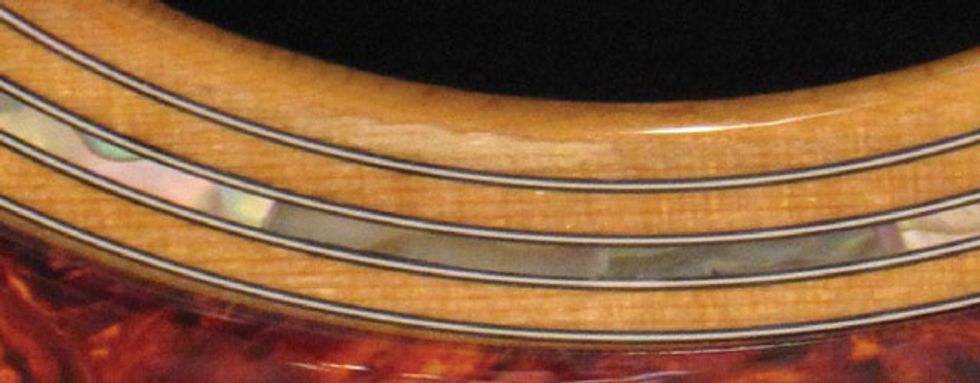
So, when a Taylor 814C in need of some minor finish work around the rosette showed up at my shop, I knew I had my hands full. Most of the work would be done on the treble side above the pickguard where some of the finish and wood had been whittled away from years of pick and fingernail contact. Some Taylor owners might leave this alone, but Keith Dotray, the proud owner of this guitar, is looking forward to playing his Taylor for many years to come and he wants to protect the gorgeous rosette and spruce soundboard from any further damage.
To do this type of job, here are some of the supplies you’ll need: hydrogen peroxide, Q-Tips, hair dryer, foldable cardboard protection mat, Badger airbrush, Evermask masking paper, dropfill toothpicks (Stew Mac #3110), No. 10 Thin Super Glue Cyanoacrylate (#0010), accelerator (#5984), guitar buffing arbor (#2080), UV sealer/ topcoat (Lawrence-McFadden) and a multi-cure unit with safety ware (UV III Systems Inc.).
Soundboard Preparation
The first step of this process involved the removal of the pickguard using light heat from a hair dryer while carefully and gradually pulling up on the guard. We’ll replace it with a factory pickguard once the repairs are completed. The inside of the guitar was protected with a 5”x8”x1/8” piece of cardboard “protection mat” that was folded in thirds to fit through the soundhole. Once inside the guitar, it was opened up to protect the area from any liquid splatters or stray specs while the repairs were made. I used the hydrogen peroxide and Q-Tips for applicators to lift the dirt that was imbedded into the exposed wood area. After the surface was dry and clean I began to build up the worn away pockets with No. 10 Thin Super Glue Cyanoacrylate, using accelerator between each coat. Drop-fill toothpicks were used to apply the glue. The excess Cyanoacrylate was leveled with a razor blade and then wet sanded with 600-grit sandpaper before spraying a protective topcoat.
Spray and Bake
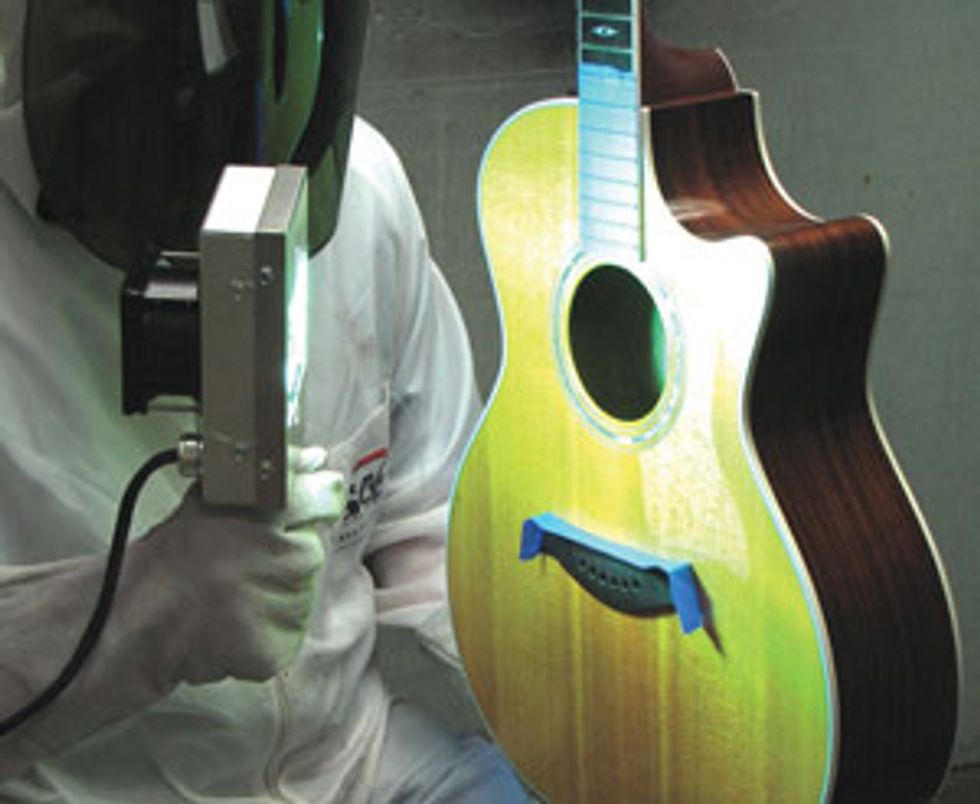 Now that the soundboard damage had been filled and leveled, I was ready to feather in a topcoat of Lawrence McFadden’s UV sealer/topcoat by using my Badger airbrush to help spray a very thin coat. The inside of the body was protected from any finish overspray by using Evermask masking paper. In case you’re wondering, the neck did not need to be removed to apply this new coat as there was plenty of open top surface to work with.
The UV topcoat R-1778 contains some solvents, and after spraying I allowed approximately 20 minutes of air flash for the solvents to evaporate before curing—or “baking”—the area with my multi-cure ultraviolet unit. When working with any hand held UV-curing system you always have to make sure that you have adequate protection from the ultraviolet light by properly protecting your eyes and skin with a safety shield, leather gauntlets and overall protective body coverage as shown in the photo above. For this small amount of sprayed finish, I only needed three minutes of “baking” and the UV topcoat was 100% cured. Once cured, there is virtually no shrinkage.
After finishing sanding the entire area I used my guitar buffing arbor from Stew Mac to feather in a consistent sheen to the soundboard. Then, with a small amount of Naptha on a cloth, I removed any buffing compounds that may have been present in the area where the replacement pickguard was going to go. Masking tape works well for pre-marking the new pickguard area to ensure a perfect lay. Taylor pickguards have a strong adhesive back so it’s always a good idea to do a couple dry practice runs first.
Using the right equipment made this job a oneday project, whereas a traditional nitrocellulose finish touchup would have taken weeks. And all I can say is, Wow! Using my multi-cure system is great, but seeing a big smile on the owner’s face was even better. I would like to give a special thanks to Taylor Guitar’s Chris Bearden for sharing his knowledge on the building team at Taylor. Chris works in Taylor’s customer service department and is well qualified to address any customer concerns, including service repair center tech questions.
If you’re coming out to the NAMM show, please stop by and say “Hi.” I look forward to meeting “Restoring An Original” readers.
John Brown
John Brown, of Brown's Guitar Factory, is the inventor of the Fretted/Less bass. He owns and operates a full guitar manufacturing and repair/restoration facility, which is staffed by a team of talented luthiers. He is also the designer of guitar making/repair tools and accessories that are used today by instrument builders throughout the world.
brownsguitarfactory.com
info@brownsguitarfactory.com