
Because it doesn’t have a lot of moveable parts that are prone to failure and need regular inspection, an electric bass is a rather simple instrument. There are a few components that do fail, and when this happens, it can be immediately obvious—a corroded pot or a loose solder joint. But there are other parts of our instrument that are under constant change, and when something goes wrong here, it often goes unnoticed.
The relentless pull of the strings has an effect on the mechanically weakest part of the instrument: the neck. Changes in temperature and humidity further affect its curvature, which means the neck requires regular corrections. If you think string pull is a force to be reckoned with, let’s remember an ancient technique used to tear apart large pieces of rock, especially granite blocks. A hole is drilled in the rock, which is then filled with a wedge of dried wood. Moistening the wood will force it to expand and crack the rock. So when an unlacquered, dry fretboard wants to expand when exposed to higher humidity, it will move. Not only does this explain why we oil untreated wood, but also why bass necks have truss rods.
Since manufacturers often suggest that adjusting a truss rod is a job for professionals, many players do, too. For most bassists, a bit of fiddling around with bridge height is the limit of their setup adventures, but it doesn’t have to be that way. In fact, all one needs for a successful and complete setup is a minimal knowledge of how something works and some respect for the applied forces.
Before we discuss adjustments, let’s review some historical background. The upright—the parent of the modern electric bass—didn’t need neck adjustments because of its massive and relatively short neck. At the end of the 19th century, the wider use of steel strings raised concerns among manufacturers as to whether necks could withstand the higher tensions. After several attempts to simply strengthen instrument necks, builders began exploring alternative solutions, and 1910 marked the patent filing of an adjustable rod for a harp guitar (George Laurian, U.S. patent 964,660). Mounted on the rear of the guitar, between the body and headstock, this mechanism was located outside the neck.
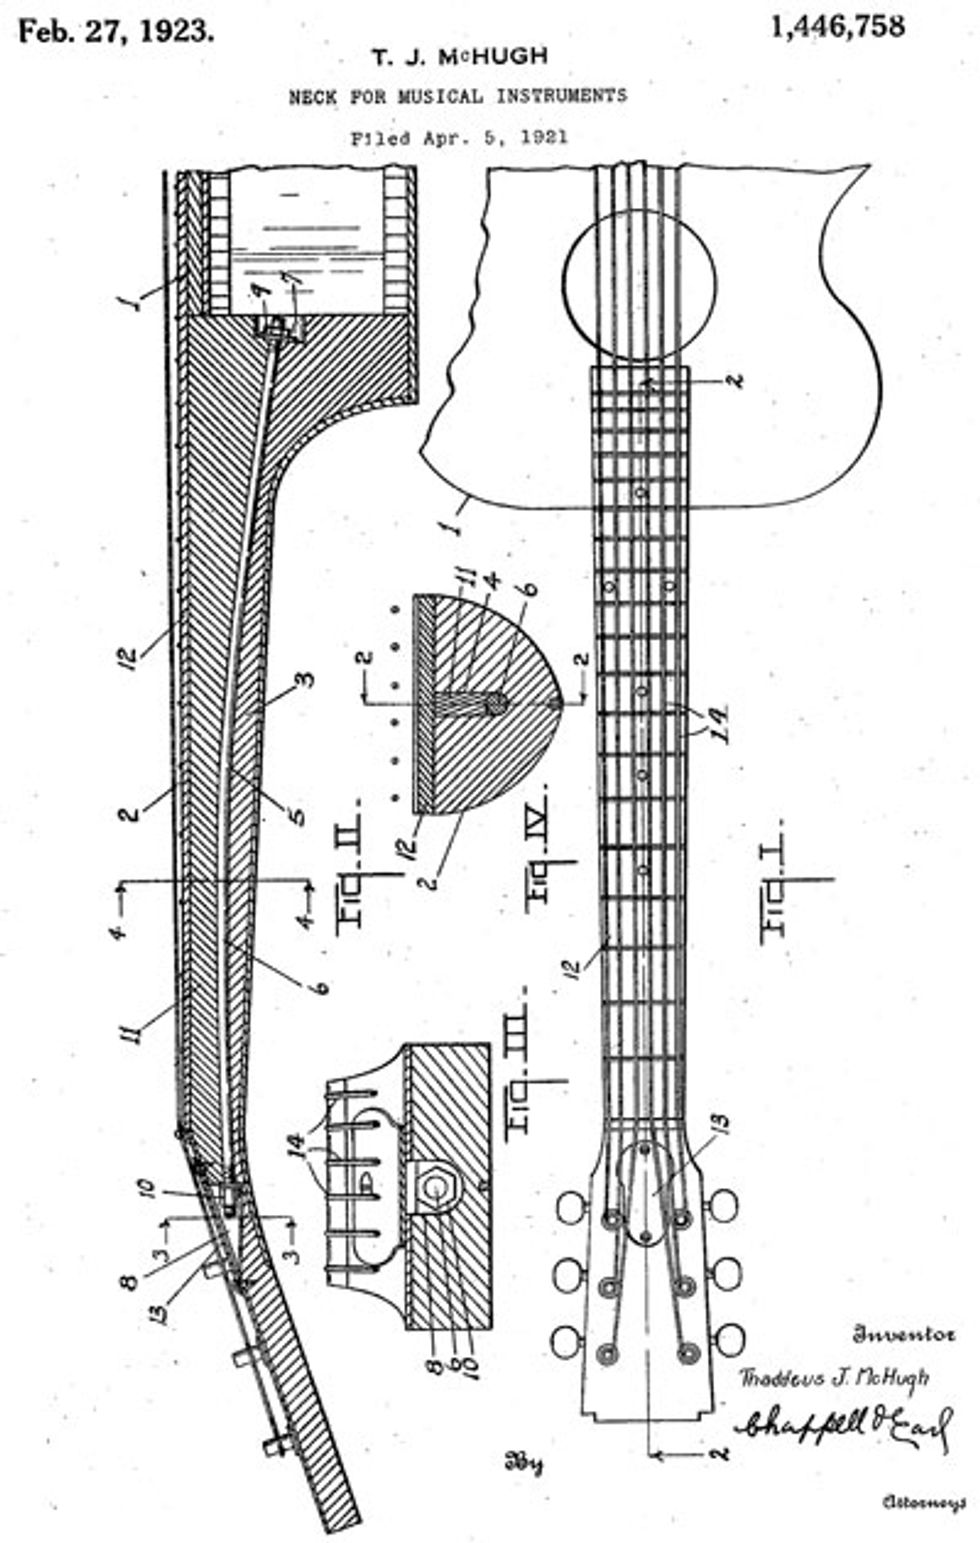
The patent for the first commercially successful internally installed truss rod—the design that’s still used today—was filed by Gibson employee Thaddeus McHugh in 1921 (U.S. patent 1,446,758). The patent drawing (Fig. 1) reveals a simple, single rod lying in a curved channel. The rod is designed to straighten when it’s shortened via a nut at the headstock end. It’s odd that the drawing shows a reversed curvature of the truss rod channel; this would result in additional forward bowing when tightened. Maybe that’s how you confuse the competition, but the correct curvature to force the neck to bend backwards to counteract string tension would have the rod’s middle further away from the fretboard and the ends closer to it.
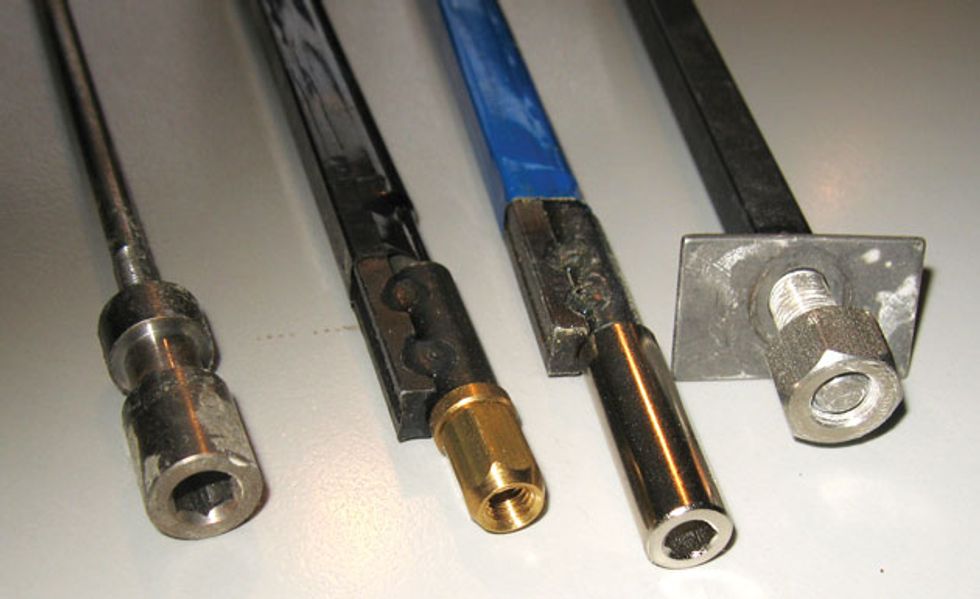
Photo 1 — Photo courtesy of basslab.de
Today we have both single- and double-rod designs (Photo 1). The latter, also known as a dual-action rod, eliminates the bowed channel by adding a second, non-adjustable rod. As its name implies, the dual-action rod can also help in the rare situation of a back-bowed neck.
So, when it comes to adjusting the truss rod on a bass, what is there to be afraid of? Not much! There are two things to keep in mind:
• Use the right tool so you don’t ruin the nut.
• Never apply enough force to either break the rod or strip its threads.
In most cases, there’s no need to loosen the strings. The exceptions are when the nut is already very tight and you need to relieve tension to get it to move, or if you need more physical space to access the nut with your tool. Adjust it in small steps, as there is some latency in how fast the forces of strings, neck, and truss rod find their new equilibrium.
If you own an instrument that was once well adjusted, the truss rod will be the only thing you’ll have to maintain on a regular basis, because bridges and frets won’t move on their own. Next month we’ll look at how to determine the optimal neck bow or relief, and how to achieve that through adjusting the truss rod. See you then.


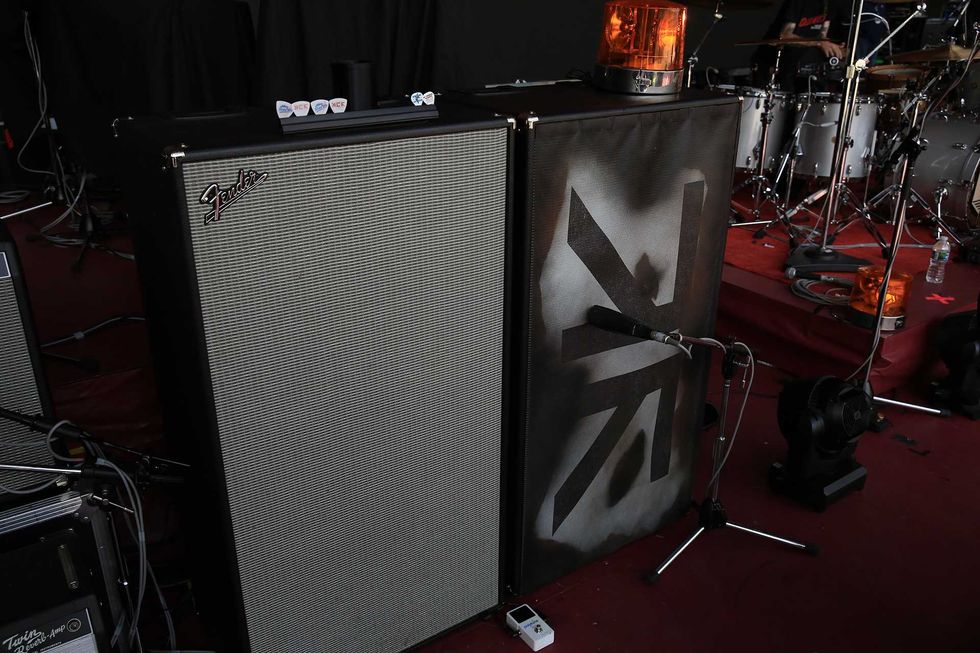
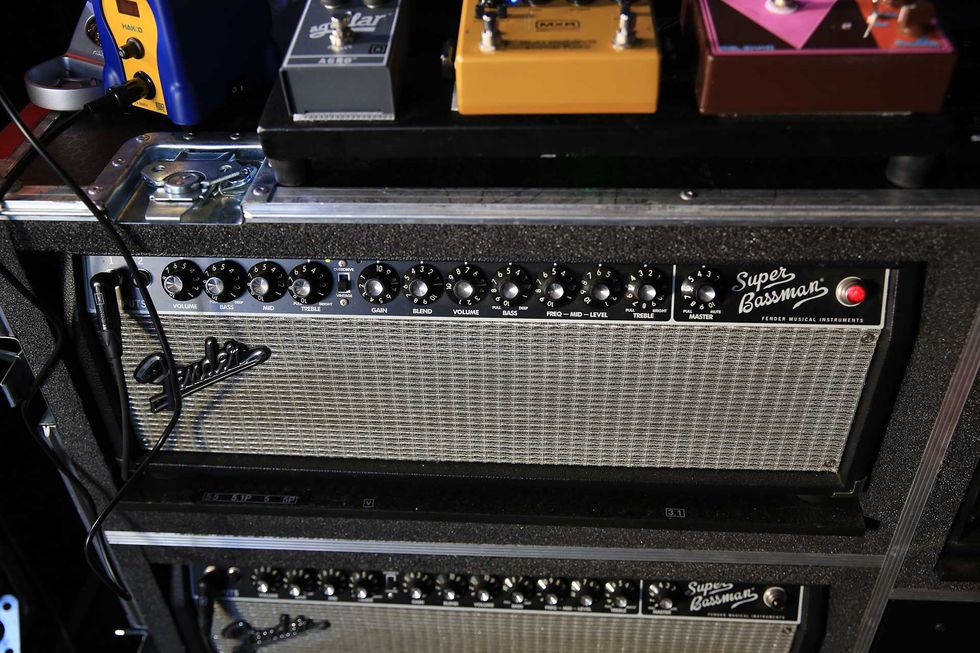
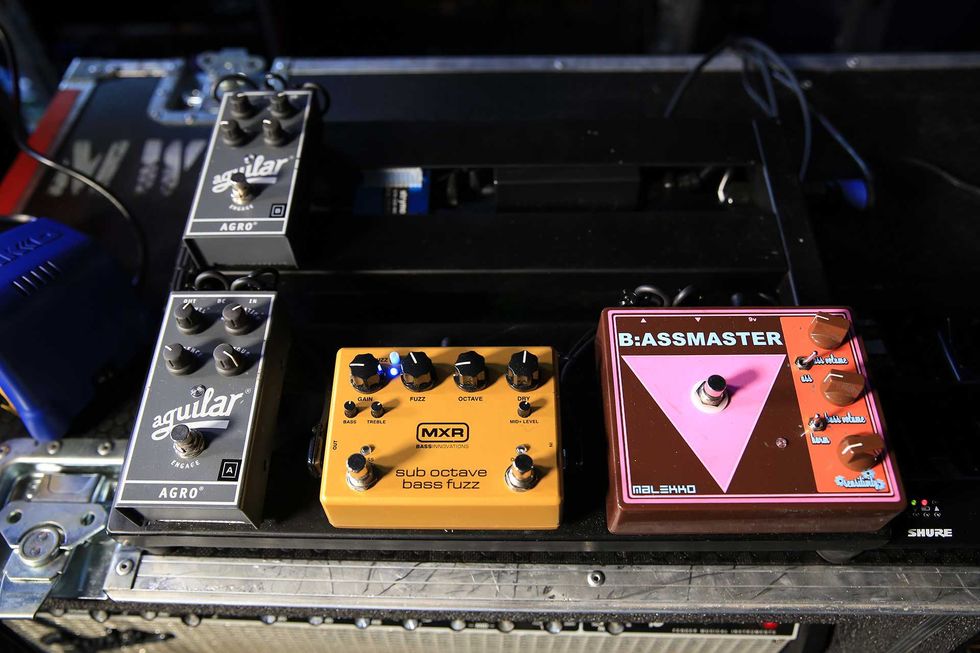
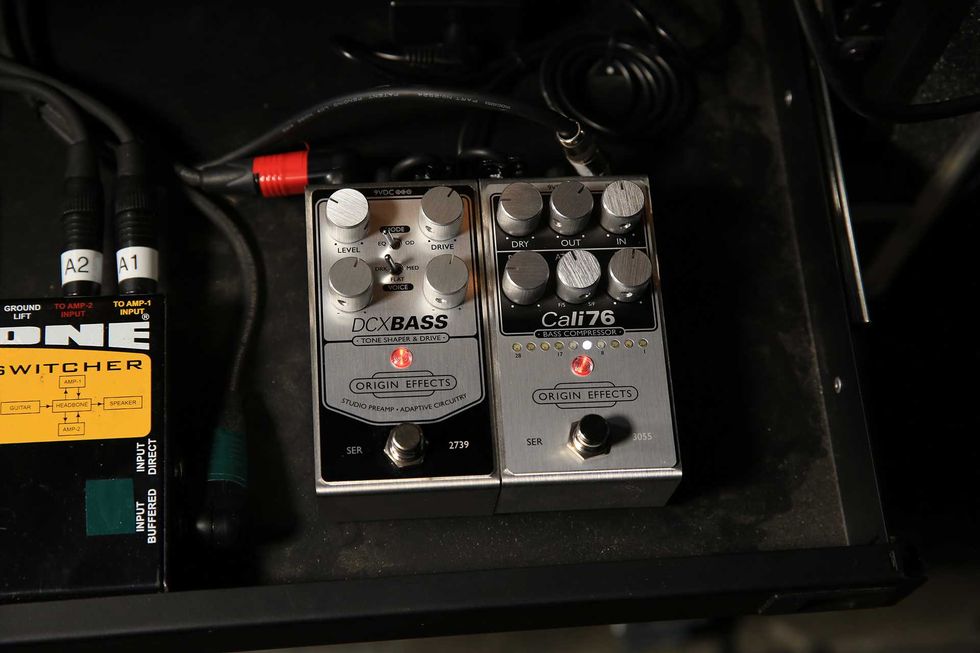
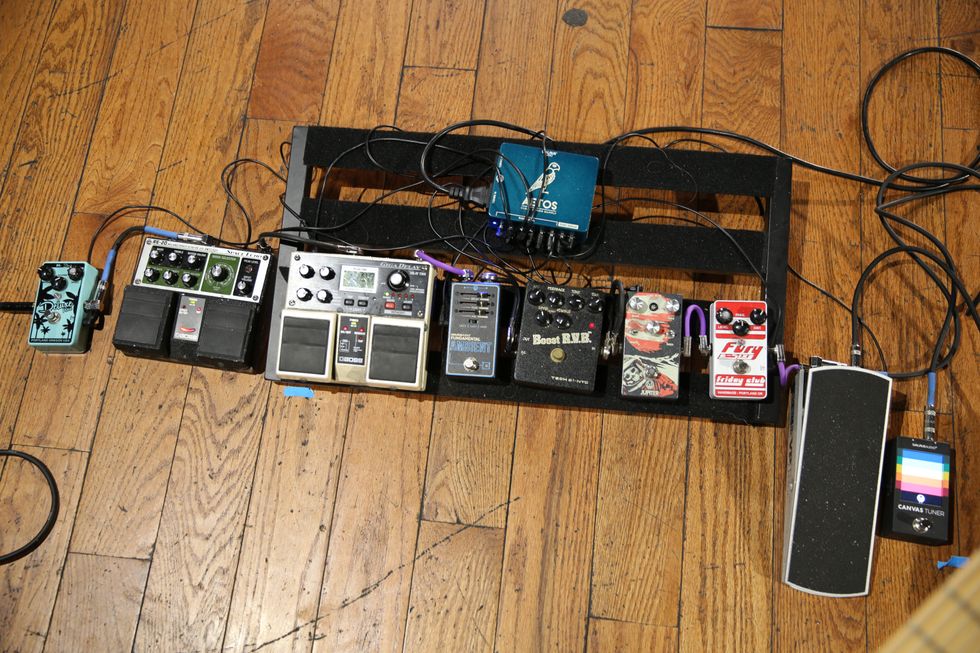
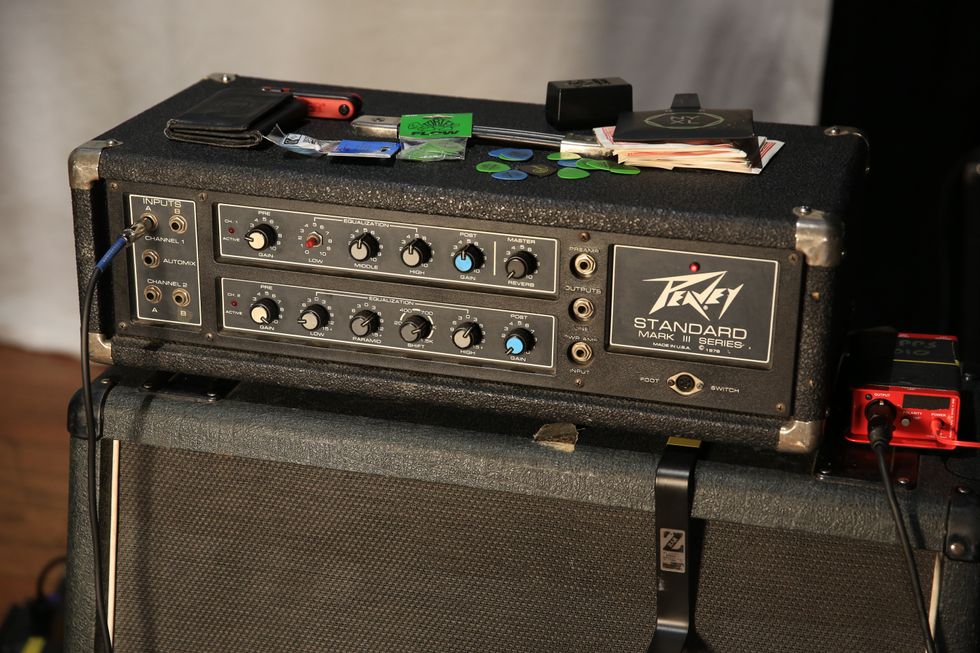
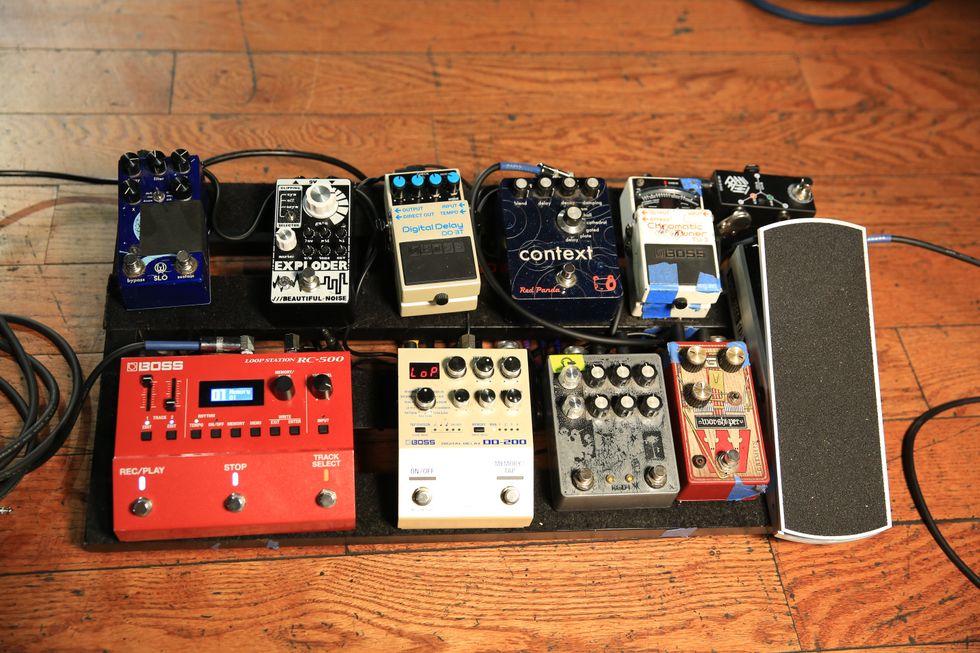
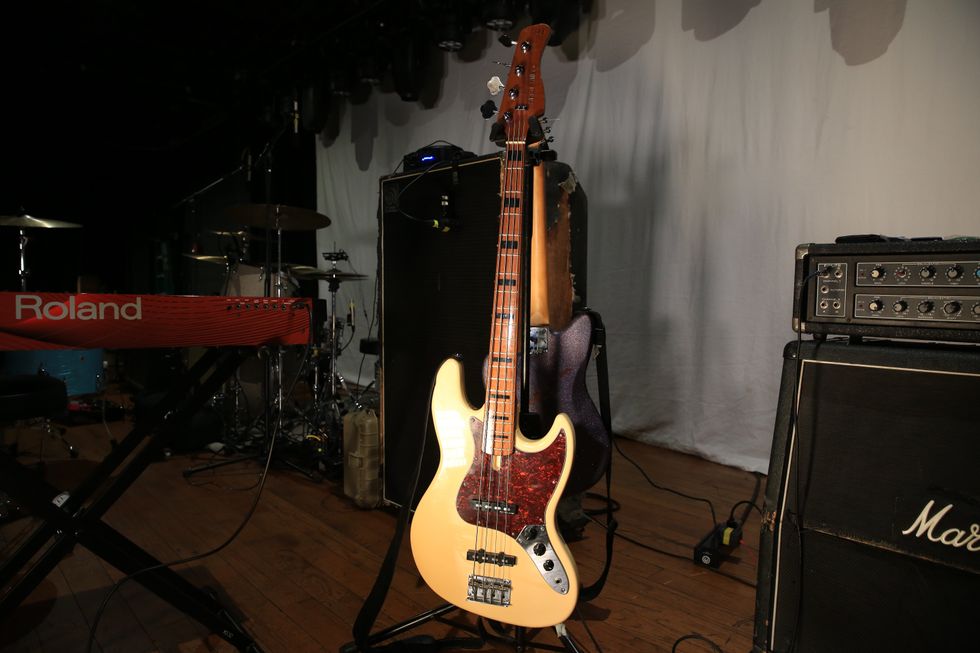
![Rig Rundown: AFI [2025]](https://www.premierguitar.com/media-library/youtube.jpg?id=62064741&width=1245&height=700&quality=70&coordinates=0%2C0%2C0%2C0)
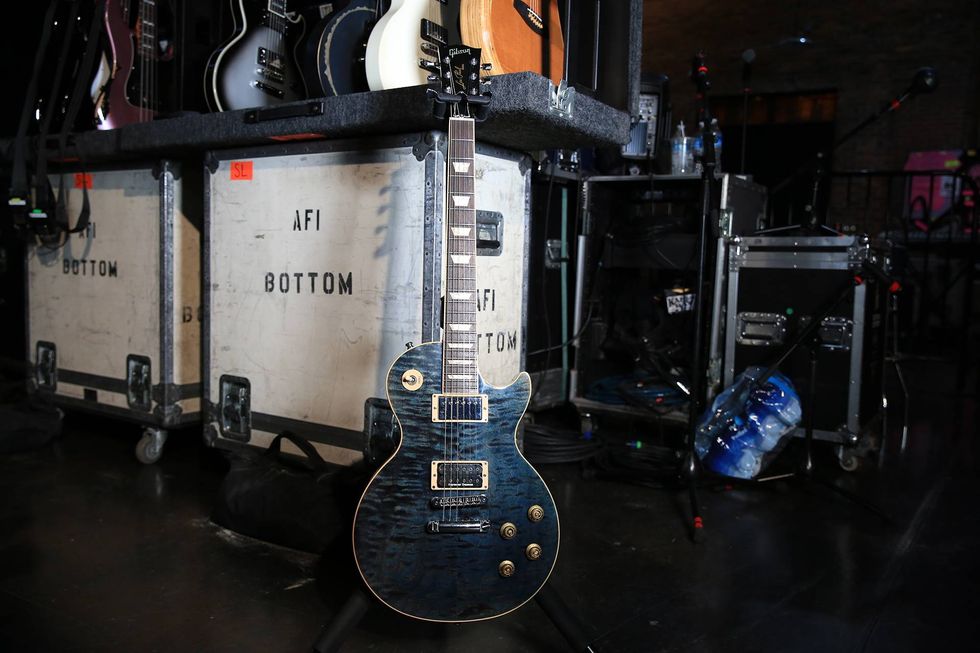
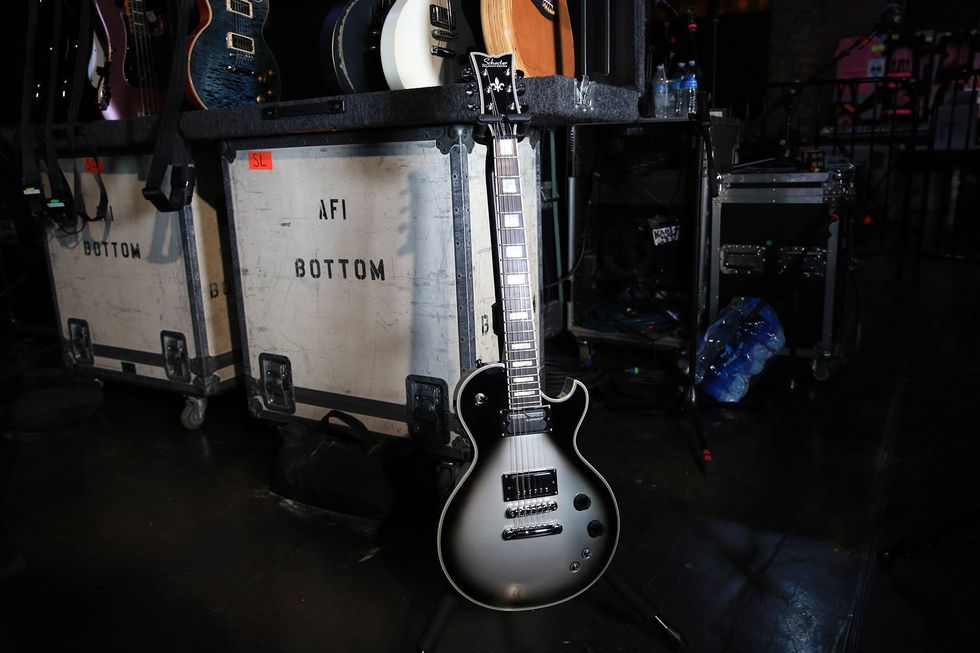
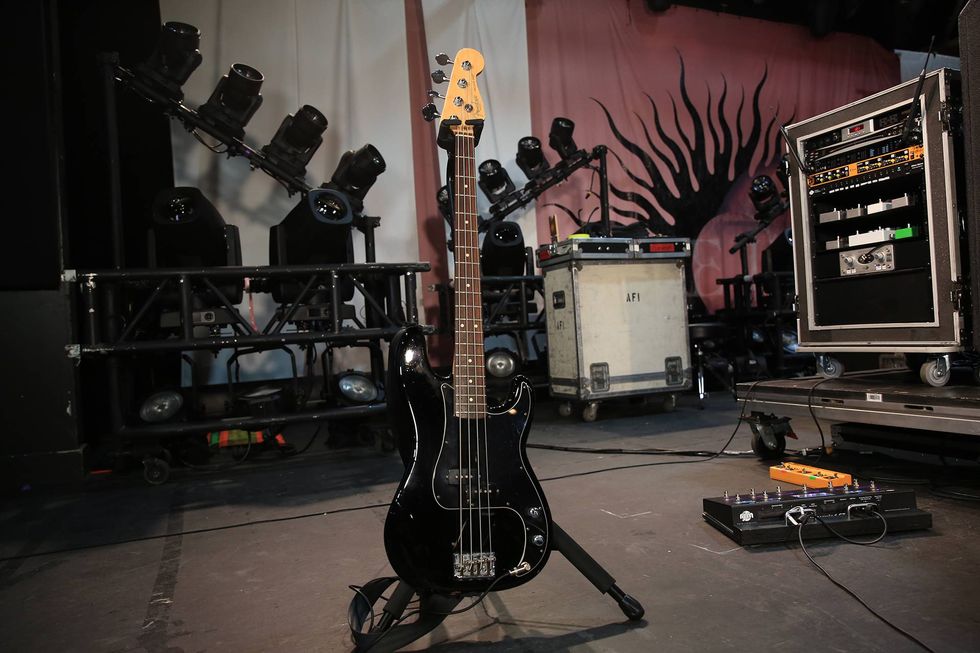
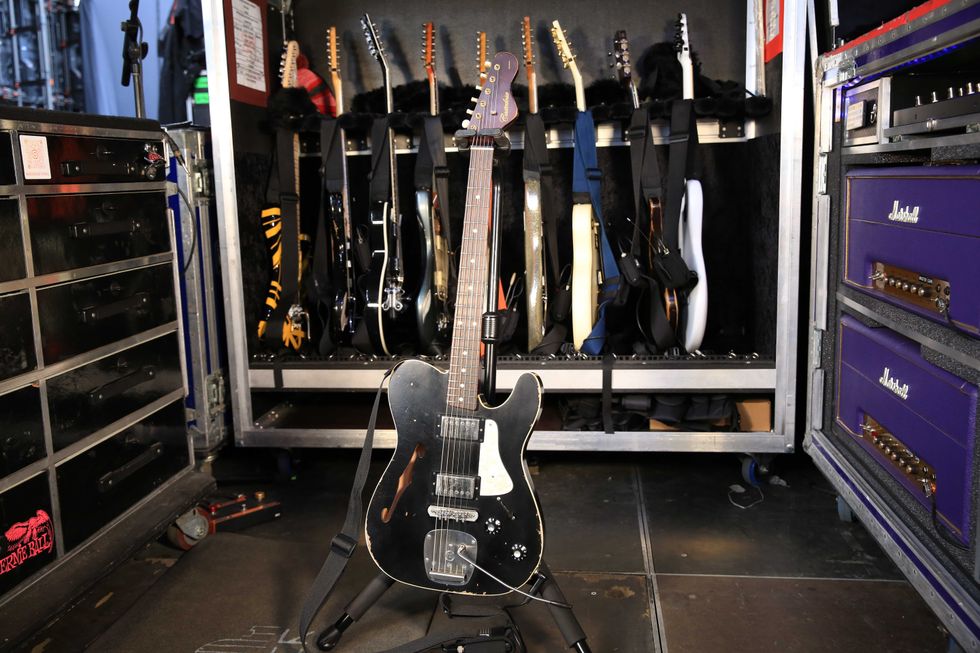
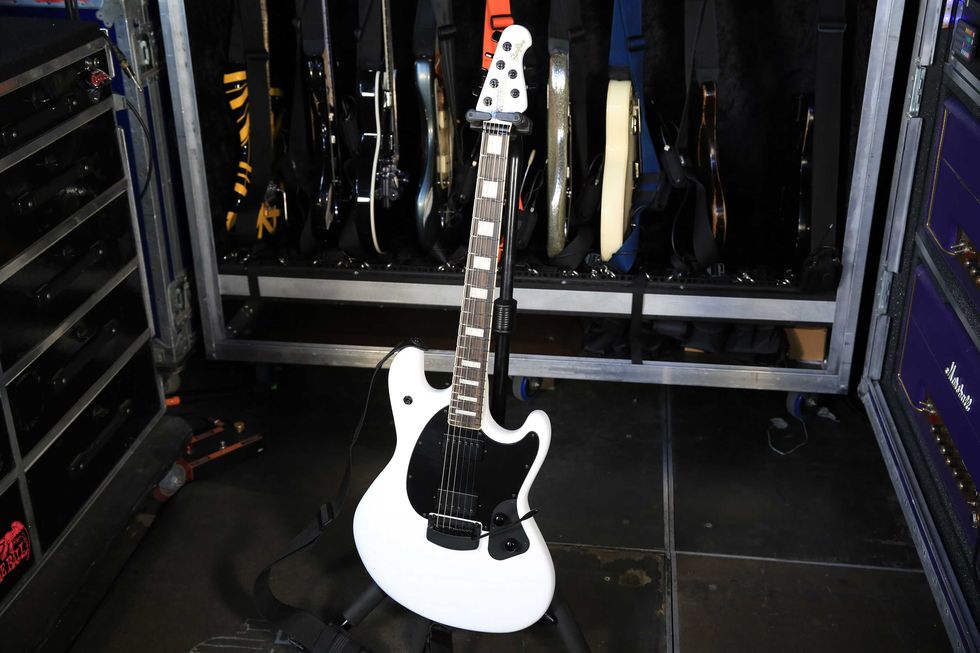
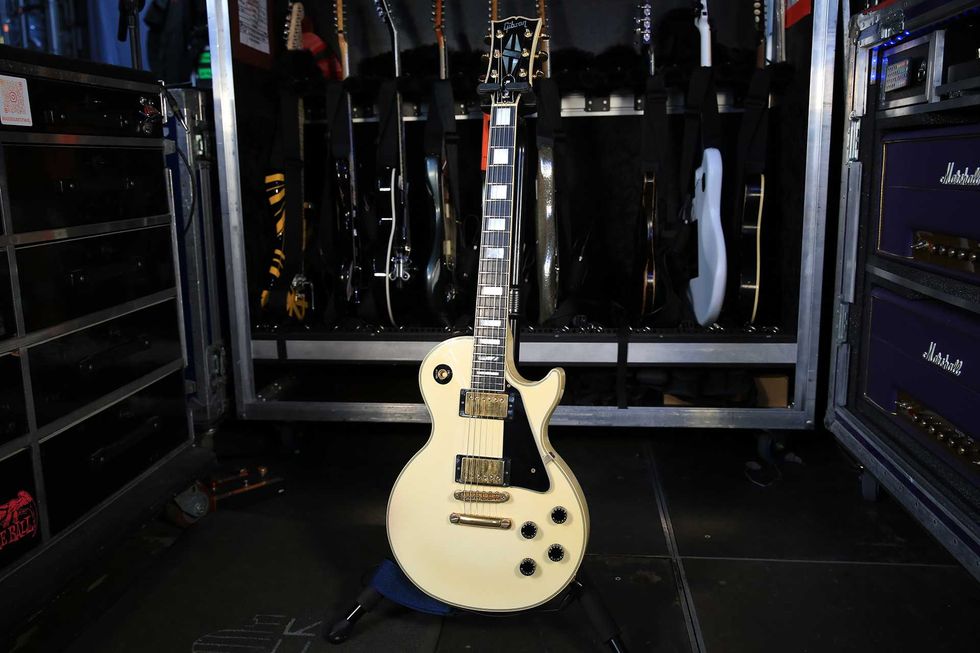
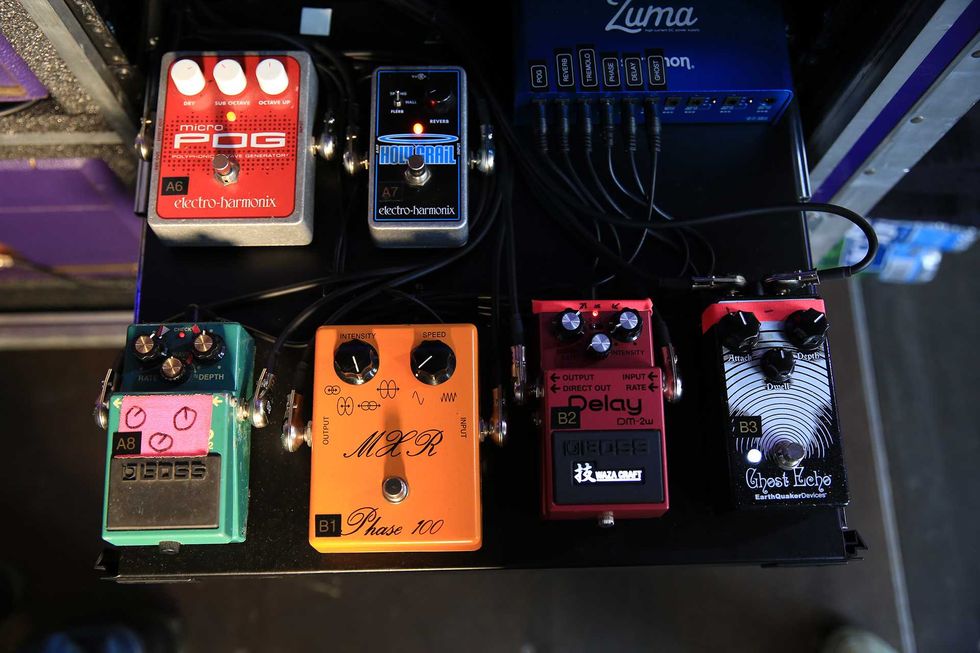
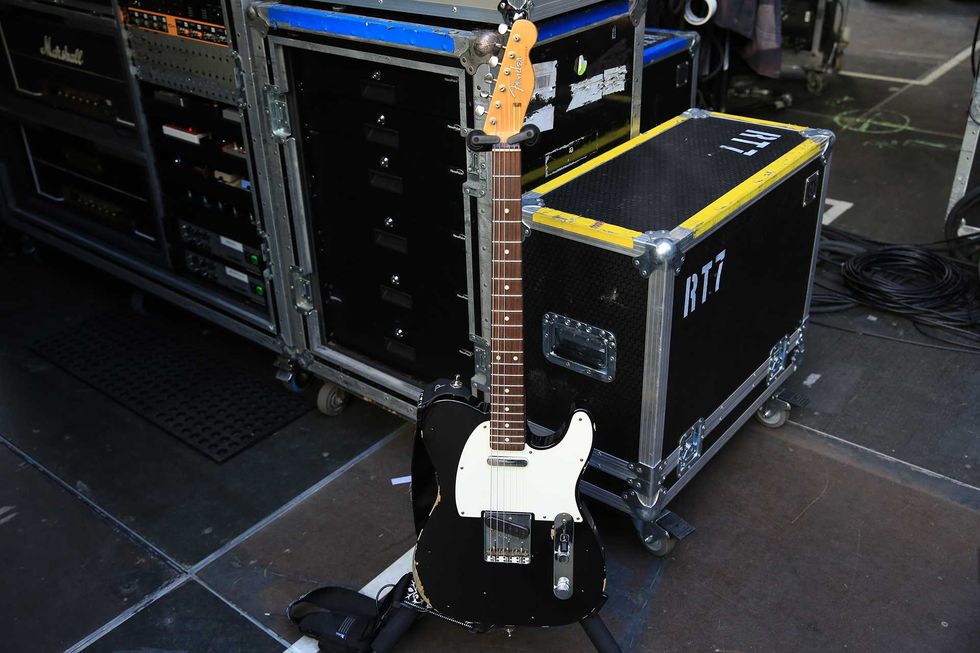
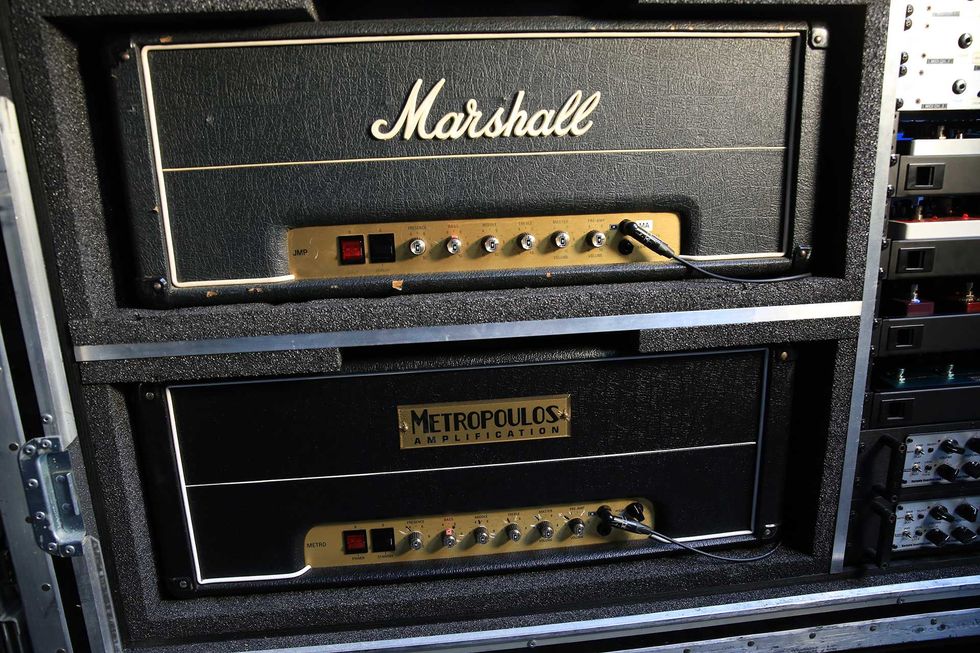
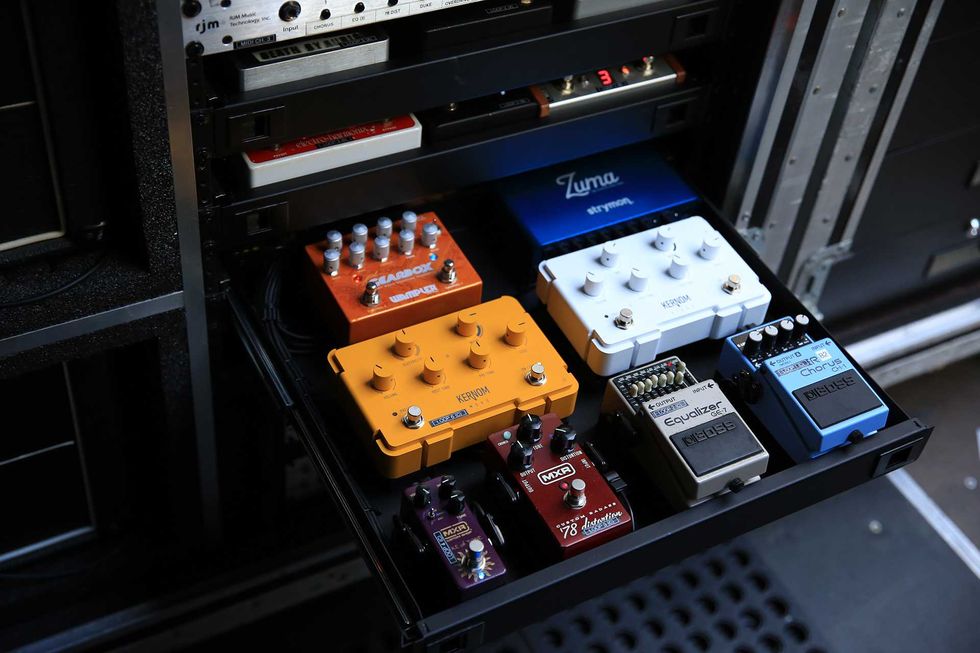
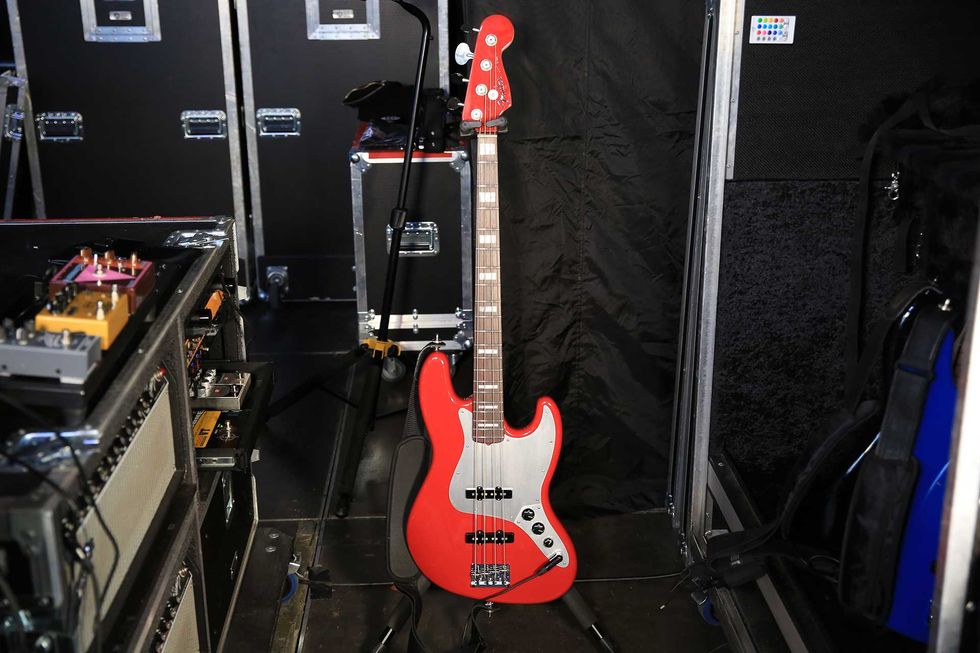
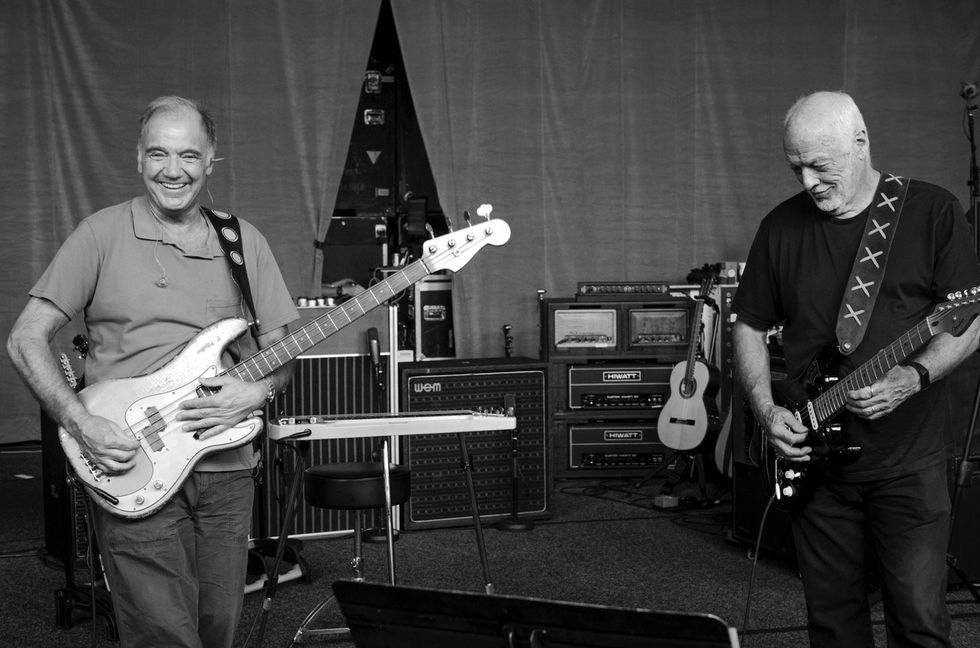
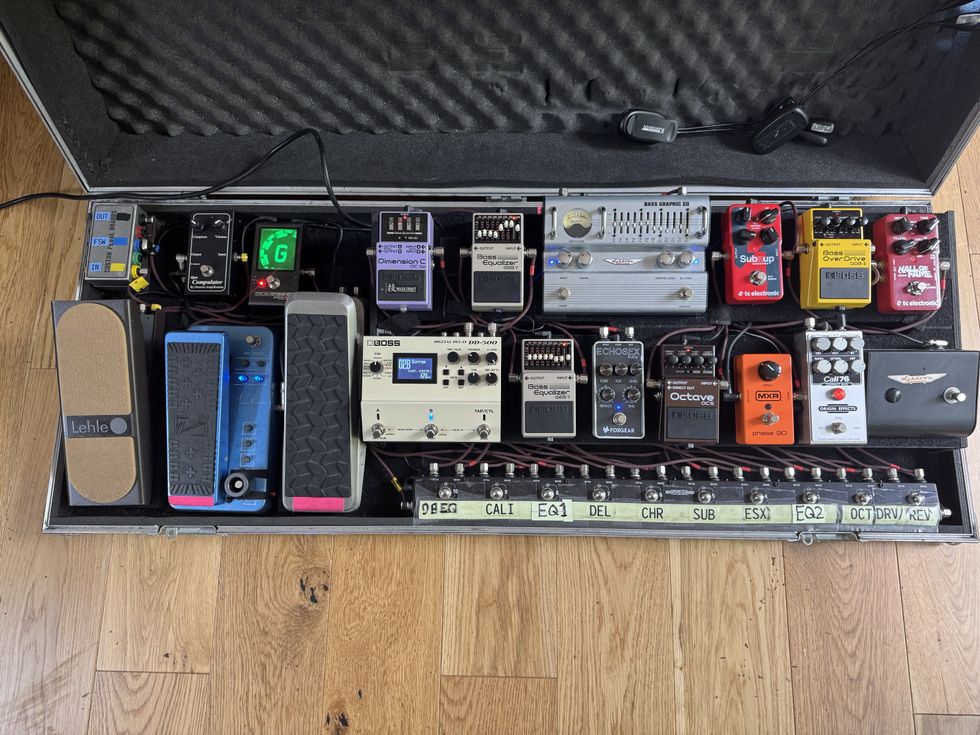
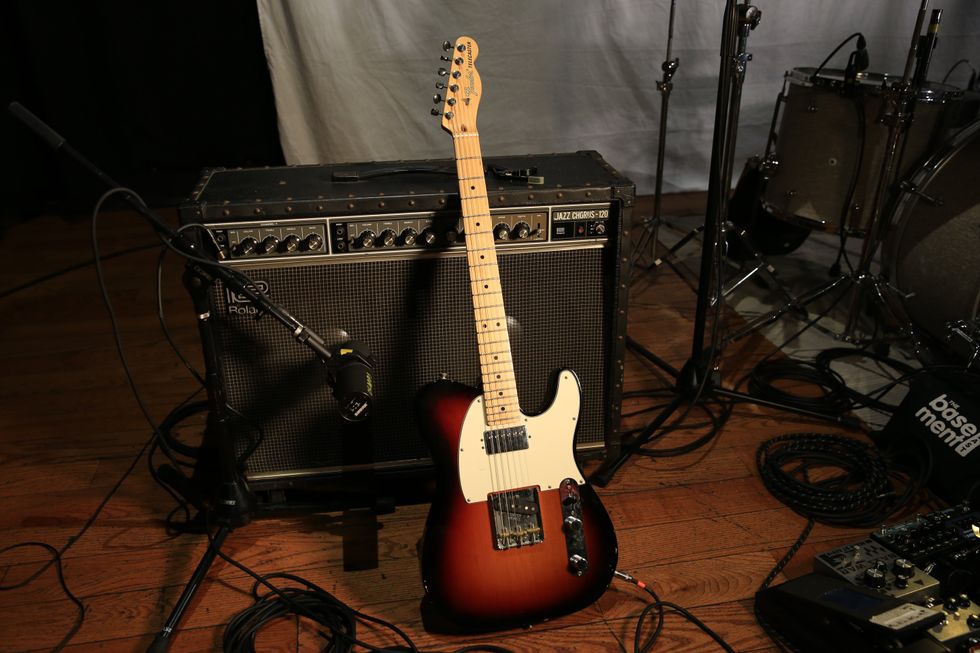
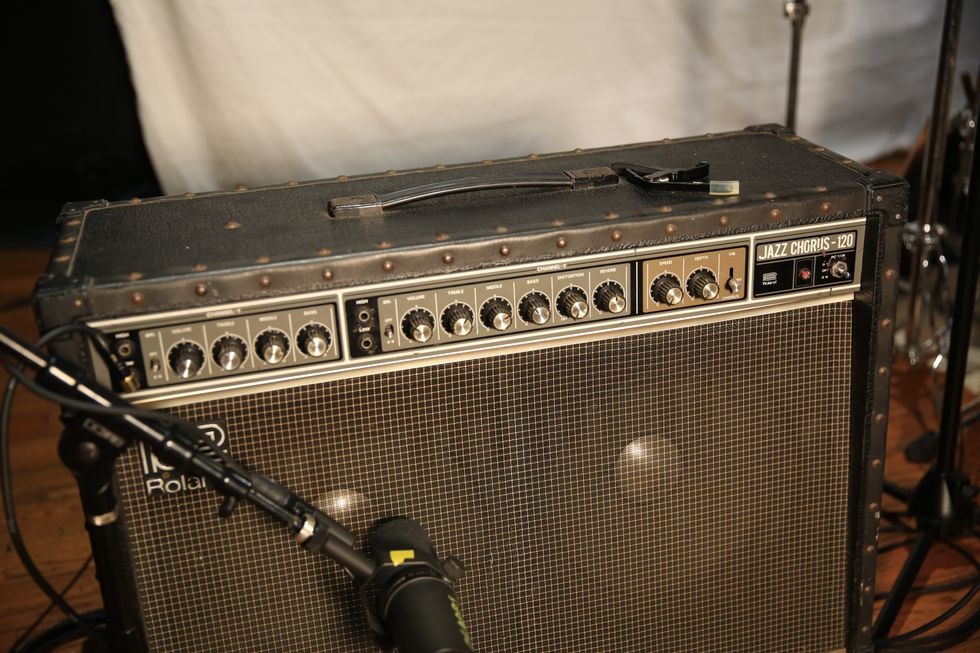
 Shop Scott's Rig
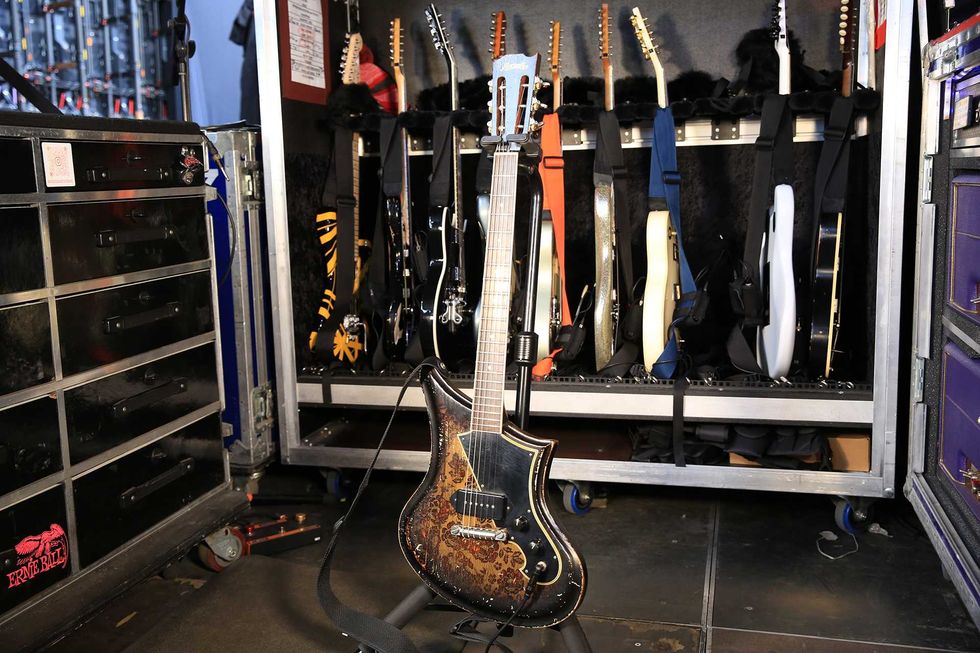
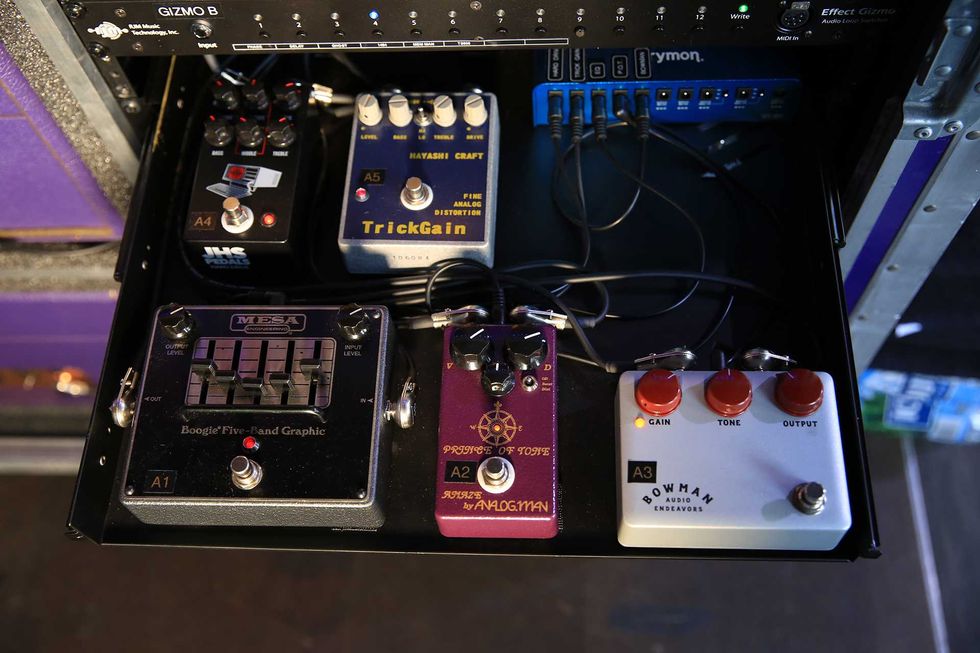
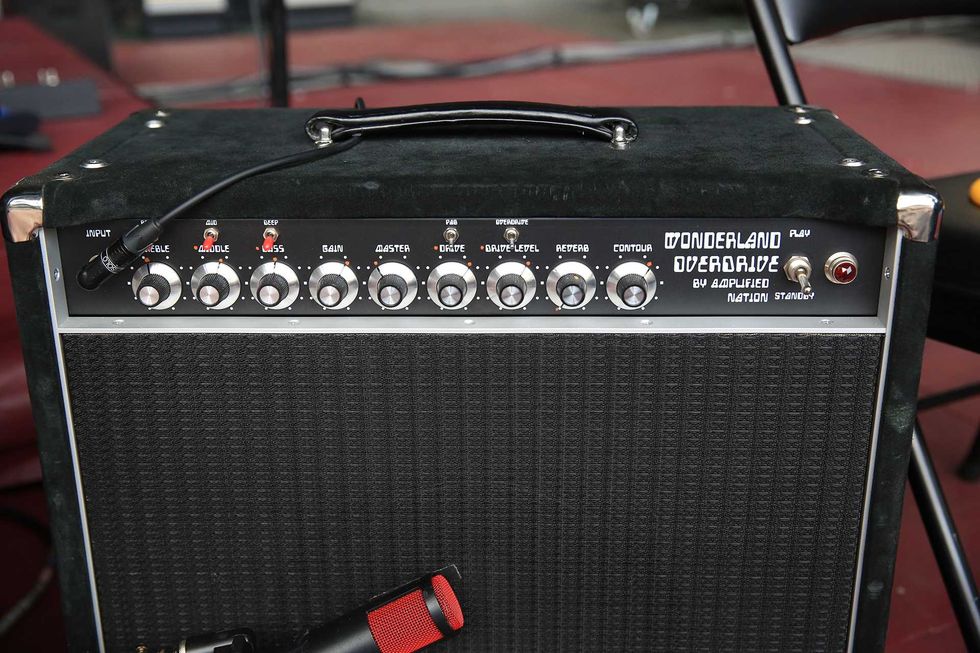
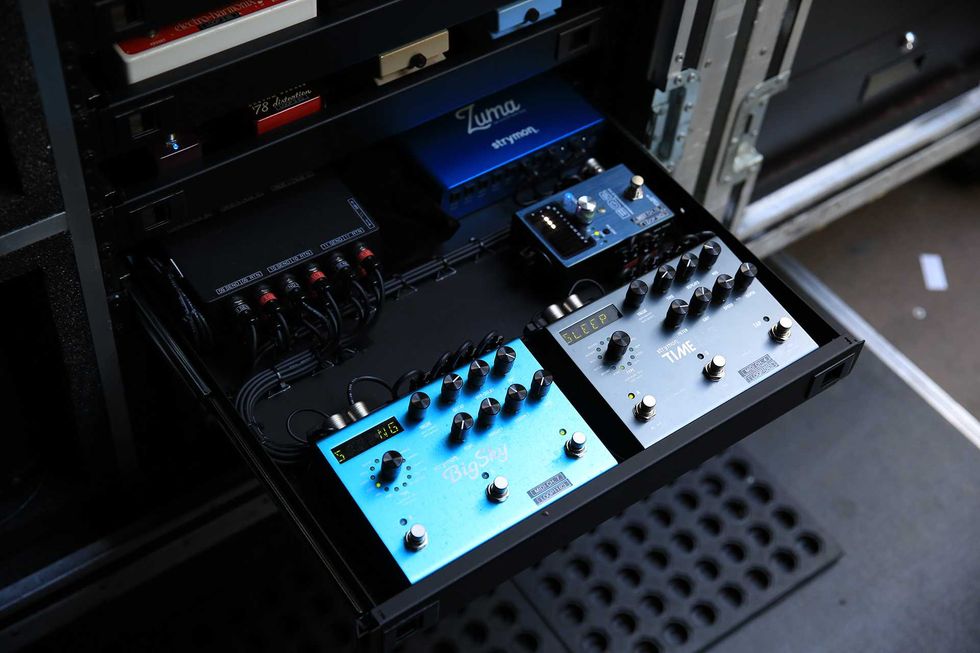
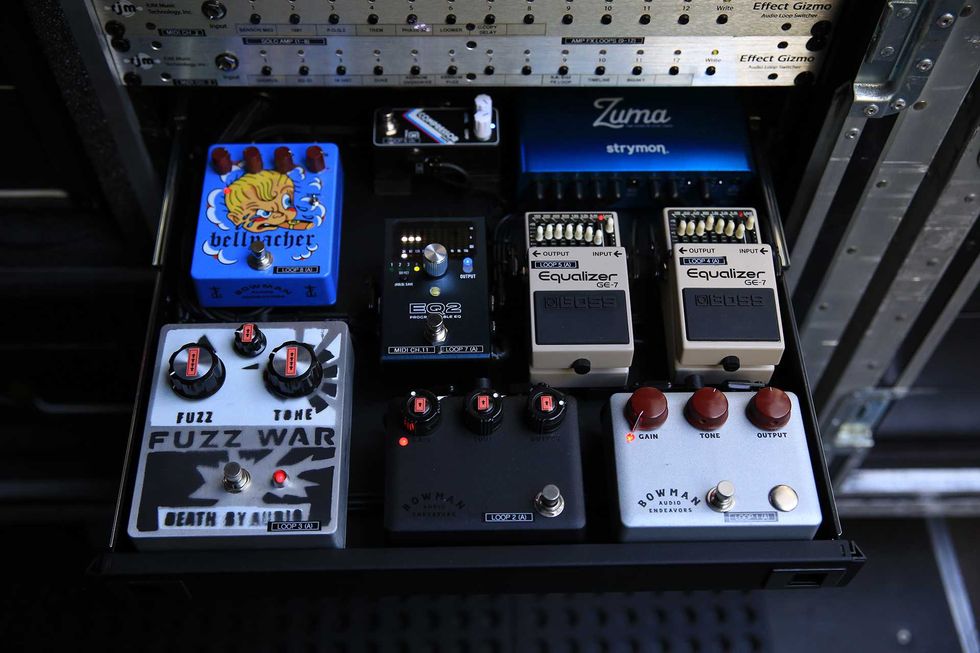
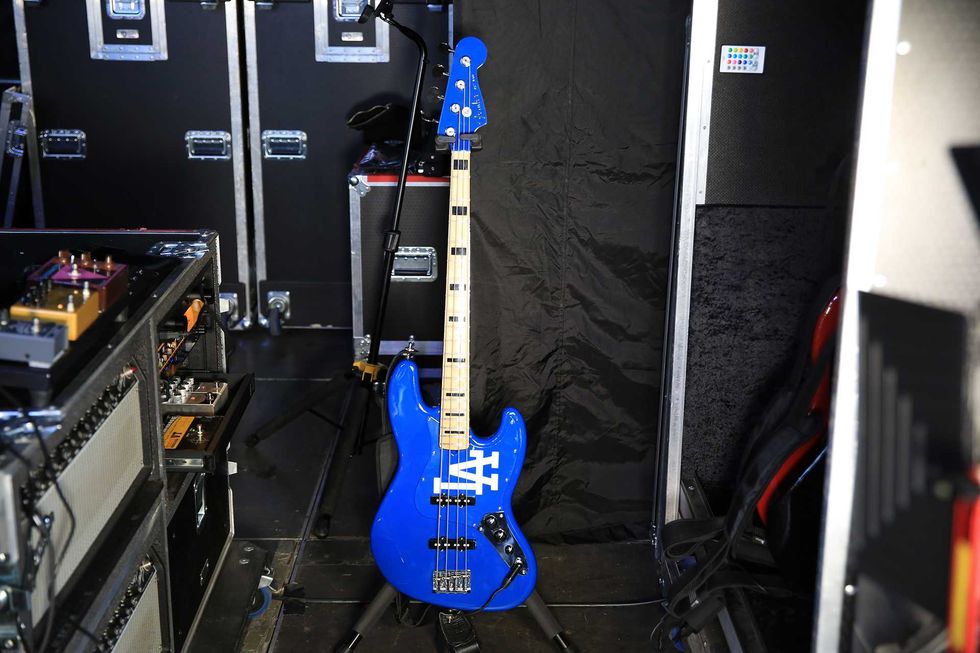
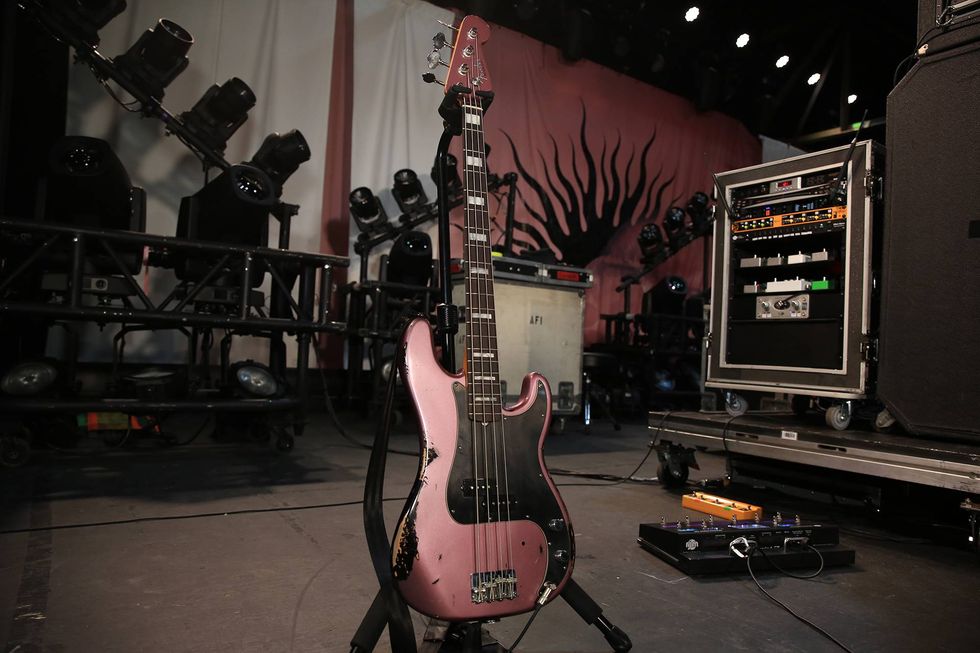