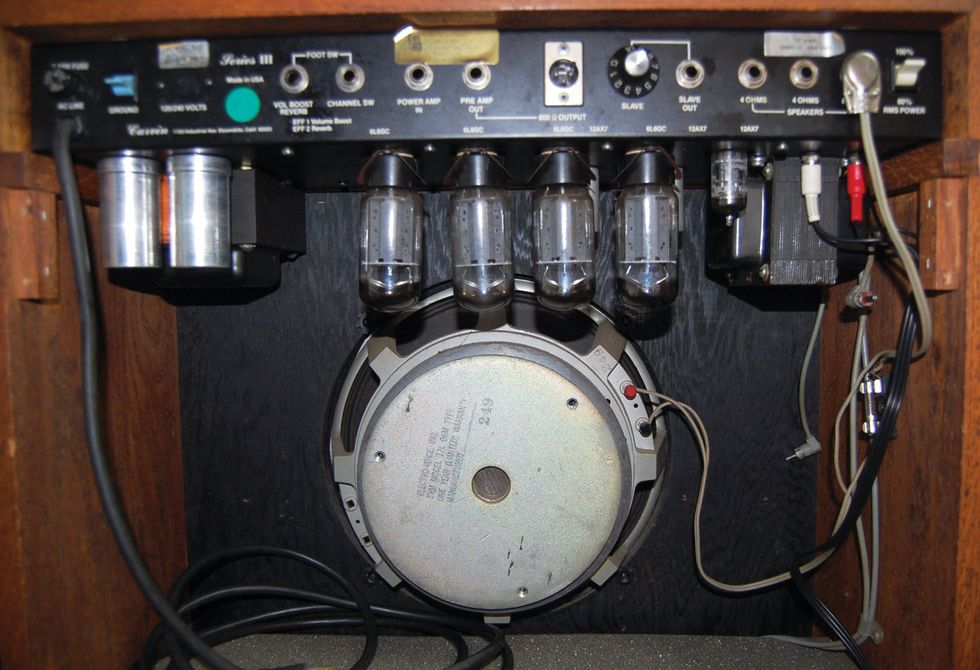
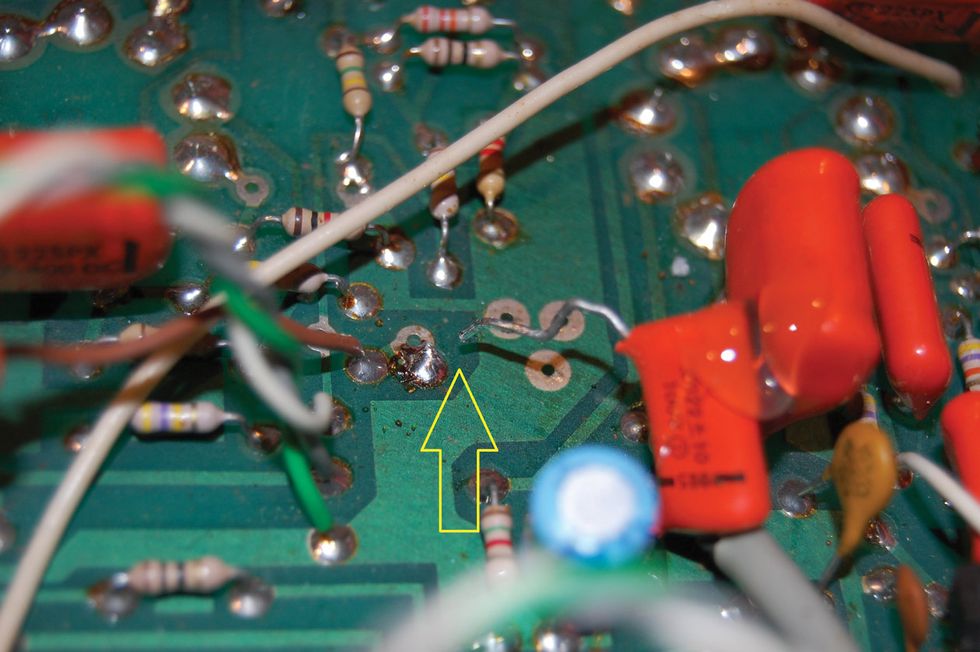
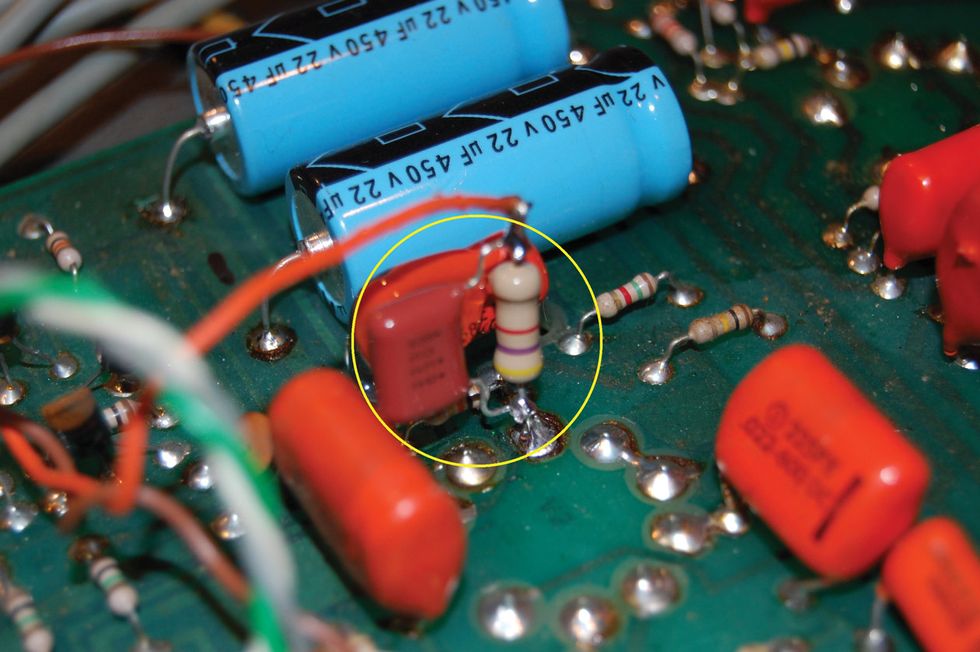
Our much-loved former columnist Jeff Bober returns to explain how to check and reset the bias of your amp’s output tubes—and delivers some potentially shocking warnings about a few common but dangerous techniques.
Hello again, Premier Guitar readers! It’s your old bud Jeff here, author of the once popular Ask Amp Man column. Editorial Director Ted Drozdowski asked me if I would be interested in writing about bias, and, of course, I said, “Sure, I know a thing or two about that!” So here I am, temporarily returning to these pages. Now, let’s get started.
What exactly is bias? Bias is prejudice in favor of or against … oh wait, wrong kind of bias. I think he wanted me to write about bias in a tube amplifier, which is far less polarizing.
Bias, as defined in the RCA Radiotron Designers Handbook, is “voltage applied to the grid [of a tube] to obtain a desired operating point.” Well, that is the most basic explanation, but for the most part it is good enough and pertains to the majority of tube output stages in our favorite tube guitar amps.
Setting the bias adjustment controls to these listed voltages in no way guarantees that your amp is properly biased.
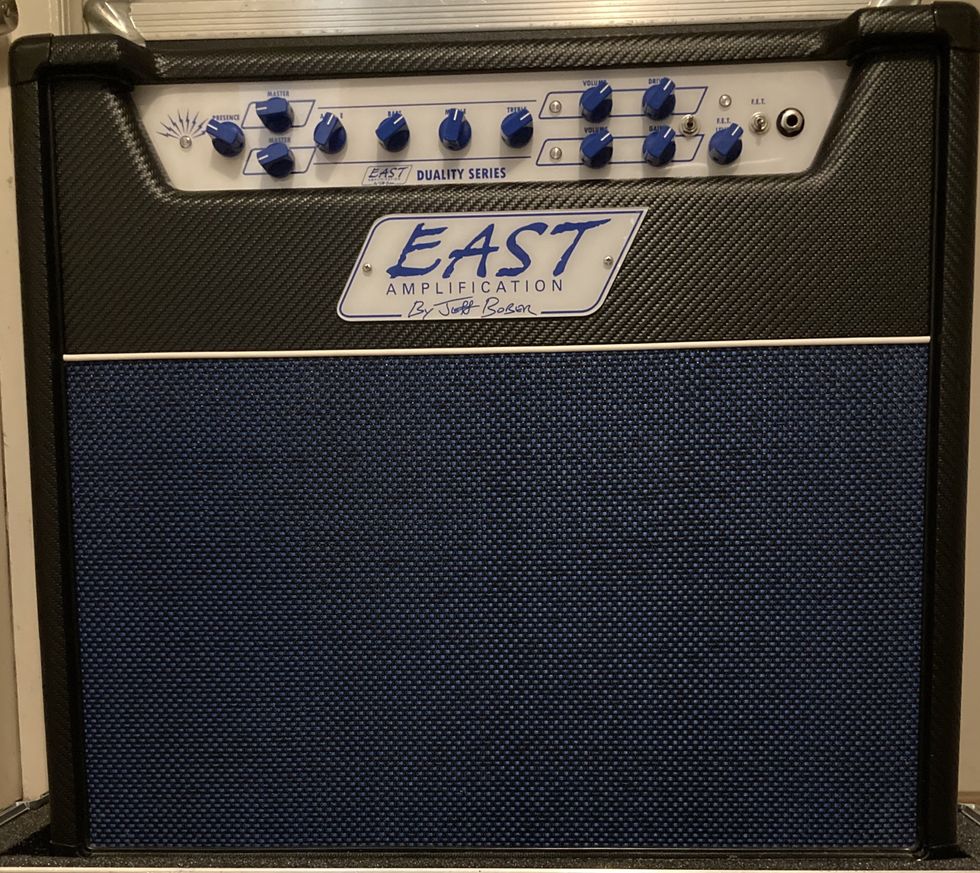
Besides “applying” a voltage to a vacuum tube, however, biasing can occur in another way as well. There are quite a few amplifiers, such as a Vox AC15 and AC30, any of my Budda and EAST designs, and even most of the early, low-wattage amplifiers of the tweed era that use what’s known as a “cathode bias” design. This is where the current flowing through the tube (which attains the aforementioned “desired operating point”) is not set by the voltage “applied” to the grid of the tube, but is instead set by the resistor in the cathode leg of the tube. It’s a bit more complicated than that, but the result is an amplifier whose output stage is “self-biasing.”
Most amplification devices, including transistors and even preamp tubes, need to be “biased” in order to perform properly, but this type of biasing is fixed in the design parameters of the circuit. In the case of the preamp tubes in your guitar amp, bias is based on the value of the cathode resistor, among other things. But that’s enough design theory for today. Let’s get back to the core task of biasing the output tubes in most guitar amplifiers.
First, the bias voltages you see listed on many schematics, such as 52V on a black-panel Fender Twin Reverb or 51V on a Marshall 100W Super Lead schematic, are merely approximations of the voltages that should be expected in that area of the circuit. Setting the bias adjustment controls to these listed voltages in no way guarantees that your amp is properly biased. Tube bias is also dependent on the high voltage (or B+) applied to the plate of the output tube, which can vary within tolerances of the transformers as well as in the AC line voltage fed to the amp. (This is why amps can sometimes sound better in one room or club than others.)
But even more important to understand is that tubes produced in different factories across the globe will bias up differently! What I mean by this is, if you properly bias a set of output tubes—let’s say 6L6s made in Russia—and then you swap them out with a set made in China, in the same amplifier without changing the setting of the bias control, the end result will almost always be a different bias reading. This is why it’s always best to have checked and reset the bias whenever output tubes are replaced. Now, how do we do that?
The Preferred Method
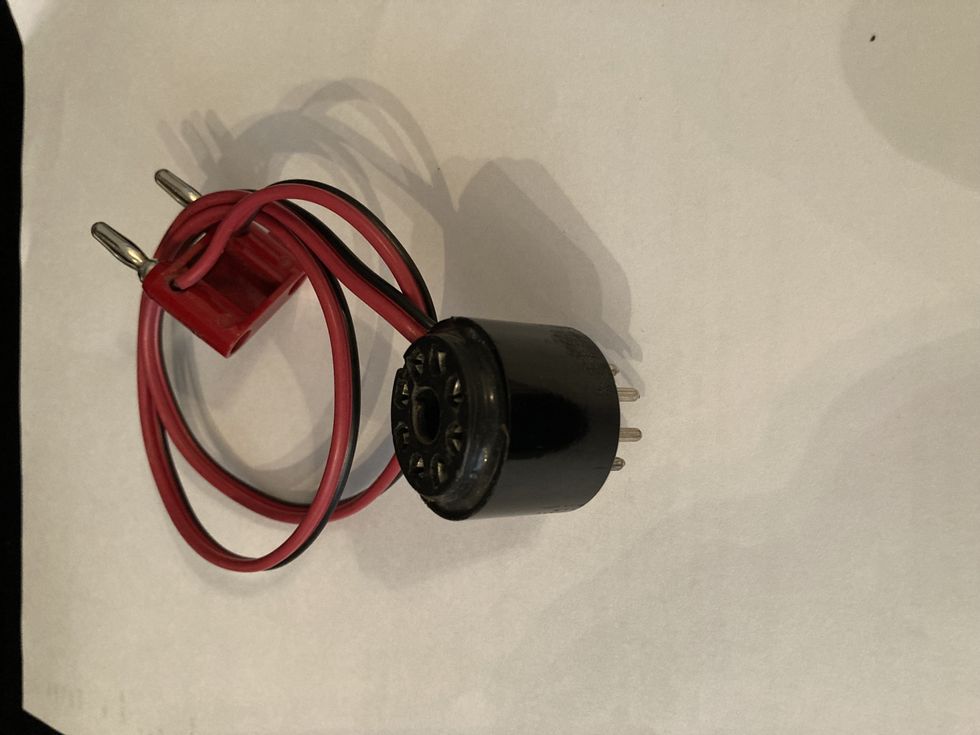
Fig. 1
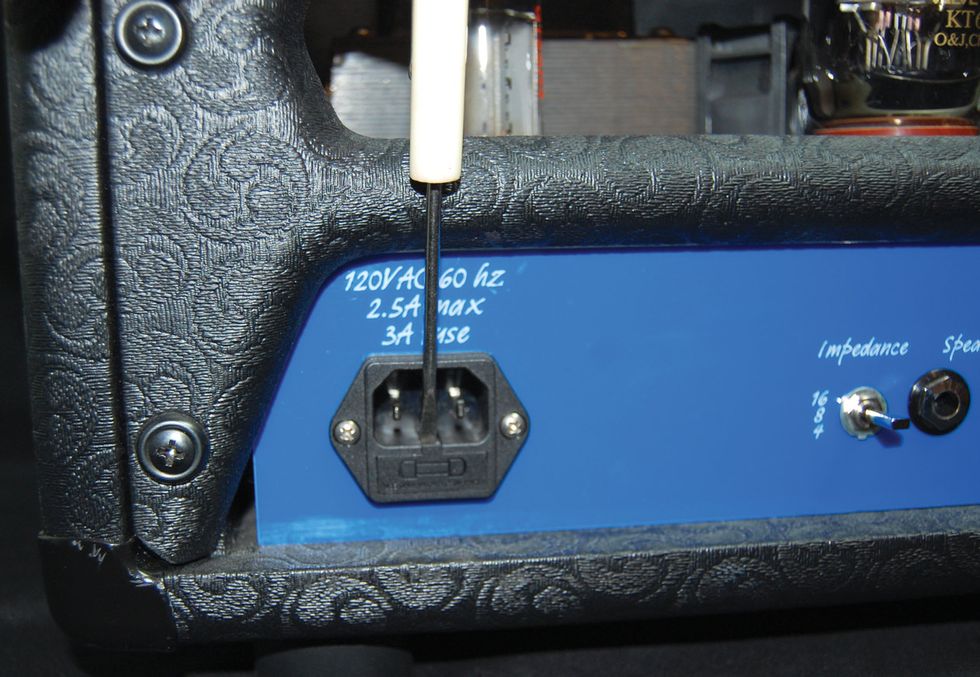
There are several different ways to measure output-tube bias current at idle. The safest method is to use what is commonly called a bias probe (Fig. 1). This is a device that is inserted between an output tube and its socket. (I typically make my own bias probes, but if you simply search “bias probe” online, you’ll find plenty to choose from. If you already own a multimeter, you can simply purchase the probes, but there are also options to purchase a full system with either a digital or analog meter, should you need it.) This device breaks the connection between the cathode (which is the metallic electrode from which electrons are emitted into the tube) of the tube and its ground connection, and inserts a small value resistor in between. It then allows the voltage across the resistor to be read. The resistor is typically 1 ohm and the resulting voltage drop across it is in millivolts (mV), so no chance of shock here. This provides a true and accurate measurement of the actual current flowing through one tube. Then, you set your bias and you’re done!
But even more important to understand is that tubes produced in different factories across the globe will bias up differently!
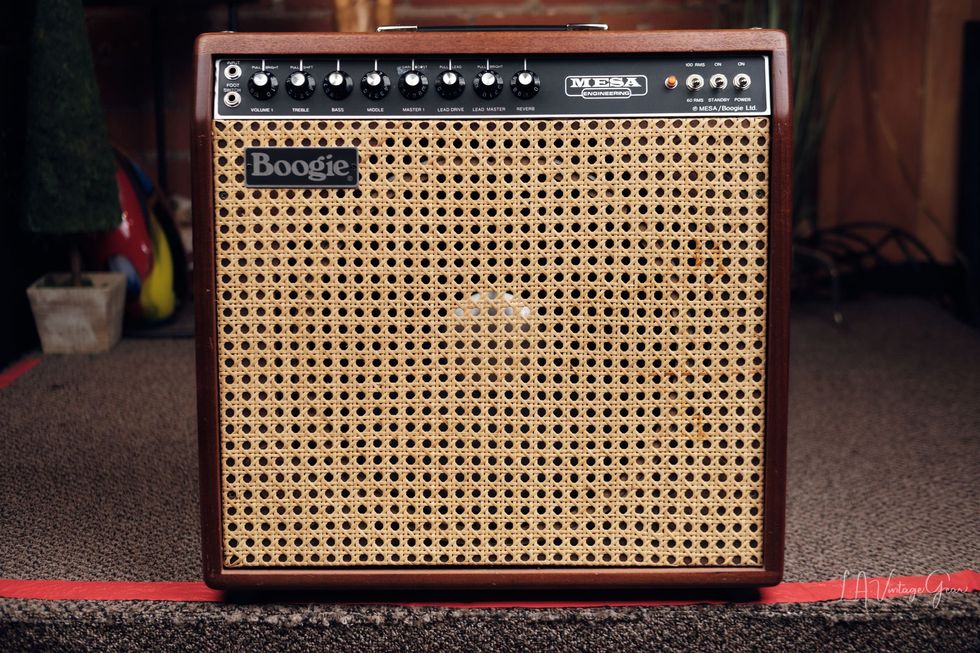
Ah, but wait! How do you set your bias? Let’s learn a bit more. Most tube amplifiers, if they are not cathode-biased designs, have some way to adjust the output-tube bias. One longstanding exception to this are most Mesa/Boogie amps. The bias voltage in these amps is not adjustable, which is why Mesa suggests only purchasing their tubes for their amps, because they are designed to fall within the acceptable bias range for their amps. This adds a certain degree of confidence for owner servicing, although, of course, it limits your options.
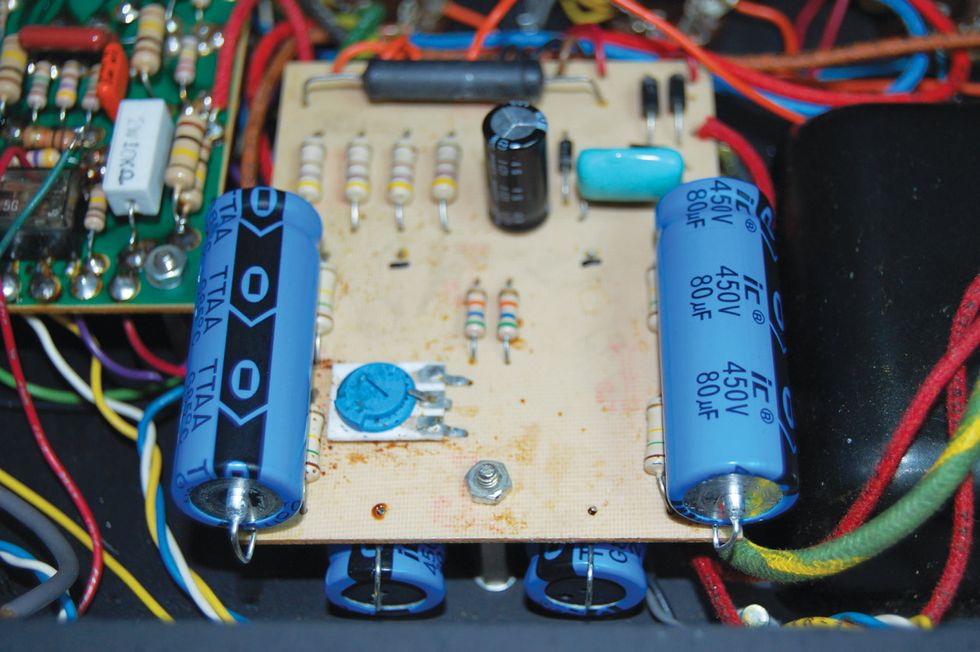
Let’s take a look, however, at a typical Fender or Marshall bias control. Most older Fenders have a pot with a slot for a screwdriver mounted to the chassis in the area of the power or mains transformer, while most older Marshalls have their bias pot mounted on the circuit board. (You might want to go online to look at schematics for your amp to help you find it.) Either way, this is where you’ll make your adjustment.
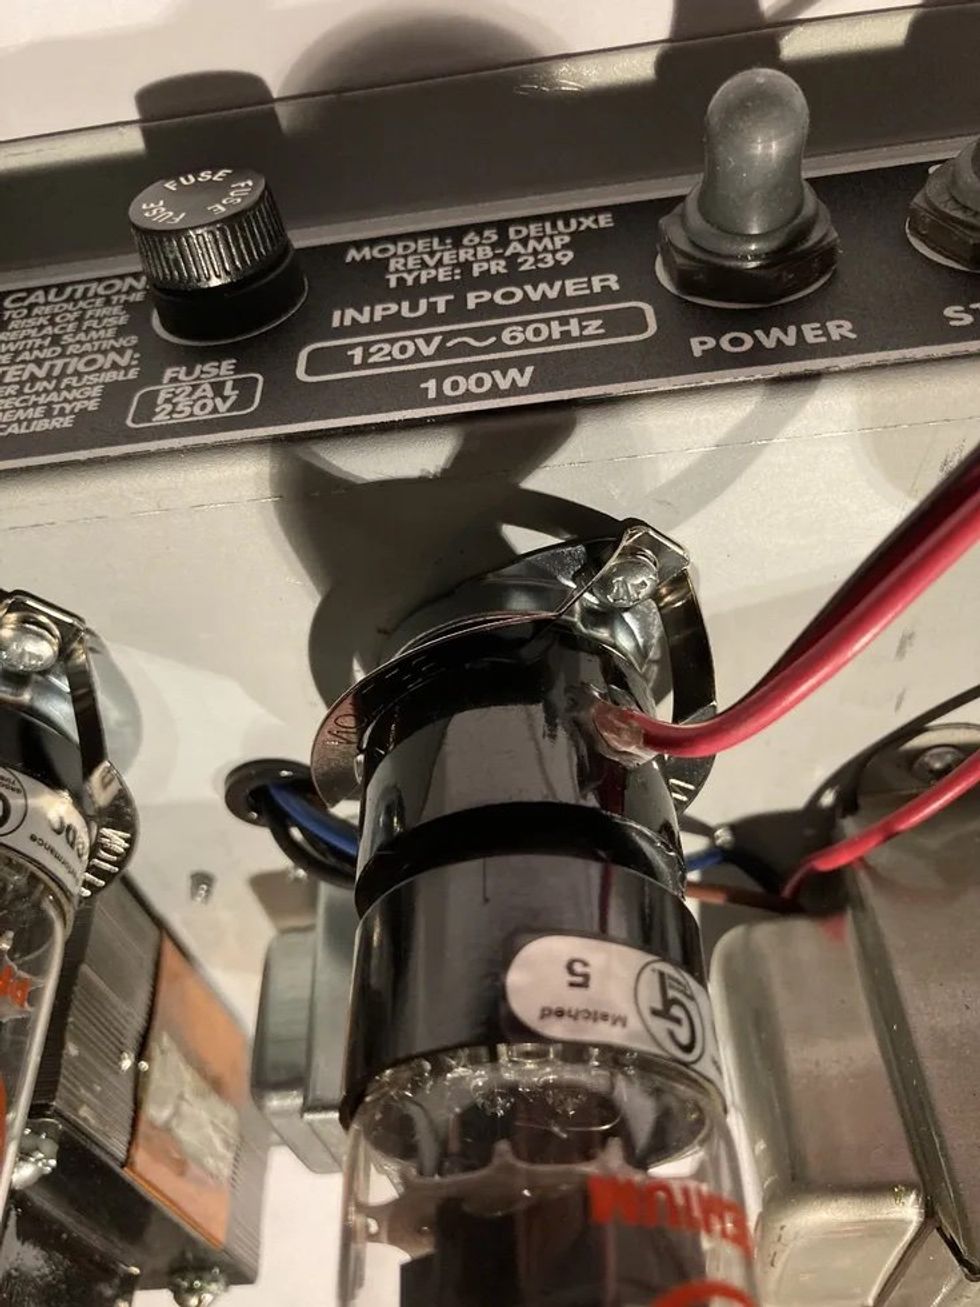
To get started, you’ll most likely need to pull the chassis and place it in a stable work environment. Insert the bias probe device between one of the tubes and the socket (Fig. 2). Make sure all the volume controls are set to zero, turn the amp on, and let the tubes warm up. It’s also good to try to have a load on the speaker jack—whether a speaker or an appropriate resistor or load box. This is not 100 percent necessary for just setting the bias to a particular number, but sound checking is one of the ways I like to make the final adjustments, so being able to connect the speaker to the chassis while it’s on the bench is certainly a necessity for me.
Now, where to set the numbers? There are certainly more than a few opinions floating around on the interwebs about what optimal bias settings are. Some engineering types will tout 50 percent maximum plate dissipation or 70 percent maximum dissipation, and while it may look good or make sense on paper, I’ve heard the result of guitar amplifiers designed by the book to optimal specifications … and to me they sound, well, less than optimal. It may work in the hi-fi world, where perfect sound reproduction is the goal, but guitar amplifiers are in the sound production business, so it’s a bit different. (In the most basic terms, maximum plate dissipation is the amount of power the plate of the tube is designed to deliver.)
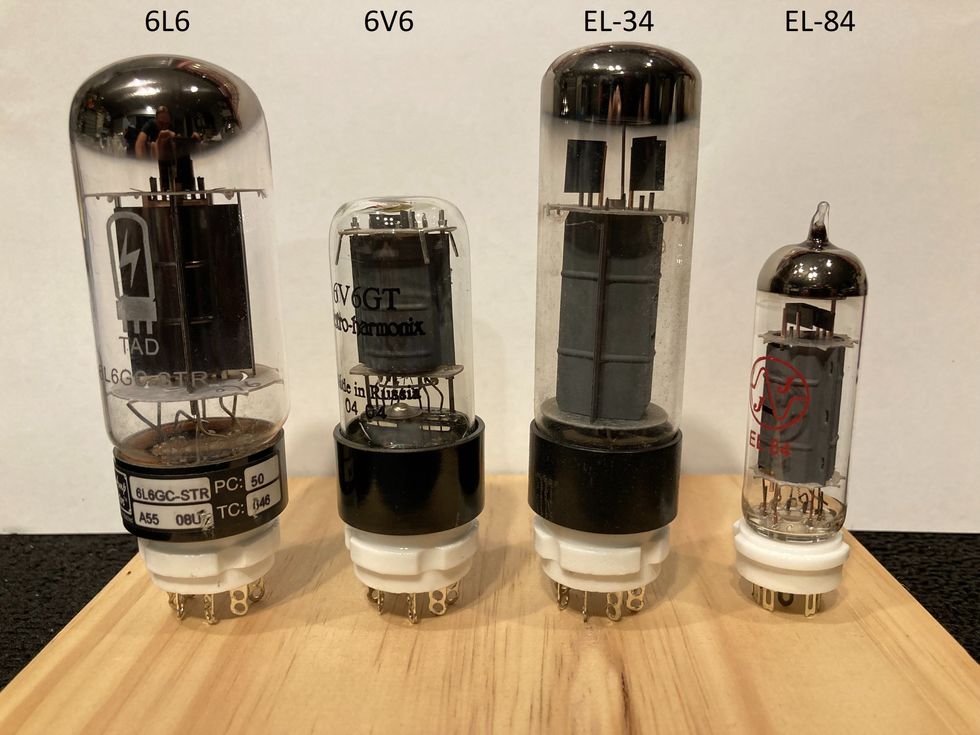
Different types of output tubes have their own acceptable range of bias current. There are so many variables at play that there is no “correct” number. The plate voltage in the amplifier, the output transformer’s primary impedance, and the country of origin of a tube all factor into how it interacts with the voltage and output transformer to define what the optimal bias current will be. Below are the average ranges for some typical octal output tubes:
• 6L6: 25–35 mA
• EL34: 30–40 mA
• 6V6: 18–25 mA
• 6550: 35–45 mA
• KT66: 30–40 mA
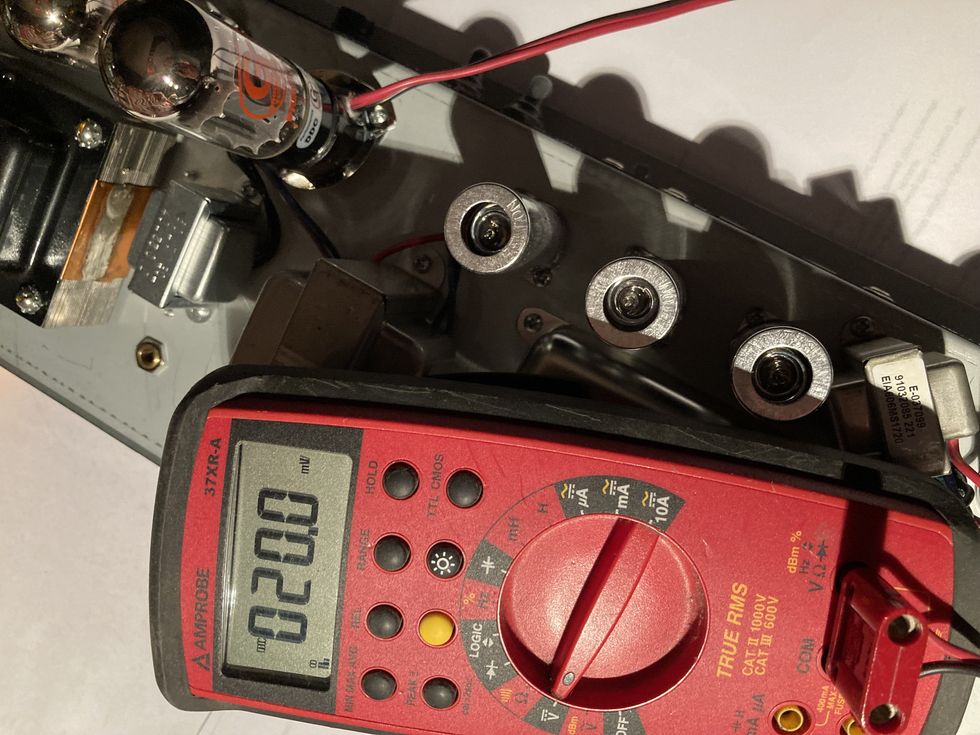
Fig. 3
These should be the ranges in which these tubes will perform and sound the best, and they can be accurately measured with a digital multimeter. The best way for you to decide what setting is best for you is a combination of the reading on the meter and your ears! Using the bias control, set the bias to somewhere in the ranges given above (Fig. 3) and play the amp. Note: Some amps will act funny and develop horrible noises (parasitic oscillations) when a bias probe is in place while the amp is being played. If this is the case, you’ll need to remove the bias probe each time you play the amp.)
Move the setting a couple mA in one direction or the other and play again. Don’t expect extreme changes; that’s not what we’re looking for. Listen for subtle differences. Is one setting a little more or less harsh? Is the bottom end too soft or flubby? Is the amp as clean as you want it? Sometimes these little subtleties are what make one amp sound and feel better than another!
Most older Fenders have a pot with a slot for a screwdriver mounted to the chassis in the area of the power or mains transformer, while most older Marshalls have their bias pot mounted on the circuit board.
Also, you should be doing this at the volume you would typically use onstage or in the studio. You may not notice much change if your volume is at 1, but you want to optimize the amp for the way you will be using it.
Eyes Wide Open
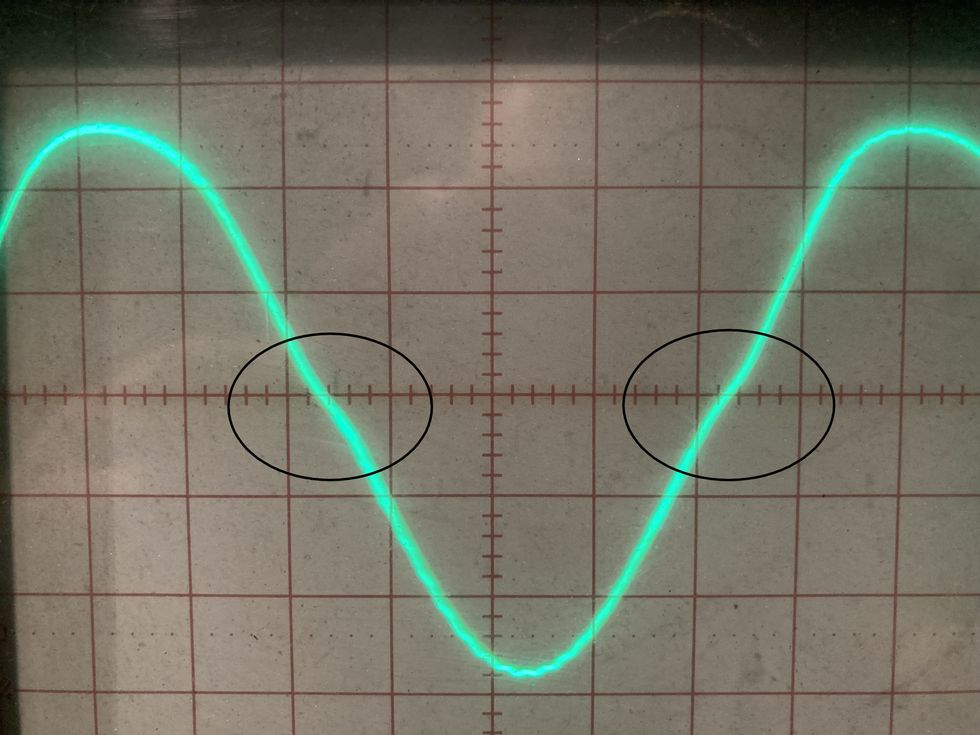
Fig. 4
Knowing the ballpark bias numbers is good, and adding your ears is even better, but I also like to see what I’m hearing, so I always incorporate an oscilloscope when I’m setting the bias on an amp. I mentioned crossover distortion above, and when it comes to setting up amps for today’s pedal-hungry players, I find that setting the bias to where there is just a hint of crossover distortion at full output is what works best. Fig. 4 is what that looks like on the oscilloscope. This keeps the amp very clean and makes most pedal users happy.
By the way, here’s a mini primer in crossover distortion. In a push-pull output stage, which is found in most amplifiers with two or more output tubes, each tube (or pair of tubes) is responsible for amplifying at least half of the audio signal. If the tubes are not biased properly, one tube (or pair) will stop amplifying before the other tube (or pair) start amplifying. This will create crossover distortion. Proper biasing will allow the two halves to interact correctly. It’s like a nice firm handshake between both halves.
Beware These Old-School Methods
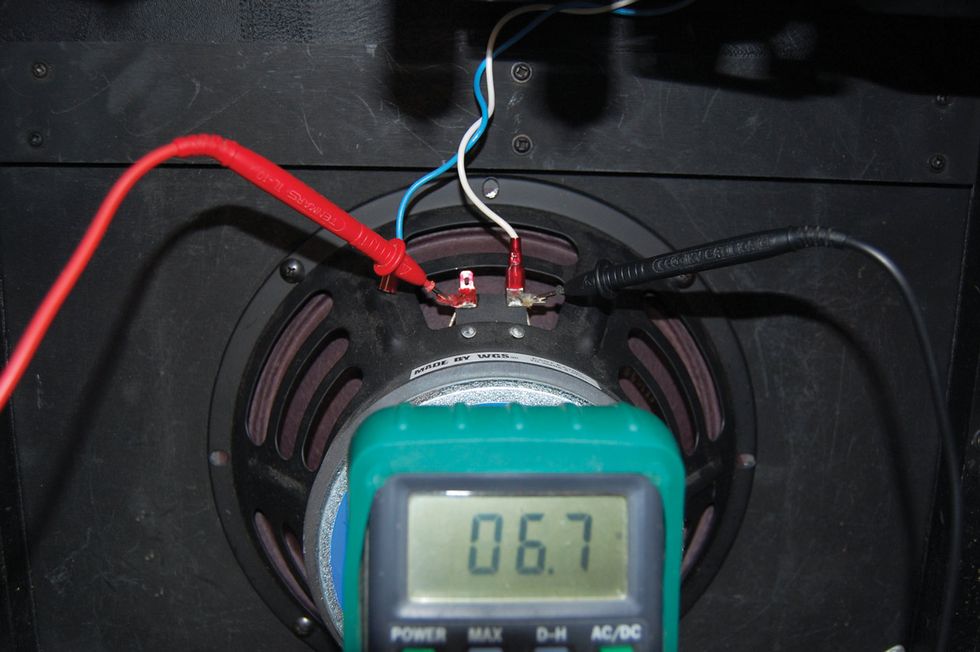
Let’s look at a couple popular methods that I do not recommend, but are worth discussing because they are, nonetheless, common. The first is: With the amp off and output tubes removed, use a multimeter to measure the resistance of each half of the primary side of the output transformer. This would typically be from the center tap to each side of the primary winding.
In the most basic terms, a transformer is a bunch of wire wound around a steel core. On the primary side of an output transformer, the center tap is the electrical “middle” of this long length of wire. This is typically where the high voltage is applied. The ends of this length of wire are connected to the plates of the tube, thereby applying the high voltage to the tubes. As an example, typically in most Fender amps, the center tap is red, and the ends of the primary windings are blue and brown.
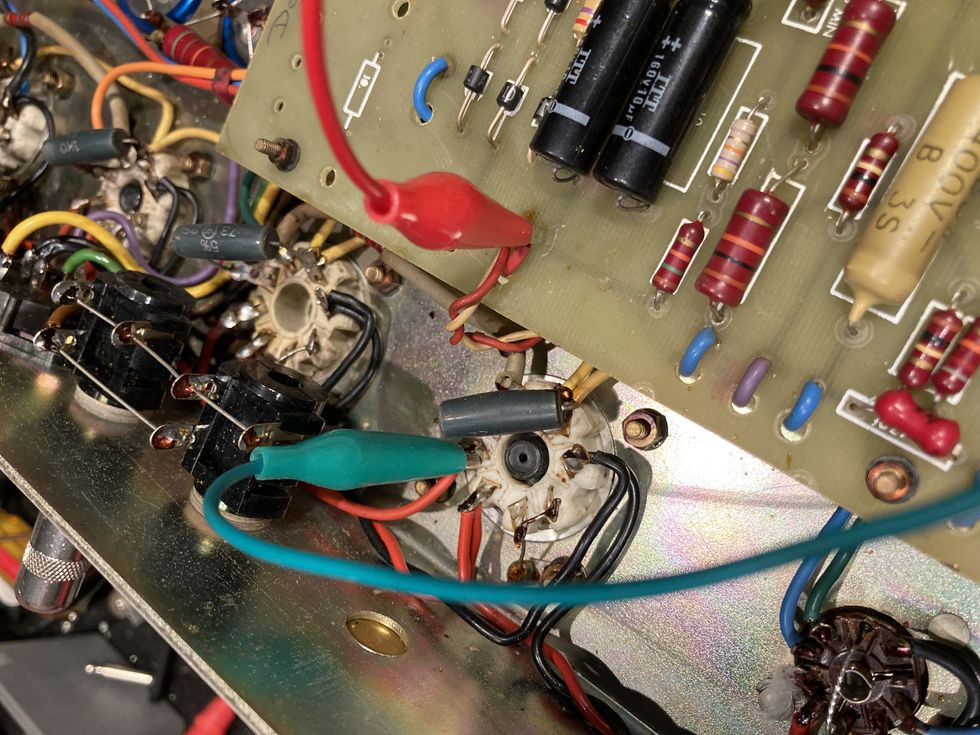
Fig. 5
Next, install the output tubes, turn the amp on, and measure the voltage drop across each half of the output transformer with the amp at idle in operational mode (Fig. 5). Voltage divided by resistance will give you the DC current through the tubes. For example, 1.17V / 15.8R = 0.074, or 74 mA. The numbers I used here were actual measurements in one side (one half) of a 100W amp using four output tubes (two per side). So, divide the 74 mA by two, and you get an average of 37 mA per tube.
Next, you can try the shunt method. This requires a multimeter that can read DC current in milliamps (mA). Connect one meter lead to the center tap of the output transformer and the other lead to the output transformer’s primary side. Typically, in most amps using octal tubes (6L6, 6V6, EL34, 6550, KT88, etc.), this will be pin 3 on any output tube socket. Turn the amp on and, in operating mode at idle (i.e., volume off), measure the current across that half of the output transformer. For example, if your measurement is 72 mA and it’s an amp that utilizes four output tubes, the current measured is for two of those tubes, so once again divide by two to arrive at 36 mA per tube.
I’ve heard the result of guitar amplifiers designed by the book to optimal specifications … and to me they sound, well, less than optimal.
Both of those methods are very old school and still in practice, but I wouldn’t use either for two reasons: 1) I don’t believe they’re very accurate, and 2) they’re dangerous! You’re probing around inside the high voltage area of the amp, and one slip will either take out a fuse, take out a tube, take out your meter, or, worse case, let you know exactly what 450V DC feels like! So, although these methods are used, let’s just say no here.
Some Personal Insights
I’d also like to add a little personal experience to this procedure, based on decades in the biz. Back in the day, when I began servicing and modifying gear, guitarists were regularly playing 50- and 100-watt amps. (Everybody looked at me like I had three heads when I came out with the 18-watt Budda Twinmaster, but that’s a whole other story.) There were some overdrive and distortion pedals around (now all vintage), but certainly not the pedal proliferation we have now, so players were pretty much guitar, cable, amp … go! In these situations, I would most times run the tubes with a pretty hot bias so the amp would be fatter and overdrive a bit earlier and easier, as a decent percentage of the overdrive was developed by pushing the output tubes. As time went on, output attenuators became more popular, so amps could be pushed hard, but at more manageable volume levels. That was still a good scenario for a hotter bias of the output tubes in high-power amps. Eventually, players started playing lower-power amps, so they could open them up and get great output-tube distortion at lesser volumes. The problem is that hotter-biased low-power amps tend to get mushy and have less definition when pushed hard, so a more moderate bias setting is preferred here—just enough so there is no crossover distortion. Move up to today’s scenario and you’ll find that almost all overdrive and/or distortion is typically coming from a pedal. In that case, an amp is nothing more than an amplification device for pedals.
So, that’s what I’ve learned about tube-biasing from my decades of experience. But the bottom line is, there is no absolute right or wrong settings when it comes to biasing an amp. Keep your ears open and go with what sounds best to you.
- Ask Amp Man: A Fond Farewell ›
- Ask Amp Man: A Vintage Showman, Not Ready for Prime Time ›
- Ask Amp Man: Add Some Marshall Grit to a Fender Bassman ›
The author dials in one of his 20-watt Sonzera amps, with an extension cabinet.
Knowing how guitar amplifiers were developed and have evolved is important to understanding why they sound the way they do when you’re plugged in.
Let’s talk about guitar amp history. I think it’s important for guitar players to have a general overview of amplifiers, so the sound makes more sense when they plug in. As far as I can figure out, guitar amps originally came from radios—although I’ve never had the opportunity to interview the inventors of the original amps. Early tube amps looked like radio boxes, and once there was an AM signal, it needed to be amplified through a speaker so you could hear it. I’m reasonably certain that other people know more about this than I do.
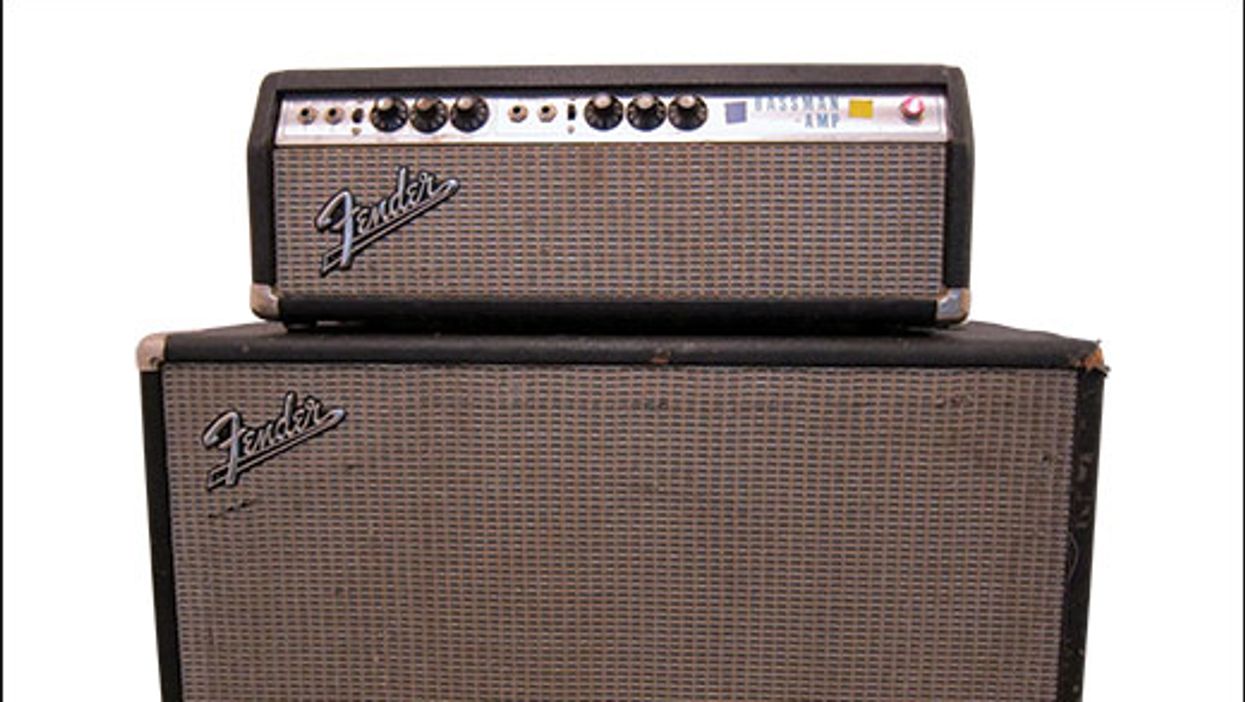
For me, the story of guitar amps picks up with early Fenders and Marshalls. If you look at the schematics, amplifier input, and tone control layout of an early tweed Fender Bassman, it’s clear that’s where the original Marshall JTM45 amps came from. Also, I’ve heard secondhand that the early Marshall cabinets were 8x12s, and the roadies requested that Marshall cut them in half so they became 4x12s. Similarly, 8x10 SVT cabinets were cut in half to make the now-industry-standard 4x10 bass cabinets. Our amp designer Doug Sewell and I understand that, for the early Fender amps we love, the design directed the guitar signal into half a tube, into a tone stack, into another half a tube, and the reverb would join it with another half a tube, and then there would be a phase splitter and output tubes and a transformer. (All 12AX7 tubes are really two tubes in one, so when I say a half-tube, I’m saying we’re using only the first half.) The tone stack and layout of these amps is an industry standard and have a beautiful, clean way of removing low midrange to clear up the sound of the guitar. I believe all but the first Marshalls came from a high-powered tweed Twin preamp (which was a 80-watt combo amp) and a Bassman power amp. The schematic was a little different. It was one half-tube into a full-tube cathode follower, into a more midrange-y tone stack, into the phase splitter and power tubes and output transformer. Both of these circuits have different kinds of sounds. What’s interesting is Marshall kept modifying their amps for less bass, more high midrange and treble, and more gain. In addition, master volume controls started being added by Fender and Marshall around 1976. The goal was to give more gain at less volume. Understanding these circuits has been a lifelong event for Doug and me.
Then, another designer came along by the name of Alexander Dumble. He modified the tone stack in Fender amps so you could get more bass and a different kind of midrange. Then, after the preamp, he put in a distortion circuit in a switchable in and out “loop.” In this arrangement, the distortion was like putting a distortion pedal in a loop after the tone controls. In a Fender amp, most of the distortion comes from the output section, so turning the tone controls changes the sound of the guitar, not the distortion. In a Marshall, the distortion comes before the tone controls, so when you turn the tone controls, the distortion changes. The way these amps compress and add harmonics as you turn up the gain is the game. All of these designs have real merit and are the basis of our modern tube–and then modeling—amplifiers.
Everything in these amps makes a difference. The circuits, the capacitor values and types, the resistor values and types, the power and output transformers, and the power supplies—including all those capacitor values and capacitor manufacturers.
I give you this truncated, general history to let you know that the amp business is just as complicated as the guitar business. I didn’t even mention the speakers or speaker cabinets and the artform behind those. But what’s most important is: When you plug into the amp, do you like it? And how much do you like it? Most guitar players have not played through a real Dumble or even a real blackface Deluxe Reverb or a 1966 Marshall plexi head. In a way, you’re trusting the amp designers to understand all the highly complex variations from this history, and then make a product that you love playing through. It’s daunting, but I love it. There is a complicated, deep, and rich history that has influenced and shaped how amps are made today.
Sublime, fronted by Jakob Nowell, son of late Sublime singer Bradley Nowell, are in the studio writing and recording new songs for an upcoming full-length album. This marks their first new album since 1996.
When not performing at various festivals across North America in 2024, front man Jakob Nowell immersed himself in the Sublime catalog and found a deep sense of connection to his late father. The band is tapping into the 90s nostalgia, writing and recording the new songs with powerhouse producing duo Travis Barker and John Feldmann, in addition to working with producer Jon Joseph (BØRNS). The first single will be released this Summer via their newly established label Sublime Recordings.
"I grew up on Sublime. ‘40oz. to Freedom’ changed the way I listened to music. I’m so honored to be working with the guys in Sublime. Creating music for this album has been so fun and exciting. Bradley comes through his son Jakob while writing in the studio and performing. Chills every day in the studio when he sings and play guitar. This is going to be really special." – Travis Barker
“Sublime has always been a huge influence on me and to be able work with the band has been inspirational and game changing…It has been a highlight of my life to work on such a seminal record with such talented people. I’m so grateful for this opportunity and to continue the legacy and keep it authentic to what they have historically done.” – John Feldmann
After Jakob Nowell’s debut as Sublime’s new front man at Coachella 2024, he and his uncles Bud Gaugh and Eric Wilson continued the momentum of this latest chapter of the band, performing at over 20 festivals and shows across North America by the end of last year. Additional highlights from 2024 include Sublime’s late-night television debut on The Tonight Show Starring Jimmy Fallon, a 4-song set on the Howard Stern Show and the band’s first top 10 hit on alternative radio since 1997 with their single “Feel Like That,” featuring the vocals of both Bradley Nowell and his son Jakob together.
2025 is shaping up to be an even busier year for the band, with a handful of headlining shows, high-profile festival appearances to support the release of the new album.
For more information, please visit sublimelbc.com.
Sublime 2025 Tour Dates
- April 5 – LIV Golf Miami – Miami, FL
- April 18 – Red Rocks Amphitheater – Morrison, CO
- May 3 – Beachlife Festival – Redondo Beach, CA
- May 16 – Welcome To Rockville – Daytona Beach, FL
- May 23 – BottleRock Napa Valley – Napa, CA
- May 25 – Boston Calling – Boston, MA
- June 14 – Vans Warped Tour – Washington, DC
- July 12 – 89.7 The River’s 30th Anniversary Show – Omaha, NE
- July 20 – Minnesota Yacht Club Festival – Saint Paul, MN
- September 14 – Sea.Hear.Now – Asbury Park, NJ
- September 19 – Shaky Knees Festival – Atlanta, GA
A pair of Fender amps and a custom-built Baranik helped the Boston band’s guitarist come back from a broken arm.
When Brandon Hagen broke his arm a few years ago, his life changed in an instant. He’d been fronting Boston indie rock outfit Vundabar since 2013, and suddenly, he was unable to do the things he’d built his life around. Recovery came, in part, in the form of a custom guitar prototype built by Mike Baranik of Baranik Guitars. Hagen deconstructed and rehabilitated his relationship to the 6-string on that instrument, an experience that led to Vundabar’s sixth LP, Surgery and Pleasure, released on March 7.
On tour supporting the record, the band appeared at Grimey’s in Nashville for a performance on March 11, and PG’s Chris Kies caught up with Hagen to hear about his journey and learn what tools the guitarist has brought on the road. As Hagen tells it, his setup is less about expertise and received wisdom, and more about “intuitive baby mode”—going with what feels and sounds good in the moment.
Brought to you by D’Addario.
An A1 B4
Hagen’s No. 1 is this Baranik B4, a custom job that he received two days before leaving for tour. Hagen’s arm was broken when Vundabar was playing a festival in California a couple years ago, and Baranik, a fan of the band, stopped in to see them. He offered to send a custom prototype to Hagen—who was new to the field of boutique guitars—and the B4 was born, borrowing from the Baranik B3 design used for Unknown Mortal Orchestra’s Ruban Nielson and the Hofner 176 played by Jamie Hince of the Kills. The guitar helped Hagen fall back in love with guitar as his arm healed.
Hagen was searching for Strat-style clarity and jangle but with a hotter sound, so Baranik put in Lindy Fralin P-90s in the neck and bridge positions, plus a sliding, unpotted gold-foil pickup in the middle, wound by Baranik himself. A wheel control on the lower bout beside the traditional pickup selector switch lets Hagen blend the pickup signals without outright switching them on or off. Along with traditional master volume and tone controls, the red button beside the bridge activates a Klon clone pedal built into the back of the guitar. Hagen used a Klon on every track on the new Vundabar record, so it made sense to have one at his fingertips, letting him step away from the pedalboard and still create dramatic dynamic differences.
Hagen uses Ernie Ball Slinky strings (.011s), a step up from the .10s he used to use; he was chasing some more low end and low mids in his sound. His guitars stay in standard tuning.
Jazz From Japan
Hagen also loves this 2009 Japan-made Fender Jazzmaster ’62 Reissue JM66, which splits the difference between classic Fender chime and a darker, heavier tone.
Blending Fenders
Hagen’s signal gets sent to both a Fender Hot Rod Deville and a Blues Junior. He likes to crank the Junior’s single 12" speaker for a nastier midrange.
Brandon Hagen's Board
Hagen runs from his guitar into a JHS Colour Box, which adds a bit of dirt and can be used to attenuate high or low frequencies depending on which room Vundabar is playing. From there, the signal hits a Keeley Compressor, EHX 2020 Tuner, EHX Pitch Fork, EHX Micro POG (which is always on with subtle octaves up and down to beef things up), Boss Blues Driver, Way Huge Swollen Pickle, MXR Carbon Copy (which is also always on), and a Boss DD-7—Hagen loves the sound of stacked delays.
Price unveiled her new band and her new signature model at a recent performance at the Gibson Garage in Nashville.
The Grammy-nominated alt-country and Americana singer, songwriter, and bandleader tells the story behind the creation of her new guitar and talks about the role acoustic Gibson workhorses have played in her musical history—and why she loves red-tailed hawks.
The Gibson J-45 is a classic 6-string workhorse and a favorite accomplice of singer-songwriters from Bob Dylan to Jorma Kaukonen to James Taylor to Gillian Welch to Lucinda Williams to Bruce Springsteen to Noel Gallagher. Last week, alt-country and Americana artist Margo Price permanently emblazoned her name on that roster with the unveiling of her signature-model J-45. With an alluring heritage cherry sunburst finish and a red-tail-hawk-motif double pickguard, the instrument might look more like a show pony, but under the hard-touring and hard-playing Price’s hands, it is 100-percent working animal.
The 6-string was inspired by the J-45 she bought at Nashville’s Carter Vintage Guitars after she was signed to Third Man Records, where she made her 2016 ice-breaker album, Midwest Farmer’s Daughter. But her affection for Gibson acoustics predates that, going back to when she found a 1956 LG-3 in her grandmother’s home. The guitar had been abandoned there by her songwriter great uncle, Bobby Fischer.
“I played it for years before I found my J-45,” Price recounts. “At Carter Vintage, I tried a lot of guitars, but when I picked up that J-45, I loved that it was a smaller guitar but really cut through, and I was just really drawn to the sound of it. And so I went home with that guitar and I’ve been playing it ever since.”
“Having a signature model was something I had dreamed about.”
Of course, Price was also aware of the model’s history, but her demands for a guitar were rooted in the present—the requirements of the studio and road. The 1965 J-45 she acquired at Carter Vintage, which is also a cherry ’burst, was especially appealing “compared to a Martin D-21 or some of the other things that I was picking up. I have pretty small hands, and it just was so playable all up the neck. It was something that I could easily play barre chords on. I could immediately get everything that I needed out of it.”
If you’ve seen Price on TV, including stops at Saturday Night Live, The Late Show With Stephen Colbert, and Jimmy Kimmel Live!, you’ve seen her ’65. And you’ve also seen, over the years, that part of the soundhole’s top has been scraped away by her aggressive strumming. It’s experienced worse wear from an airline, though. After one unfortunate flight, Price found her guitar practically in splinters inside a badly crushed case. “It was like somebody would have had to drive over this case with a truck,” she relates. Luckily, Dave Johnson from Nashville’s Scale Model Guitars was able to put Humpty Dumpty back together again.
After that, an alternative guitar for the road seemed like a requirement. “Having a signature model was something I had dreamed about,” Price says. Friends in her songwriting circle, including Lukas Nelson and Nathaniel Rateliff, already had them. Four years ago, a tweet asking which women they thought should have signature models appeared, and one of her fans wrote “Margo Price.” Smartly, Price tagged Gibson and retweeted. Codey Allen in Gibson entertainment relations spotted the tweet and agreed.
The double pickguard was chosen for Price’s J-45 because of its symmetry, as a nod to the Hummingbird, and due to her heavy strumming hand.
Photo courtesy of Gibson
“The neck is not quite as small as my J-45, but it is just a bit smaller than many J-45s fives, and very playable no matter what size hands you have.”
“And so we began our journey of building this guitar,” Price says. “I debated whether it should be the LG-3, which I still have hanging on my wall, or the J-45. I went to Montana and visited their [acoustic] factory and sat down with Robi Johns [senior product development manager at Gibson acoustic], and we ultimately decided that the J-45 was my guitar. Then we started talking about the specs. We did pull from the LG-3 in that the body of this signature guitar is a bit smaller. It still has a really loud, clear sound that rings through. The neck is not quite as small as my 1965 J-45, but it is just a bit smaller than many J-45s, and very playable no matter what size hands that you have.”
The pickup that Price selected is a L.R. Baggs VTC Element with a preamp, and she took a prototype of the guitar on the road opening for the Tedeschi Trucks Band. “I am used to playing with a really loud band, with drums and sometimes a couple electric guitars, and I wanted to make sure that this guitar just cut through,” she says. “It was really important to me that it be loud, and it cut beautifully. It’s got a mahogany body and scalloped bracing, which makes it very sturdy. This guitar is a workhorse, just like me.”
The Margo Price J-45’s most arresting characteristic, in addition to its warm sunburst finish, is its double-sided pickguard with an etching of a quartet of red-tailed hawks in flight. It’s practical for her strumming style, but it’s also got a deeper significance.
“We talked about all sorts of things that we could put on the pickguard, and I’ve always been a big fan of the Hummingbird, so what we did is a bit of a nod to that,” Price continues. “I’ve always been drawn to red-tailed hawks. They are supposed to be divine messengers, and they have such strength. They symbolize vision and protection. I would always count them along the highway as I’d be driving home to see my family in Illinois.”
Birds of a feather: “I’ve always been drawn to red-tailed hawks,” says Price. “They are supposed to be divine messengers, and they have such strength. They symbolize vision and protection.”
Photo courtesy of Gibson
With its comfortable neck, slightly thinner body, and serious projection, Price notes, “I wanted my guitar to be something that young girls can pick up and feel comfortable in their hands and inspire songs, but I didn’t want it to be so small that it felt like a toy, and that it didn’t have the volume. This guitar has all of those things.” To get her heavy sound, Price uses D’Addario Phosphor Bronze (.012–.053) strings.
Price says she and her signature J-45, which is street priced at $3,999, have been in the studio a lot lately, “and I have a whole bunch of things I’m excited about.” In mid March, she debuted her new band—which includes Logan Ledger and Sean Thompson on guitars, bassist Alec Newman, Libby Weitnauer on fiddle, and Chris Gelb on drums—in a coming out party for the Margo Price Signature Gibson J-45 at the Gibson Garage in Nashville. “I’ve been with my previous band, the Price Tags, for more than 10 years, and it’s definitely emotional when a band reaches the end of its life cycle,” she says. “But it’s also really exciting, because now, having a fiddle in the band and incredible harmony singers … it’s a completely different vibe. I’ve got a whole bunch of festivals coming up this year. We’re playing Jazz Fest in New Orleans, and I’m so excited for everyone to hear this new iteration of what we’re doing.”
With its heritage cherry sunburst finish and other appointments, the Margo Price Signature Gibson J-45 balances classic and modern guitar design.
Photo courtesy of Gibson