

Hello, and welcome back to Mod Garage! After working on the neck of our Harley Benton guitar last month, let’s spend some money to spruce it up a bit more, starting with the tuners.
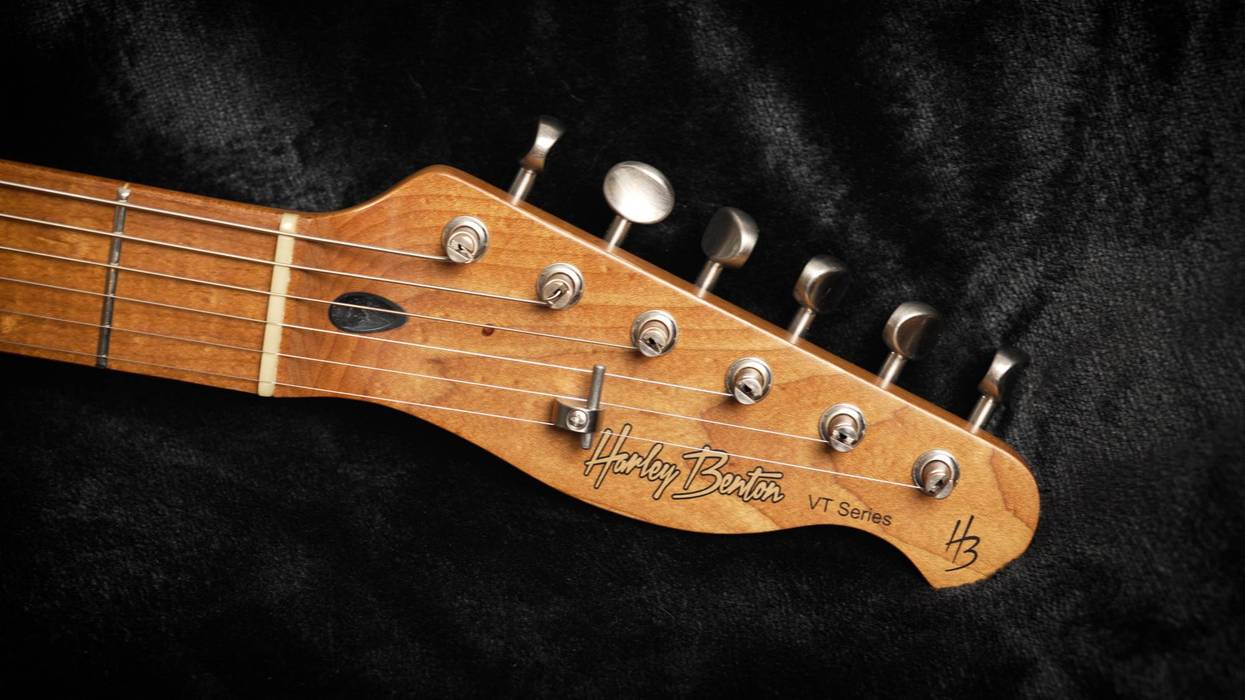
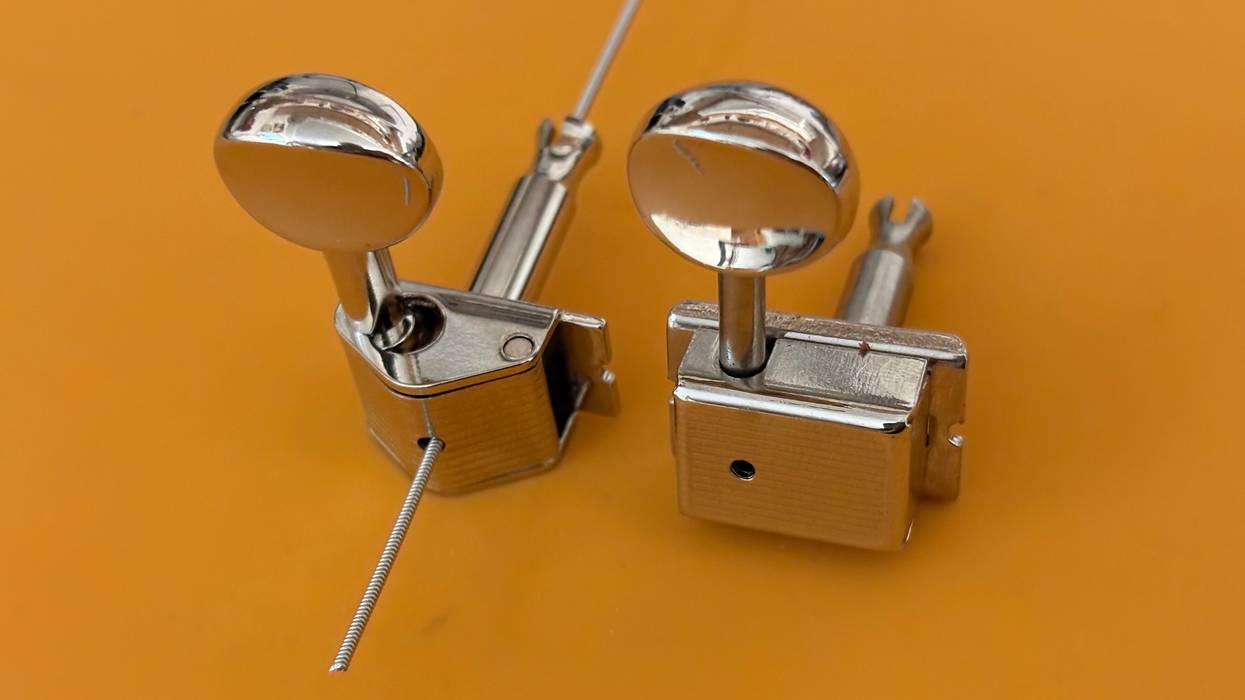
Last month we learned that the stock tuners were pretty heavy, which can lead to neck dive and discomfort. Their stability didn’t impress me, either, so let’s replace them. I wanted to keep our vintage look, so some Kluson originals came to mind. These are also available as locking tuners, which are usually a good choice, but they’re heavier than standard tuners and unnecessary on an Esquire-style electric without a vibrato system. After some research, I decided to use a set of “ClipHAUS” tuners from GÖLDO. This is German vintage at its best: The design goes back to a mechanism made by the ROKO (Robert Kolb) company in the ’60s. What looks like a roof at the top is a clip made of spring steel, pressing the worm shaft against the gear wheel, resulting in backlash-free movement.
However, the old ROKO machine heads, which were used by many guitar manufacturers such as Gretsch, Guild, Höfner, and Framus, were much clunkier and lacked the cool Kluson lining on the clip. Also, these new tuners use a patented “push-through” design: The strings are run through the shaft from the top and can then be clipped off as they sprout out the back—a handy way to avoid scratches and cuts from rogue string ends on your headstock. The housing, including the steel clip, is stamped from sheet steel with extreme precision. As an additional bonus, a set of ClipHAUS tuners is less than half the weight of cast-housing tuners. This particular model is available with different tuner buttons; I went with a set sporting the original oval Kluson shape for a vintage look, which set me back $75 for a full set.
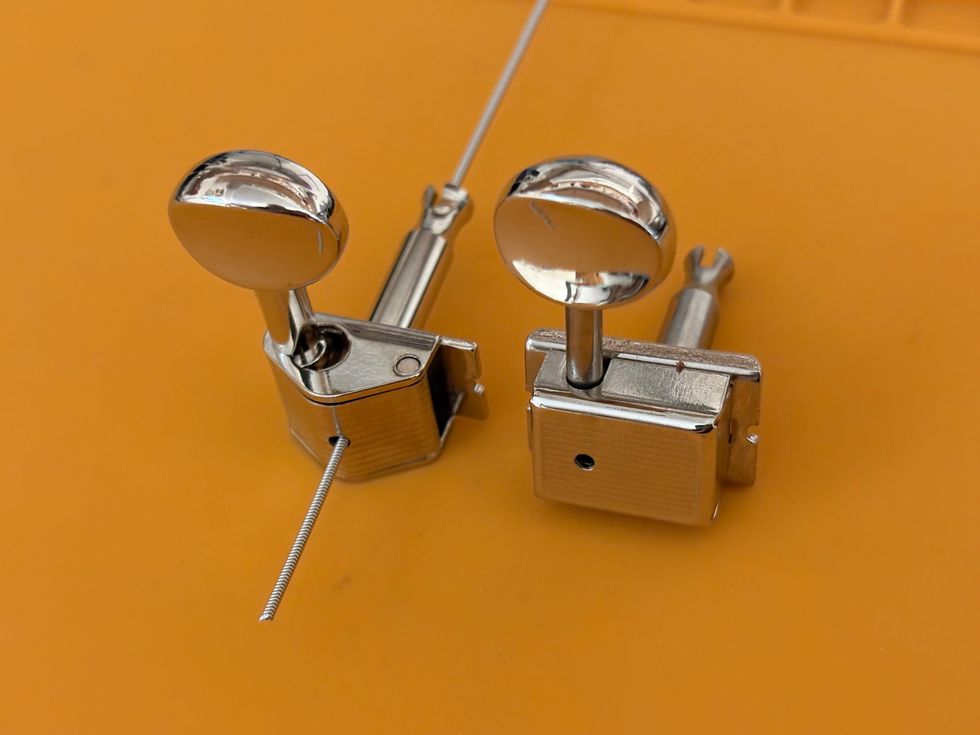
Photo courtesy SINGLECOIL (https://singlecoil.com)
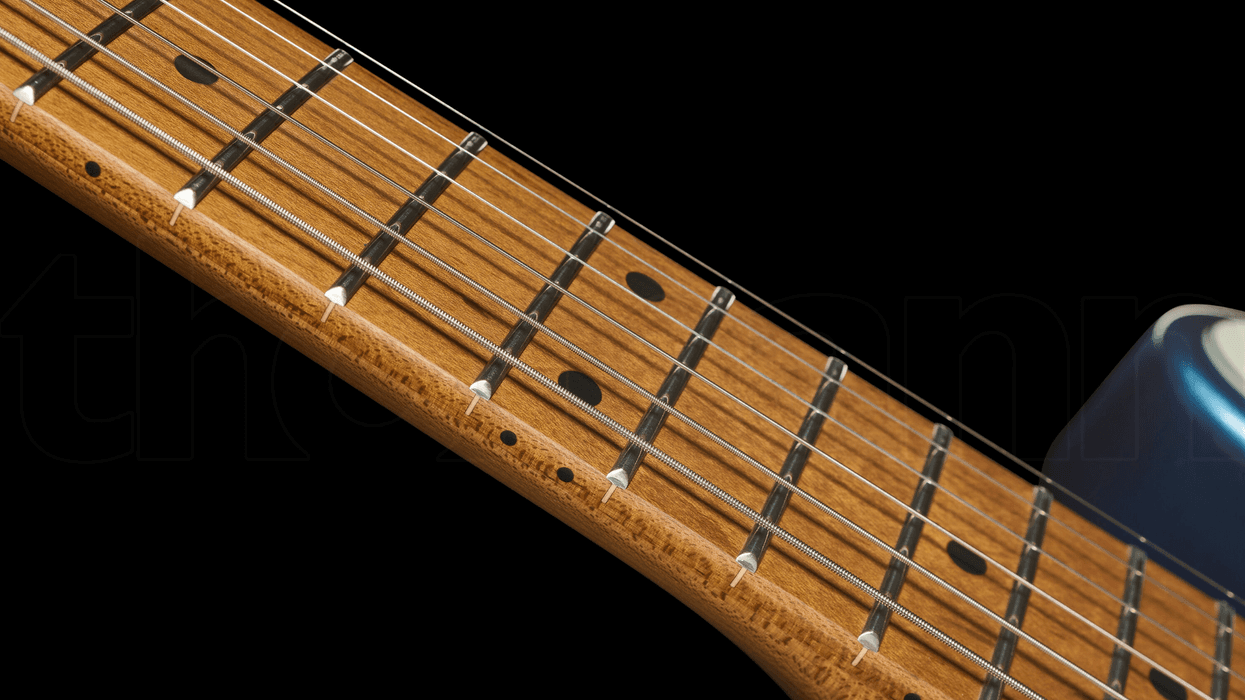
Next, I wanted to give the tuners an “aged” look. First, I broke the shine by giving the tuners, bushings, and buttons a once-over with fine sandpaper or steel wool. If you want to mimic corrosion on the shafts, you’ll want to remove the nickel plating on them completely, a job you can accomplish with steel wool. I placed the tuners and the bushings on some old newspapers, got out my gloves and goggles, and applied some iron oxide (ferric oxide) liquid on them with a Q-tip. Careful not to get any in the tuners—we don’t want any oxidation inside.
Time to decide if you want to mimic the typical oxidation of original non-plated shafts. If you want to do so, apply the liquid only to the case and buttons, leaving out the shaft. Watch the process carefully, and if you like what you see, stop the process by wiping the liquid off the tuner with a wet cloth or paper towel. Afterwards, apply the liquid to the shaft only and watch and stop the process when you’re content. This will take longer on the shaft than on the cover, so I recommend doing it in two individual steps. Personally, I didn’t want oxidation on the tuner shafts, so I simply put on the liquid in only one step. Reminder: This is just one way for aging your hardware, which I chose because its cheap, easy, effective, and safe. There are plenty of others you can try!
Don’t forget to put a drop of oil into the tuners and turn the shaft several times to lubricate them. One drop is plenty, and will last a very long time.
After a quick check, I realized that the new bushings wouldn’t fit the holes in the headstock, and the old screw holes wouldn’t fit for the new tuners. That led to two easy tasks, if you have the right tools.
The headstock’s holes need to be enlarged, which at first might sound like an easy task. Unfortunately, it’s not, and a word of warning: Never try to enlarge a hole in a guitar’s headstock with your hand-held drill and standard drill bit! It will almost certainly end in disaster. Instead, here are three options I recommend:
-The quick and dirty solution: Use a sharp, fine, coarse, rounded file for wood, and enlarge the hole carefully until it’s big enough. If it’s not perfectly round, don’t worry. The bushings on top will mask your dirty little secret.
-The semi-pro solution: Use a very sharp countersunk drill bit in your stationary drill press, and choose a moderate speed. Don’t forget to wear gloves and goggles for this, and drill from the top towards the back of the headstock.
-The professional solution: Use a very sharp handheld tapered reamer. You’ll only need 20 seconds to do each hole.
I decided to use a reamer, so the new bushings will fit tight and snuggly.
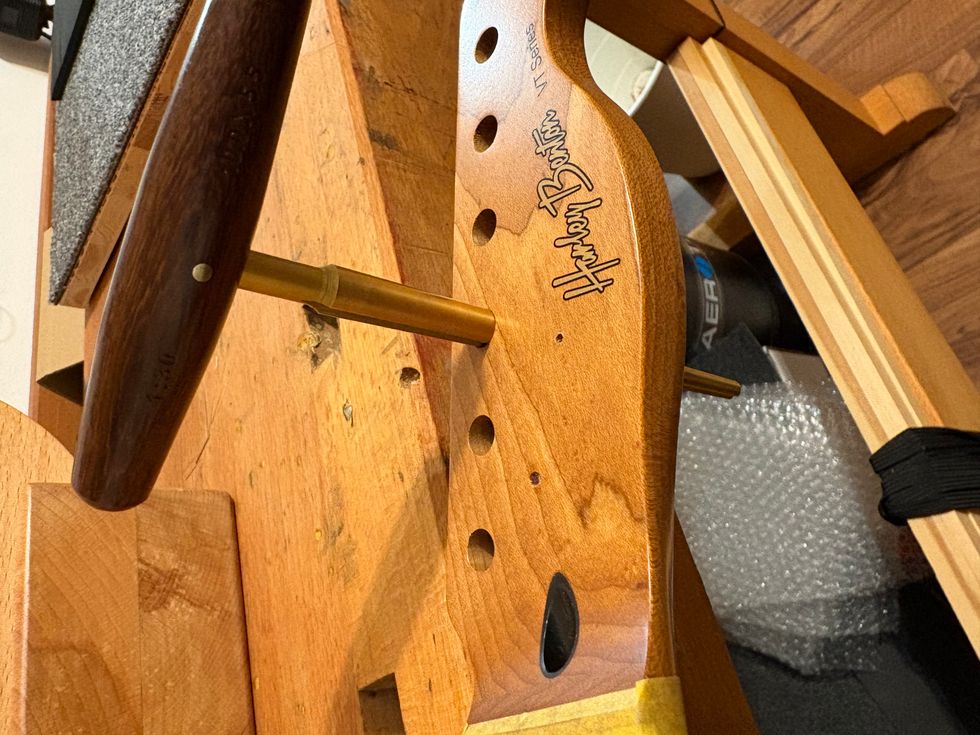
Photo courtesy SINGLECOIL (https://singlecoil.com)
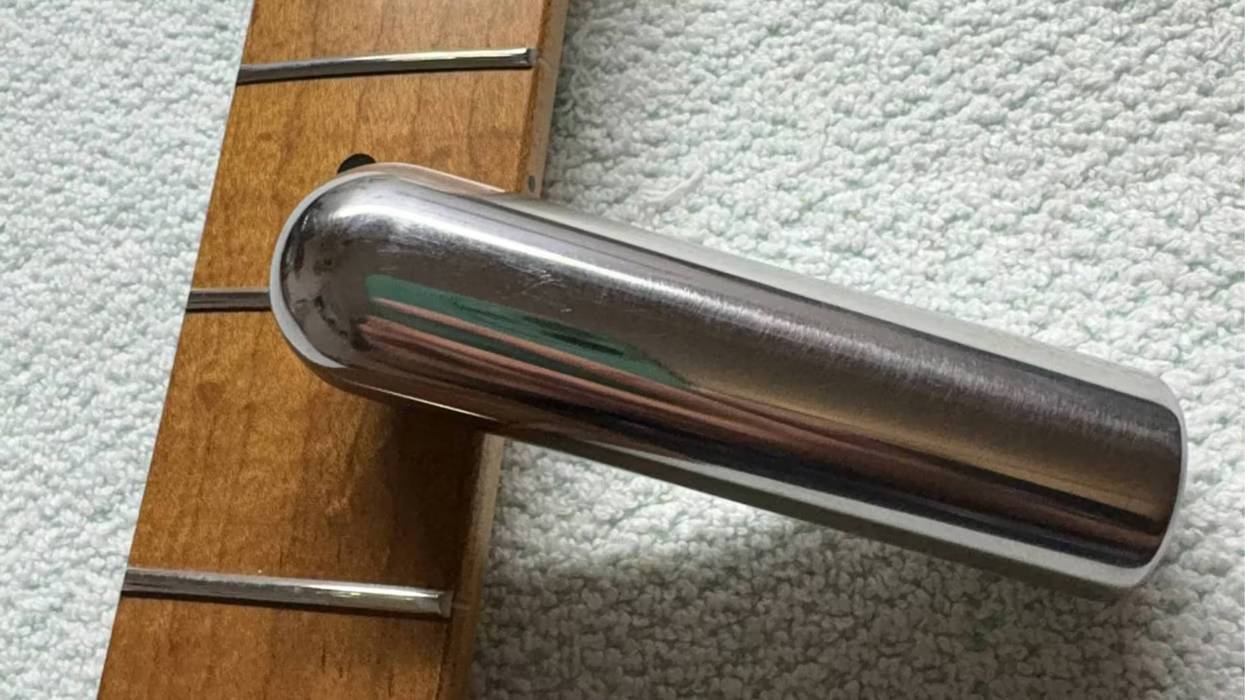
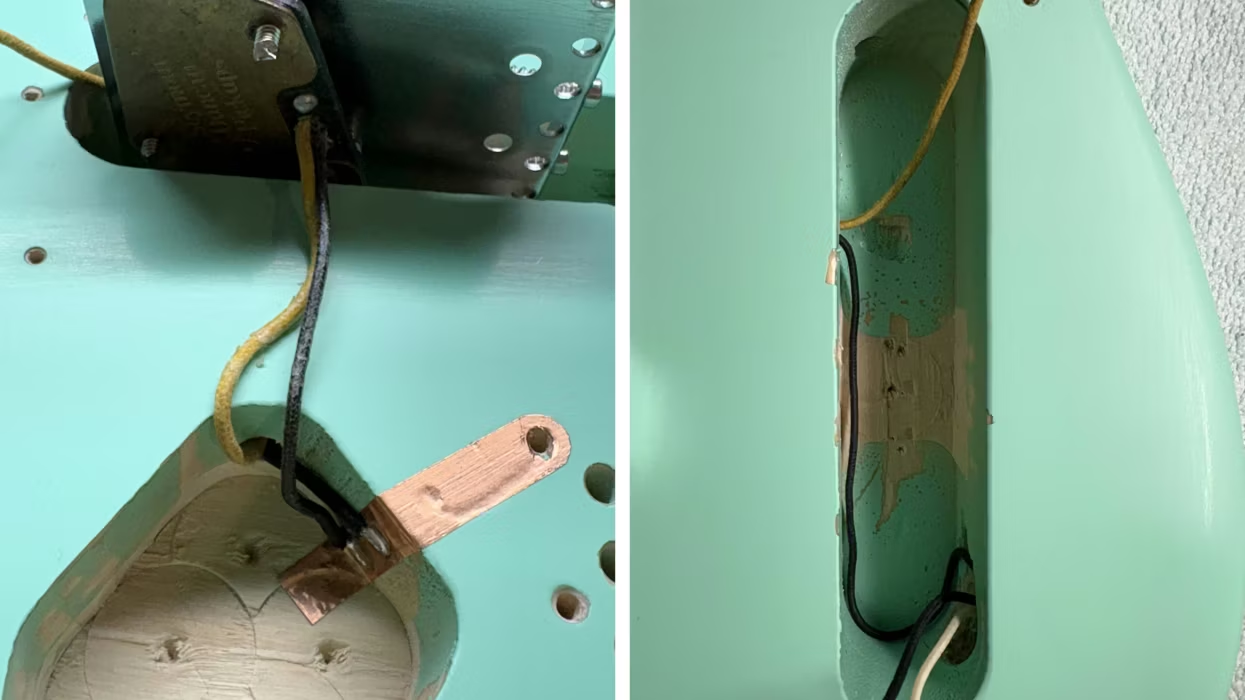
For closing the screw holes on the back of the tuner, as well as closing one of the screw holes for the string trees, I decided to use toothpicks and some wood glue. Standard toothpicks are typically made out of any soft wood like birch, which makes them a poor choice for closing holes on a guitar, especially if you need to drill into them later on. Such soft toothpicks can be stabilized by using some super glue, but the better option is to use hard bamboo toothpicks, like you might find in a local Asian restaurant. They’re a bit thicker in diameter and much harder compared to standard toothpicks, so they’re a great match for this task.
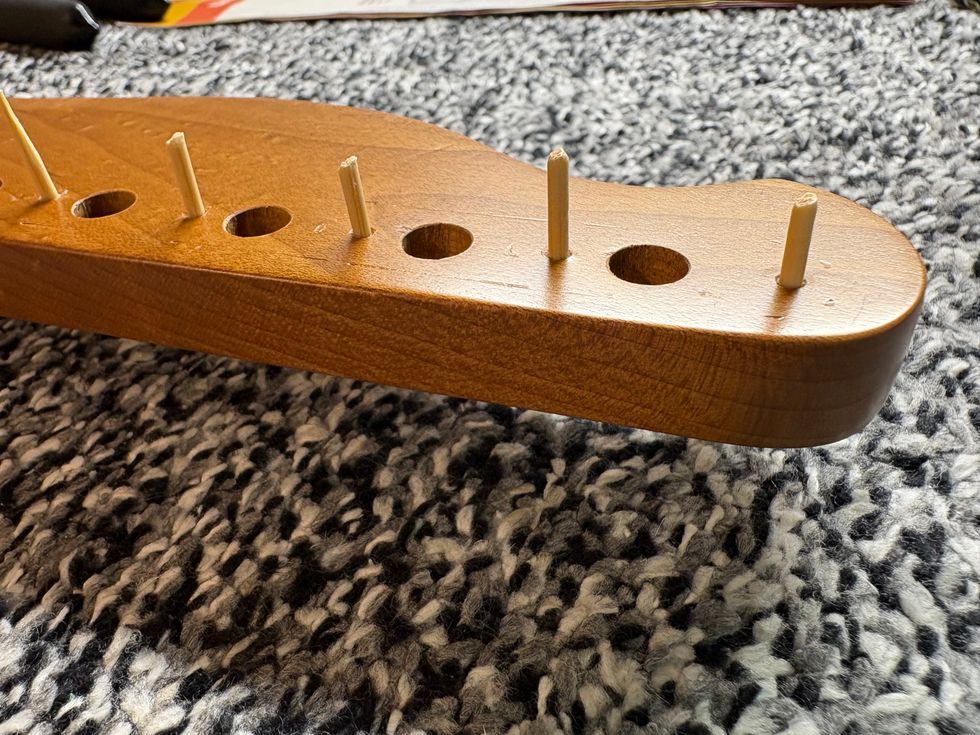
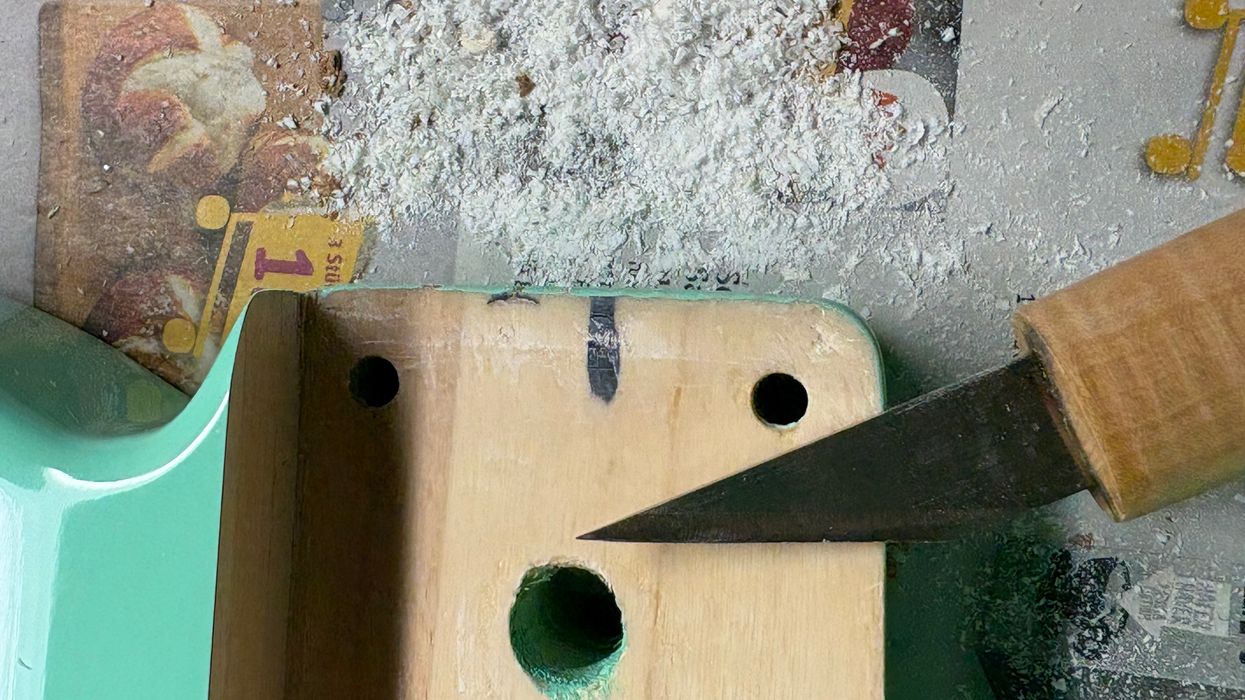
After the wood glue has completely dried, you can chop off the toothpicks carefully flush with a sharp chisel, exacto knife, or razor blade. Because the area will be covered with the new tuners, you don’t need to be super careful, but putting a bit of tape to protect the surface won’t hurt.
We spent $75 on our tuners this month, so our budget for future investments is down to $121. We’re not out of the woods yet: Next month, we’ll press in the new bushings the right way and continue working on the neck, so stay tuned.
Until then, keep on modding!