
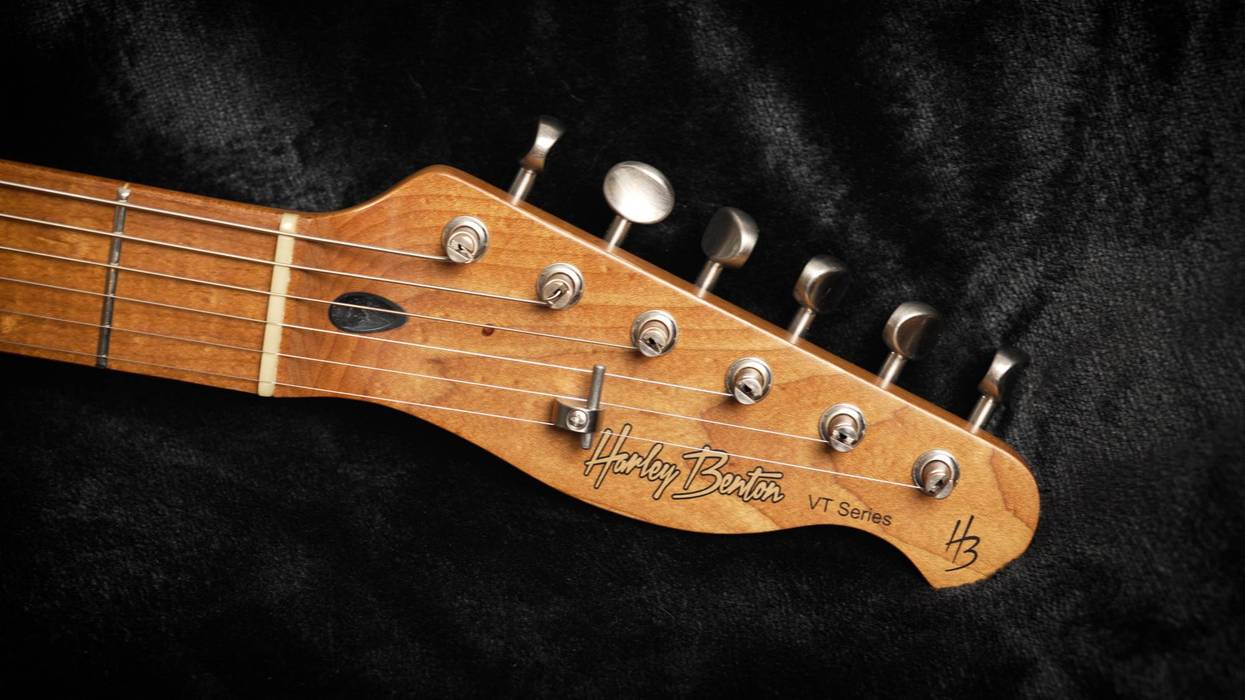

Hello, and welcome back to Mod Garage! After preparing the headstock of our Harley Benton guitar for a new set of tuners, we will now install the bushings of the tuners in the enlarged holes.
This sounds like an easy task, but it’s important to keep some key things in mind. Most people push their new bushings in using a hammer and maybe a small wooden block to protect the new hardware. While this can work, it’s not a great idea, especially if you’re a novice at this sort of work; following this installation method, chances are good that your bushings won’t be set flush on the headstock afterwards. Crooked bushings can put you into serious trouble when installing the tuners, and can of course damage your headstock. Thankfully, there’s a much better way to perform this operation.
You can buy a specialised luthier tool for just about any task nowadays, and bushing-installation is no exception; you can buy specialised clamps, presses, installation helpers, and the like, and they all have their right to exist. Before you buy them, though, ask yourself how often you’ll use such tools. More often than not, an inexpensive DIY stand-in will do the trick!
Do you have access to a stationary drill press? Excellent—all you’ll need to build yourself a top-notch bushing-installation tool is a hexagon-headed screw, preferably with a shank and small self-adhesive rubber feet. Glue the rubber feet on top of the hex-headed screw, and fasten it in the chuck of your drill press so the head of the screw faces downwards. There you have it: your very own bushing-installation tool, for less than the price of a Coke. I’ve used this setup for many years without issue.
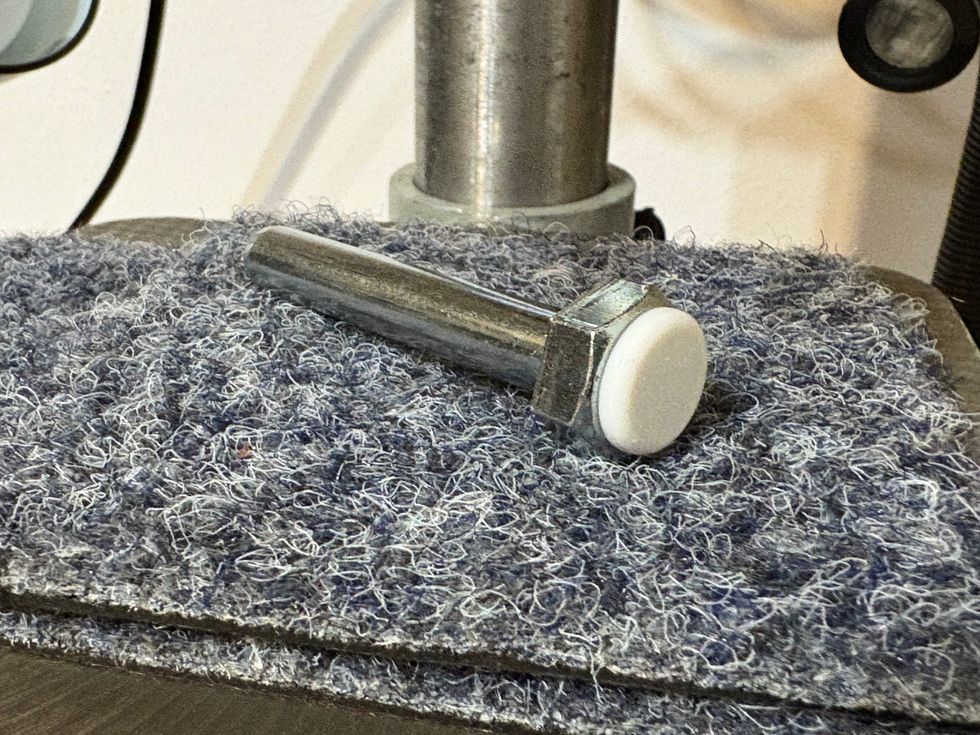
Photo courtesy SINGLECOIL (https://singlecoil.com)
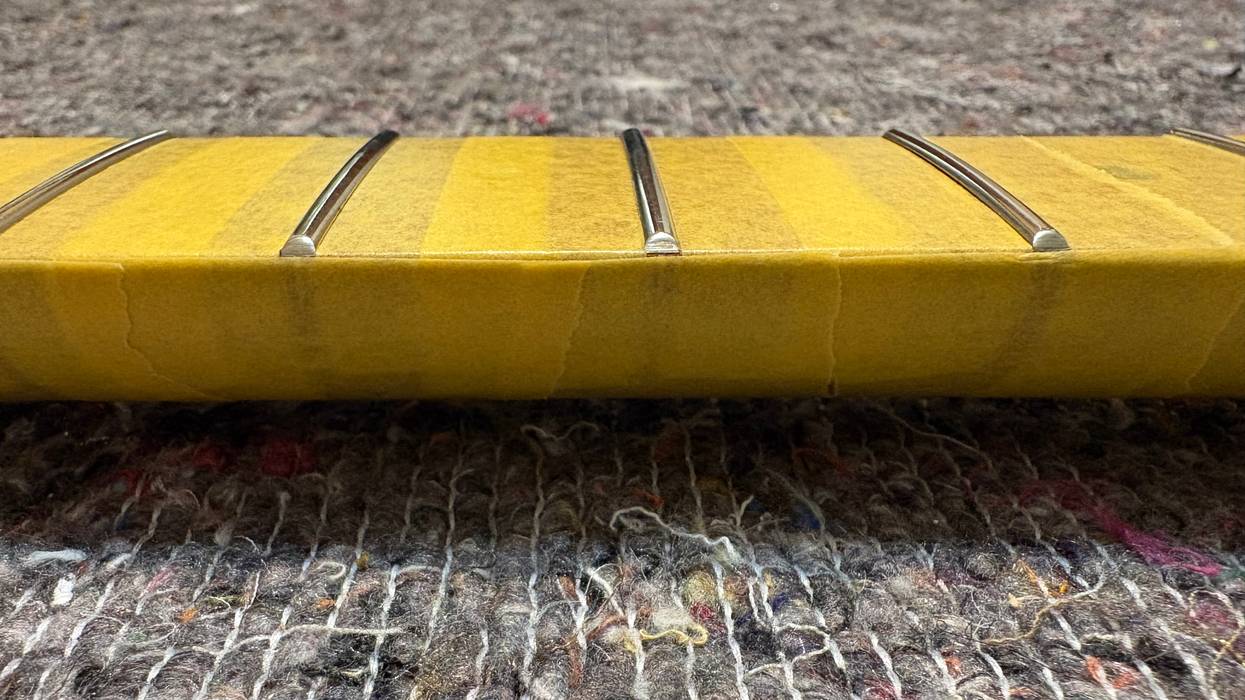
Now, put a piece of carpet or felt on the drill table to protect the finish of the guitar neck. Next, use a Q-tip and some water to wet the inside of the tuner holes. You don’t need to waterboard them—we just want a little moisture to help ease the bushings into a perfect fit. Place the bushings straight (that part is very important!) into their holes, and use your thumb to add a little pressure so they don’t fall out. Unplug the drill press from its power outlet to make sure it won’t accidentally turn on, then pull the handle and apply pressure on it to drive the bushings into their holes.
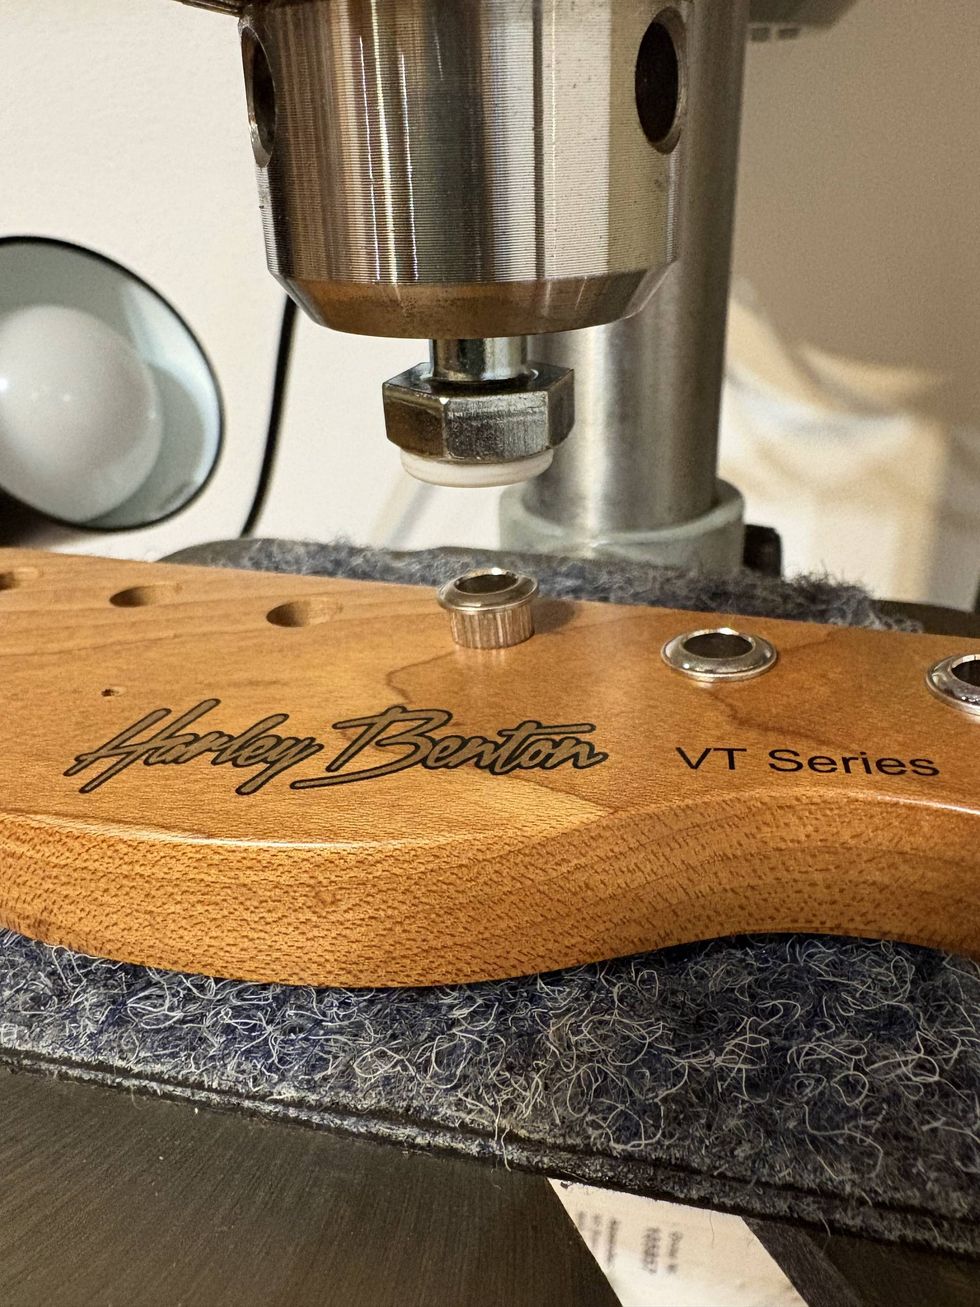
Photo courtesy SINGLECOIL (https://singlecoil.com)
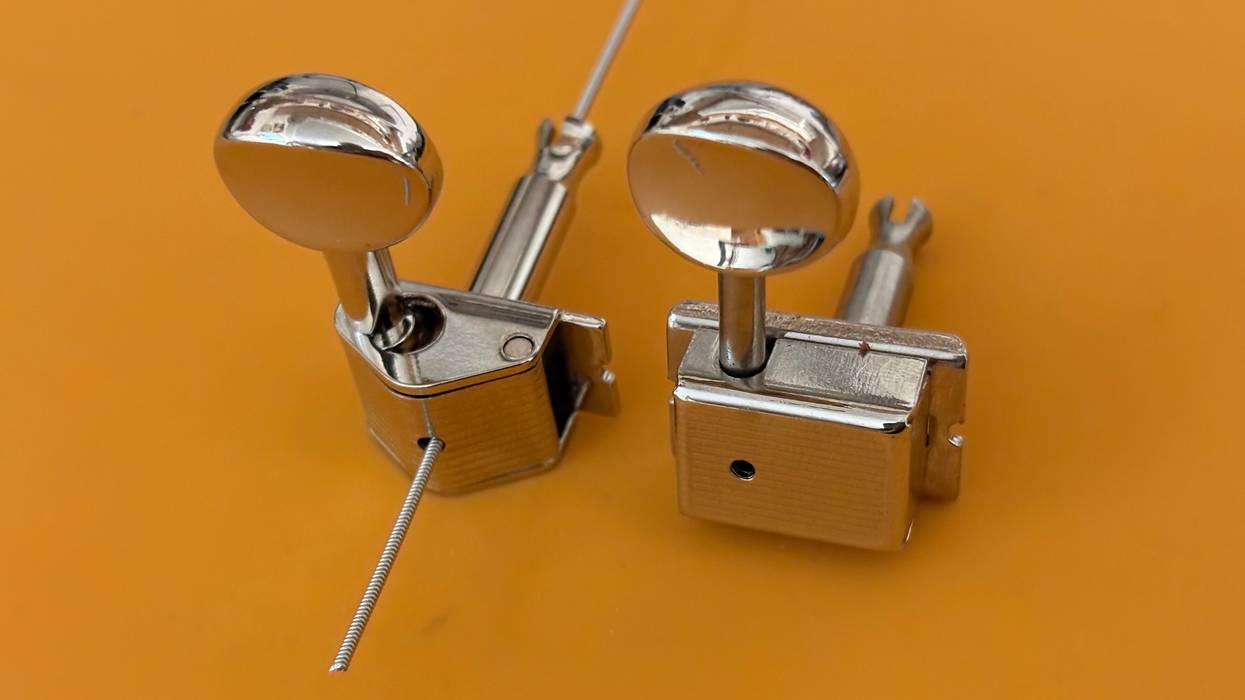
Once the bushings are placed, it’s easy to load up our new set of tuners. Slip the new tuners into the bushings, using a straight edge to orient and align them. Use a pencil to mark where you need to drill holes to fasten them, then remove them, punch in the new holes (perhaps with the same drill press), then lock in your new tuners.
Now, let’s take care of the string trees. I removed both of them and closed one of the holes, since I want just one string tree. I used a bamboo toothpick to close the hole, same procedure as for the holes left by the old tuners. I tried to mask the fix a little using an amber-colored drop of lacquer, which looked great while it was wet. Now that the lacquer is dried, I can see that the color is a tad too dark. It’s not perfect, but drilling it out again, refilling the hole, and starting from zero seems a little over the top for such a small problem, so it’ll stay as it is.
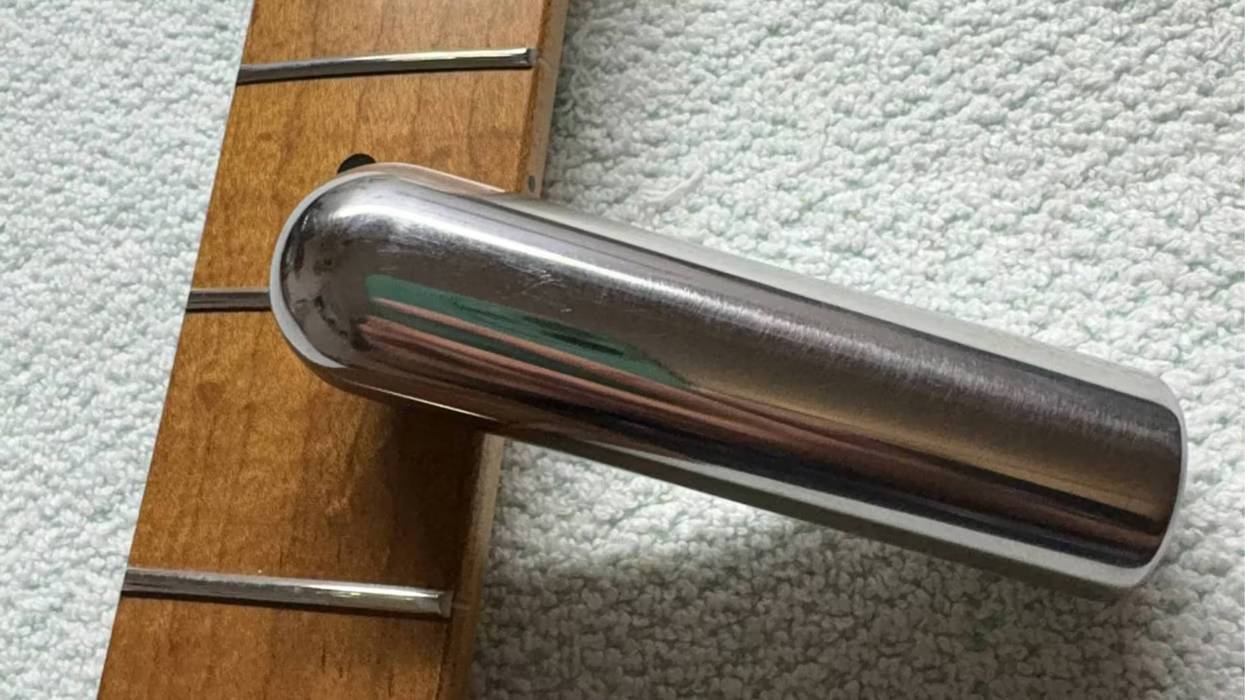
On a Fender-style headstock, usually only the G, B, and high E strings need a little support via added downward pressure. When using two string trees, the D string is also included in the equation, which is not only unnecessary but can lead to tuning problems. Typically, just one string tree for the B and the high E strings will do the trick, but when you want to be on the safe side, guiding the G along with them is a good idea.
Nowadays, it’s easy to find string trees to handle just these three strings, which is the perfect solution. I decided to use the Duesenberg String Three for our guitar—it looks great, is easy to install, and it’s adjustable. I installed it in the hole where the string tree for the B and high E string was, and turned it 180 degrees. This configuration gives you perfect access to the strings for all bend-behind-the-nut techniques, while still exerting enough downward pressure. This new hardware was $12, so our remaining budget has been cut down to $109.
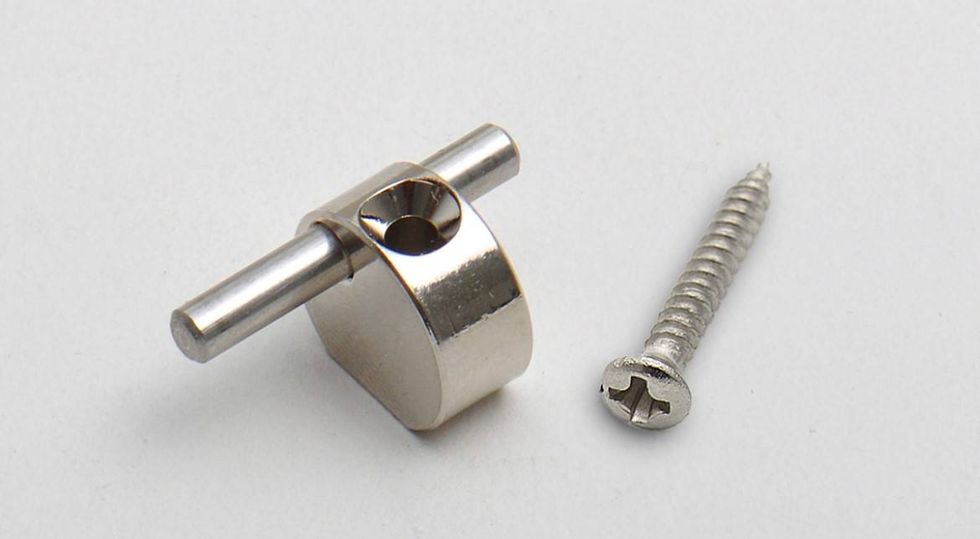
Photo courtesy göldo (https://goeldo.de)
In the last step, let’s take a look at the nut of our Harley Benton guitar. It’s a pretty low-quality nut made of plastic.
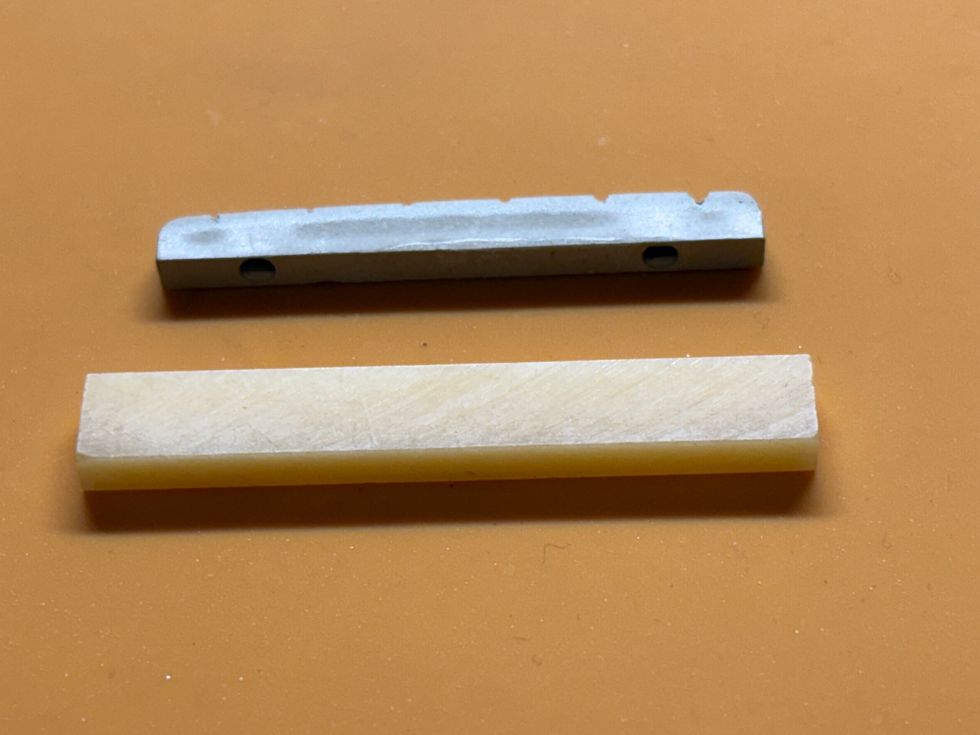
Photo courtesy SINGLECOIL (https://singlecoil.com)
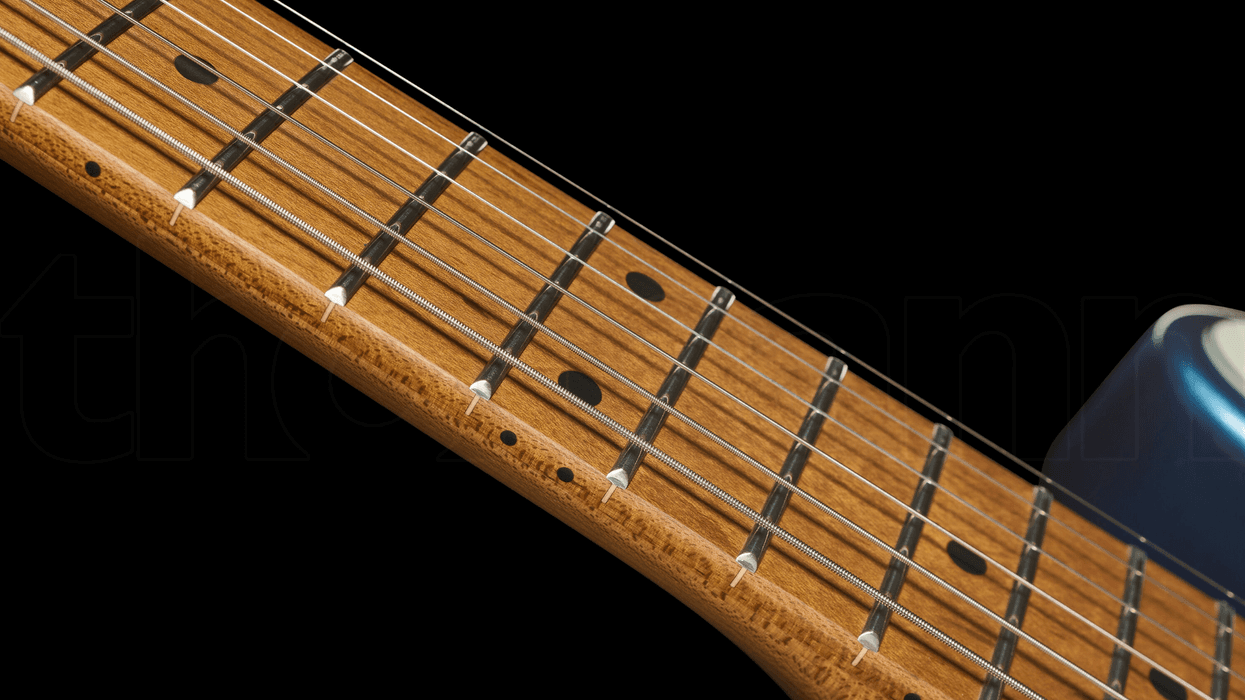
In general, there’s nothing wrong with plastic nuts, and some high-tech materials like Corian, Delrin, Micarta, TUSQ, Nubone, and the like are superior compared to natural bone, offering perfectly even density. On the other hand, a genuine unbleached bone nut will lubricate itself for a lifetime, which can be especially helpful on guitars with a tremolo/vibrato system. Our guitar’s stock nut has sharp edges, two holes on the bottom, and looks and feels cheap. For a cool vintage look, I decided to make a new bone nut out of a blank, using the original nut as an outline template. Explaining the process of making a nut is, unfortunately, something that would take more space than this column allows. Luckily for you, there was plenty of tutorials online that explain this process in detail, and besides, you have the option to use a pre-made nut, which will make your life a lot easier. Remember: It’s never a bad idea to let a luthier or guitar tech do the work for you. For a high-quality bone-nut blank, I had to spend roughly $10, and I decided to polish our new nut after finishing it to lend it some mojo. As it stands, here’s what our new headstock looks like:
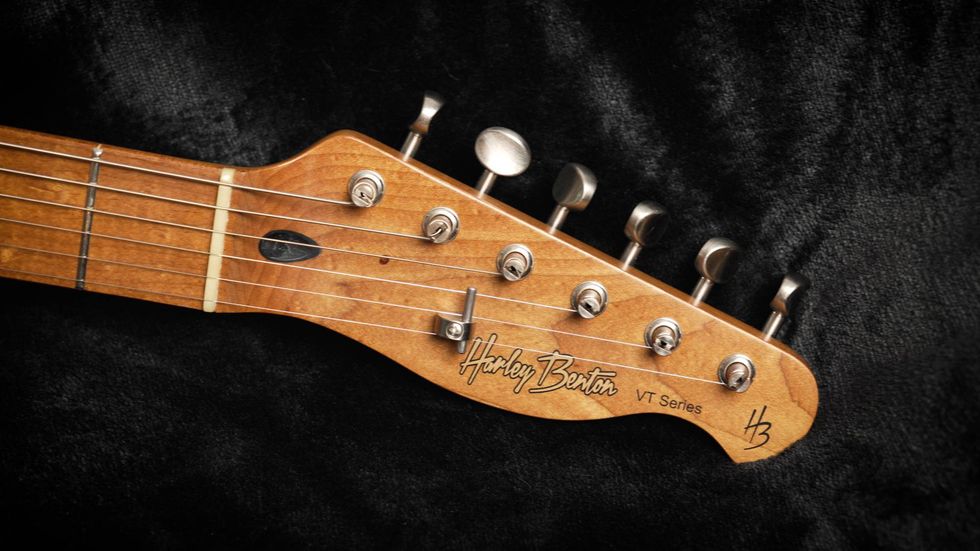
Photo courtesy SINGLECOIL (https://singlecoil.com)
That’s all for now. Our budget is down to about $100 even for future investments, and next month we’ll begin to wrap up with polishing the frets, a very important step for our instrument’s playability, so stay tuned.
Until then, keep on modding!