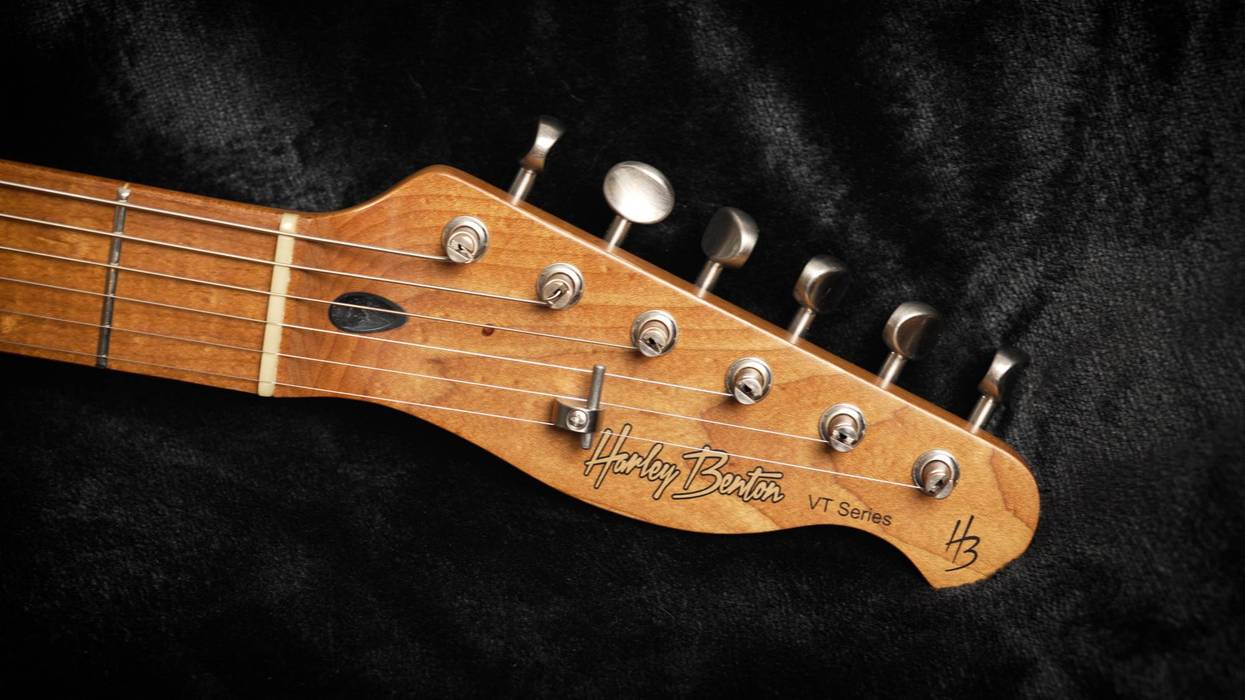


Hello, and welcome back to Mod Garage. We are almost done with our Harley Benton project—after working on the neck last month, there’s only one final step left before the neck is completely finished: polishing the frets. This is a very important step and one of the key factors in determining the playability of a guitar. If your frets are not polished well, there will be no “sexiness” when playing, and you will have to fight for every note. Bendings and vibratos will feel very stiff and uncomfortable and make strange noises on the frets. In essence, the instrument works against you instead of for you. In addition, dull or even dirty or rusty frets don’t look very good on a guitar.
The good news is that polishing the frets is something you can do yourself and the enhancement you will receive is simply stunning. And once done as thoroughly as possible, you’ll only need to refresh this process every time you change your strings. It’s a low-investment job with a high payoff, and you can do it to every one of your instruments, whether it’s a guitar, bass, mandolin, banjo, and so on. The procedure is always the same.
Many ways lead to Rome here, and there are a zillion different avenues and tools for success. I’ll demonstrate the intensive, serious polishing procedure I use in the shop, but naturally all other methods have their right to exist and will work, too. This is a time-intensive procedure, but it’s worth it; you can enhance your whole guitar armada one by one this way.
For my preferred way you don’t need very much, and you’ll likely already have some of the materials in your garage or workshop. So let’s go and make a perfect polishing job for your frets, resulting in a buttery-smooth, glassy feel and look.
Start with a basic cleaning of the fretboard and the frets, using Naphtha and a cotton rag. This is always the first step, no matter if you have a finished fretboard or one of bare wood like rosewood or ebony. To protect your skin you should wear gloves, this is lighter fluid and you don’t want to have direct contact with it. And it can’t hurt to also wear goggles to protect your eyes. An old cotton t-shirts works well as a rag; simply apply some Naphtha and clean the fretboard and the frets with it. After finishing, give it a minute so the Naphtha can completely disappear.
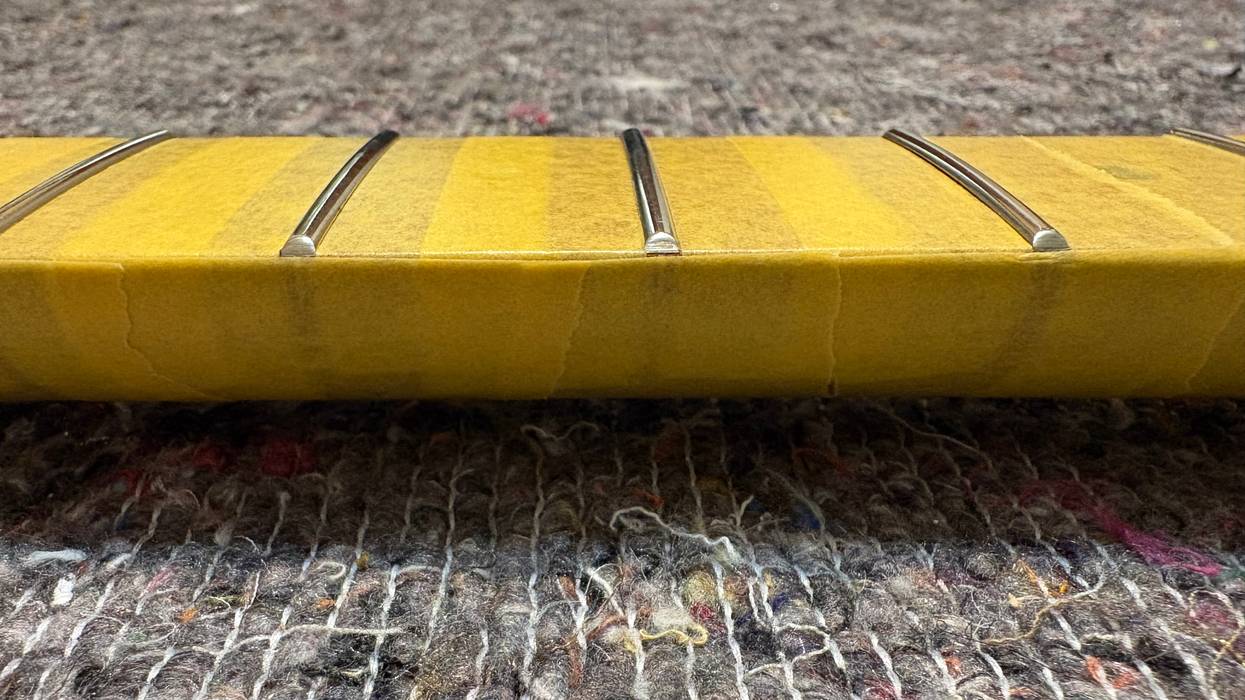
The next step is to precisely tape off the complete fretboard using low tack tape. This applies not only to finished fretboards like our Harley Benton one, but also to bare-wood fretboards like rosewood or ebony. The cleaning process with Naphtha will help a lot the tape will stick well on the wood. I prefer to completely tape the entire neck before I start polishing, which can be a kind of meditative work. Having a good coffee at hand and listening to some relaxing music can make this step go more quickly. As an alternative, it’s also possible to only tape off one fret, polish it, and then do the next, but I don’t recommend this method. We also want to polish the fret ends, which is a lot easier when taping off the entire neck. Using a fret guard is also not recommended for the same reason. Here’s a tip: Attach the tape as close as possible to the bottom of the frets and also mask the fretboard edge so you can polish the fret ends without any danger of disturbing the finish.
Next you have to decide what tools to use, and there are countless options. Avoid any steel wool for a serious fret polishing job—it’s not only a mess in general, but the pickups will attract the particles if you do not completely mask them. In general, the higher the grid you use, and the more grids you use in between to step up to the final grid, the higher the level of your polish and the smoother the feel. There are a lot of different polishing systems for frets from a lot of companies and they all work; my preferred way is to use Micro-Mesh soft touch pads in nine different grids, starting with 1,500 and stepping up to 12,000.
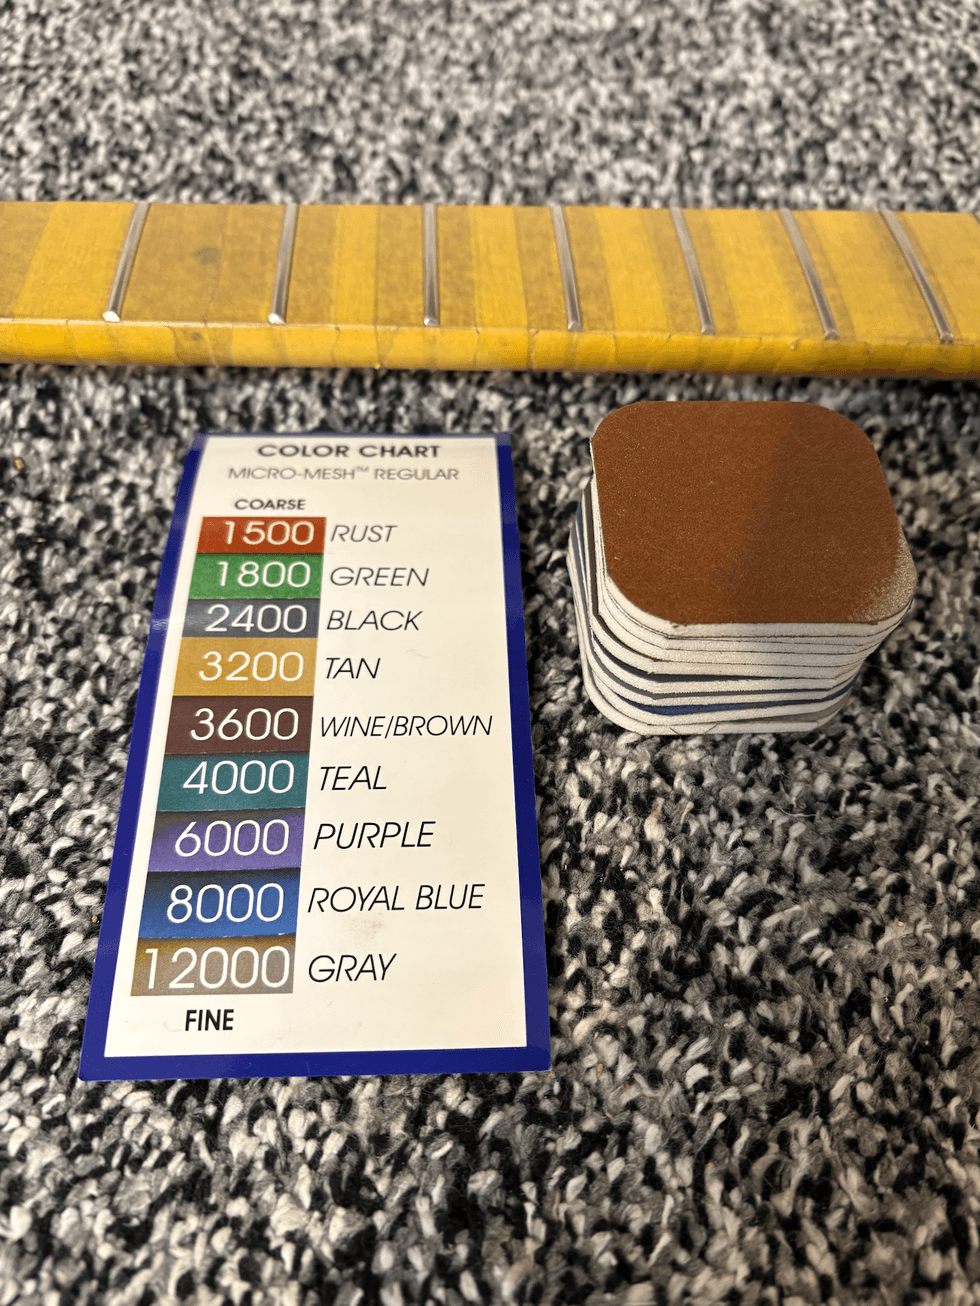 photo courtesy SINGLECOIL (https://singlecoil.com)
 There are a lot of other options, including steel wool, abrasive touch-up sticks, abrasive sheets, Scotch-Brite, Kovax Tolecut, and others. If you already have a tool you use you can naturally stay with it, but for me, nothing beats the Micro-Mesh soft touch pads.
Now, take a small dish and fill it with soapy water as a lubricant for a scratch-free mirror shine. Simply use your finger to put some of the water on your polishing pad—don’t waterboard the pad, and avoid soaking it in water. Start with the 1,500 grid pad, wet it, and rub the fret from one fretboard edge to the other. Important: Do not polish from the nut to the bridge over the complete fretboard length, this is the correct direction for a serious polishing job. Take care to polish the complete fret down to the bottom, and take your time. You don’t need to be afraid about removing material, this is just a polishing job. After polishing the last fret angle, turn the pad approximately 30 degrees and polish the fret ends by rubbing the pad in that angle along both fretboard edges.
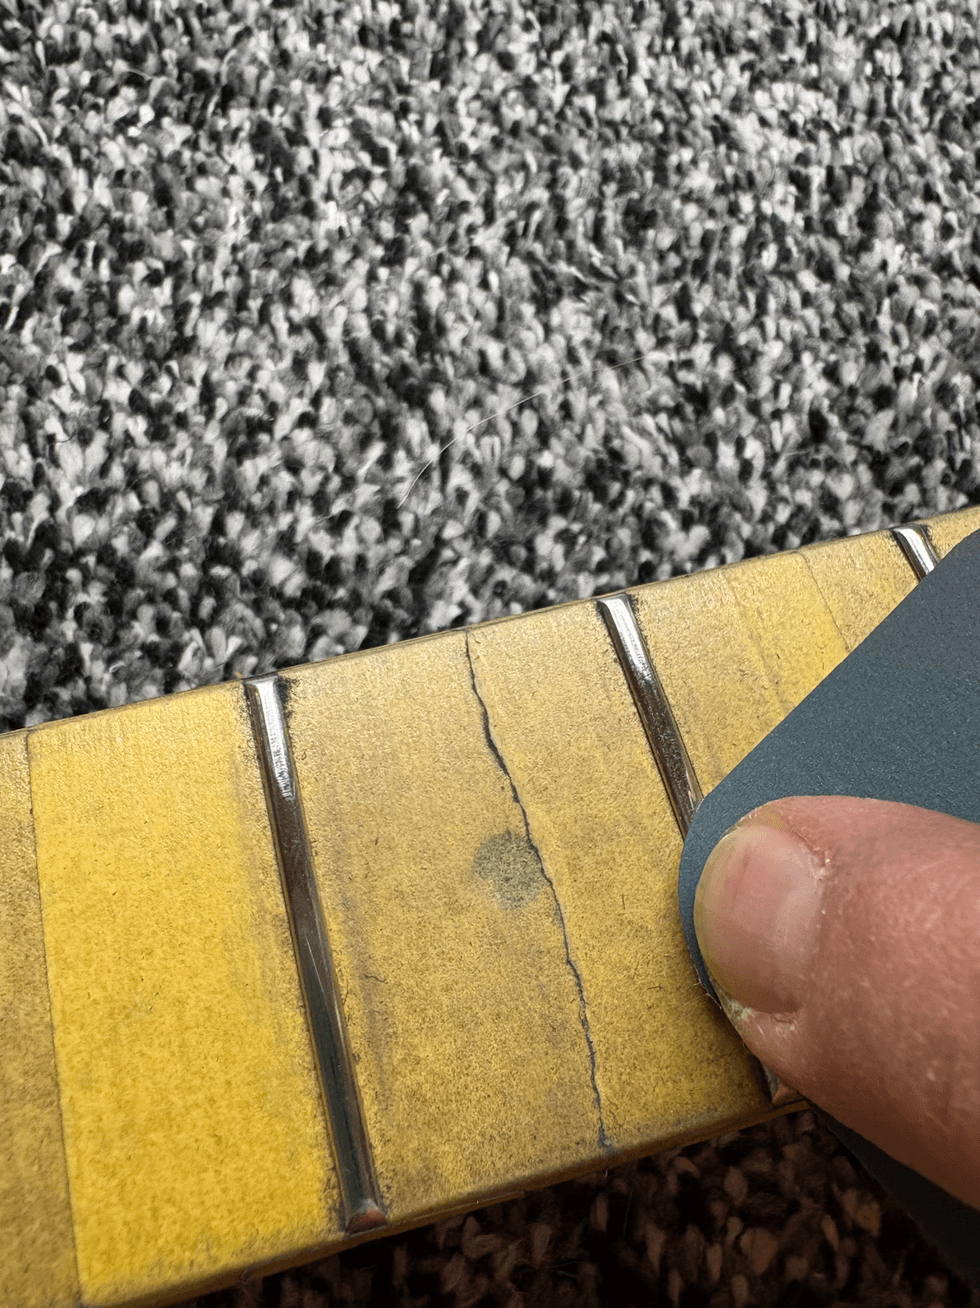
photo courtesy SINGLECOIL (https://singlecoil.com)
All done? Excellent. Take another nip of your coffee and step up to the next finest grid, repeating the entire process over and over again until you’ve stepped up to the highest grid.
I estimate that it should take roughly two hours on average to complete the whole process, including taping off the neck. Yes, it’s a long time for a polishing job. But believe me, it’s worth every minute.
You may ask—what about using machines like a Dremel or a stationary buffer to save some time? Yes, it’s possible to use such tools, but they’re a little risky to me. It’s easy to overheat and reshape the frets, and even easier to slip and hit the fretboard—something you definitely don’t want to do. I stopped using rotating tools for fret polishing several years ago and always take the long route. It’s better to be safe than sorry, especially on a customer’s guitar.
Now, the final step, which will make a big difference. For this we will need any metal polish of your choice, some Q-tips, and a piece of leather. Some advice: Wear gloves during the last step, and put some old newspapers underneath the neck.
First, put some metal polish on the Q-tip, and apply it all along the fret. With a piece of leather, polish one fret after another and, finally, the fret ends. Use the same procedure as earlier, but this time with a metal polish and a piece of leather. Using a piece of leather will not only polish but also burnish the frets to maximum shine, creating a glass-like feeling. There are special polishing leathers you can buy, but any old piece of smooth leather—like from an old leather belt—will do. Suede leather will not work properly, so stay away from that. Take your time and polish the complete fret; during the process you will feel a little bit of heat, which is a good sign that you are doing it right.
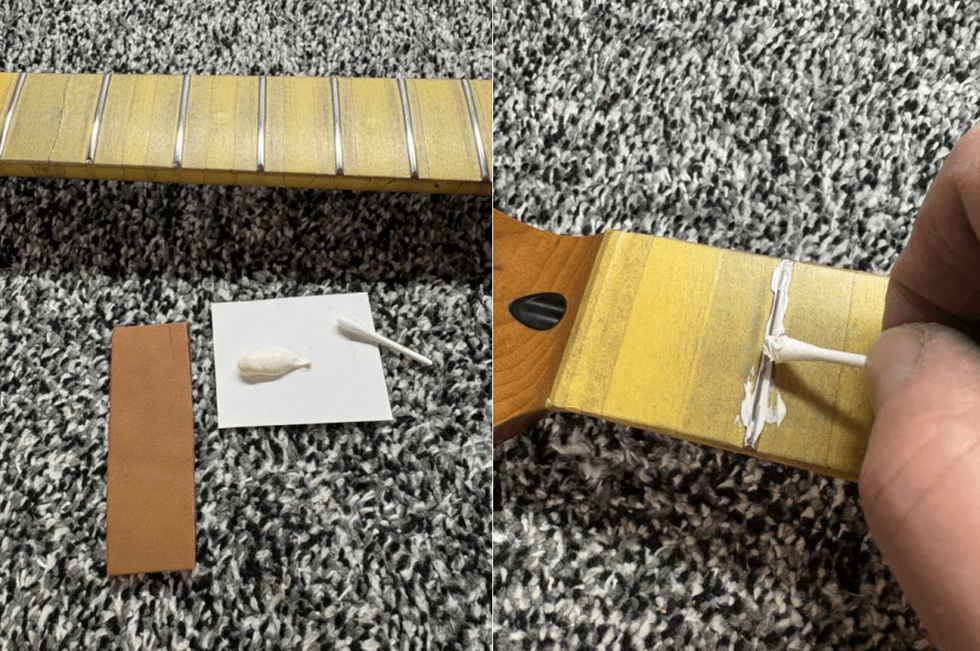
photo courtesy SINGLECOIL (https://singlecoil.com)
Finally, use a soft cotton cloth to wipe away any excess, and then take off the tape. When using low tack tape this should be easy; if there are any sticky areas use some Naphtha and a cotton rag to simply wipe it away. If you have an open-wood fretboard, apply fretboard oil of your choice afterwards and wipe away the excess.
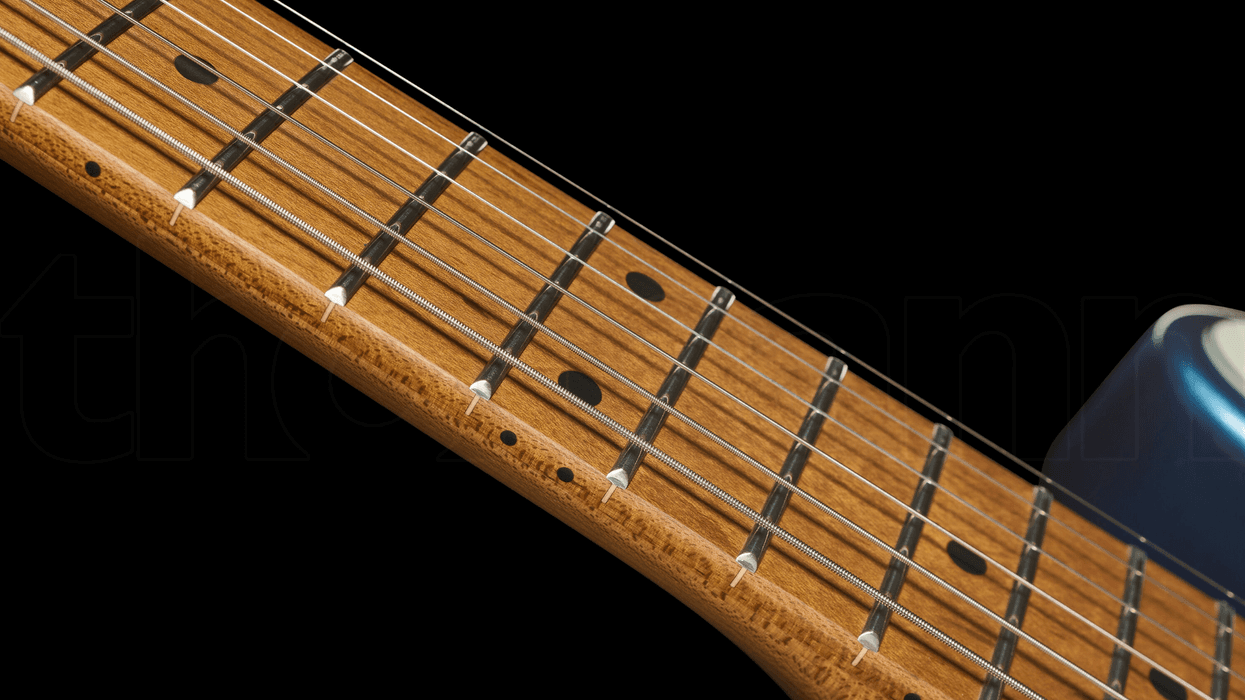
And there you have it: Mirror-shine and glassy-feel frets for maximum playability. I’m pretty sure that when you experience the results on one of your guitars you will instantly undertake the same procedure on all your other instruments.
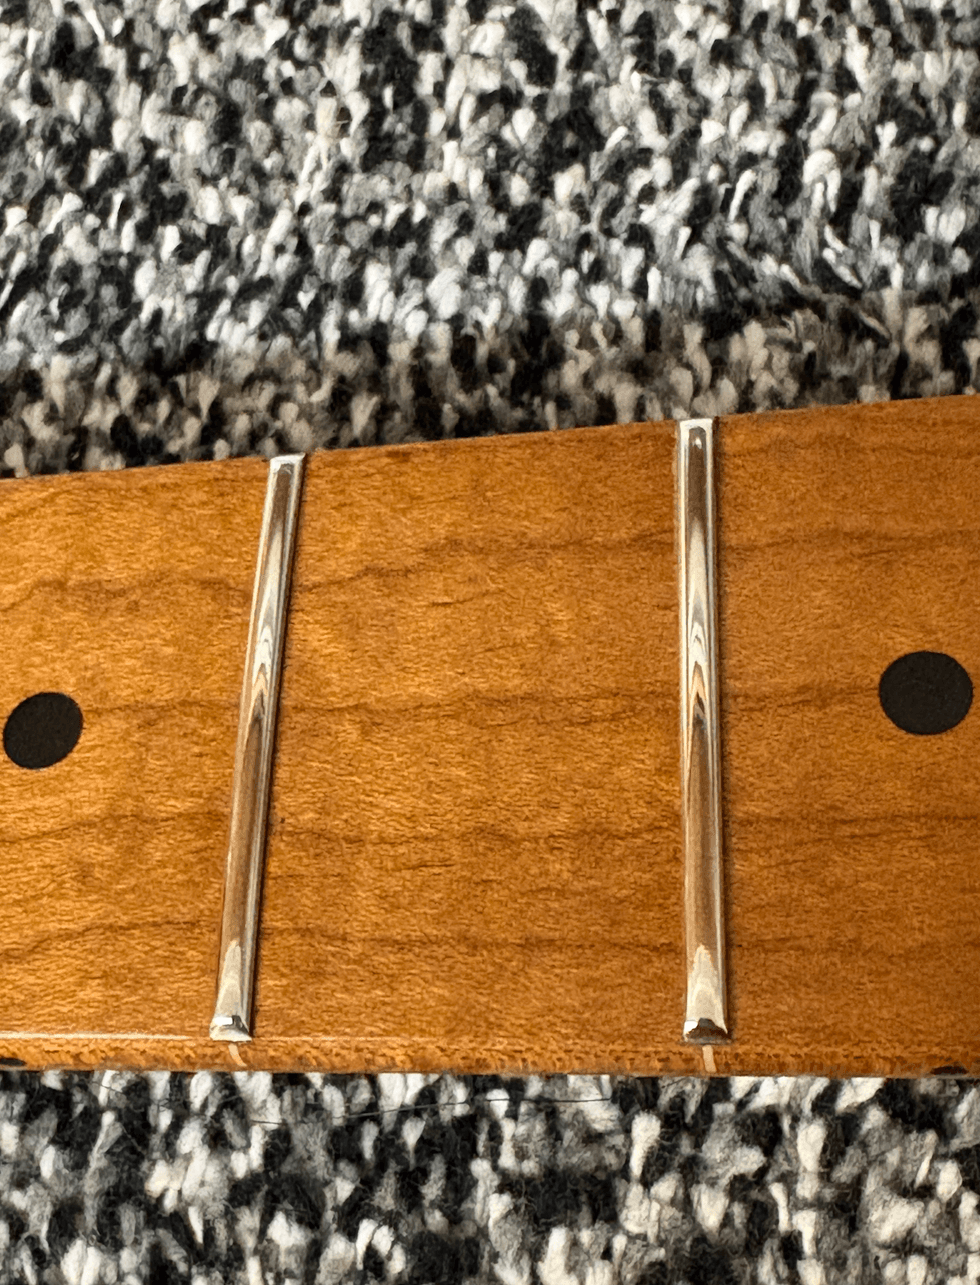
photo courtesy SINGLECOIL (https://singlecoil.com)
We didn’t spent any more money this month, so our budget of $100 for future investments is still available. Next month we’ll finish up our guitar project and compare the instrument to what we started with. So stay tuned.
Until then ... keep on modding!