Intermediate
Intermediate
- Put a simple country twist on a 12-bar blues.
- Create honky-tonk motifs over chord changes.
- Develop your CAGED vocabulary.
When learning any genre of music, it makes sense to master as much of the repertoire as possible. This will prepare you for the songs that are likely to be called on jam nights with other players. Jazz musicians are all over this concept. Show up to a jam session and you're likely to encounter players who have memorized dozens of standards, such as "Autumn Leaves," "Misty," and "All the Things You Are." When these tunes are called out, you'd better be ready to play them.
Blues musicians have it slightly easier since the 12-bar blues form is so ubiquitous. Often bandleaders might just call out the key and count it off. In this lesson, we'll focus on a country standard, "Folsom Prison Blues." As implied by the title, the form is basically a 12-bar blues, but we'll add a country twist.
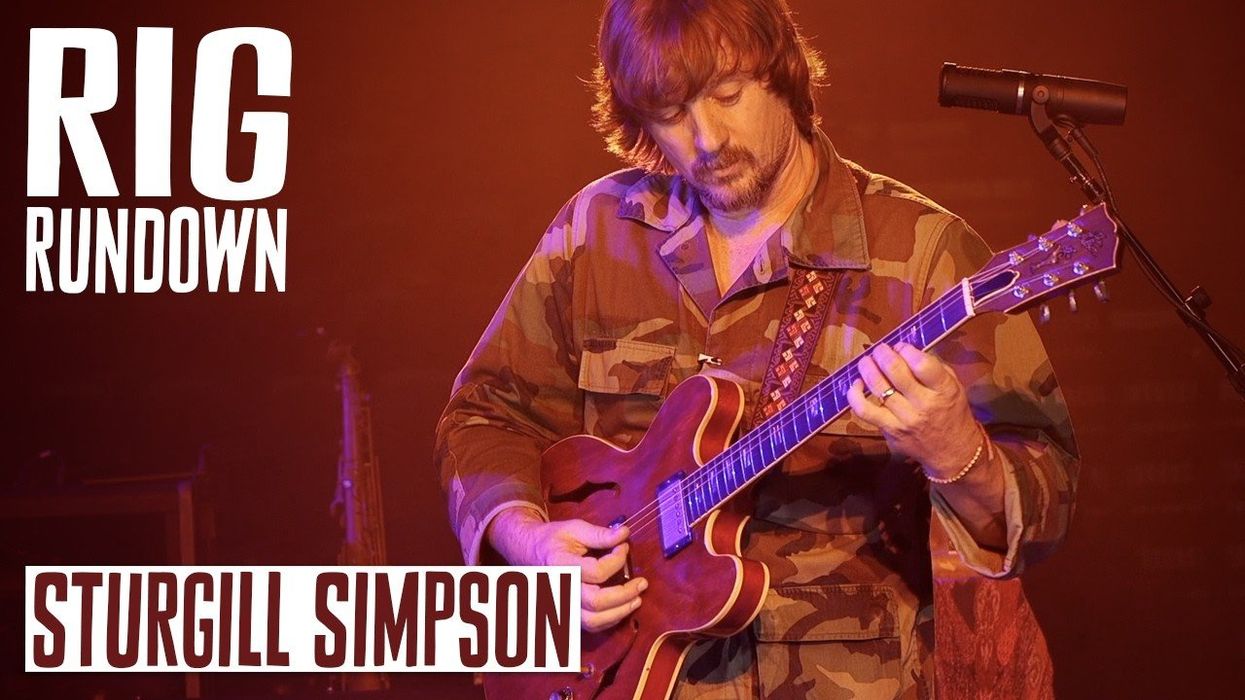
Johnny Cash - Folsom Prison Blues (Live)
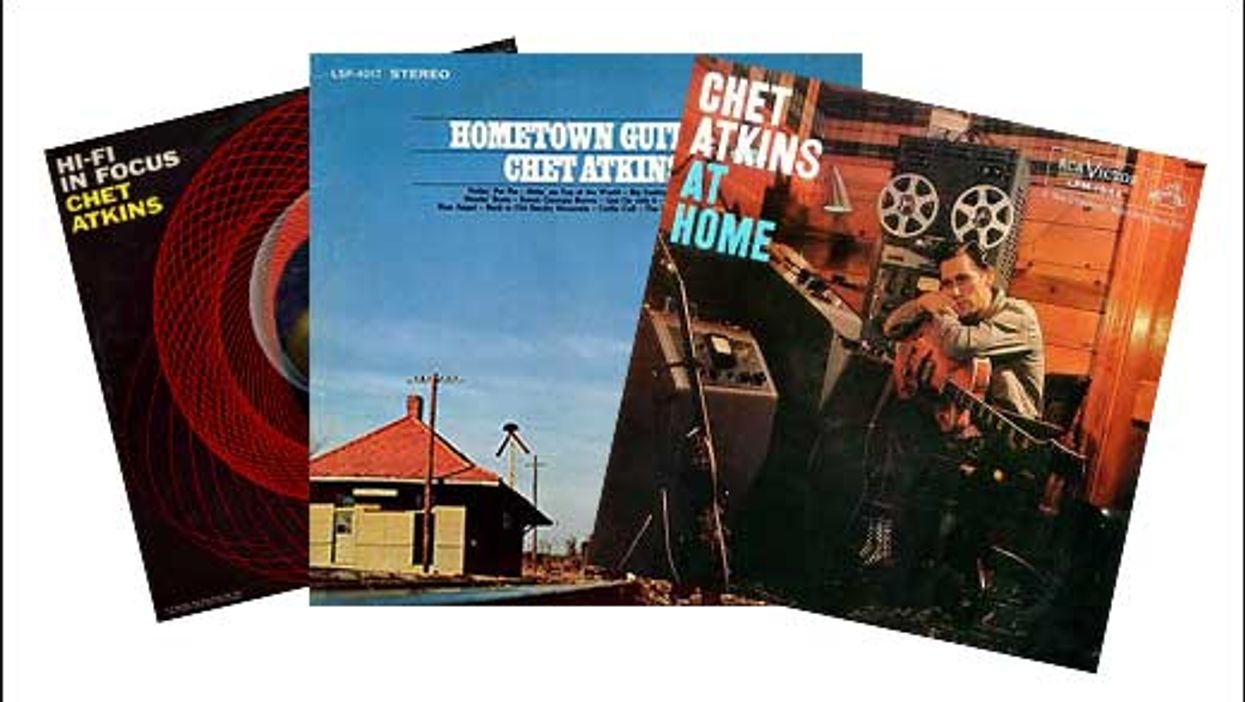
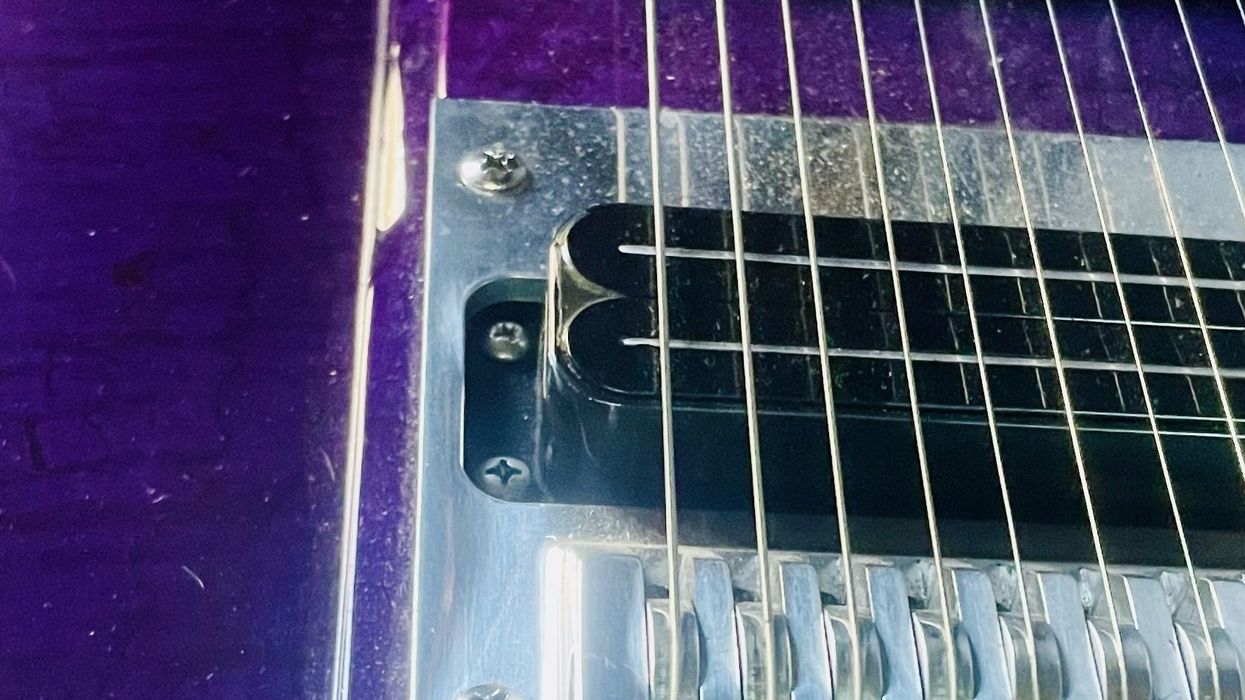
Johnny Cash's At Folsom Prison is one of the most iconic live albums ever. Although Cash originally recorded the album's title song in 1955, this version from Cash's 1968 visit to the California maximum-security facility has become the definitive one. Luther Perkins' twangy solo has become a standard, too.
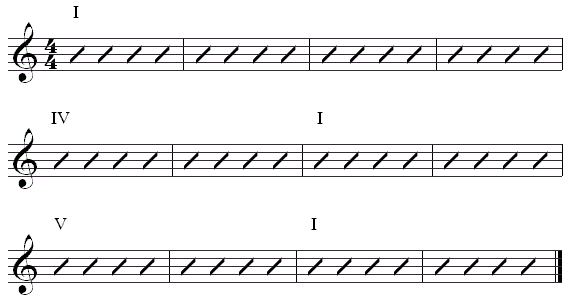
Here's an example of a basic 12-bar blues:
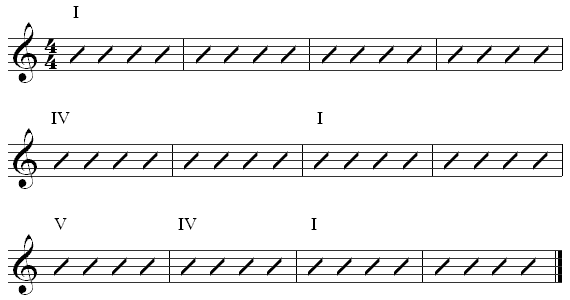
In Cash's version, you'll notice that the only difference is that you're staying on the V chord in measure 10, rather than going down to the IV.
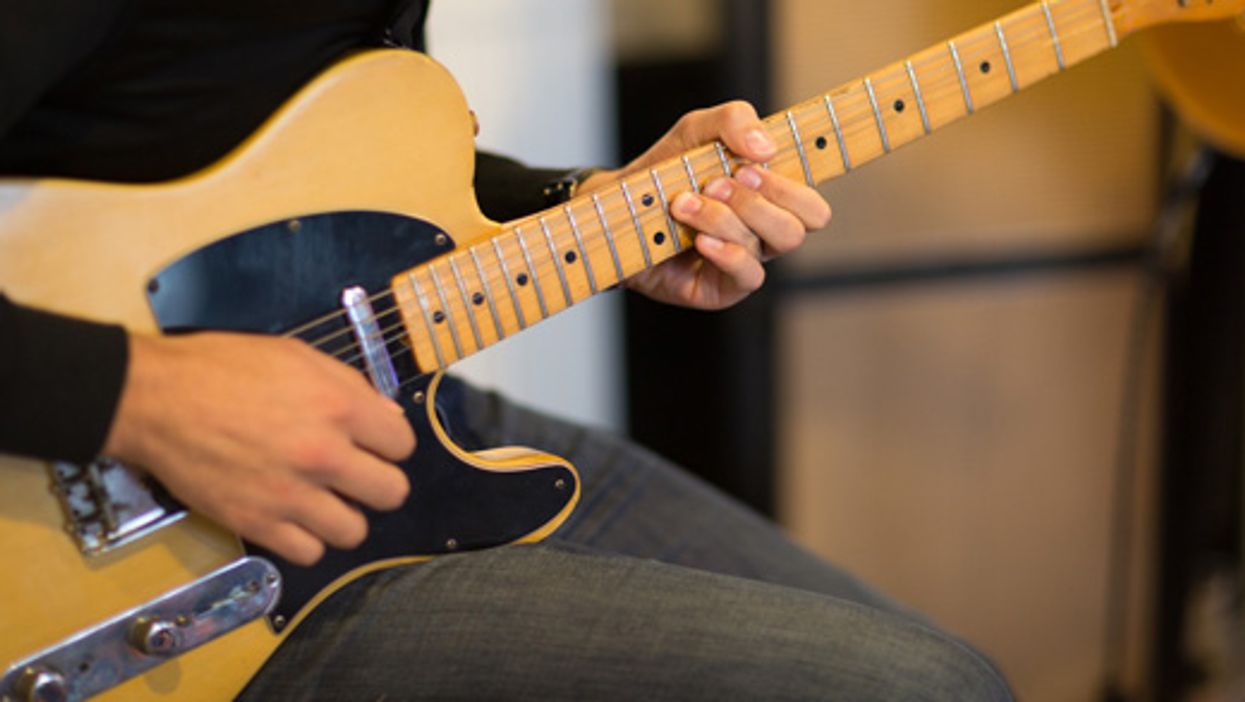
In Ex. 1, I've written a simple rhythm guitar riff the way someone like Roy Clark might play the song. Hold each chord shape and then pick the strings required using the picking pattern displayed. The key here is not simply remembering where to put your fingers, but the sound of the progression.
Ex. 1
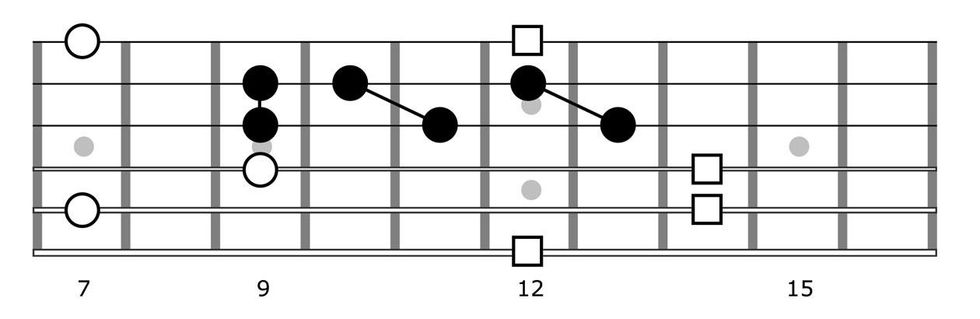
The next phrase (Ex. 2) focuses on outlining a melody with diatonic thirds based around each chord change. In measure one, I'm visualizing an "A" CAGED shape at the 7th fret and connecting the double-stop on the 3rd and 2nd strings up to the double-stop found in the "E" shape at the 12th fret.
Ex. 2
Thirds are an essential part of country lead guitar. Below, I've visually outlined how the double-stops in the first measure fit between the "A" and "E" CAGED shapes. Of course, all CAGED shapes can be transposed to other keys, so make sure you put the work in!
Ex. 3 uses notes of a hybrid scale, where we add the b3 to a major pentatonic shape. In E, that would be E–F#–G–G#–B–C#, or 1–2–3–b3–5–6. I've played a simple country cliché over the E chord, and then moved this same lick up to each chord to outline the changes. This approach of dealing with each chord as its own musical event creates a more authentic country sound than taking one scale and playing it over a selection of chords.
Ex. 3
Ex. 4 expands on the previous idea: Here we play the same basic cliché lick from the previous example, but now add some melodic embellishment in alternating measures. The lick in measures one and two fits around a "C" shape barre chord, while the licks over the A and B7 chord fit around an "E" shape barre chord. It's important to get a grip on this idea, as it will allow you to play licks quickly in any key.
Ex. 4
Ex. 5 features the same licks as in the previous example but switches up where you play them. So, instead of starting with the "C" shape, as in the previous example, Ex. 5 launches into the lick around the "E" shape at the 12th fret.
When the chord changes to A, this time we play the lick based around the "C" shape, but higher up the neck to outline an A major chord in the 9th position. (Contrast this to the previous example, where we used the "C" shape to outline E major in the 4th position.) When it's time to outline B7, we shift the same "C" shape idea up two frets.
Ex. 5
A full solo covering multiple positions, Ex. 6 is almost exclusively built on the notes of the hybrid scale we mentioned earlier. Measure one plays around an "A" shape before using some diatonic sixth intervals to shift down the neck in measure two.
Measure three continues the E chord, but now in the "C" shape, which transitions down to the open "E" position in measure four. Measures five starts in the open "A" position; we then work our way up to the "E" shape barre chord at the 5th fret in measure six.
Measures seven and eight outline an E chord in the "C" shape, again shifting down to the "E" position in the next measure. When the B7 chord hits, I play a repeating motif around the "A" shape that resolves to the "E" position in the 10th measure.
Ex. 6
There's no denying this example will take time to get up to speed, but don't give up, as it's more than possible. The real focus here should be how fluidly you can use these CAGED positions. In fact, when this starts making sense, you should be able to play each of these licks on any chord.