
Intermediate
Intermediate
- Understand how to create drop 2 voicings.
- Learn to smoothly transition between chords.
- Create a larger vocabulary of chords to pick from.
Inversions are one of the fundamental fountains of knowledge when it comes to learning harmony. They increase your fretboard awareness, spice up your chord knowledge, and impress all your friends who are stuck trying to get their barre chords sounding great.
Except for sight reading, inversions have been the skill that breaks the most students in terms of frustration. However, they have also led to the "eureka" moments in their studies when the neck just opens up for them. Over the years I've adopted this system on mastering your inversions by learning the shapes and applying them to songs.
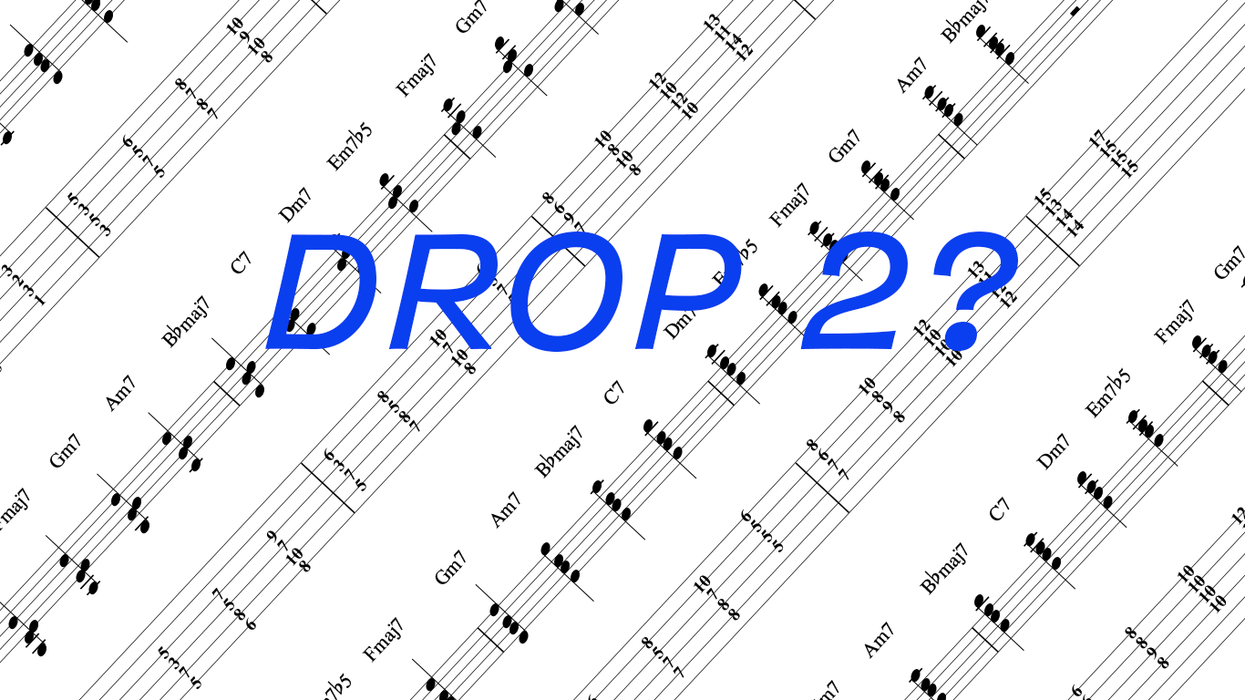
The Basics of a Drop 2 Chord
There are two main families of 7th chords: drop 2 and drop 3. With these two families you have access to a vast majority of the chords used by greats like Wes Montgomery or Joe Pass. The voicings are very versatile and will open up the entire geography of the fretboard. For our purposes, we will focus on drop 2, but the concept can also apply to drop 3.
Drop 2 chords cover the most range of the instrument without creating dissonances and provide a massive number of options. How one arrives at a drop 2 chord sounds mysterious, like a strange code. However, it's not that difficult. Let's start with a basic Cmaj7 chord in root position (C–E–G–B). Next, we take the second note from the top, which would be G, and drop it down an octave to create a new shape (Ex. 1).
Ex. 1

The new shape (G–C–E–B) is 2nd inversion Cmaj7 chord and likely doesn't look that unfamiliar. It's more open, stable, functional, and playable in any situation that a Cmaj7 chord could be played. Simple, right?
Next, we will want to extend this idea to the remaining inversions along the neck. In Ex. 2 I've written out the four drop 2 shapes for Cmaj7 along the top four strings.
Ex. 2

I use the term 1573 for a specific reason. This is a way to memorize and visualize the voicing on a deeper level so that you know the function of each voice rather than just internalizing a grip that you spew out. It allows you to alter your voicings to suit your personal tastes in terms of harmonic extension and character. Here are the formulas that correspond with each inversion of a Cmaj7 chord.
1573 C–G–B–E Root position
3715 E–B–C–G 1st inversion
5137 G–C–E–B 2nd inversion
7351 B–E–G–C 3rd inversion
Because of the nature of the drop 2 voicings, we are now offered a large library of new shapes. These exist on four adjacent strings. That gives us three different groups of voicings to learn: one based with the lowest note of the voicing on the 6th string, one on the 5th and one on the 4th. They all have different uses, but that is something we don't need to worry about just yet, we need to get these shapes in your hands and ears.
I've outlined the set of major 7 chords with the lowest note on the 4th string (Ex. 2). In Ex. 3 you can see the shapes based on the 6th string and Ex. 4 covers the 5th string.
Ex. 3

Ex. 4

Mastering all three groups of voicings gets you ready to play in real musical situations. Listening to the solo arrangements of players like Joe Pass and Wes Montgomery, you will discover much of their chord vocabulary is based off this group of voicings.
Now We Exercise
Memorizing the shapes of the chords is the first step to practical application. With four variations on each 1573 chord there is a lot of work to get to. One of the most practical ways is using these shapes to harmonize a major scale. Keeping everything diatonic (within a key) we end up with the following harmony:
Imaj7–IIm7–IIIm7–IVmaj7–V7–VIm7–VIIm7(b5)
Translate that to a key of your choice. Let's start with the key of F, which is a very common key in jazz repertoire, and covers a good range of the instrument.
We begin with the lowest possible root-position chord voicing on the top four strings, which in this key would be Em7b5 (Ex. 5). Naturally, we would move up the neck with each note going to the next scale tone.
Ex. 5
As with every exercise we want to transpose this into other keys. Once you can play this in F major, go to the next key and apply the same concepts. After you get a grasp on your root position chords, start applying inverted shapes right away (Ex. 6). In this exercise, we are working on 1st inversion chords starting with a C7 with an E in the bass.
Ex. 6
Continue this until you can get through all inversions in every key on each of the three string sets. Although these three exercises aren't expansive, they will give you plenty of material to practice. Remember, when you start to learn any new chord shape it takes a little time, but eventually it gets easier.
Playing these shapes across the string sets really opens things up. In Ex. 7 I apply these shapes across all three string sets.
Ex. 7
Now you could not play this entire passage on just the lowest string set, however you need to switch string groupings as you continue to progress. The choice as to when you change groups is yours, and you will want to be able to make this "swap" at any point in the progression instinctively.
In Ex. 8 I've given you one possible way to navigate through all four inversions across all three sting sets. This exercise is very useful in getting a strong start on the basic major scale shapes. Don't rush these; nothing will be internalized and memorized overnight. Remember, we have to not only learn the physical shape of the chords but get comfortable with the sounds that they create.
Ex. 8
Our next exercise will help visualize how each inversion works together going down the neck. In Ex. 9 we start with a higher voicing of Cmaj7 (in 10th position) and work our way down diatonically by keeping all common tones the same. For example, both Cmaj7 and Dm7 share a C, so that note stays while the upper notes move to the closest chord tones. We continue the pattern down the neck and across to the lower string sets.
Ex. 9
Take this process and apply it to all 12 keys to reinforce all of the inversions. Remember, you will be switching string groupings throughout this exercise, so find the best option for you.
Progressions
Practicing these basic exercises helps to get familiar with the shapes, but as you practice them you're going to want to use them over common progressions. Jazz standards move keys often, and in ways that are formulaic and predictable. I teach my students to learn these very common chord progressions in inversions as part of an etude. That way, they learn their inversions not only as a shape, but how they actually work in a tune.
The most common progression is the IIm7–V7– Imaj7. It's also the fundamental basic way of mastering inversions outside of just getting your fingers to make the shape. In Ex. 10 I've gone through a few examples in the key of G. Several of these will stretch out your fingers but after some diligent practice they will become more comfortable.
Ex. 10
Now, you have progressed through learning the basic shapes of the Drop 2 or the 1573 chords, let's unlock the last subject of this lesson, how to play them in song form. As I had mentioned earlier, standards seldom stay in a key for very long. There always seems to be a key change at the bridge, or even several key changes throughout a chorus. Here are a few really common shifts that happen in jazz tunes just to get the ball rolling. Learn these relationships, transpose them, and you're going to be way ahead of the curve.
Practice these studies with a metronome, go slowly, and internalize them. It may take a while for you to get everything nice and smooth. It's a long journey to really get some of this under your fingers and into your ears.
In Ex. 11 we start in the key of G and then play a progression in E minor, which is the relative minor of G. Break open your Real Book to nearly any page and you're likely to find this one.
Ex. 11
For Ex. 12, we start in F major before shifting to Bb major. This I–IV motion appears in countless tunes. Notice how moving across the string sets opens your ears to the relationship between the bass note and the melody. Many times those are the key notes when picking up chords by ear off a recording.
Ex. 12
Moving around by whole steps is another tried and true harmonic pattern. By now, I'm sure you're starting to recognize sounds and inversions and how they interact. In Ex. 13 I've written out a handful of ways to play through a IIm7–V7–Imaj7 in Bb and then move down a whole step to Ab.
Ex. 13
Finally, we get more adventurous with Ex. 14. Here we move from the tonic, in this case Eb, to a minor progression in the key of G, the 3 of the scale. Sounds like jazz to me, right?
Ex. 14
I get it. That's a lot of information. This is going to keep you busy for a while. But remember, you don't have to use all of these voicings. Find the ones you like, pick a tune, and get to work.