Electric blues guitarist Cedric Burnside.
Guest Picker - Cedric Burnside
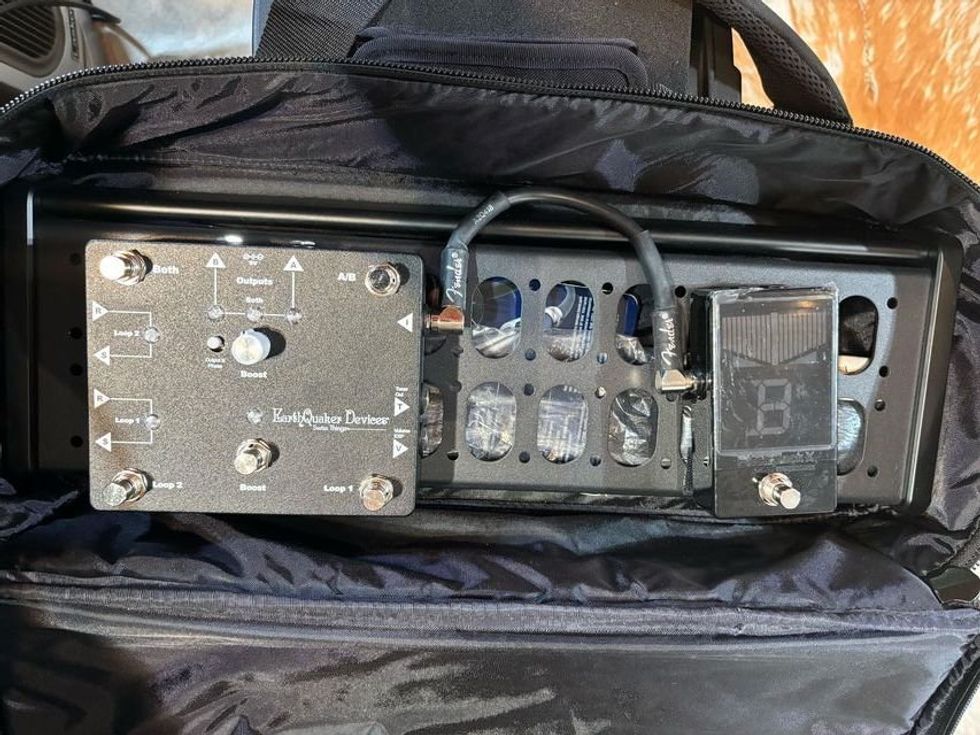
Mr. Burnside's no-frills pedalboard.
A: I only have two pedals—one is a tuner and one is an AB box. I just like the AB box because I can play both amps at the same time—the lead amp and the bass amp. But I can live without any pedal and just play my guitar.
Current Obsession:Juke joints. I’ve just noticed the lack of them here in the hill country. It used to be a staple of this area, and I’ve been working to see when and where I could possibly open my own to bring that culture of music back to the area. Hopefully I’ll have my own here sooner than later.
Reader of the Month - Dominic von Riedemann

Mr. von Riedemann's pup, standing in for Mr. von Riedemann.
A: My Way Huge Green Rhino MkII has been a staple on my board since I bought it in 2012. The adjustable midrange and bass controls give it a lot more versatility than your typical TS type, and it loves pretty much every guitar and amp I’ve tried it with.
Current Obsession: I’m hard at work recording with my band the Boardwalk Cowboys, plus I’m listening to new music from Jason Isbell, symphonic metalsmiths Therion, and dance-punk outfit Model/Actriz.
Publisher - Jon Levy
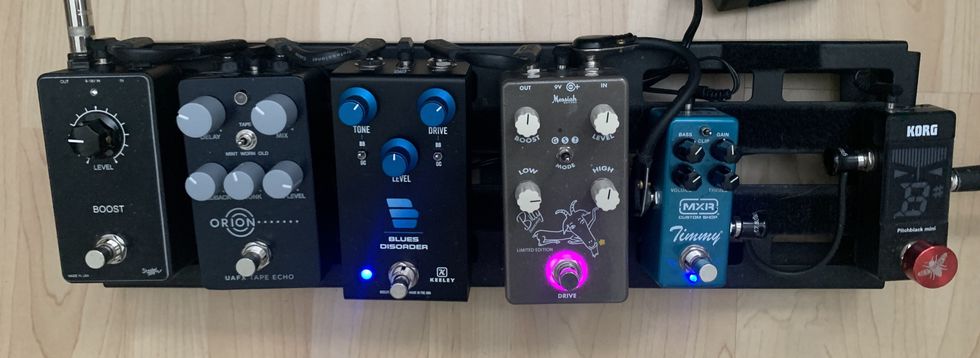
Jon’s pedalboard
A: My gigging pedalboard is constantly morphing, but it centers around this essential item: a low-gain, always-on overdrive. The Timmy pedal has been my mainstay for about 10 years, but recently I’ve been test-driving (awful pun intentional) two impressive new contenders: the Keeley Blues Disorder and Messiah Guitars Billy overdrives.
Current Obsession: Playing guitar with dynamics. And being a better listener. Like many guitarists, I find this very challenging. I’m prone to using my guitar as a firehose: Once I get going, you’d better run for the emergency exits because I will not curb this awesome power! I gotta learn to shut up, or at least improve my right-hand technique to allow the song to breathe a bit.
Gear Editor - Charles Saufley

Mr. Saufley, represented by a mallard.
A: When push comes to shove, I guess I would say a Deluxe Memory Man. Delay is probably the effect I need above all others—especially if my amp has tremolo and reverb (and it had better). But the Deluxe Memory Man is more than a perfect analog echo. The level control can add grime to a too-polite signal, and a touch of the DMM’s vibrato is always woozily delish. Plus, a guitar, a Deluxe Memory Man, and a good-looking amplifier is about as stylish as a rig gets.
Current Obsession: Playing along with windchimes. There’s a beautiful, fascinating, and most instructive mix of structure and chaos in the springtime ring of windchimes.

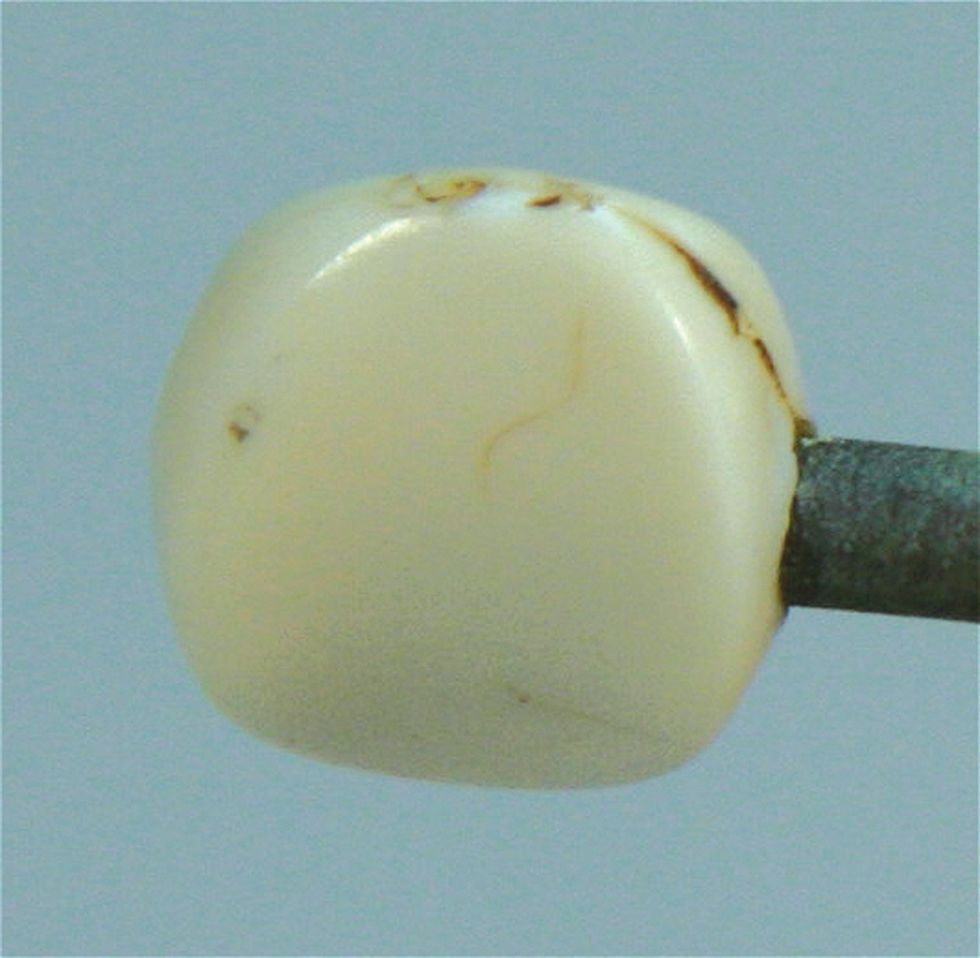
Image 1 — Courtesy of singlecoil.com
Hello and welcome back to Mod Garage. Today we'll work on the plastic buttons of the tuners, and, after this, they'll be finished. In September's “DIY: Relic'ing Tuners, Part 1," we slightly sanded them to break the new factory shine, which was an important step to relic them. Not all vintage tuner plastic buttons show the same overall appearance: some are dull while others are shiny, and some show discoloration while others don't. This has a lot to do with the plastic material used for the buttons and, of course, how the guitar was stored and used though the years. We'll try to mimic a typical pattern of wear, dirt, and use to make them look old, and you can decide if you want them shiny or not during the process.
It's also the first time we have a sidebar from a pro ager, so a big shout-out to Andy Nowak from CrazyParts for taking time to offer expertise on relic'ing different materials. We'll have more advice from pro agers throughout this series. The next installment is about how to make wood look old and used.
To start, remember that two different tuners are used on this model of guitar, depending on what factory it's coming from. Both versions are technically equal, but the Wilkinson tuners sport shiny white buttons while the Kluson versions have a shiny, creamy color to mimic some discoloration. Today, we won't cover how to get discoloration on the shiny white buttons. We will cover this in a follow-up in this series. As an introduction, please read the sidebar from Nowak regarding different plastic materials. If you have the white version of the tuner buttons and want some discoloration, please be patient and don't put them into coffee or tea for days. We'll address relic'ing white plastic parts in a later column.
Have a look at Image 1, which shows pics I collected over the years while restoring vintage guitars, showing exactly the tuner buttons we have on this guitar. You can clearly see the discoloration ranges from none to cream, and that some are dull while others have a greasy shine. They all have some marks from getting bumped or whatever, and some dirt build-up, especially inside the marks and at the seam where the two halves of the buttons are molded together. This is exactly what we'll do now, and you don't need much for this: disposable gloves, dry paper towels, a small cotton rag (old T-shirts work great), a fine scribe tool (tracing scribe) or a nail, needle, etc., some Q-Tips or cotton swabs, brown shoe polish (I prefer Kiwi brown, simply because it's the best and I use it for my brown genuine leather stuff anyway), car polish or toothpaste, naphta, and some dirt or dust. I use a mixture of the contents from my vacuum cleaner bag spiced up with some ashes from my open fireplace (mostly from beech wood).
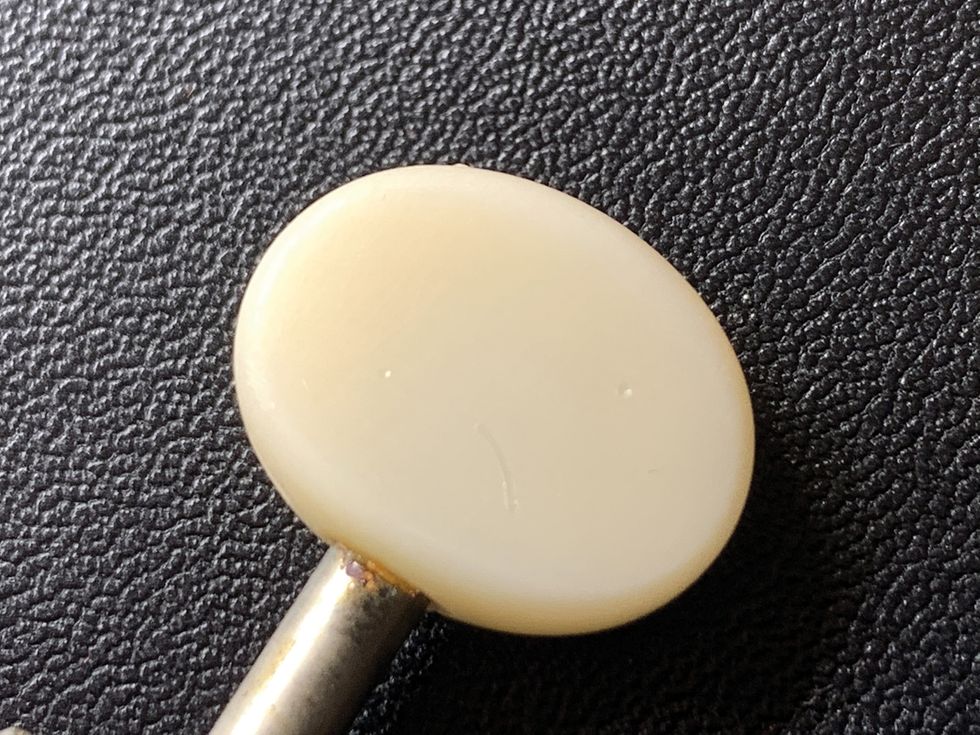
Image 2 — Courtesy of singlecoil.com
To start, use your scribe tool or a sharp nail, needle, etc. and put some marks on the buttons as seen in Image 2.
The three golden rules for success in this step are:
#1: Don't heat up the tool you're using; we want marks and not burns.
#2: Don't overdo it. Less is more and looks more authentic.
#3: Use a random pattern so every button looks different.
Take care when working with a scribe, as they are really sharp and you don't want to stab your hand with it. Wear leather gloves to protect your hand and always work away from yourself, never towards you.
Clean the buttons with some naphta, especially the marks you've created. If you decide you want the tuners shiny, giving them a particular greasy look, you should now buff the buttons to the degree you like. You can use any car polish and a cotton rag for this, or simply any toothpaste you find. If you put too much shine on them, don't worry; just use fine sandpaper and sand it down to start from scratch. After you're done, clean the buttons with naphta.

Image 3 — Courtesy of singlecoil.com
Now put on your gloves, put some brown shoe polish on a cotton swab, and work the shoe polish into the buttons, focusing on the marks you created and on the seam (Image 3). Massage it in for a while so the whole button is covered, and let it dry.
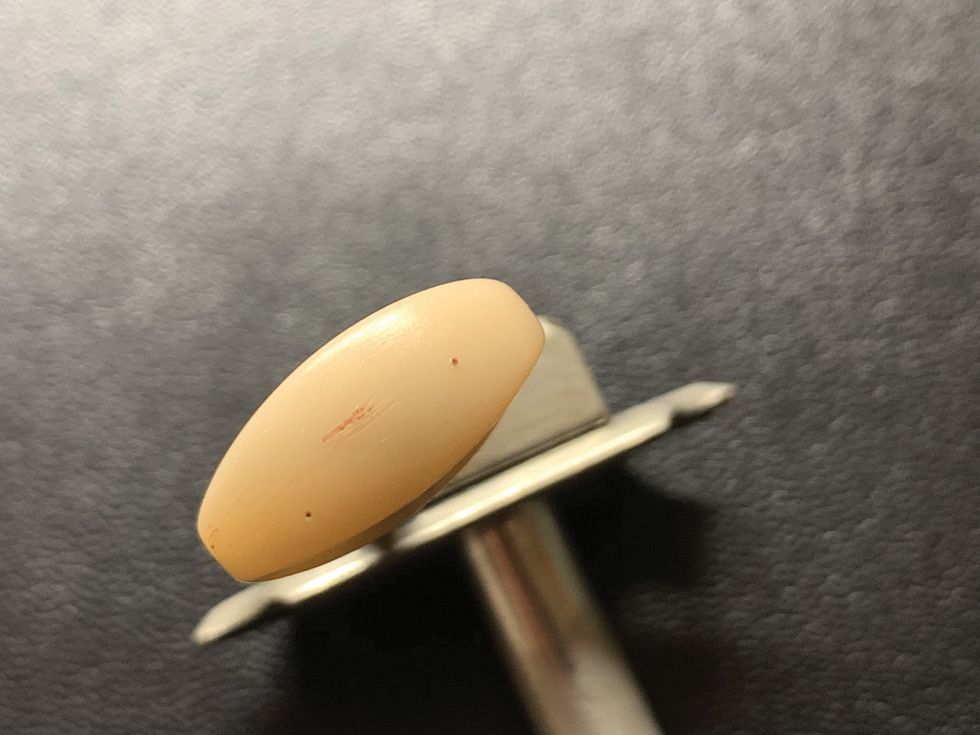
Image 4 — Courtesy of singlecoil.com
Wipe off the shoe polish using a dry paper towel. You'll see that the seam and the marks you have created show some “dirt" now (Image 4). To further enhance this impression, use dirt or dust and rub it with some pressure into the tuner buttons using your fingers, especially where the marks and the seam are. Let it sit for a while and wipe off the excess with a dry paper towel. There you have it!
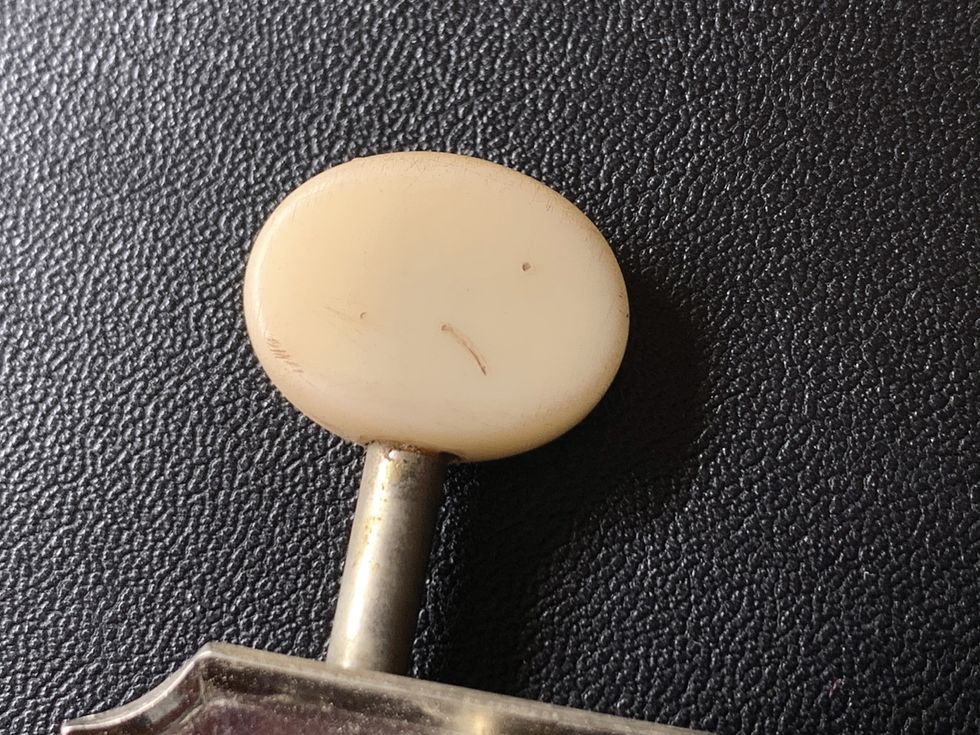
Image 5 — Courtesy of singlecoil.com
Check the finished result in Image 5, and the before and after tuners side by side in Image 6. Now compare these with the vintage tuner buttons in Image 1. I think we're really close, aren't we? If you're not satisfied, you can repeat these steps as needed.
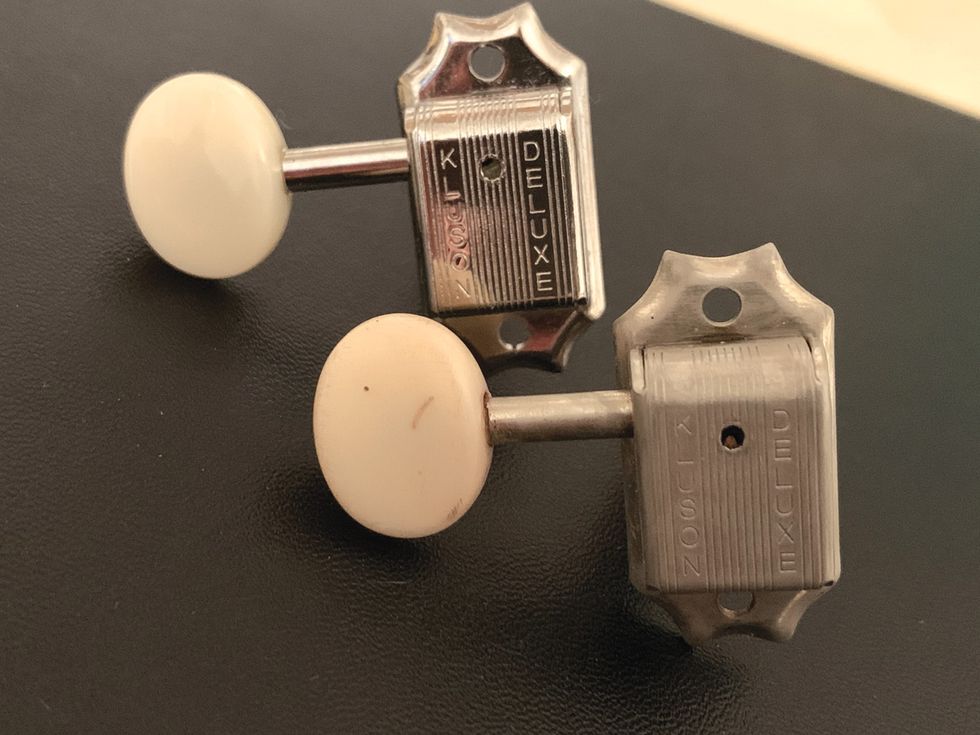
Image 6 — Courtesy of singlecoil.com
This is just one way of doing this: It's easy, doesn't require a lot of tools, and isn't dangerous. If you want to share your method, please do in the comments section on PG's website.
Next month, we'll put down the soldering iron and relic'ing materials and I'll share my own quarantine projects and experiences during COVID-19. A lot of readers have asked me to, and this will be my first time in 15 years to write something personal in this space instead of the usual technical instruction.
Until then ... keep on modding!
Advice on Authentic Guitar Aging from CrazyParts' Andreas Nowak
CrazyParts was the first company in Europe offering aged guitar parts. Founded in 1993 as “Eezee Guitar" and renamed CrazyParts in 2003, the company is family operated by Andreas Nowak and his wife, Barbara. Customers include Joe Bonamassa, Billy Gibbons, and Bernie Marsden, to name a few.
The most important thing I can tell you about guitar aging: The basic material is what really matters and determines if the result will be good or not. For plastics, it's important if it's ABS (acrylonitrile butadiene styrene), nylon, CAB (cellulose acetate butyrate), celluloid, or any similar material. When it comes to metal hardware, it's first and foremost the alloy that matters and, of course, the plating. For guitar paint jobs, it's the type of lacquer and how it's built up.
When the necessary conditions for a good aging job don't apply, the result will be poor or it simply won't work. I've smashed hundreds of metal parts while trying to age them, simply because the alloy reacted in a different way than supposed. As an example, approximately 90 percent of all guitar hardware today is copper plated, which is a bad base for good aging results. Copperless-plated hardware is the way to go, but, often enough, even the manufacturer can't answer the question about which alloy was used. Another example is the PVD-coating procedure that some companies are using for plating their metal pickup covers. This is a copper-plating method that compensates irregularities of the surface while polishing. So not all nickel covers are real nickel-plated covers, but PVD coating that only looks like nickel. Needless to say, aging results are difficult to predict and it can influence guitar sound as well.
Most plastic replica parts are made of ABS and it's close to impossible to get a vintage-looking discoloration with these parts because it doesn't absorb anything. Forget about the urban legends with tea and coffee. This simply won't work with ABS, even if you soak it for years. This works best with nylon, CAB, and celluloid, but these parts aren't easy to find and plain tea or coffee won't work very well.
Another reason for non-authentic aged parts is over-aging. It's all about the details and not the more, the merrier. You can find a lot of parts that are simply scratched, rusty, and damaged. That's not the way vintage parts usually look.
The main formula to success is the basic material plus the post-processing: If one of these factors is bad inside this chain, the whole thing will be bad, not authentic, and sometimes even inoperable. —Andreas Nowak