
Welcome back to Mod Garage. This month we'll start working on the metal parts of the tuners to make them look old and well used. In the next step of this series, we'll take care of the plastic tuner buttons, which are a little bit more complex to work on.
This guitar sports six individual Kluson tuners, which are not vintage-correct, but good quality. Gibson used Kluson “three-on-a-plate" tuners on their original guitars, which are still available if you want to upgrade to a vintage-correct look. The quality and performance of both tuners are the same, so I decided to leave the factory-stock tuners. It's reported that this Harley Benton guitar sometimes has the Wilkinson version of these tuners installed, and they are almost identical. The only two differences are the imprint (Wilkinson instead of Kluson) and that the Wilkinson buttons are white while the Kluson buttons are more cream-colored. Besides this, they're both of good quality.
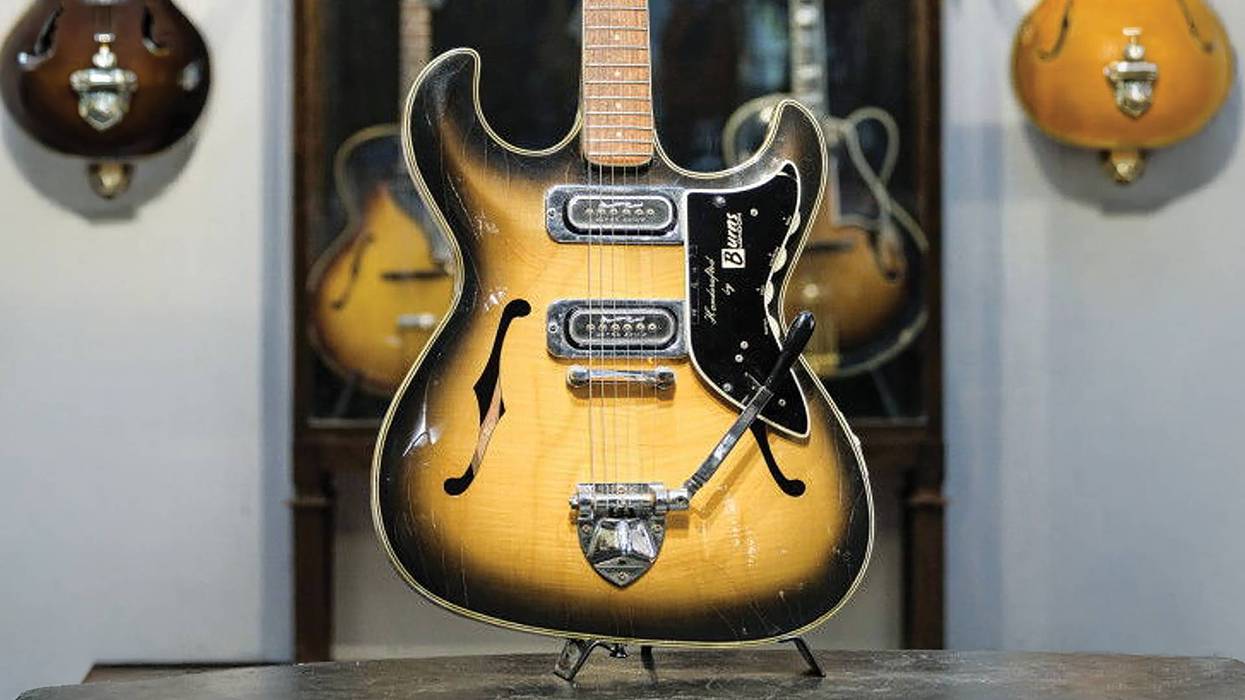
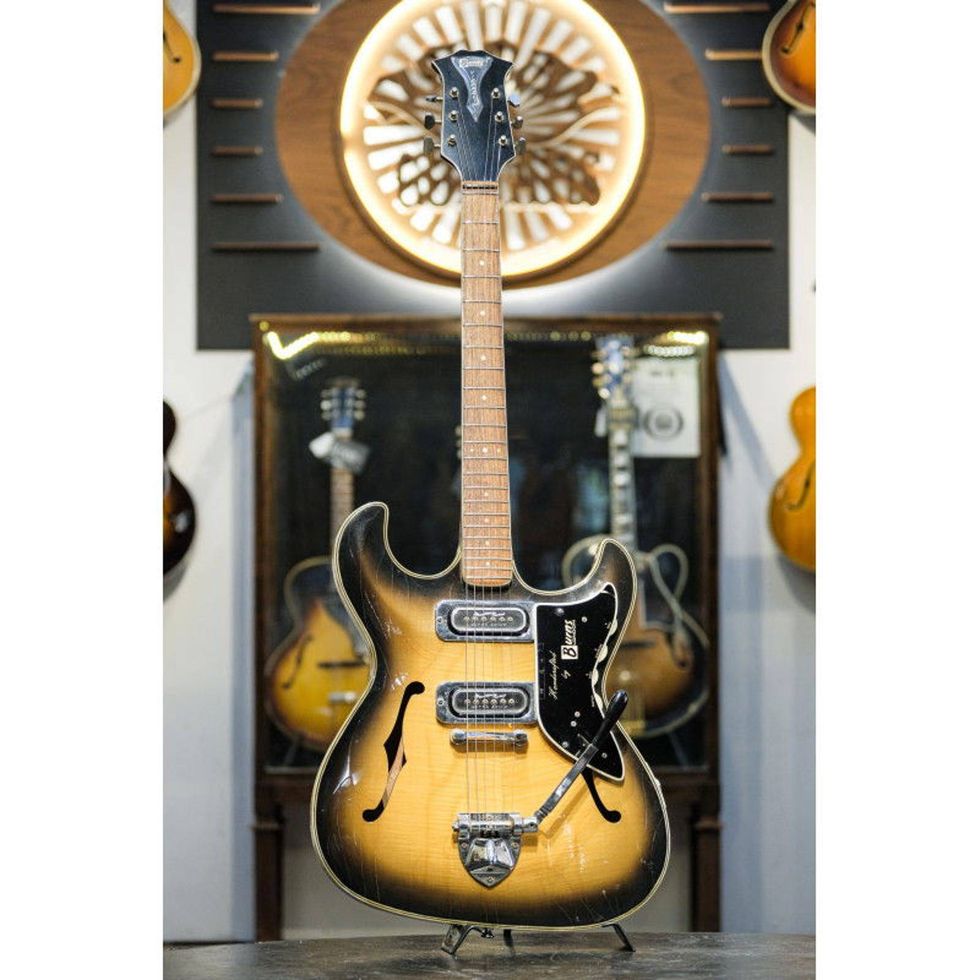
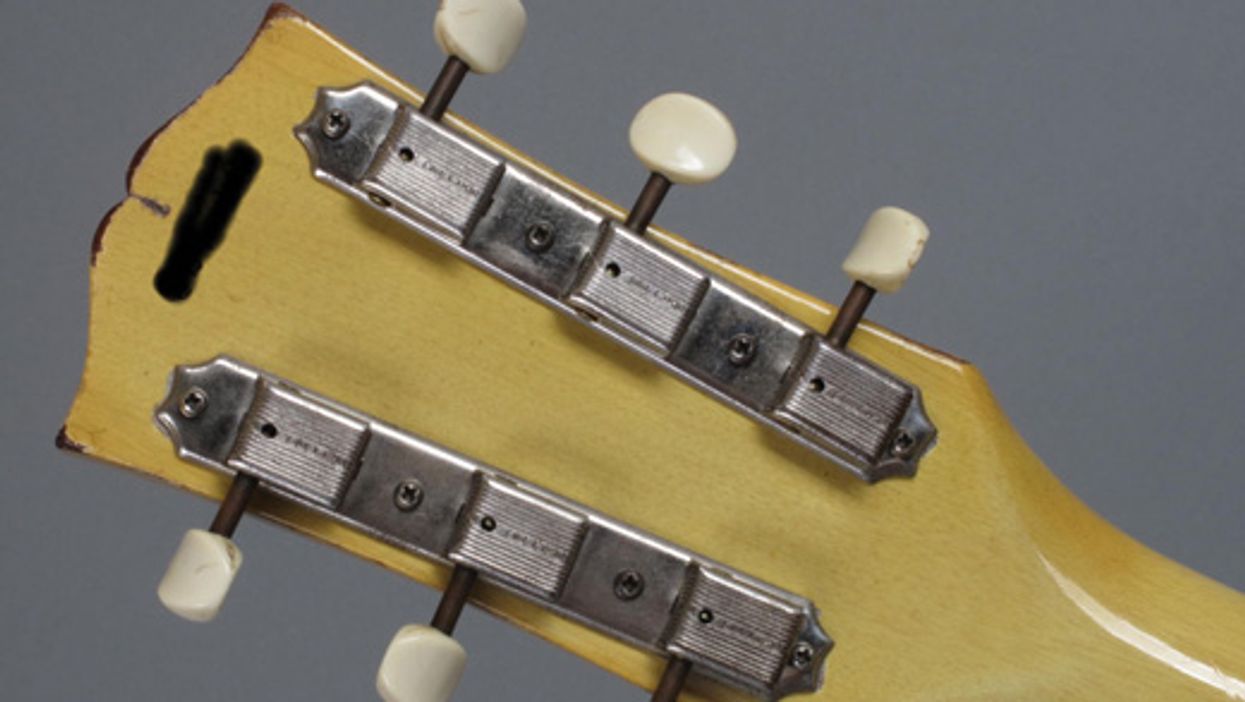
Image 1 shows the original tuners from a 1959 guitar I had recently on the workbench, so you can get a good impression of how they look after 60 years. I had to mask the serial number because the proud owner of this guitar asked me to do so.
You can clearly see that the non-plated metal shafts of the tuners show more oxidation than the covers, which are nickel-plated. The shafts of our new tuners are nickel-plated as well, but we can mimic the vintage oxidation on them. More about this in a minute. So here is what we have: Our six individual tuners and their corresponding bushings, shown in Image 2. Look how shiny they are!

Image 2 — courtesy singlecoil.com
In the first step, we'll break the shine by treating the tuners and the bushings with fine sandpaper or steel wool. Do the same with the plastic buttons—an important step for aging them. If you want to mimic the corrosion on the shafts, it's important to remove the nickel plating on them completely, and steel wool works great for this tiny spot.
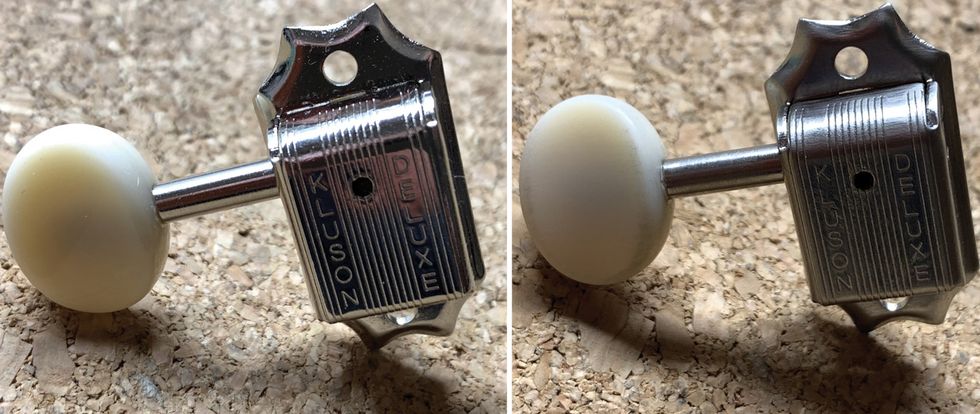
Image 3 (left) & Image 4 (right) — courtesy singlecoil.com
You can compare the difference in sheen in Images 3 and 4: shiny new on the left, and on the right after using sandpaper or steel wool.
If you compare it to the vintage tuners, I think we're very close to that, and it's not a crime to stop here if you like the look. If you want to continue, here we go.
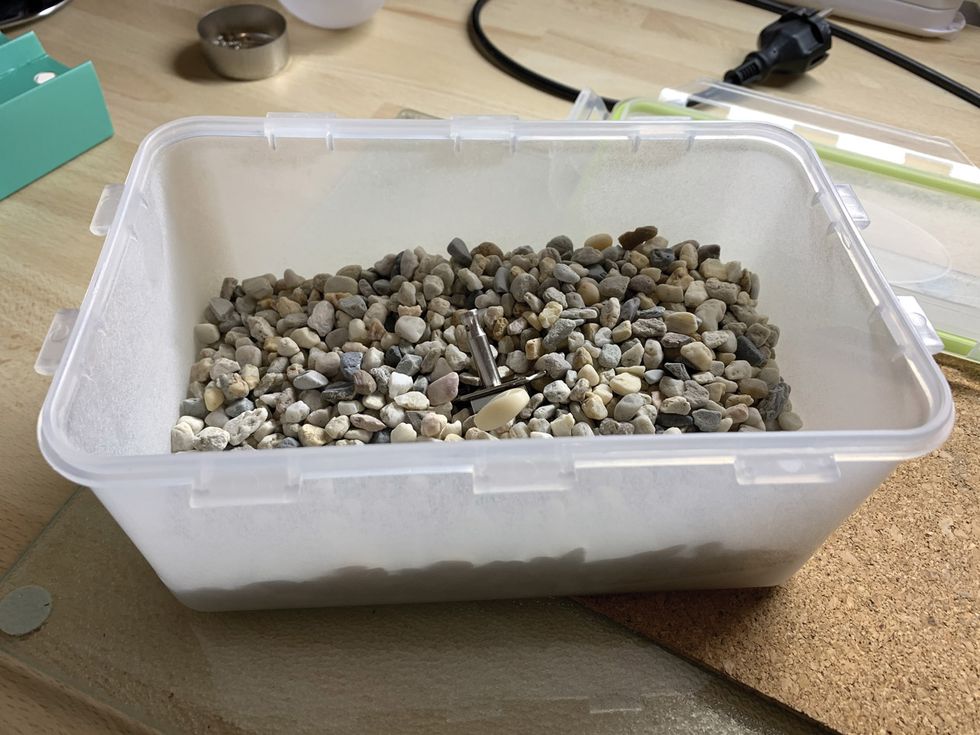
Image 5 — courtesy singlecoil.com
I hope you remembered your homework from the last relic'ing column, "DIY Relic'ing: Break the Shine," and you collected a nice mixture of nails, metal parts, broken glass, gravel, sand, little stones, basalt, etc. Put this mixture into a small box or a bucket with a lid, and put the tuners and the bushings inside (Image 5). Before you do this, please take a look at the casing of the tuners. You'll see a little hole where you can put oil in to lubricate the tuners.
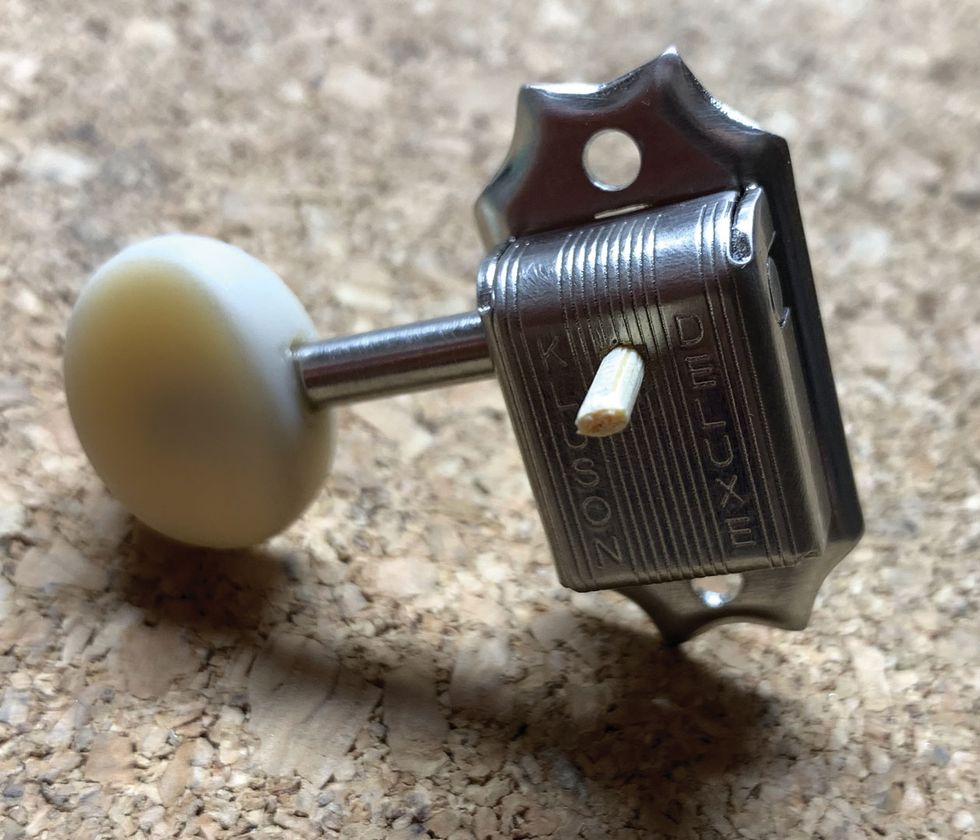
Image 6 — courtesy singlecoil.com
Before putting the tuners in the box, temporarily close the holes so nothing can go inside and ruin the mechanical parts. I simply use some wooden toothpicks or matches to close the holes (Image 6). Now shut the lid and shake the devil out of the box for a few minutes to create some nice random scratches, dings, dongs, and bumps on the tuners and the plastic buttons.
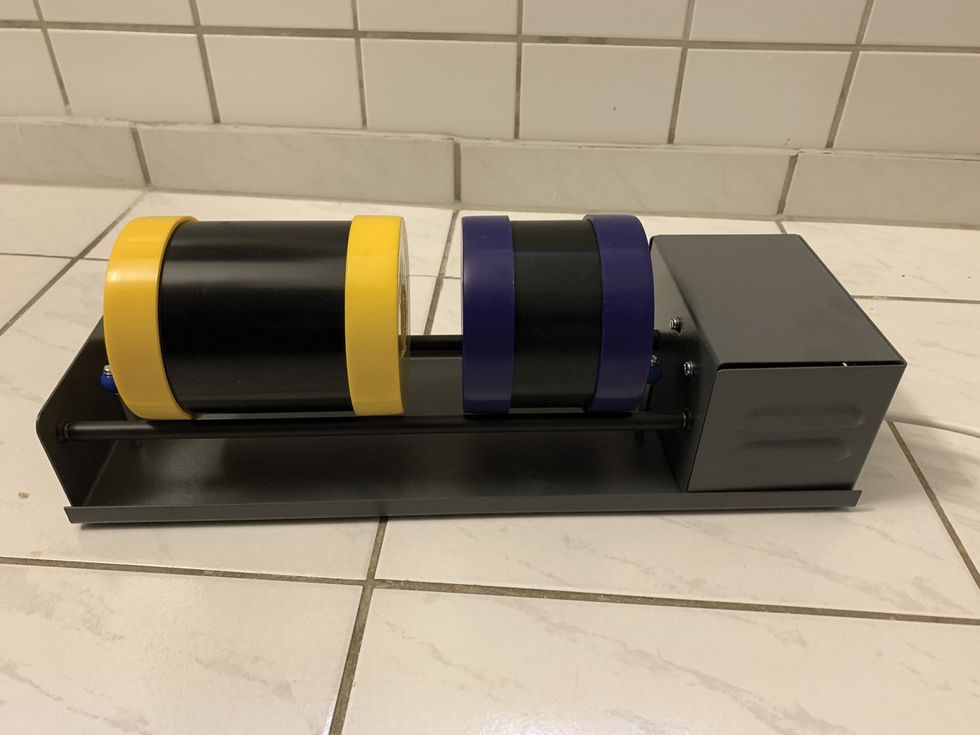
Image 7 — courtesy singlecoil.com
Check the result after a few minutes and, if you want more scratches, go on shaking. If you don't want to shake by hand or want to do this regularly, I recommend a small stone tumbler like we have in the shop, which does this work automatically (Image 7). Usually they're used for polishing, which is exactly the opposite of what we want to do here, but loading it with our mixture will work perfectly for relic'ing metal hardware.
When you're pleased with the result, take the tuners and the bushings out of the box and use a soft brush to clean off the dust. Now, in the last step, we need and use the same setup as for relic'ing the screws from the aforementioned article. Place the tuners and the bushings on some old newspapers, put on your gloves and goggles, and put iron (III) oxide (ferric oxide) liquid on the tuners and bushings by using a Q-tip. Take care that nothing goes inside the tuners; you don't want any oxidation inside. I always leave the hole closed in this last step to be safe. Don't apply the liquid to the plastic buttons—we'll take care of this in the next column.
Now you have to decide if you want to mimic the oxidation of the original non-plated shafts or not. If you want to do so, apply the liquid only to the case and leave out the shaft and the plastic buttons. Watch the process carefully, and, when you like what you see, stop the process by wiping the liquid off the tuner with a wet cloth or paper towel. Afterwards, apply the liquid to the shaft only and watch the process until you like it, and stop the process as described before. The process will need longer on the shaft than on the cover, so it's a good idea to do it in two individual steps. I decided that I don't want the oxidation on the tuner shafts for this guitar, so I simply put the liquid only on the tuner cases. In Image 8, you can see where we started and what it looks like after all the steps.
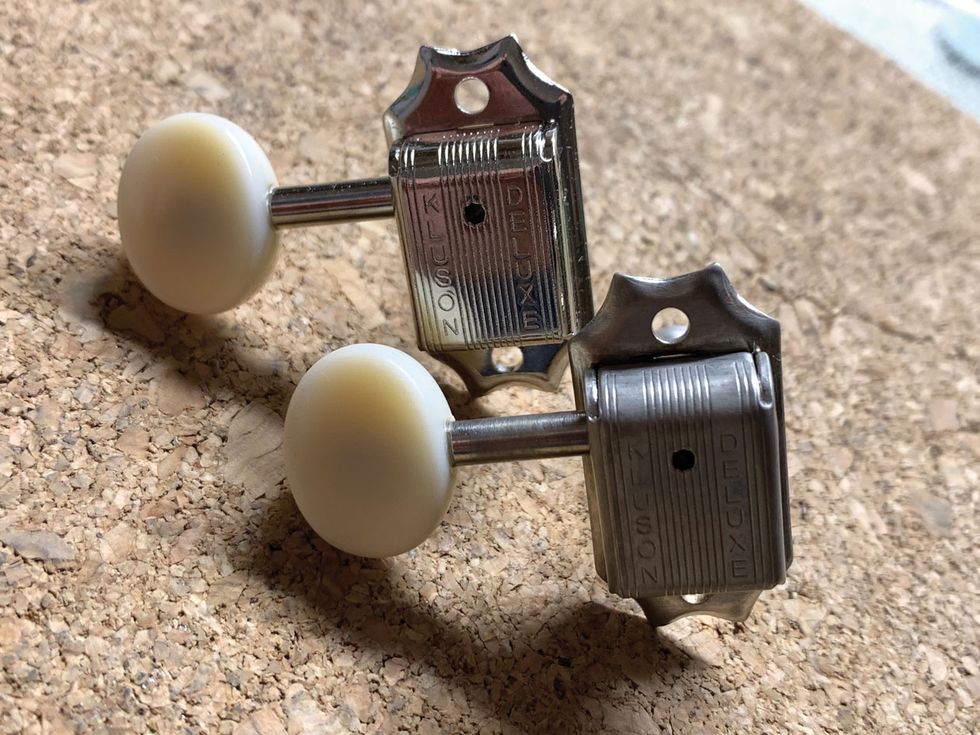
Image 8 — courtesy singlecoil.com
Put a drop of oil into the tuners and turn the shaft several times to lubricate them. Note: One drop is enough and will last a very long time.
This is only one way for aging hardware. There are many other ways that will work as well. I decided on this one because it's cheap and easy to do, effective, and not dangerous for your health. If you want to share and discuss an alternative way, I would be happy to read about it in the comments section.
That's it for this round. Next month we'll perform our next guitar mod before we return to work on our tuners, aging the plastic buttons, and talking about the basics of relic'ing plastic materials.
Until then, keep on modding!


![Rig Rundown: All Them Witches [2026]](https://www.premierguitar.com/media-library/image.jpg?id=65403822&width=1245&height=700&quality=70&coordinates=0%2C0%2C0%2C0)