Recently, one of my clients brought in a mid-’60s Teisco Del Rey EP9T electric for some fretwork. Overall, it was in good condition but the first six frets were badly worn, so we agreed I’d do a partial re-fret. On a guitar with a standard string nut, I’d simply replace the old frets with new ones, set up the guitar, and turn my attention to the next job. However, this Teisco model had a zero fret (Photo 1), which potentially complicates the task.
If you tinker with guitars, sooner or later you’ll come across one of these, so let’s take a look at the zero fret to understand how it functions, what role it plays in the setup process, and why it sometimes needs to be replaced.
Scoping out the project. As you may already know, the zero fret determines the height of the open strings above the 1st fret—just like the string nut on a typical guitar. Guitars equipped with a zero fret also have a nut, but in this case the nut simply holds the strings in alignment, it doesn’t set string height.
On this Teisco, the action at the zero fret was already very low. I knew once I replaced the first six frets with fresh fretwire, they’d be taller than the old, worn frets and the zero fret wouldn’t provide enough height for the open strings to ring clearly. Instead, they’d buzz against the 1st fret, and obviously that won’t fly. The solution? Install a new zero fret using the same fretwire as the other new frets.
Size matters. Measuring .078" wide by .040" tall, the frets on this Teisco were slightly narrower than on a typical modern guitar. Fortunately, I had some Jescar fretwire in the shop that measured .078" wide by .050" tall. In terms of width, this was a perfect match. The Jescar wire was much taller, but as you’ll see as we go through this project, starting with a little extra height can be an advantage when installing a zero fret.
Initial measurements. The first step is to tune the guitar to pitch and measure both the action at the 12th fret and neck relief. Check out “Time for a Neck Adjustment?” for a detailed description of how to measure neck relief.
If the action and relief are comfortable, you can begin removing the zero fret. If not, make sure the relief is properly adjusted before removing the zero fret. This is very important! If the neck has too much relief when you set the height of the new zero fret, it will be too low once you adjust the truss rod to reduce excessive relief.
Removing the original zero fret. To extract a fret, first heat it up with a soldering iron. But there’s a trick to it: Use a specially prepared tip with a concave, rounded notch filed into it. This will keep the tip centered on the fret and prevent the hot iron from sliding off and damaging the fretboard or binding.
While you’re heating up the soldering iron, remove the strings from your guitar. Now apply some lemon oil or fretboard conditioner all around the zero fret with a Q-tip. Place the modified tip of the soldering iron onto one end of the zero fret. When the oil begins to bubble, use a small pair of flush-cut dykes to carefully work the zero fret out of the fretboard as you continue to apply heat (Photo 2). After removing the zero fret, clean out any debris from the fret slot.
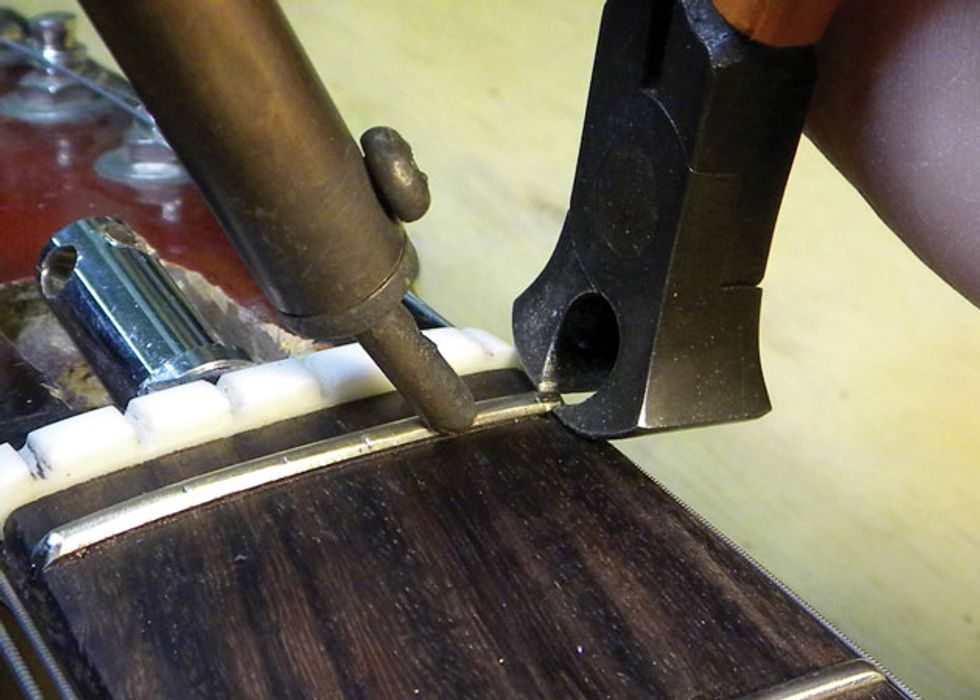
Photo 2
Important: Do not pull on the zero fret! Instead, gently pry it out. If you yank on a fret, its barbs will take pieces of the fretboard with it.
Installing the new zero fret. Most fretwire comes in either 2" straight sticks or in a coiled roll (see “Choosing Fretwire” for more details). I prefer the latter, and even though its radius is not as round as most fretboards, you can give the wire a precise radius using a special tool like the FretBender (Photo 3), which I ordered from stewmac.com. It’s easy to operate: Simply feed the fretwire into the bending tool tang side up and turn the handle. The tool is adjustable, so you can bend the fretwire to almost any radius.
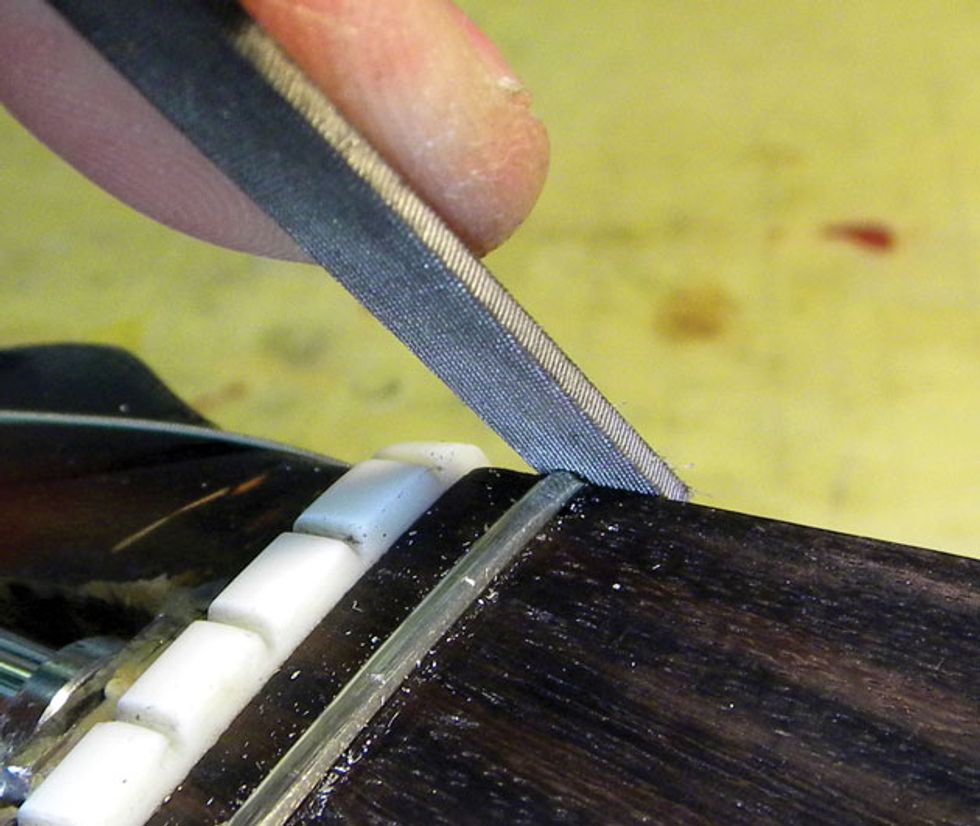
Photo 3
The new zero fret should have a radius that’s slightly rounder than the fretboard. If it’s not round enough, the fret won’t seat securely in the fretboard and one or both ends will lift out of the slot. This creates what I call “dead zones” that greatly reduce sustain.
Cut the fret with a pair of large flush-cut dykes (Photo 4). You want the fret length about 1/4" longer than the width of the fretboard. This will give you a little wiggle room if the zero fret slips to one side when you’re tapping it into the fretboard.
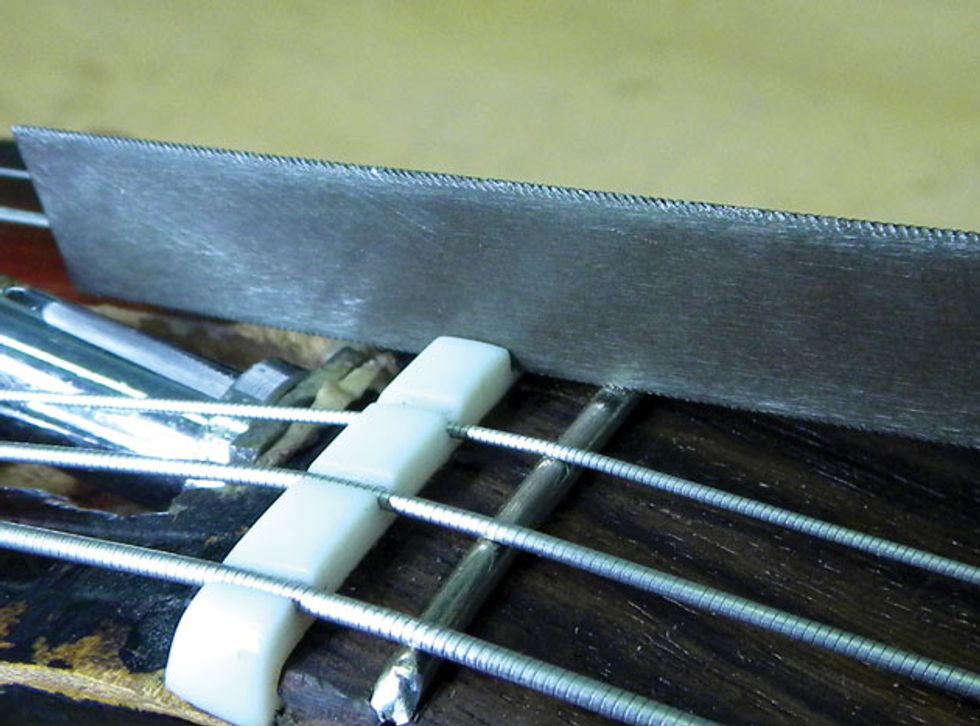
Photo 4
Now gently tap the ends of the fret into the slot using a fretting hammer. Slowly work from the fret ends toward the center, and keep checking to confirm the fret is flush with the fretboard. If it isn’t, tap it down a little harder. Once it’s flush with the fretboard, seal the fret with a bead of thin Super Glue and clean up any excess with a Q-tip.
Next, cut the ends flush with the edge of the fretboard using a pair of large flush-cut dykes. Cut the fret ends as close to the edge of the fretboard as you can, but avoid gouging the neck. File the edge smooth with a miniature flat file (Photo 5).
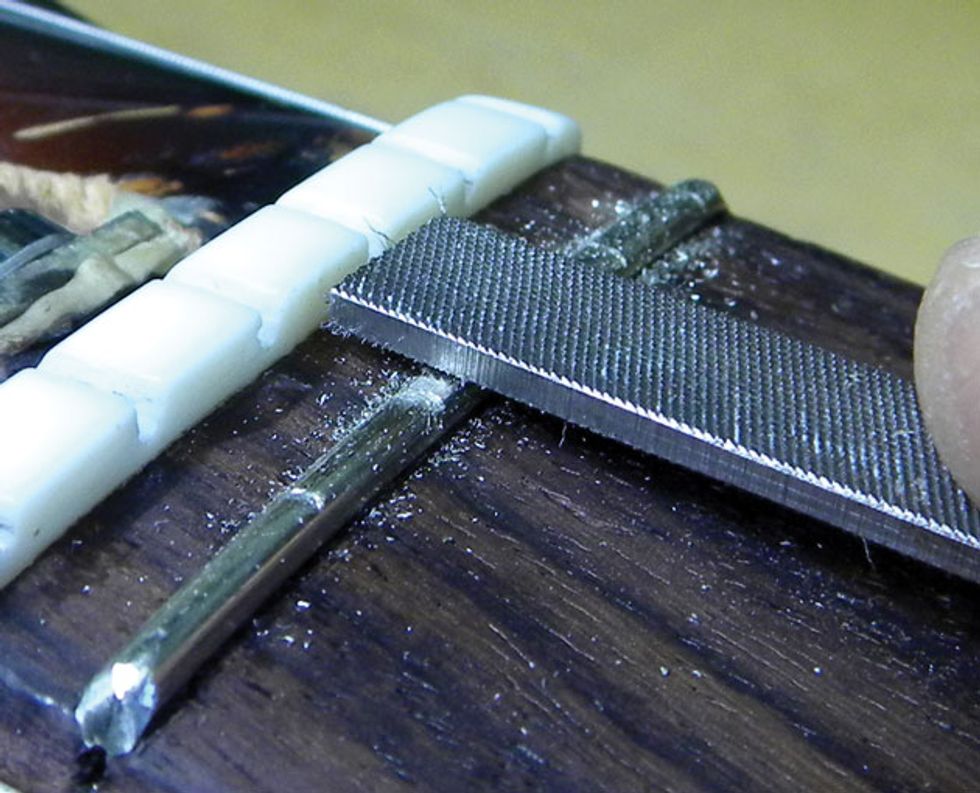
Photo 5
Setting zero fret height. With the new zero fret installed, restring the guitar and tune it to pitch. Using an action gauge, measure the action at the 1st fret. Keep in mind we’re measuring from the top of the 1st fret to the bottom of the strings. The action should measure 1/64" for the high E string and 2/64" for the low E.
Occasionally the action will be perfect, but this was not one of those occasions. After installing the new zero fret on the Teisco, the action measured 2/64" for both E strings. This meant I needed to lower the zero fret under the treble strings so they’d have the correct height.
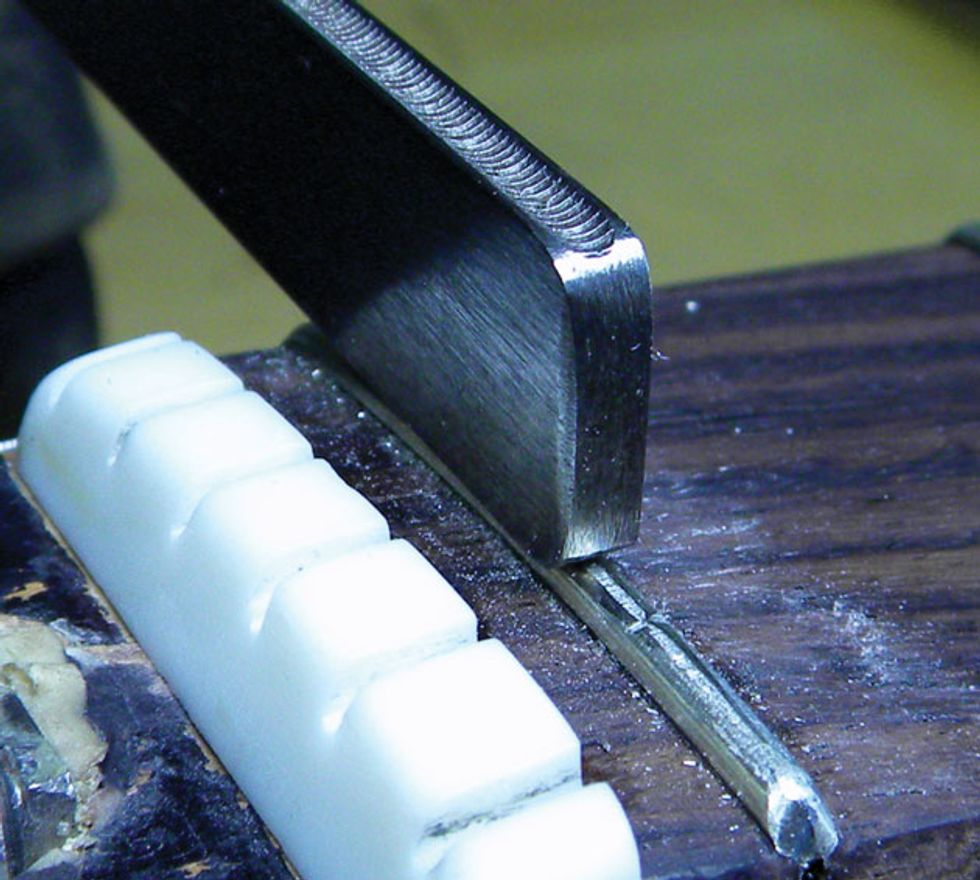
Photo 6
Fortunately, there’s an accurate way to do this using a set of gauged nut files. Choose the appropriate file for each string and cut slots into the zero fret until the action at the 1st fret is correct for every one (Photo 6). When the slots are cut, remove the strings and file the top of the zero fret until the string slots—the cuts you just made—almost disappear (Photo 7). It’s okay to leave very shallow slots on the zero fret to guide each string to the nut.

Photo 7
Filing down the zero fret gives it a flat top, so the next step is to re-crown the zero fret using a fret-crowning file (Photo 8). This will give the fret a rounded top, which helps the guitar’s intonation by insuring that all the strings make contact along the peak of the zero fret. If the fret’s top is flat or inconsistent, the intonation will vary from string to string.
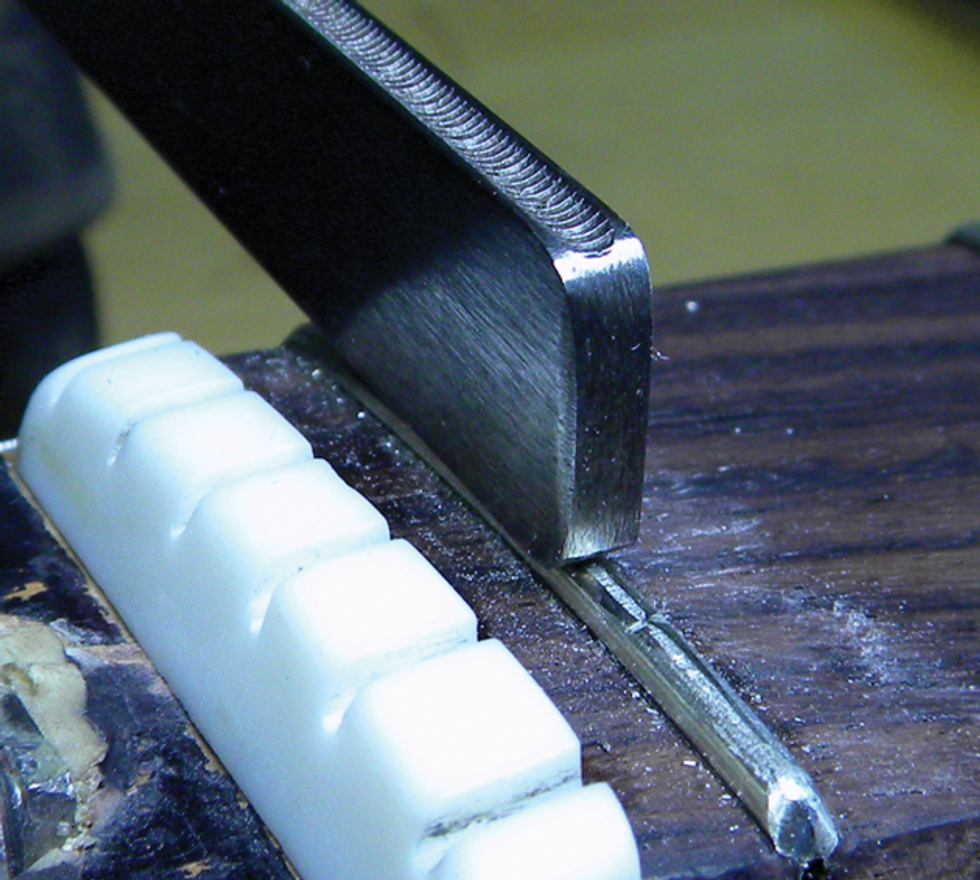
Photo 8
Final steps. To remove any glue or tool marks left by your re-crowning file, carefully scrape the fretboard with a razor blade. Use caution here: Hold the razor blade firmly and scrape the board gently.
With the tool marks removed, you’re ready to burnish the fret with 0000 steel wool or fret polishing paper to make it look flawless. Now install a new set of strings, adjust the intonation at the bridge saddles, and take a step back to admire your work—you’re done!


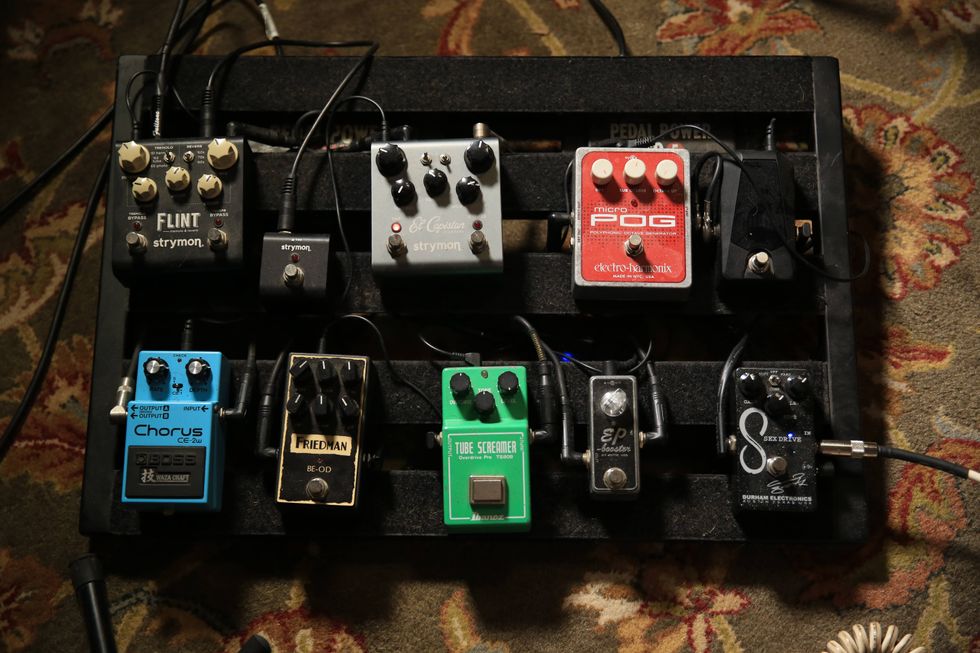
![Rig Rundown: AFI [2025]](https://www.premierguitar.com/media-library/youtube.jpg?id=62064741&width=1245&height=700&quality=70&coordinates=0%2C0%2C0%2C0)


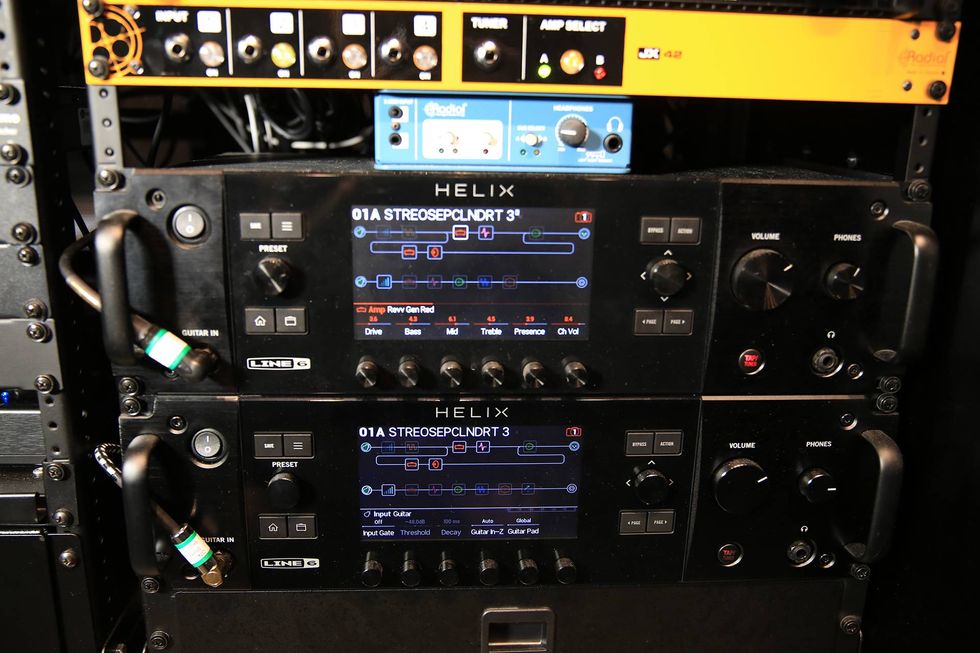
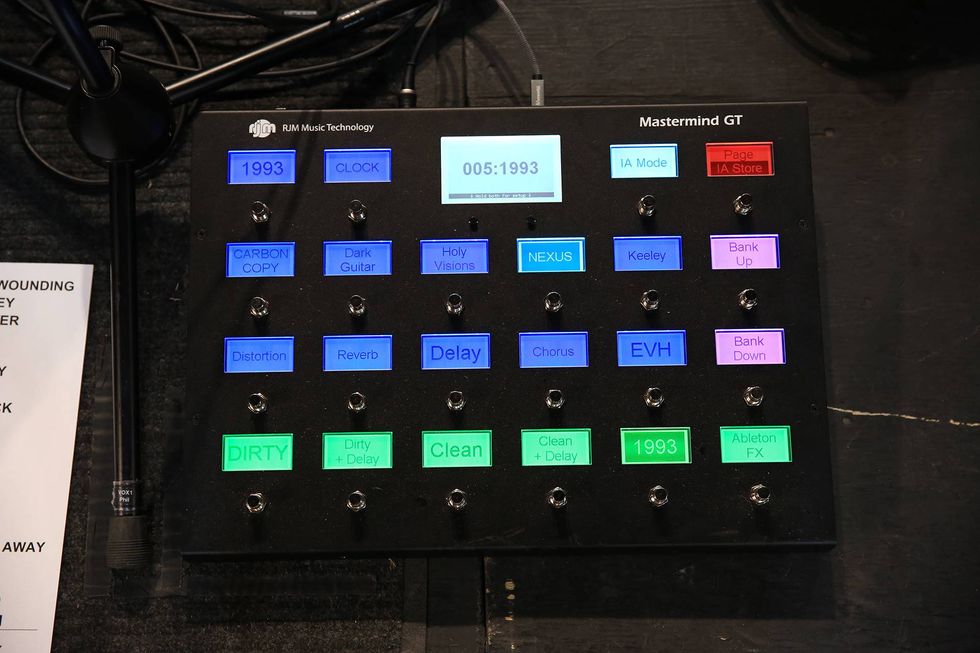
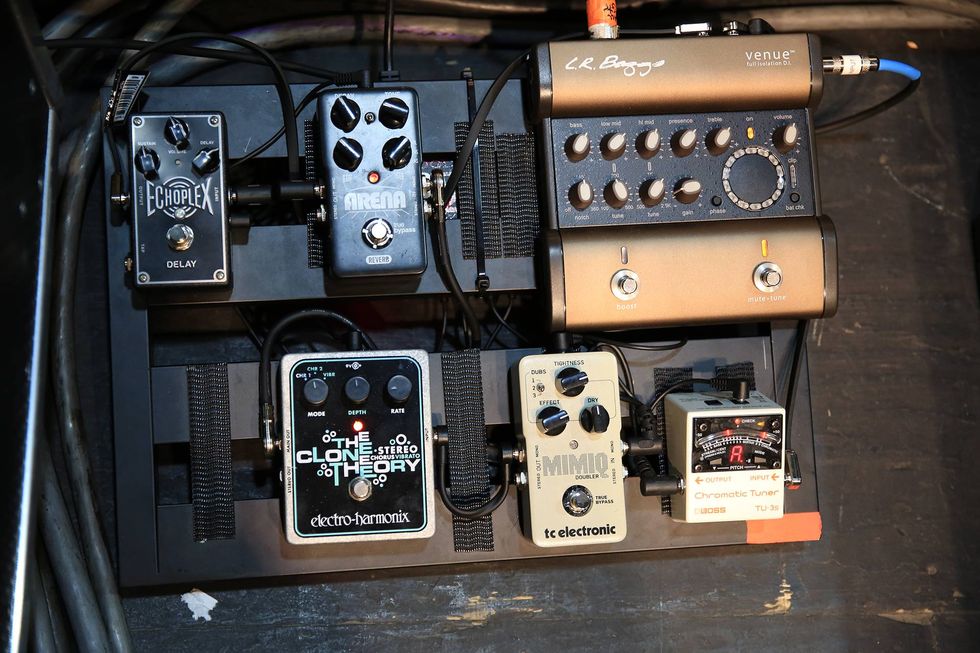
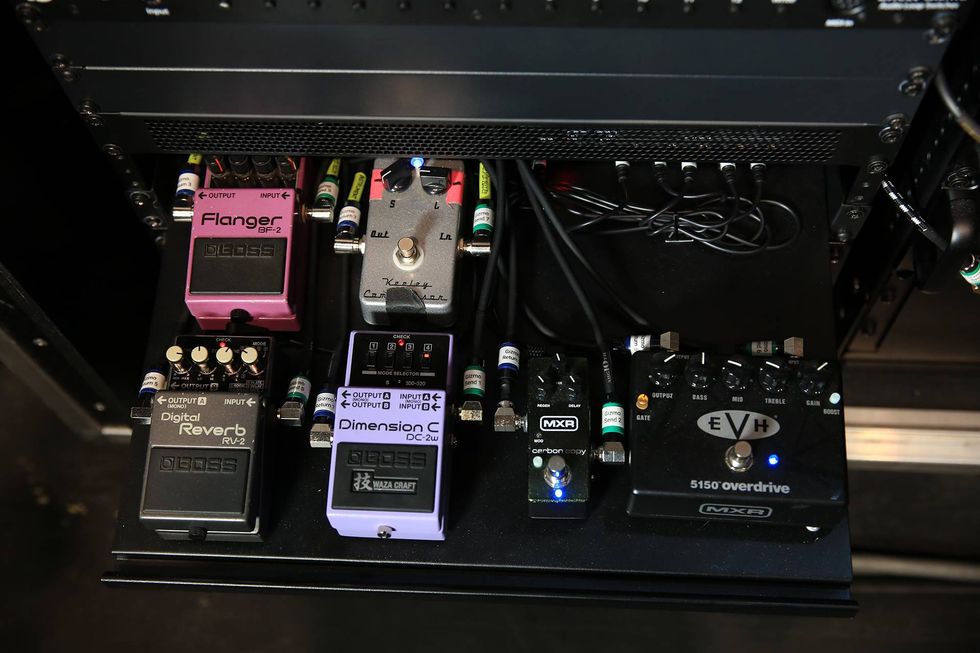


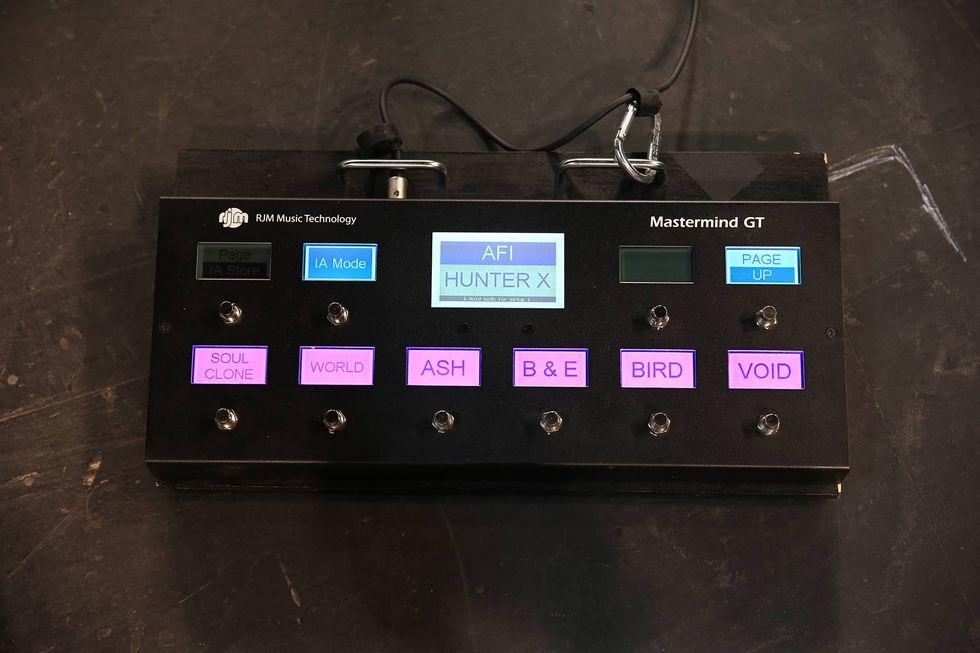

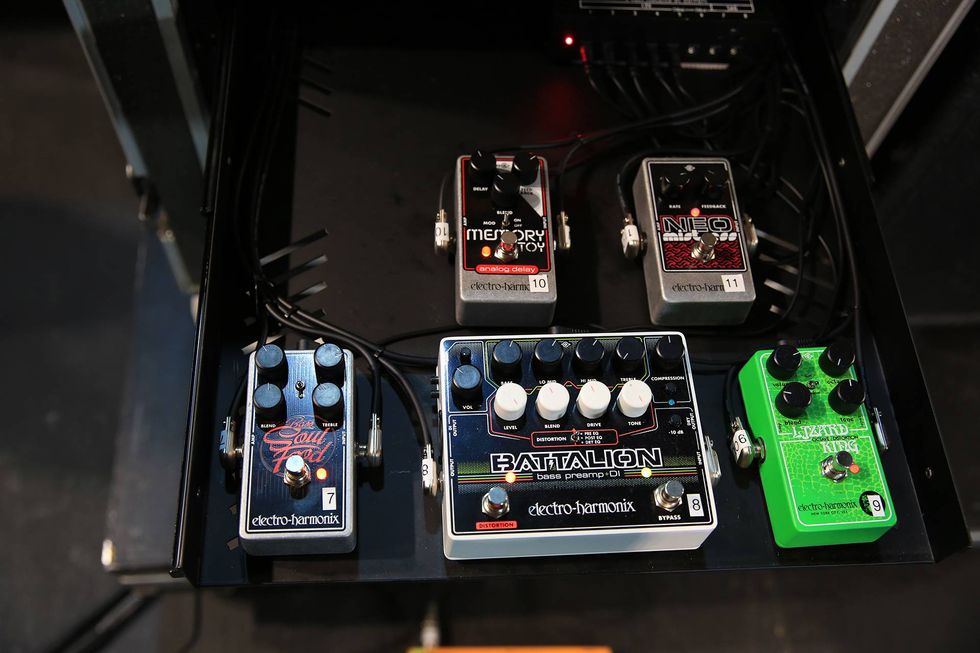
 Shop Scott's Rig


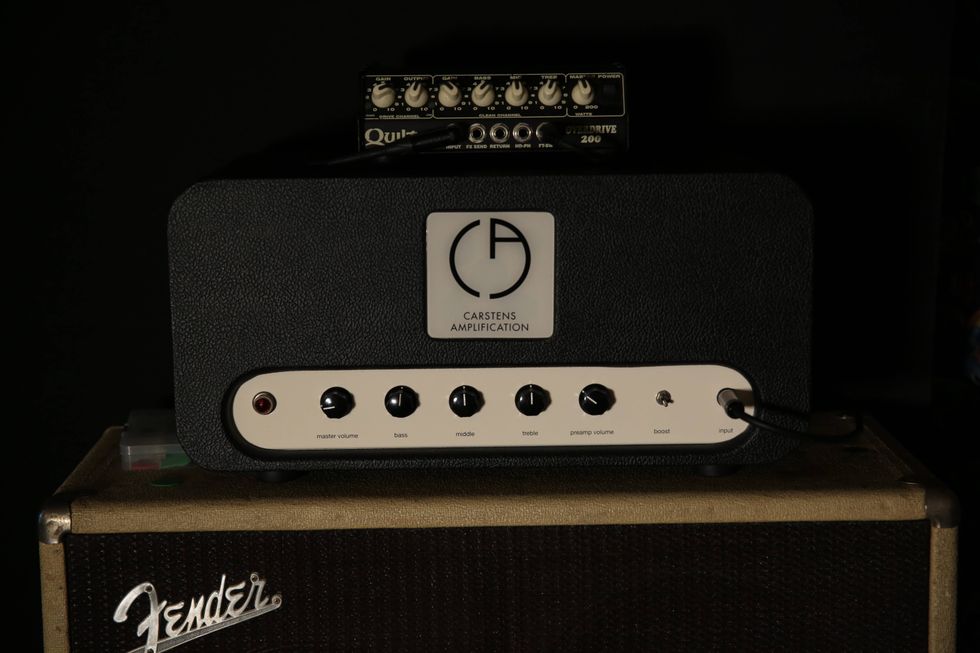


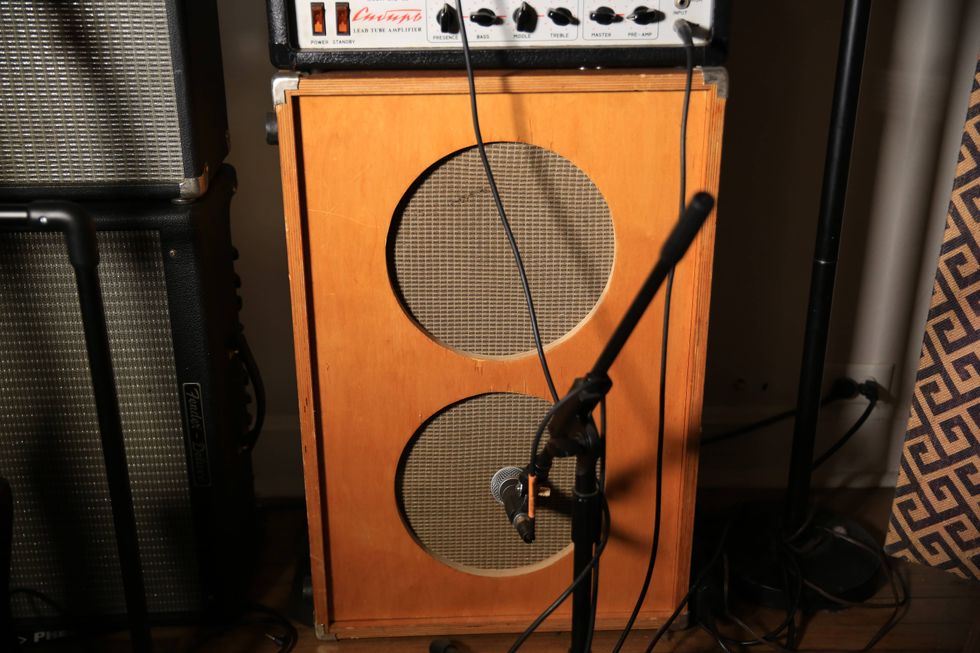
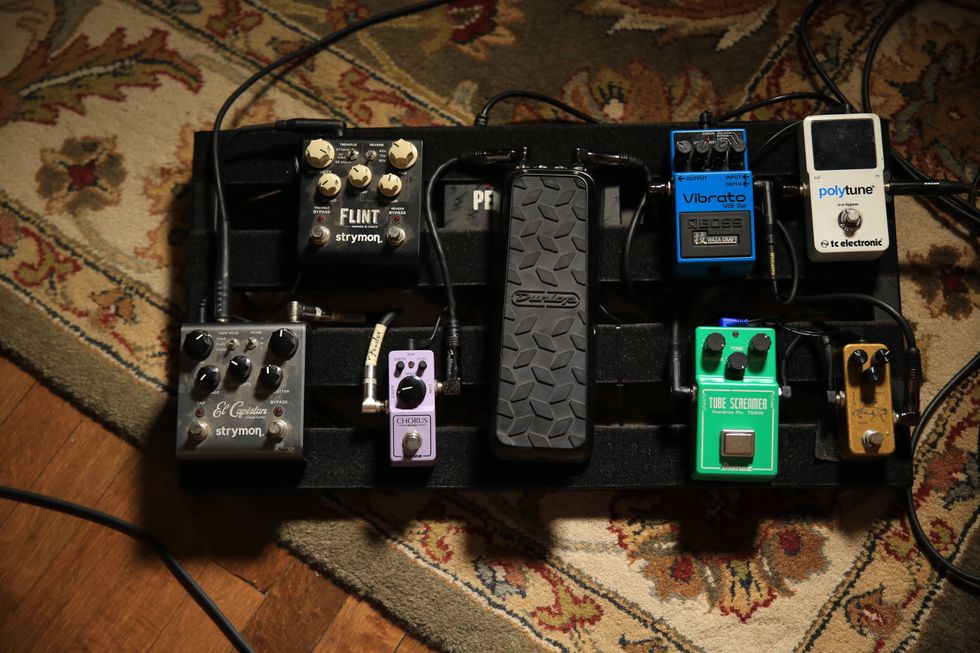
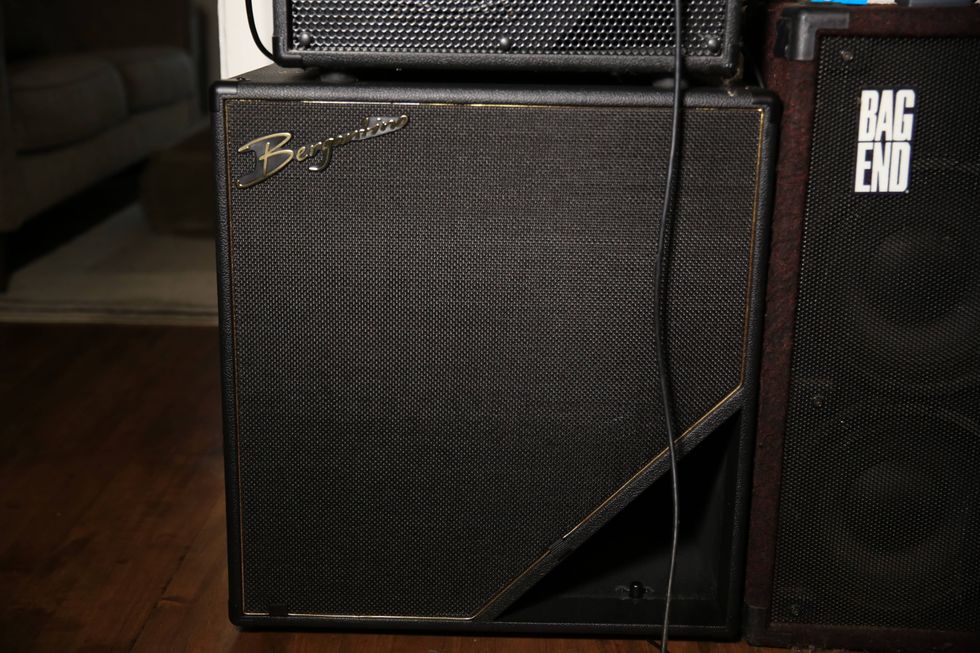
 Zach loves his Sovtek Mig 60 head, which he plays through a cab he built himself at a pipe-organ shop in Denver. Every glue joint is lined with thin leather for maximum air tightness, and it’s stocked with Celestion G12M Greenback speakers.