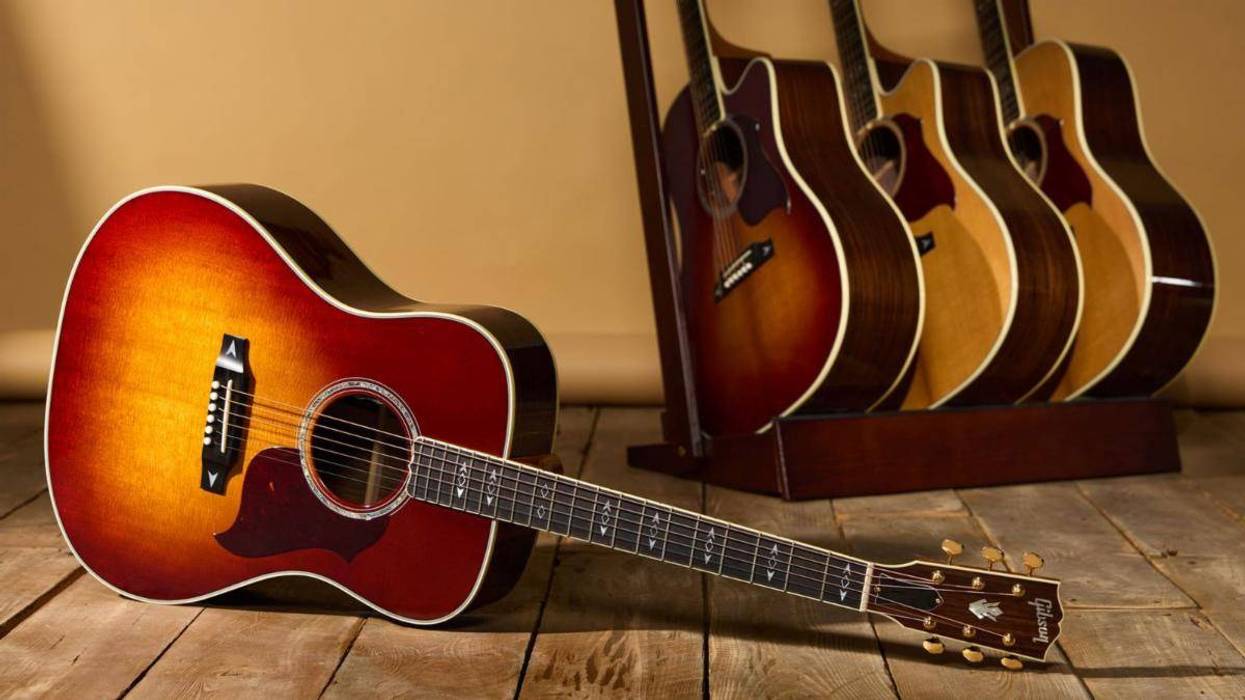
Almost daily, I’ll answer a question from a customer regarding the setup and playability of his or her guitar. Though most people can tell when an instrument is not playing the way they would like it to, a lot of folks can’t put their finger on why that is. This month, I’ll touch on how to measure your action and relief, and some basics on how to change them at home. If you aren’t comfortable with doing this work yourself—and a lot of people aren’t—it’s beneficial to know how to take the pertinent measurements to better inform the person who will ultimately work on your guitar. You will better know what your preferences are and if the guitar has, in fact, changed from where it was last set.
Relief. When we are setting up a new guitar at our shop, neck relief is the first measurement taken and the first adjustment we make. To measure the relief, the first step is placing a capo at the 1st fret to eliminate the nut from consideration. Next, we hold down the 3rd string at the 12th fret and check the gap at the 6th fret with a feeler gauge. (If you don’t have a feeler-gauge set, they are cheap and can be found at your local auto parts store.) The amount of relief you’ll want to see varies some by taste, but you will always want to have some relief in there. I use a .011" feeler for this, though some people use a thinner one. Now that you have measured, you can use your truss-rod tool to put in or take out relief (lefty loosy, righty tighty). Putting more relief in will raise the action and taking relief out will lower the action. Tip: Always stop short of completely flat and you will not run the risk of stripping out the truss rod nut.
Saddle height. When our customers want to change their action, most of the time it’s because the guitar has gotten harder to play. And most of the time, the correct adjustment would be made to the truss rod before moving on to the saddle height. To check the height at the saddle, take a steel ruler that measures in 64ths of an inch and measure the distance from the top of the 12th fret to the bottom of the 1st and 6th strings. We set our guitars to 6/64" on the 6th string and 4/64" on the 1st string—a good all-around starting place for action height—but we’ll vary this by 25 percent or so in either direction if we know the player involved or for consideration of other factors like scale length.
If you are the adventurous type, doing your own action adjustments can be fun and money saving.
If your action is too high and you want to take the saddle down a bit, there is a simple formula for determining how much material to remove from the bottom of the saddle. Note: If you are dealing with a guitar with a through-saddle (where the saddle slot is cut all the way through the bridge wings and exposes the saddle ends), then you will have to lower the saddle from the top or it could become too short on the ends. Assuming you don’t have a through saddle, simply remove twice the amount of material from the bottom of the saddle that you want to lower the action by. For example, if your action at the 12th fret measures 7/64" and you want to lower it to 6/64", you should remove 1/32" from the bottom of the saddle (1/32" being twice as much as 1/64"). You can sand the material off using 120-grit sandpaper attached to a flat surface, making sure to keep the bottom surface both flat and perpendicular to the side of the saddle.
Nut height. The winding on a guitar string can act like a file and slowly lower the strings at the nut over the course of time. So if you’re experiencing an open-string buzz, your strings might be too low at the nut. Since I do this every day, I set the nut action by feel, but it can be measured. To do this, put a capo on at the 4th fret and use your feeler gauges to measure underneath all six strings at the 1st fret. A rough measurement here would be from .008" under the 1st string up to .013" under the 6th string, with each of the six strings being .001" higher than the one preceding it. Any change to the nut, however, might best be left to your local repair person since it’s trickier and requires a special set of nut files to lower the action here. It’s also quite possible you might need to have a new nut installed.
If you are the adventurous type, doing your own action adjustments can be fun and money saving. If you are not, at least teach yourself how to take your own measurements. You will know a lot more about what to ask for when consulting with a repair person.