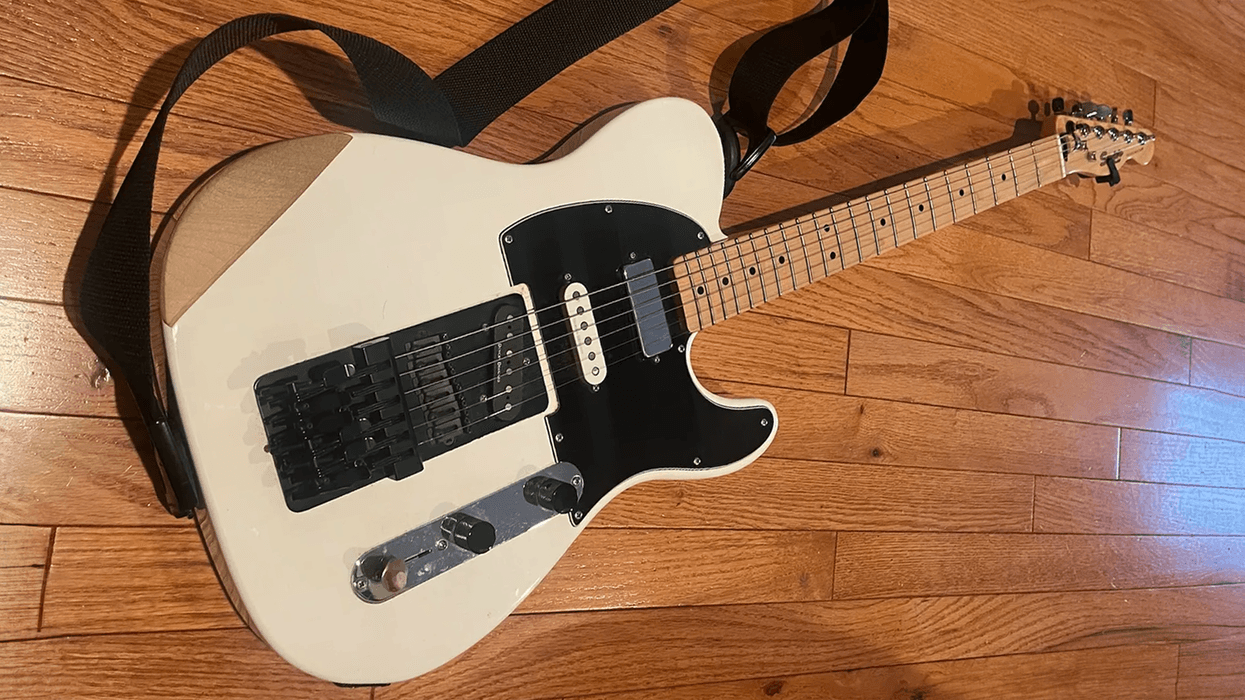
Lydia began life as a 2007 Squier Vintage Modified Telecaster SSH—an already versatile guitar. With the addition of the Hipshot Trilogy Bridge it can move easily between different tunings.
Reader: Brennan Kuhns
Hometown: Baltimore, MD Guitar: Lydia
This is Lydia, a 2007 Squier Vintage Modified Telecaster SSH. I saw this guitar played by a customer of mine at family-owned Bill’s Music in Baltimore, and was very impressed with its tones. I complimented the player afterwards, but as it turned out, she was displeased with the guitar’s weight and was in the process of making a lighter version from various parts. After she created her version, called the Bucky 13, she gave me her old guitar—now Lydia—as a surprise birthday present.
Lydia began life as a 2007 Squier Vintage Modified Telecaster SSH—an already versatile guitar. With the addition of the Hipshot Trilogy Bridge it can move easily between different tunings.
At that time, I was playing in an indie-rock folk-influenced band called Petal Blight, and using alternate tunings like DADGAD, Open D, and Open Gm (G-D-G-D-Bb-D, low to high). So, I added the Hipshot Trilogy bridge, which offers me quick access to those and other alternate tunings. As I played the guitar more, I traded the pickup selector top hat for a carved tip from a drumstick.
I also sanded down a forearm contour, added a little bit of belly contour, and added a carve on the back of the cutaway. To smooth out the carves I simply used steel wool. The neck pickup, by the way, is a mini-humbucker, and the other two are Seymour Duncan-designed hum-cancelling single coils.
At one point, I helped a customer who broke a tuner on their child’s guitar by giving them the matching tuner from Lydia— later replacing it with a Gotoh from my very first electric. These days, I play in a band called Wanderlight, and I use the Hipshot to move between DADGAD, open Em (E-B-E-G-B-E, low to high) and open G (D-G-D-G-B-D, low to high) for slide work. I purchased another guitar for my birthday in 2008, but I’ve long since sold that. Lydia has remained one of my primary instruments for 18 years. It’s a tank and a screamer.
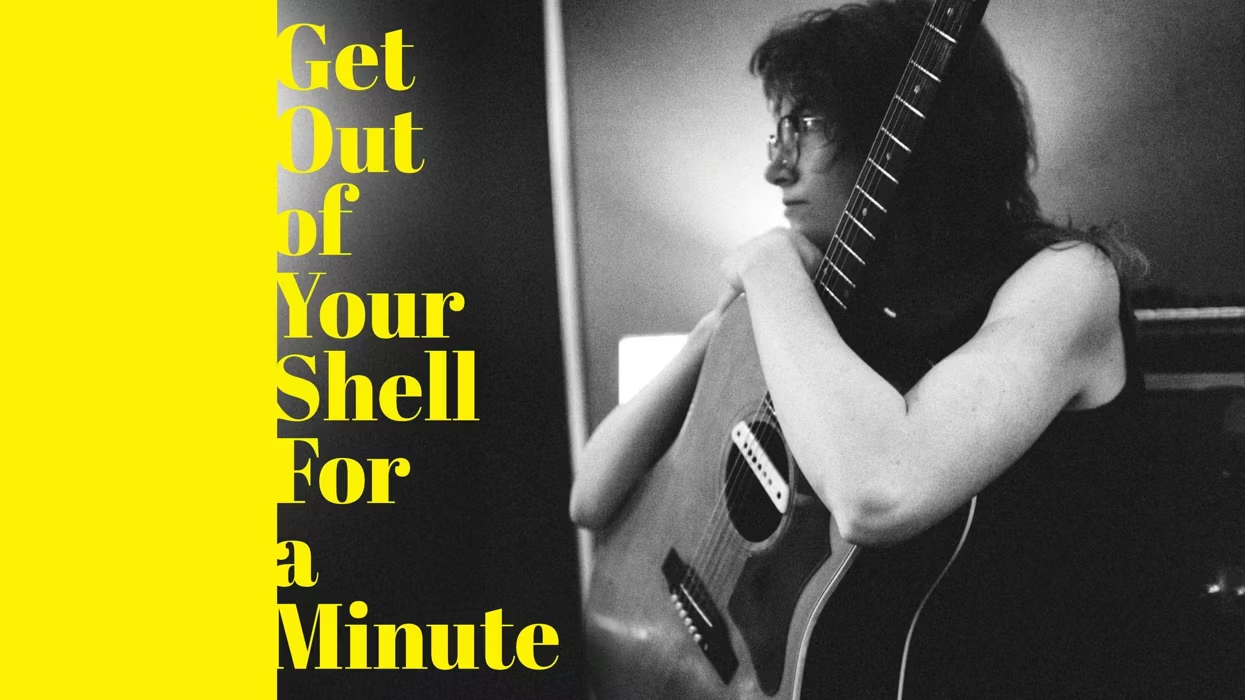
Since her 2008 debut, Toronto artist Charlotte Cornfield has built a catalog marked by close observation and emotional precision. On her sixth album and first for Merge Records, Hurts Like Hell, she widens her scope, writing beyond her personal experience for the first time. “When I think about this record,” Cornfield reflects, “I think about it being written from the perspective of being on the other side of something.”
Inspired in part by the “vulnerability and fragility and wildness” of new parenthood, Cornfield distills her vision into 10 songs that arrive at a shared conviction: that the deeply personal becomes universal. Within the tracks’ specifics, human truths emerge.
Cornfield writes alone, as a rule. This time, holed up in the shed of the Weather Station’s Tamara Lindeman writing Hurts Like Hell, Cornfield had a sounding board in Phil Weinrobe (Adrienne Lenker, Buck Meek, Hand Habits), who produced, recorded, and mixed the album. “Having somebody to bounce those ideas off of was amazing, but [the writing process] was still kind of solo,” Cornfield notes about her most collaborative effort to date. “I just knew that I wanted to have a bunch of people in the room when we made the record, and let the musicians interpret the songs.”
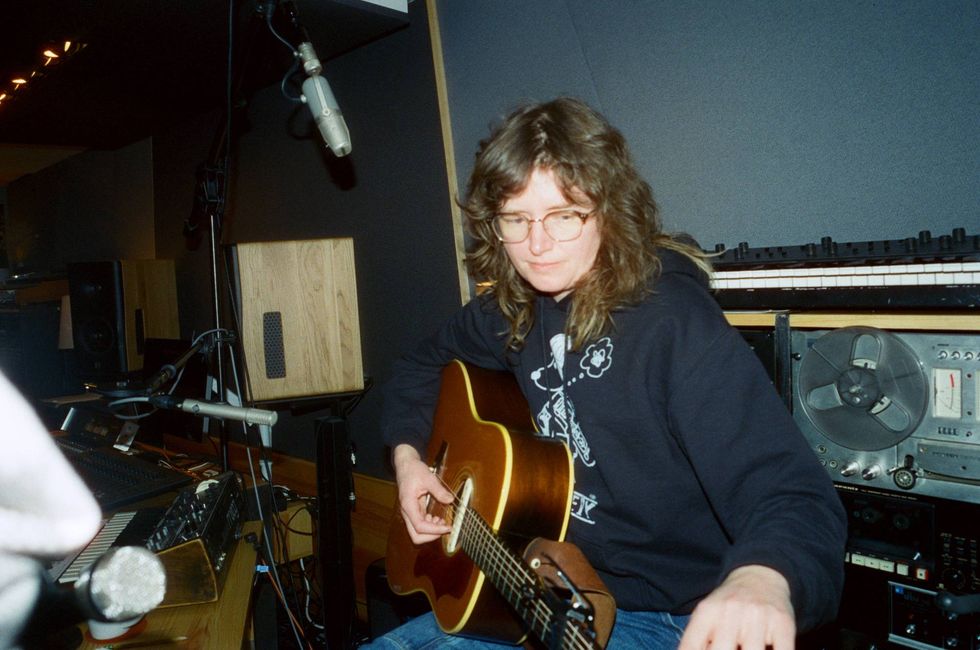
Cornfield and one of her most important collaborators: her late-’60s Gibson J-50.
Photo by Sara Melvin
Weinrobe’s gentle insights through the album’s nascent stages helped guide Cornfield’s writing and the curation of the tracklist. “I think the thing that was most helpful to me is how honest Phil was when there were things that he really liked,” Cornfield says. “He felt okay saying things like, ‘Well, when I was listening to that song, my mind drifted.’” Feedback from a trusted partner allowed Cornfield to cull the filler and draw out the essence of the album, “so that everything we did end up recording was something that [Phil] and I were really excited about.”
Among the albums referenced when envisioning Hurts Like Hell were Willis Alan Ramsey’s and Bobby Charles’ self-titled records, both from 1972. Drawn to the “live and loose” feel of those albums, Weinrobe planned accordingly for their studio time: “His approach is for the musicians to not hear a note of anything until day one of the session,” Cornfield explains. Arriving at Sugar Mountain studio in Brooklyn on a January day, Palehound’s El Kempner (guitar/vocals), Lake Street Dive’s Bridget Kearney (bass/vocals), Adam Brisbin (guitar/pedal steel), and Sean Mullins (drums) brought fresh ears and a blank slate.
“Having vocal mics next to guitar amps next to drums, it just created this world where it kind of sounds like one.”
Starting drum lessons at age 12, and eventually pursuing jazz drumming at Montreal’s Concordia University, Cornfield’s unique flow and rhythmic sensitivity are earned. Feist calls it “embedded tap-dancing”: the way ribbons of musicality unfurl through Cornfield’s distinctive meter. In the making of Hurts Like Hell, Weinrobe was attuned to this. “I have a rhythmic approach to songwriting, so [Phil] wanted to make sure we built a deep pocket,” Cornfield says. Hurts Like Hell inhabits a groove so accommodating and innate that, as if stepping off a boat onto dry land, the effect lingers in the body after the album is over.
Backstage at Toronto’s Massey Hall, Cornfield warms up with her Fender Jazzmaster.
Photo by Sara Melvin
The collection was recorded live off the floor, without headphones. The band had to play at a volume where they could still hear each other in the room, Cornfield explains, “so the intensity is there everywhere [on the album], even if the volume wasn’t high.” Unorthodox though it may be, Weinrobe’s recording philosophy considers clean signal superfluous, and the result is a feeling that you are listening from within the instruments being played. “Having vocal mics next to guitar amps next to drums, it just created this world where it kind of sounds like one,” Cornfield says.
With the cohesion of the album front-loaded into the process, the musicians were free to play across a palette of genres and feels. Songs like “Hurts Like Hell” and “Number” have a country bent (Weinrobe suggested the addition of slide guitar, a note that pleasantly surprised Cornfield). Picking up the pace is “Lucky,” whose descending vocal melody and proggy, crunchy guitar solos over driving bass set the listener in motion. “Livin’ With It,” featuring Feist’s accompanying vocals, is a saccharine prod of an old bruise with a diabolically catchy chorus.
Leaning into the familiarity of her 1967 Gibson J-50, a trusty collaborator through the last 18 years of her career (“It’s been my baby this entire time … somehow I’ve managed to not get it stolen or messed up”), Cornfield allowed her instincts to take the lead. “I leaned into the guitar style that I’m confident with: playing rhythm chords on the acoustic with no pick, no open tunings, nothing fancy.”
“I leaned into the guitar style that I’m confident with: playing rhythm chords on the acoustic with no pick, no open tunings, nothing fancy.”
Parked in her wheelhouse, Cornfield could get out of the way and let the songs unfold. Often, this is the hardest thing to do. “In the past, I’ve challenged myself a bit instrumentally,” she says. “This time around, I found that living where I was comfortable was the best approach.” Minimizing complexity in her guitar playing freed Cornfield up to take more risks with her voice. “Phil pushed [my vocal range] higher and higher and higher,” she says with a laugh. “As we got higher, it drew out a different kind of emotionality”.
Throughout Cornfield’s back catalog, a tender objectivity accompanies deeply personal details, creating a detachment that sacrifices no poignance. On Hurts Like Hell, she flexes her storytelling to sketch characters outside of herself, coloring in their stories and their pain with her signature attention to detail. Her ability to conjure the interiority of the anxiety-riddled characters in the album’s title track or a washed-up frontman in “Lost Leader” betrays a devotional attention to the human condition.
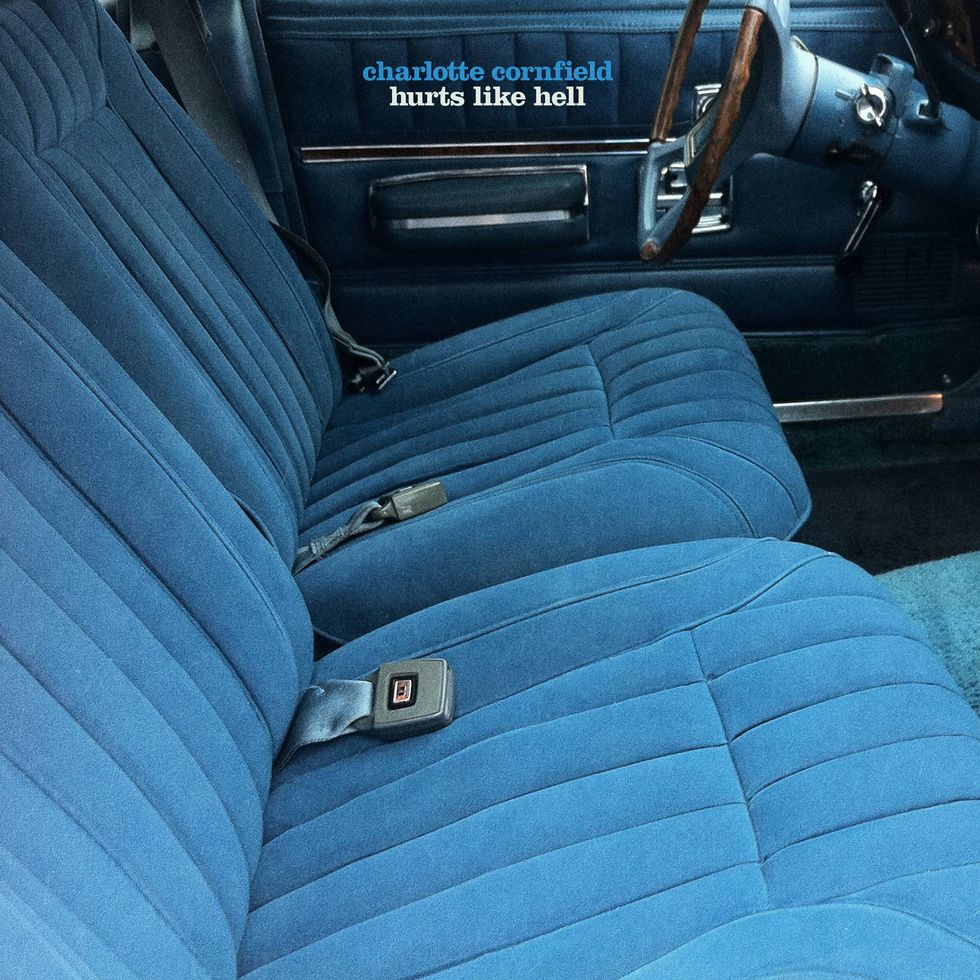
Hurts Like Hell is Cornfield’s sixth full-length record, and her debut for Merge.
Ever observant, tender, and curious, Cornfield mines the subtleties of maturation in this latest work. References to coming of age in the music industry pepper Hurts Like Hell, “because that’s been the backdrop to my whole life”, Cornfield explains. “Through the process of writing this record, I realized how formative those experiences were for me: coming of age in Montreal and New York, and learning the hard way.”
The lyrics in “Long Game” stream like sap from a maple in spring, Cornfield’s tree of years as a working musician, tapped and proffering. “I was still having fun / Worshipped my idols, and wanted to be one,” she reflects in the song. Realism about the industry’s harsher sides is scaffolded with empathy rather than cynicism: “Coming out of it unscathed was impossible / I changed, wasn’t mystified in the same ways, anymore.” Cornfield’s perspective in the song is of someone on the outside looking in, arms extended towards past versions of herself.
In the past, Cornfield has used songwriting as a portal through which to transmute and process difficult experiences in real time. Having reached a limit of what she wanted to write from her own perspective, Cornfield began searching further afield. “For the last number of years, I’ve been in such a stable place in my life that I felt like I needed to pull from other things for this record,” she says. Finding herself sucked into TV shows, books, and stories, Cornfield looked around and found no shortage of inspiration from other people: these endlessly endeavouring, failing, growing creatures, many of them just like young children.
“I also attribute some of the perspective shift to becoming a parent … I think that experience has pulled me out of myself a little bit,” she says. Shepherding a new life through the world rarely fails to recontextualize a person’s sense of self. Not only did the birth of her daughter free her up to play and create with more ease, Cornfield noted that she feels less pressure than before to fit any particular mold with her music.
What is the feeling that comes to Cornfield now, in her Toronto home with her partner and three-year-old daughter, at the finish line of her sixth album and looking back on all the versions who worked so hard to get there? After a thoughtful pause, she offers with earned certainty: “Yeah … it’s acceptance. Acceptance of the path, the journey, the hard things, the slog at times, the painful experiences.”
The wider the net a songwriter casts for subject matter, the more personal the work becomes, by virtue of what is deemed worthy of inclusion. Through stories both intimate and external, we glimpse the heart of the artist. In reaching outwards, Charlotte Cornfield brings us closer to her.
The Dan O. Mano series, armed with a pair of P-90 style pickups providing a dynamite match for the DANO's hollow inner body and rosewood bridge.
With their Atomic Age styling – drawing heavily upon Danelectro’s boldly original 1950s roots – and turbocharged retro vibe, the DANO line might be the company’s most true-to-the-spirit guitars ever. Key features include:
Full Bell Headstock, a Danelectro original design dating back to 1954
Rosewood Saddle Bridge, another feature from 1954 prized by generations of players for its warm tone
Skate Key Tuners, gloriously recapturing the Danelectro vibe from 1958 with smooth, modern tuning accuracy
Ultracool vintage colors – all of them authentic to the 1950s
And every DANO® guitar comes with a FREE 8-page collectable reproduction of a Danelectro catalog from the 1950s!
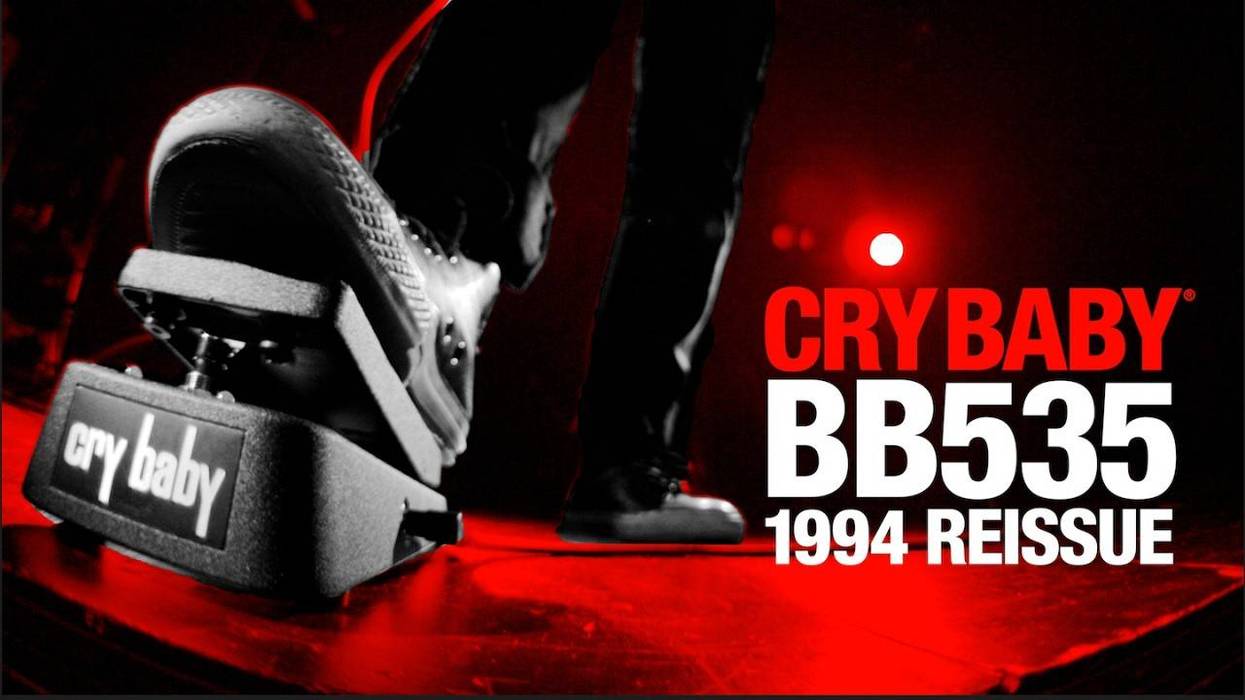
The Cry Baby BB535 Wah Reissue is an authentic restoration of the expressive, throaty growl that became the collective voice of a new generation of wah. Designed with extensive input from the top early ’90s rock acts, it gave players the power to shape their own sound with a frequency selector, built-in boost, and custom inductor tuned for a uniquely warm, vocal tone. We dusted off the best-sounding model in our collection and recreated it part by part, original inductor included. For modern convenience, we added on/off LEDs for both the wah effect and boost circuit. Find your voice, and put some attitude into it, with the Cry Baby BB535 Wah Reissue.
The Long Story
The Cry Baby BB535 Wah Reissue is a recreation of the first commercially available modded wah. First released in 1994, the original BB535 redefined what a Cry Baby Wah could be and set the stage for every model that followed. Extensive collaboration with some of the world’s top guitarists allowed us to give players the power to shape their own sound, for the first time, with no more than a single pedal at their feet. With a frequency selector, built-in boost, and custom inductor tuned for a warm, vocal tone, the BB535 was the collective voice of a new era of wah, refined for the modern age.
Players still chase that sound, and pros scour the world for original models to maintain spare stock for the road. The Cry Baby BB535 Wah Reissue is an authentic restoration of the expressive, throaty growl and hands-on control that made the earlier version a cult classic.
From the Stage to the Workshop
The Cry Baby BB535 Wah may have hit the market in 1994, but its story began years earlier in our workshop, where we’d been digging into every part and parameter to unlock the true potential of the wah pedal. The Jimi Hendrix Cry Baby Wah was the first proof that an artist’s sound could be reverse-engineered and recreated. But our experimentation deepened as we hit the road with bands at the vanguard of a new heavy rock movement in the early ’90s, gathering firsthand feedback from the guitar players who brought the wah pedal back into the grammar of popular music. They all wanted the same thing: quieter operation and a throatier sound that retained the natural character of their guitar’s voice.
Each point of feedback led to another tweak as our workshop started to feel more and more like a custom mod shop. Finally, we decided that it was time to make the ultimate Cry Baby Wah.
Engineering Expression
In every detail, the Cry Baby BB535 Wah grew out of the knowledge we gained turning artist requests into actual circuit designs. We started by adding a high-impedance input buffer, a lesson taken from the Jimi Hendrix wah that we’d later extend to the entire line. This change allowed greater retention of highs and lows that artists said were being lost when they engaged the effect. Next, we turned to the tonal heart of the wah pedal, sourcing military-grade inductors that not only blocked unwanted noise but delivered a warm, vocal response at the sweet-spot inductance of 535 millihenries.
Many Voices in One
To make the ultimate Cry Baby Wah, shaped by the combined insights of several top players, flexibility was a must. Building on that foundation, we added an adjustable, switchable boost circuit based on the MXR Micro Amp. This served two purposes: first, it allowed players to better match their instrument’s voice and volume to the wah effect, and second, it added that signature sweetness and character the Micro Amp is famous for.
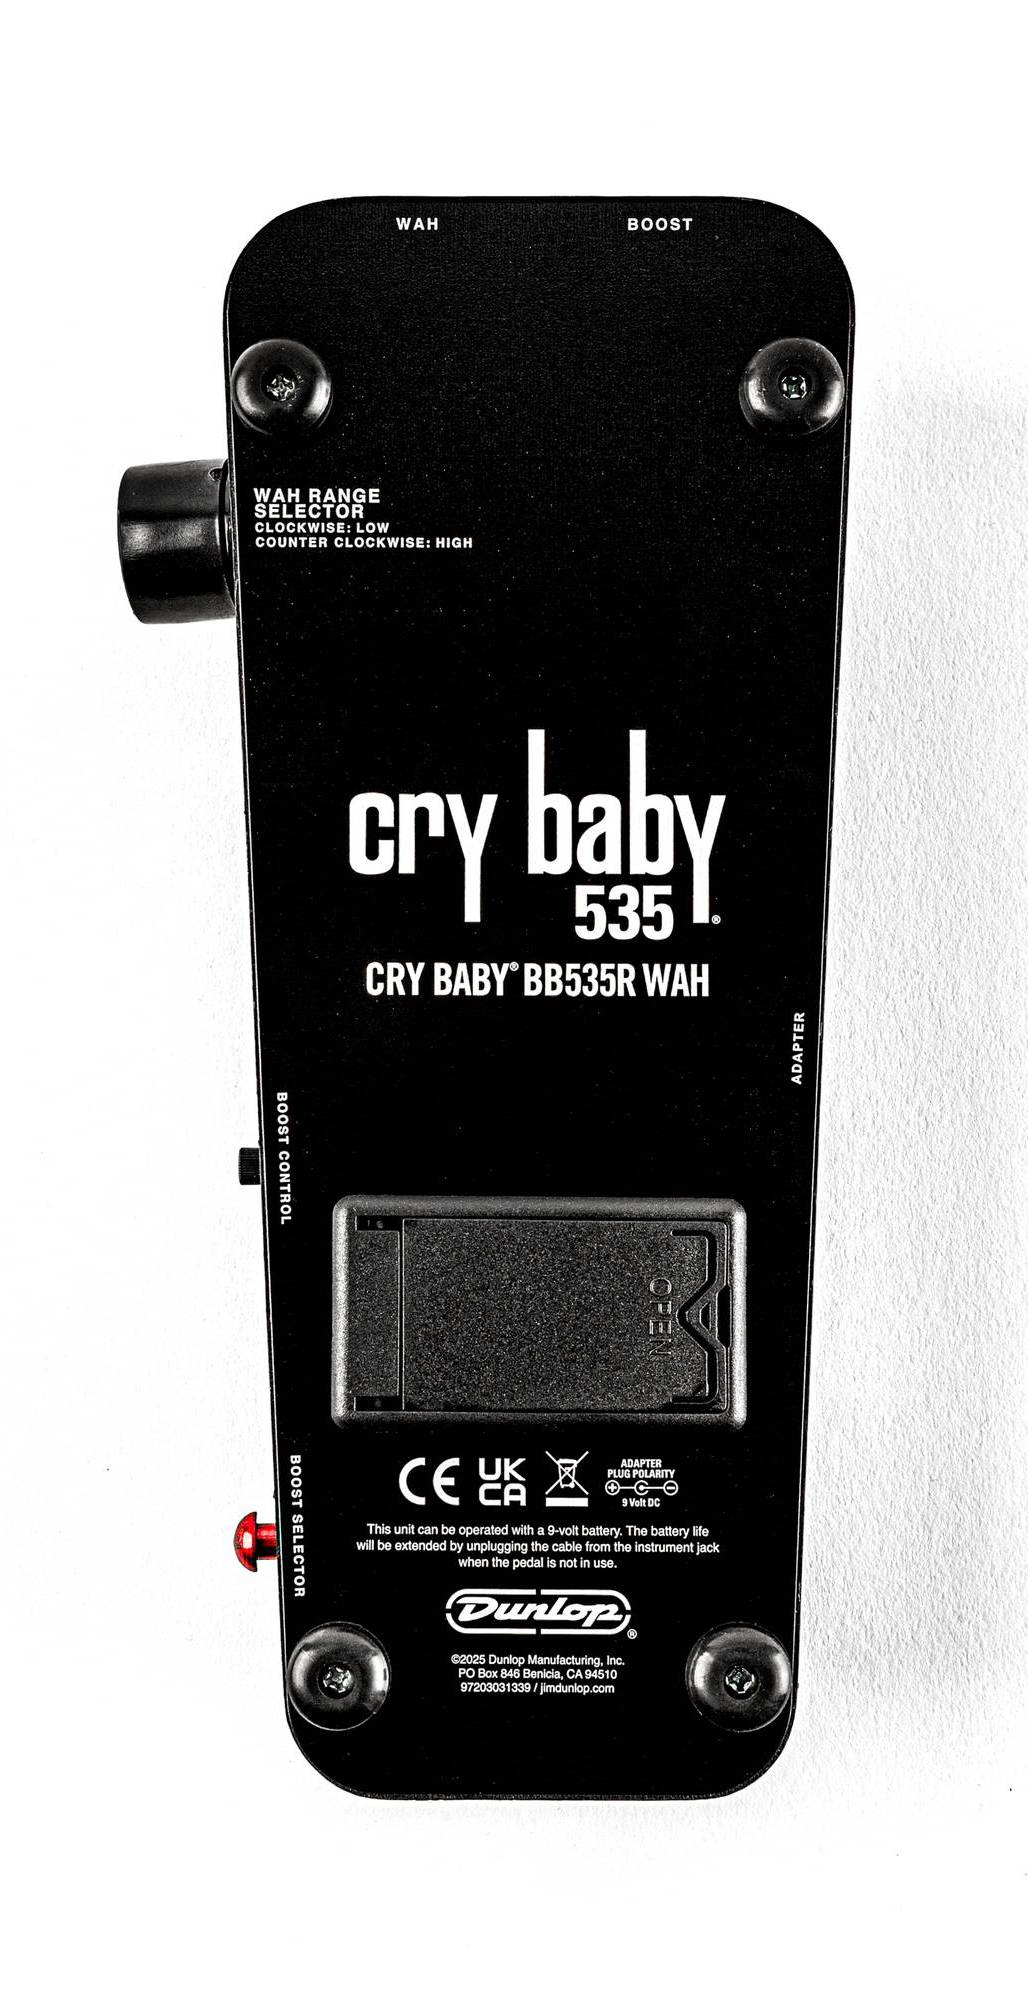
To make the BB535 truly versatile, we added a range selector with four frequency options inspired by the signature tones of modern rock’s foundational acts. In 1999, we expanded it to six tonal options, adding two more voices drawn from our vintage collection. The result is a full and expressive palette, from a sharp and aggressive bite to a deep, throaty growl. By the end of the ‘90s, the BB535 had become a staple for rock ’n’ roll’s top touring acts.
The Return
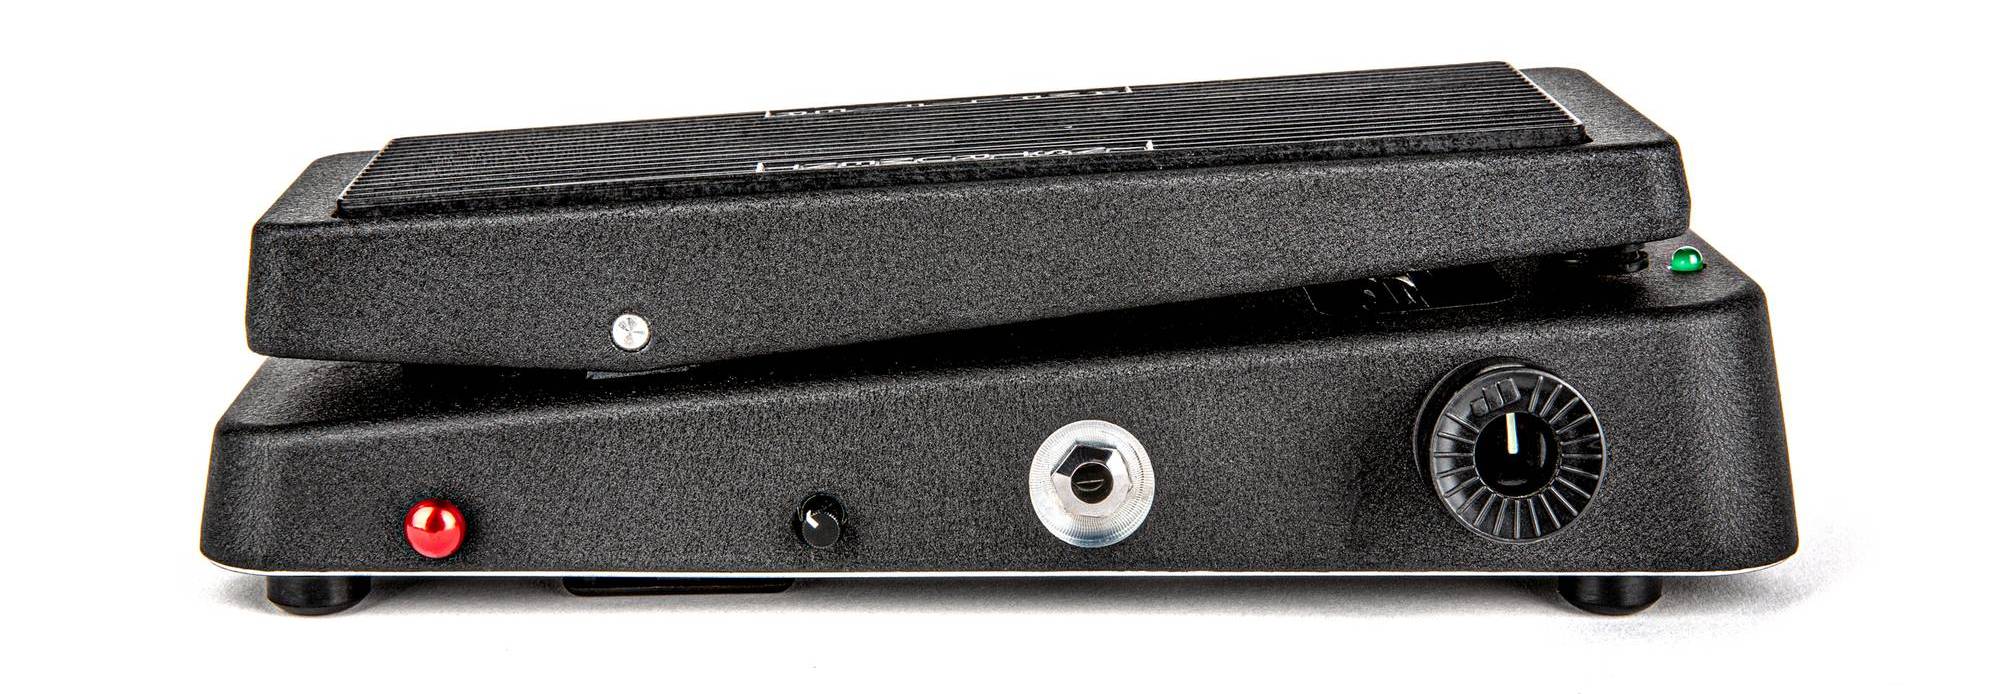
And it’s this 1999 version that we’ve decided to bring back. The original Cry Baby BB535 Wah models have developed a cult following over the years, so we dusted off the best-sounding one we had and recreated its circuit part by part to ensure maximum authenticity. We even contacted the original inductor supplier and asked them to start making that special component again. Finally, we equipped the pedal with on/off LEDs for the wah effect and boost circuit so that you know what’s active at any moment on stage.
Now, you can get your hands—and foot—on the first multi-function wah pedal. Get the Cry Baby BB535 Wah Reissue, and find your voice.
Cry Baby BB535 Wah Reissue highlights:
An authentic recreation of the first commercially available modded wah
Built around the demands of players at the vanguard of early ’90s heavy rock
Custom inductor delivers a warm, vocal response
Six-position frequency selector goes from a sharp and aggressive bite to a deep, throaty growl
Adjustable, switchable boost up to +16dB
On/off LEDs for wah effect and boost circuit
Availability
The Cry Baby BB535 Wah Reissue is available now at $229.99 street/$328.56 MSRP from your favorite retailer.
Back in February, PG’s Perry Bean headed over to Nashville’s Cannery Hall to catch up with his longtime friends in the Tennessee mathcore outfit the Tony Danza Tapdance Extravaganza. Before their gig, guitarists Layne Meylain, Josh Travis, and Eric Berngruber, along with bassist Mike Butler, took Bean through the Kiesel-and-Quad-Cortex-powered guts of their audio acrobatics. Check out some highlights below, and watch the full Rig Rundown for more.
Layne Meylain asked Kiesel to ship him this wicked 7-string Kira model, which is loaded with Kiesel pickups—a Lithium and Nail Bomb. He uses a custom set of Stringjoys, .010-.074 gauge.
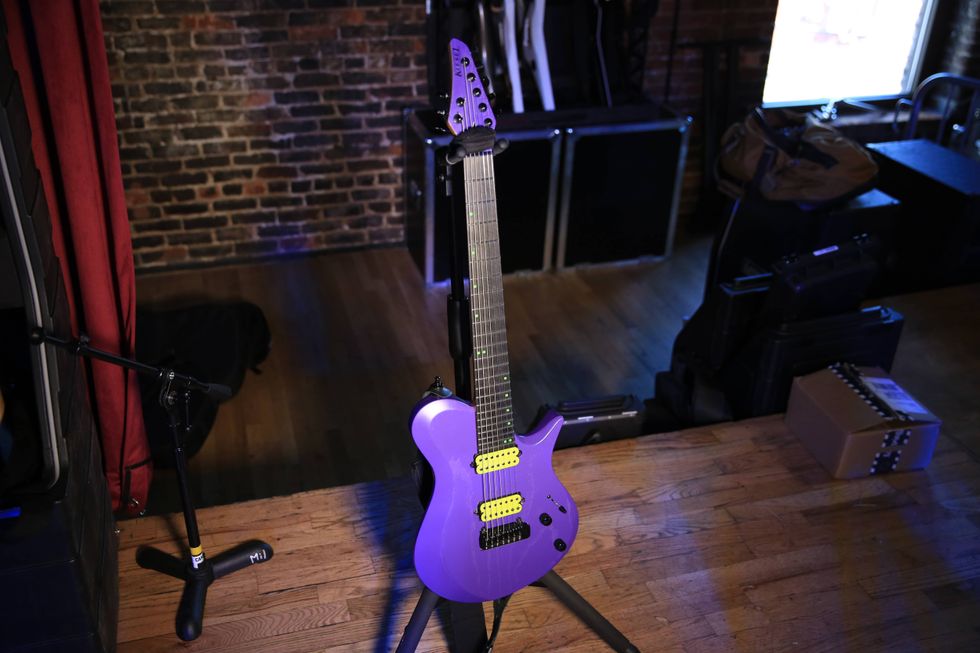
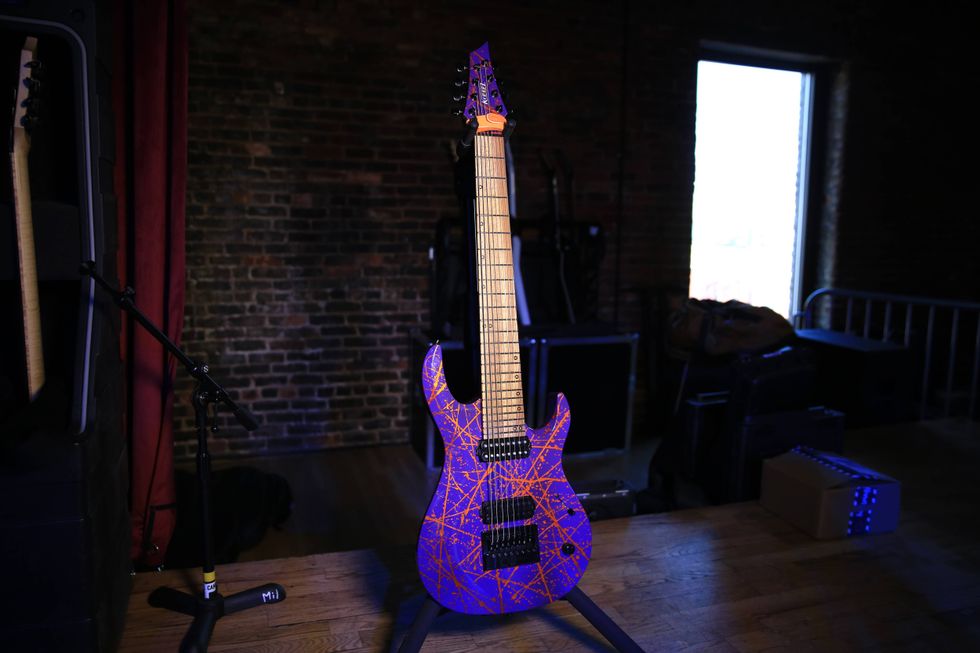
Purple Pain
This 8-string Kiesel, with a walnut neck and swamp ash body, was initially a loaner, but Meylain found a way to hang onto the guitar. If the company ever comes to retrieve the instrument, he’s willing to pay for it.
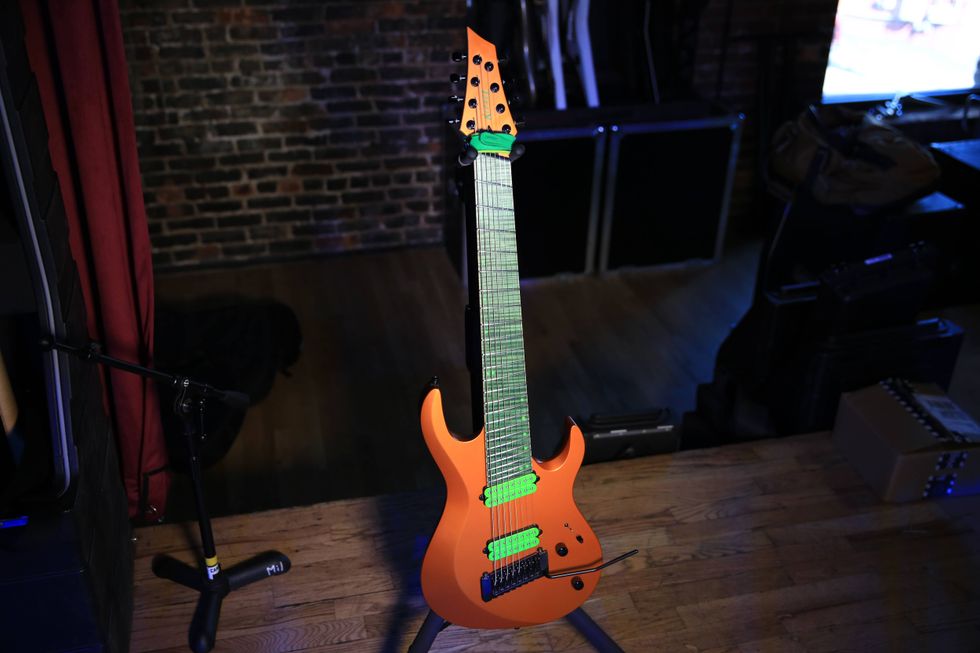
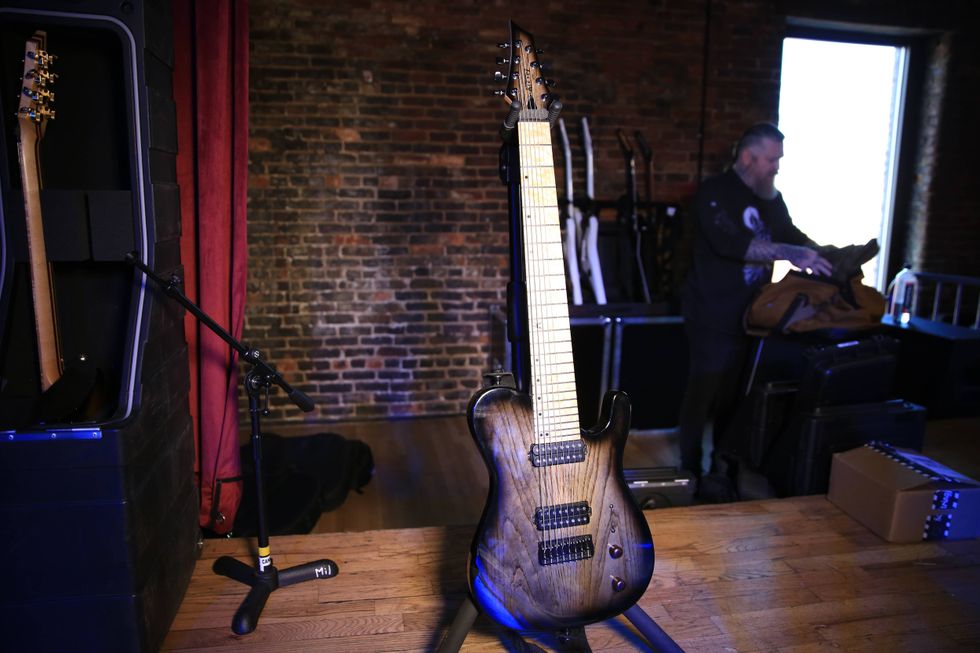
Green Giant
This 8-string was custom-built by Jeff Kiesel, and features a multi-scale, green-stained fretboard, and neck-through-body construction.
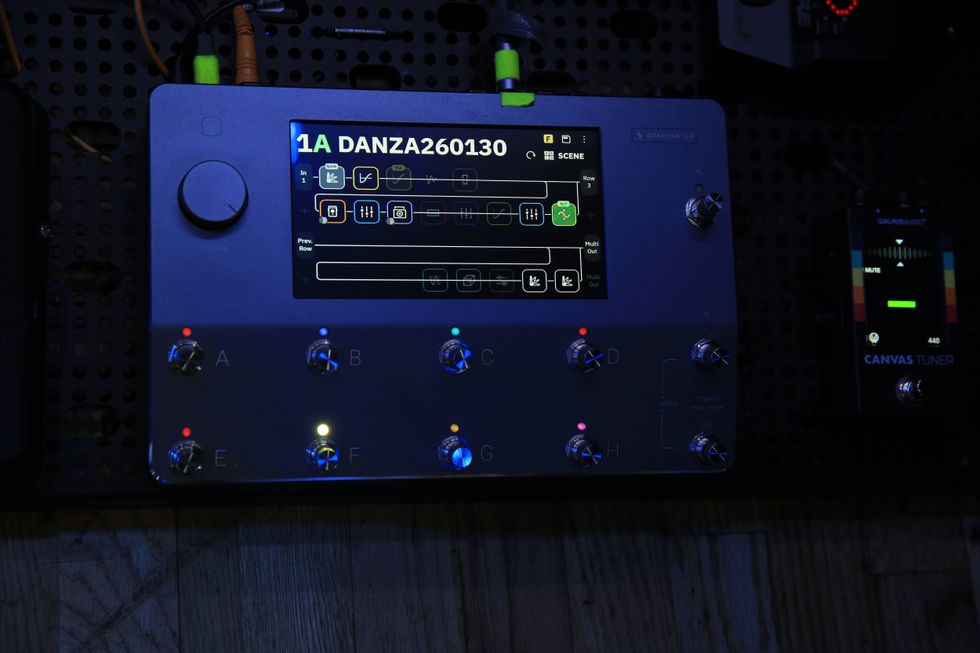
Layne Meylain’s Amp and Effects Rig
Meylain and his bandmates run Neural Quad Cortex units onstage, but the main sounds are from an amp and cab he captured with his Fractal Axe-Fx unit. He relies on the Quad Cortex's in-house effects, though, and prefers its interface. A Laney LFR-212 cabinet moves some air onstage.
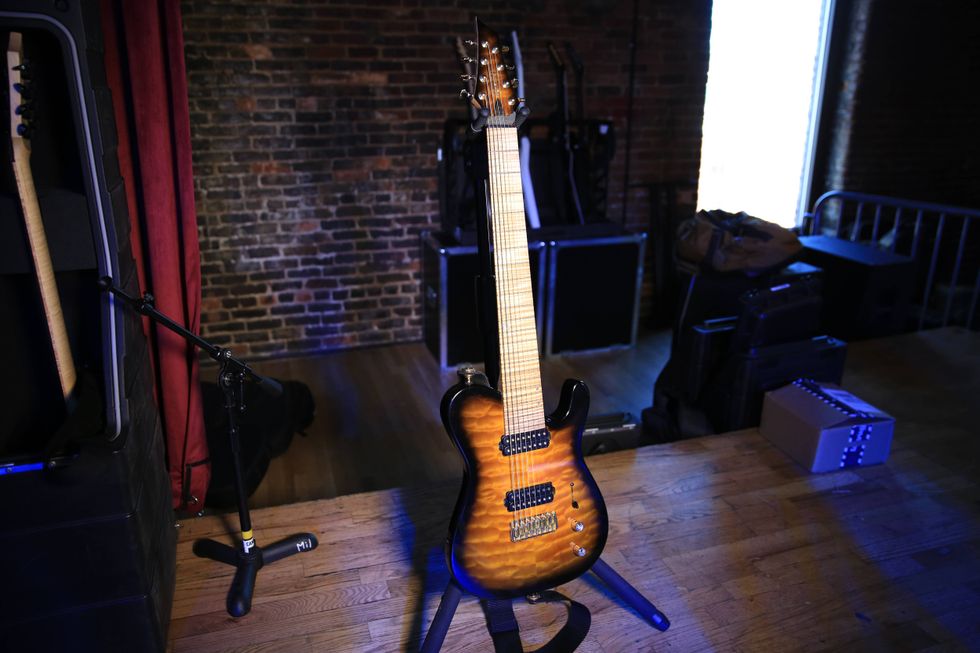
A Real Looker
Josh Travis never had a guitar this gorgeous before. He runs this 8-string Kiesel with Dunlop 72-8 gauge string set, and most of his axes are loaded with either Kiesel Lithium or Thorium pickups.
Woody
Travis also brought this darker-finish Kiesel, with plenty of natural wood grain showing through, along for this run.
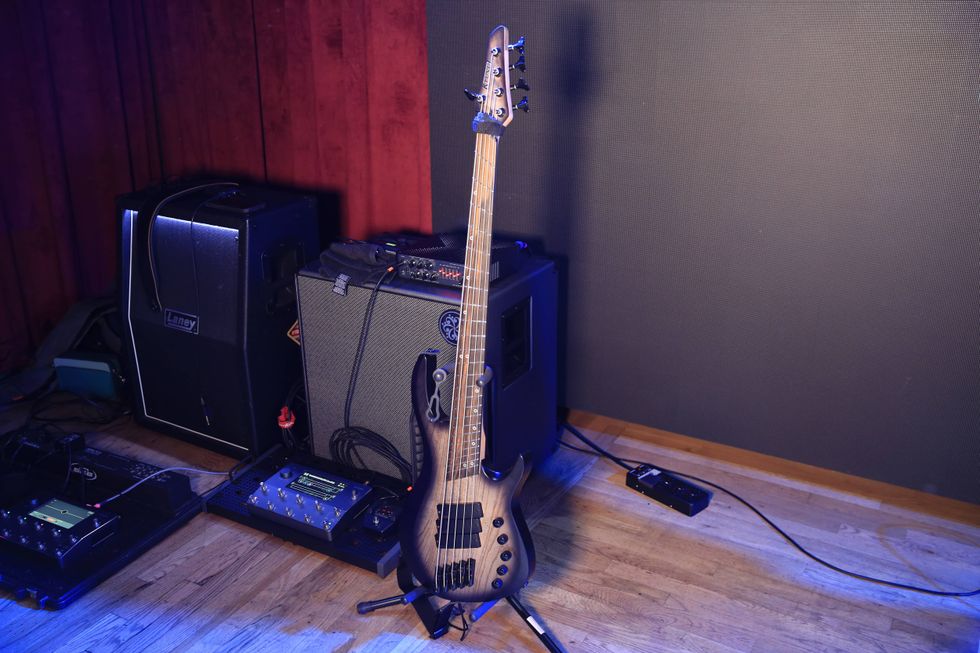
High-5-String
Butler primarily plays this Kiesel A2 5-string bass, which features fanned frets, active pickups, and .065–.105 gauge strings.
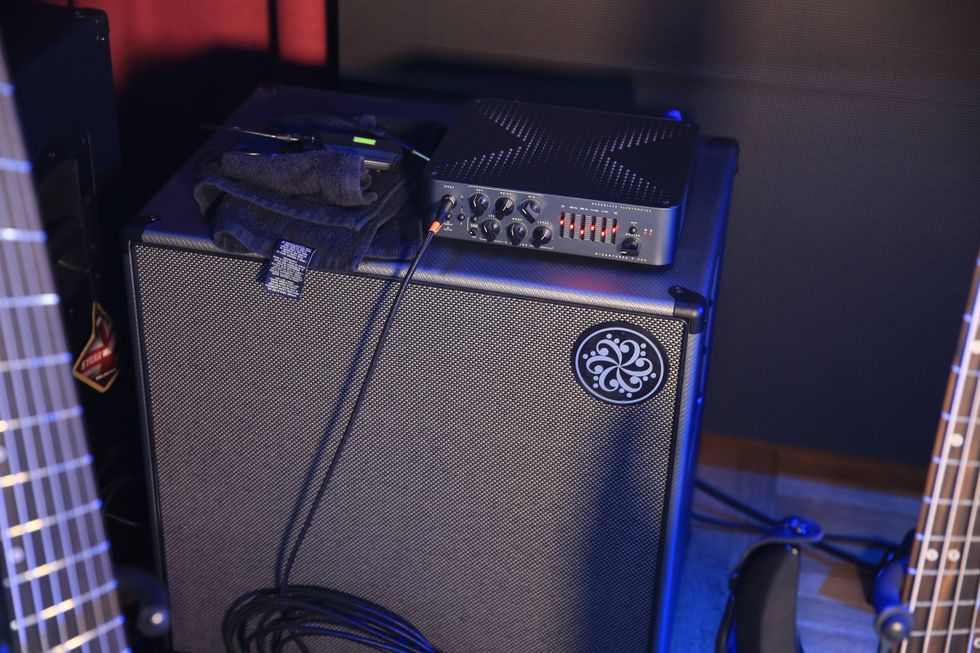
Mike Butler’s Bass Rig
While Butler is getting used to the Quad Cortex, he runs a Darkglass Micro Tubes X900 preamp and matching 410 cabinet.
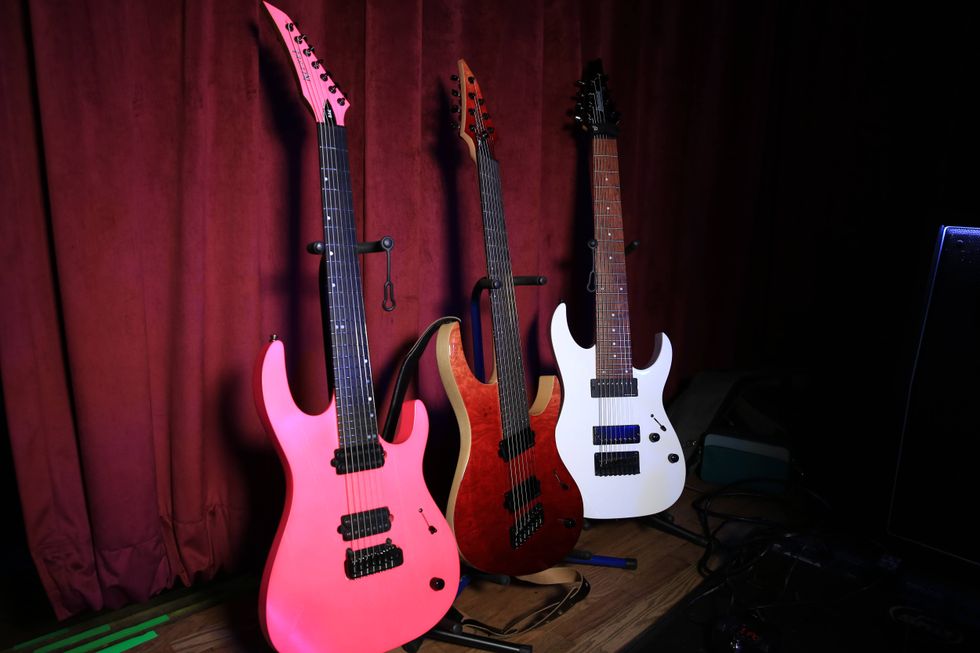
Berngruber’s Balaguer
Newest member Eric Berngruber is endorsed by Balaguer Guitars, and the red 7-string in the middle here, loaded with Fishman active pickups, is his primary weapon. The Kiesel and Ibanez flanking it are on hand for certain tunes, and Berngruber, too, runs a Quad Cortex.


 Lydia began life as a 2007 Squier Vintage Modified Telecaster SSH—an already versatile guitar. With the addition of the Hipshot Trilogy Bridge it can move easily between different tunings.