
There are a lot of mods that can be done on a Blues Junior—the affordable, lightweight, and smallest member of Fender’s 12" combo family. These include replacing tone caps, swapping out the transformer, electrolytic cap upgrades, reverb tank mods, and more. Just google “Fender Blues Junior Mods” and prepare to be overwhelmed.
But how many of these mods are really necessary? It’s fair to assume that if you own a Blues Junior you were attracted to both its price of $749 street and at least some elements of its sound, which falls into the range of classic Fender voices, with clarity and punch. So, as PG’s “Silver and Black” columnist and resident guru of fenderguru.com, let me wade through some of the popular mods and make some recommendations about a few I think are actually beneficial, affordable, and easy to accomplish—resulting in more punch, volume, and warmth in your tone. Specifically, I’m talking about using extension cabinets, adjusting the bias by changing the resistors, replacing those electrolytic caps, and adding a resistor to tame and darken the reverb.
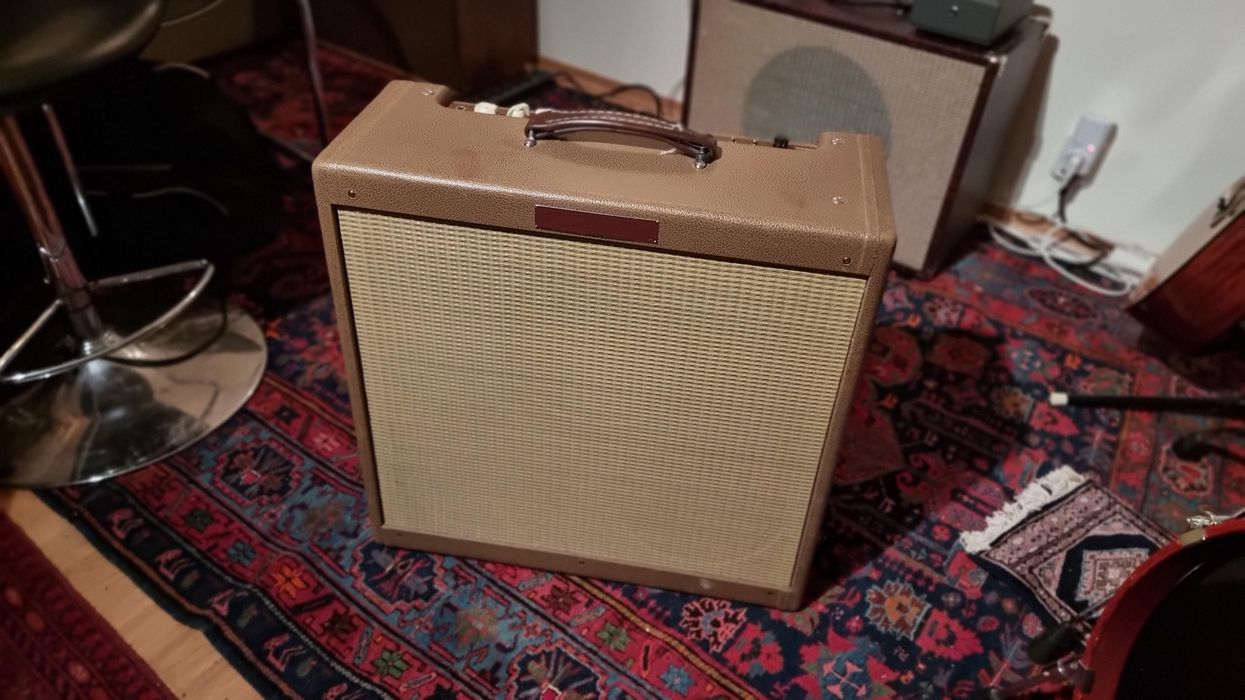
Before we get there, however, let’s take a look under the hood of this humble working-player’s Fender. The 15-watt, all-tube Blues Junior was introduced in 1995. It weighs only 30 pounds and measures 16" x 18" x 9", making it smaller and lighter than a Princeton, although it holds a larger 12" speaker.
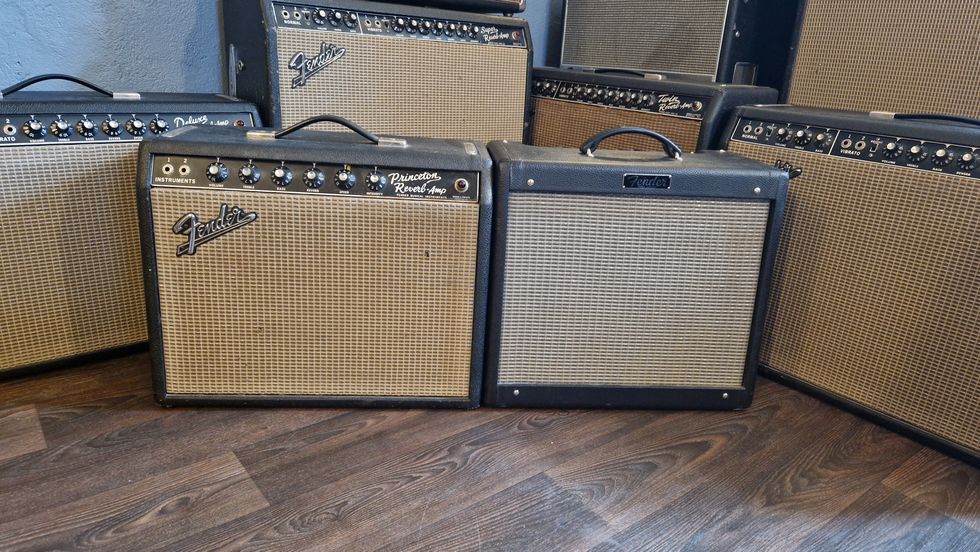
Although smaller than the Princeton, the Fender Blues Junior has a larger speaker and more wattage, with a 12" speaker compared to the Princeton’s 10", and 12 watts compared to the Junior’s 15.
How Low Can We Go?
The Blues Junior was introduced before the trendy low-wattage-amp era began, and even in the digital era, players still appreciate the Junior’s printed circuit board (PCB), manual knobs, and tubes in its preamp and power amp sections. There have been many revisions over the years, including minor changes in circuitry and components, different speakers, and the addition of a fat switch that boosts the mids and pushes the preamp stage into quicker distortion.
There are three models in the current Blues Junior IV lineup. The black Tolex amp has a Celestion A type speaker, the racing green model has a Jensen C12Q, and the lacquered tweed model comes with a Jensen C12N. They all share the same circuitry. There’s also a tube in the phase inverter, while there is a transistor-driven reverb and diode rectifier. The early Blues Juniors with green circuit boards were made in the U.S., until Fender moved production to Mexico in 2001. The Mexico-made amps have a cream-colored circuit board.
PCB amps are a little more complicated to work on than handwired amps. You must be gentle and careful with wire cutters and soldering irons to not damage the small connections. It is easy to break the board’s connection traces and pins, or accidentally touch a high voltage point in the circuit. Be careful should you venture inside.
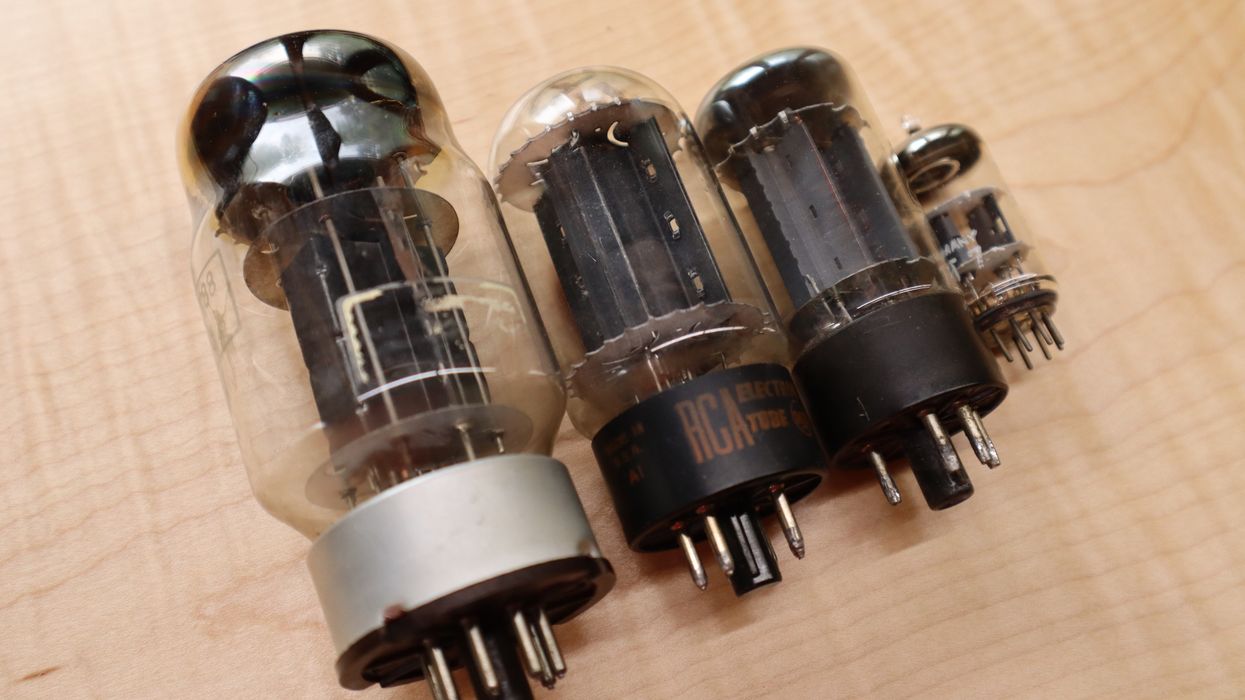
The Tale of the Tubes
So, what can we draw from inspecting the amp and reading the schematic of a Blues Junior? The control panel has volume, master, treble, middle, bass, reverb, and fat switch controls. Reading the schematic, I find that the tube layout and circuit functions are:
V1 12AX7: The first half of the tube handles preamp gain stage one before the volume and fat functions, and the second half powers preamp gain stage two, after volume and before the EQ/tone stack.
V2 12AX7: The first half powers preamp gain stage three, after the EQ/tone stack and before the master volume, and then the phase inverter. The second half of the tube’s output is not in use.
V3 12AX7: The first half juices the phase inverter’s phase one; the second half handles the phase inverter’s phase two.
V4 and V5: That’s the home of the EL84 power tubes.
Just like the Princeton Reverb, there are three gain stages in the preamp circuit. The power amp circuit design is also based on a classic Fender black- and silver-panel-era recipe. It has dual EL84 power tubes in a push-pull Class AB configuration with fixed bias and a negative feedback loop. This means we should expect a nice, clean black-panel-style tone before the amp breaks up.
Before the power tubes sits a proper, high-performing, long-tail phase inverter based on the two available amplifier functions in the single V3 12AX7 tube. All Class AB push-pull amps need a phase inverter that splits one sine wave signal into two signals with opposite phase that are fed into each power tube. The Princeton Reverb has a weaker phase inverter than the Blues Junior, and the Blues Junior has a bigger loudspeaker but a smaller speaker cabinet, which we will get back to in a moment.
The small cabinet is the most significant bottleneck with the Blues Junior. At home, it works well for me, but onstage it gets too boxy and thin. The 12" speaker doesn’t have room to breathe in that small cabinet and would benefit greatly from a bigger space. You can change the tone by swapping the loudspeaker, but you won’t get more punch and bass response.
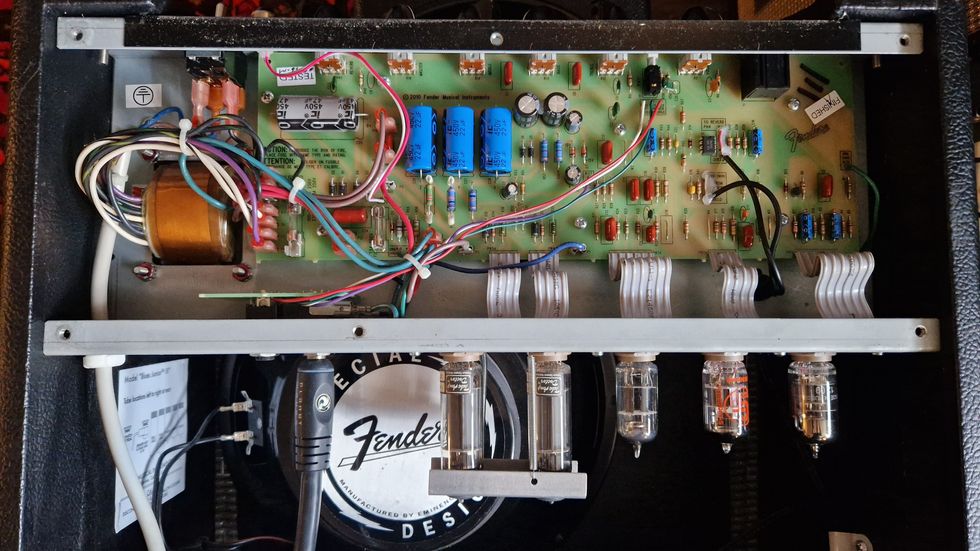
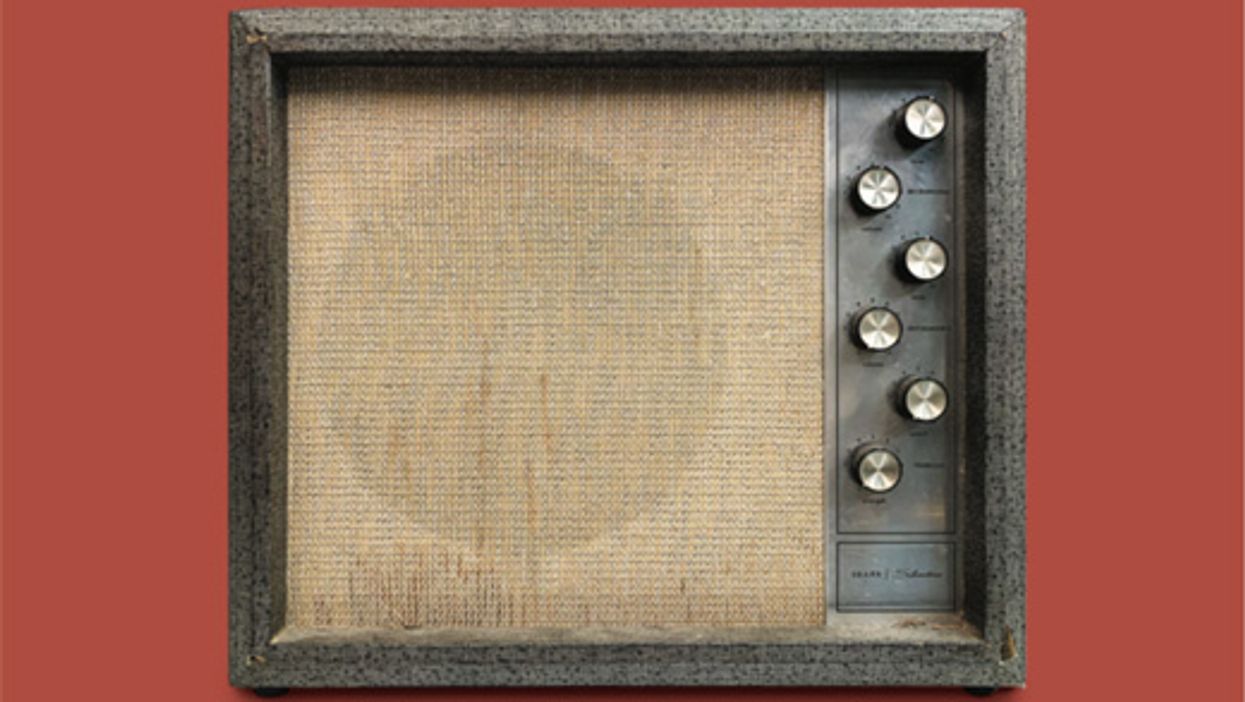
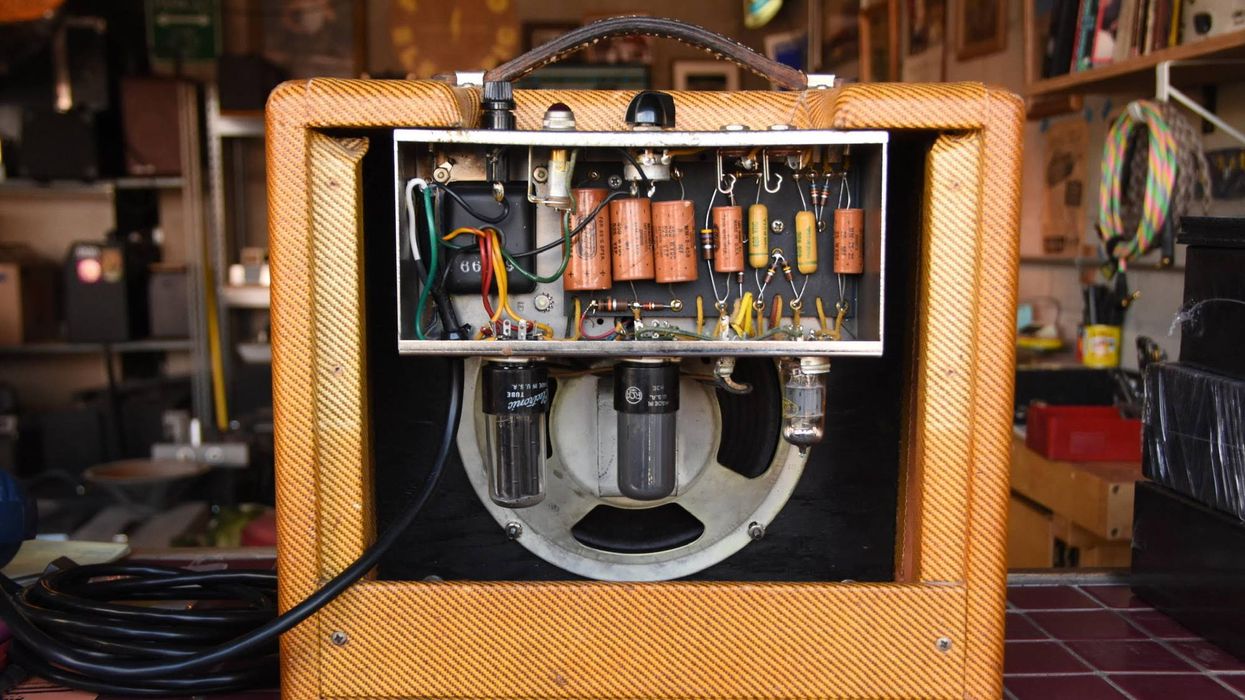
Here’s an interior look at Jens’ own Fender Blues Junior. Space is of the essence in this mighty mite of an amp.
Extended and Amended
Bigger extension cabinets are by far the easiest way to increase the spread and punch of a Blues Junior. Good speaker combinations are closed or semi-closed 1x12, 1x15, or 2x10 cabs. The Blues Junior expects an 8-ohm speaker load but will handle anything between 4 and 16 ohms. Since 8 ohms give you the most headroom, I recommend disabling the built-in speaker entirely and sending all the power to the bigger extension cabinet for a bigger tone.
If a bigger extension cabinet isn’t enough, you could consider upgrading the output transformer to a larger one. Some will argue that the Junior’s small output transformer is a weak point, limiting fullness and bass response. I, however, think the modest power transformer is properly sized for this small amp. It is, after all, supposed to be a low-wattage amp with early breakup. A bigger OT is not the right medicine in such a small combo, in my opinion, unless you’re always driving an extension cabinet.
Fixing the Fixed Bias
Before we leave the power amp section, I must mention that the Blues Junior is famously known for having a too-hot fixed bias setting on the EL84s. Juniors benefit from a cooler bias, which also increases tube lifetime. Since there is no available bias pot, you have to adjust the bias by changing the values of the two resistors—a 22k/R31 and 33k/R37, or a R52 and R51 in more recent models. This is especially helpful if your amp wears out EL84 tubes fast. The good news is that Fender has improved the latest model IV with a cooler bias setting.
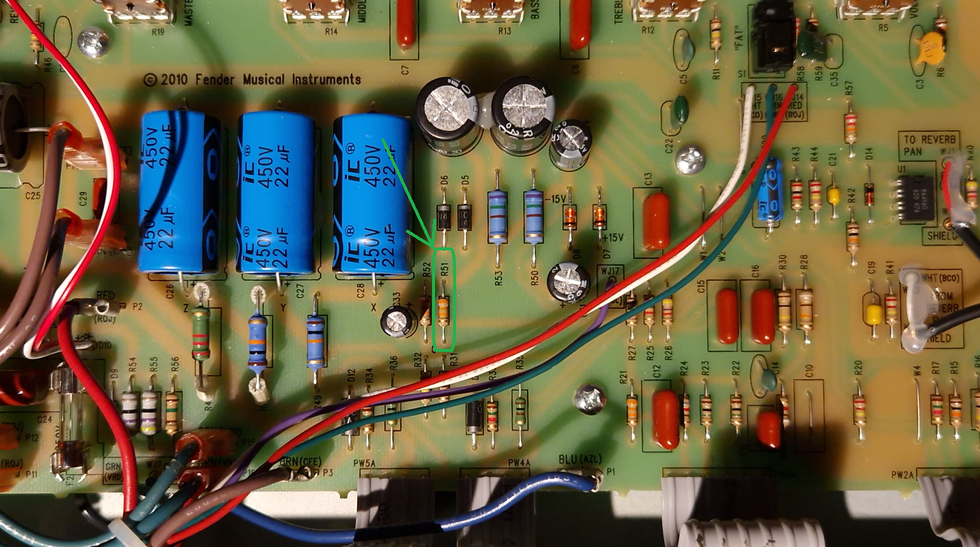
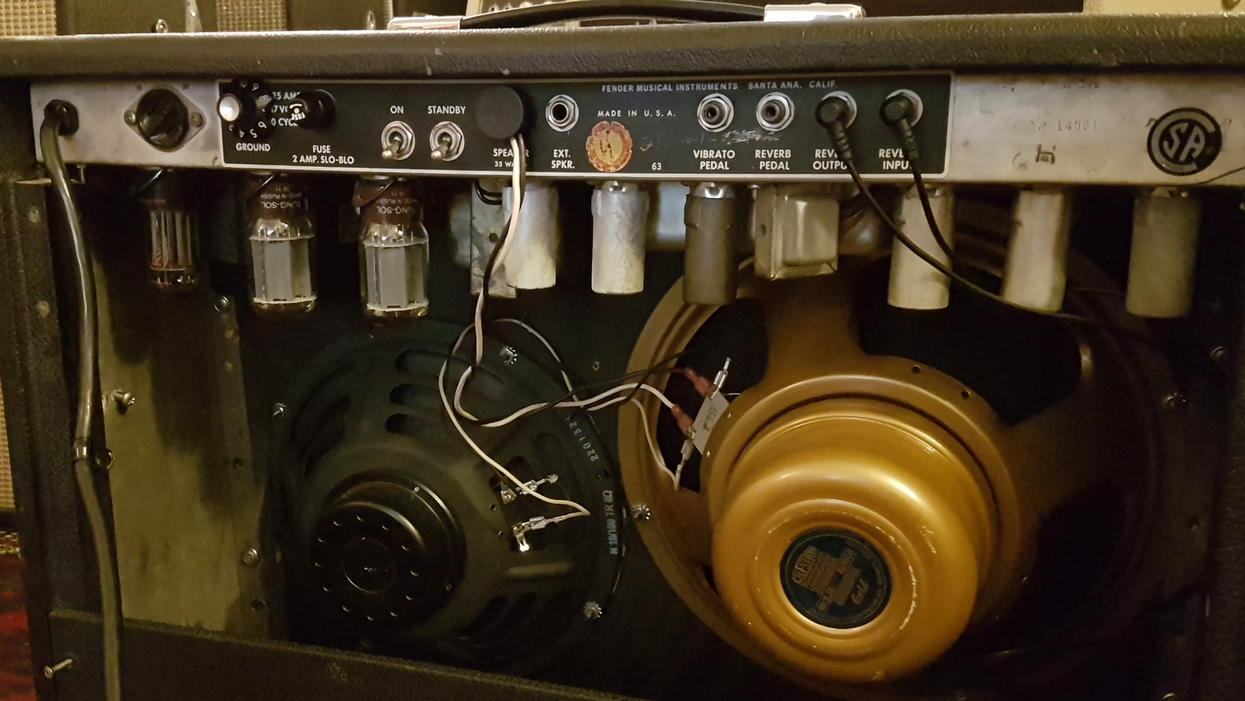
This photo shows the location of the R51 resistor in the Blues Junior circuit, important in recontouring the bias.
So, you’ll need to reduce the amp’s bias current to between 25 mA and 30 mA, from the factory-set 42 mA. (You’ll need a bias probe to measure the bias. To learn more about using a bias probe, see Jeff Bober’s story “Amp Man Returns, to Explain Tube Bias” in Premier Guitar’s June 2023 issue or online at premierguitar.com.) The simplest way to accomplish this via reducing the value of a resistor is to add another resistor in parallel. You simply solder a resistor on top of the existing one on the front side of the circuit. Twist the legs of the new resistor around the old ones a couple of times so it stays in place. That way, you don’t have to remove the original resistor. Then, warm up and apply the soldering tin to the legs. It’s that easy. I recommend adding a 220k resistor in parallel with the original 33k to see where that leads you. If you need to reduce more, use a smaller resistor or add another one in parallel until you are between 25 mA and 30 mA.
As far as tubes go, the circuit design will allow lower gain tubes—such as a 5751 or a 12AU7—in the preamp V1 and V2 positions. But you’d lose volume and break-up. I find that the amp’s sweet spot, meaning the transition between clean and distortion, is already pretty much where I want it, and I like the usable range between the volume and master volume controls, so I would advise against inserting low-gain tubes.
The tone stack and EQ balance is well-designed, too, with a nice, usable range in the bass, mid, and treble controls. The Junior can do both sparkling cleans and crunchy distortion. The mid control offers more mids than the scooped Princeton. With the mid knob set at max, I’m able to get some British-style distortion. If you think that your Blues Junior sounds a little glassy, you should experiment with other loudspeakers. Inserting a broken-in Celestion Greenback or a Jensen P12Q would easily make cranked tones smoother or the clean sound more authentic-vintage Fender. The Blues Junior III I’ve been playing lately comes with a Fender-labeled speaker made by Eminence—a good, all-round speaker with nice sparkle and a firm bottom end.
Doffing the Caps
Next up: a highly recommended maintenance mod. Electrolytic filter caps are important components in terms of noise, loudness, and clean headroom. The cheap, low-quality caps that come in blue or grey are a well-known problem with the Hot Rod Deluxe and Blues Junior. The good news is, they are quite easy to swap out. I recommend replacing these if you hear any 50Hz hum or see any signs of cap leakage. There are several cap replacement kits available online for the Blues Junior, running from about $60 to $100.
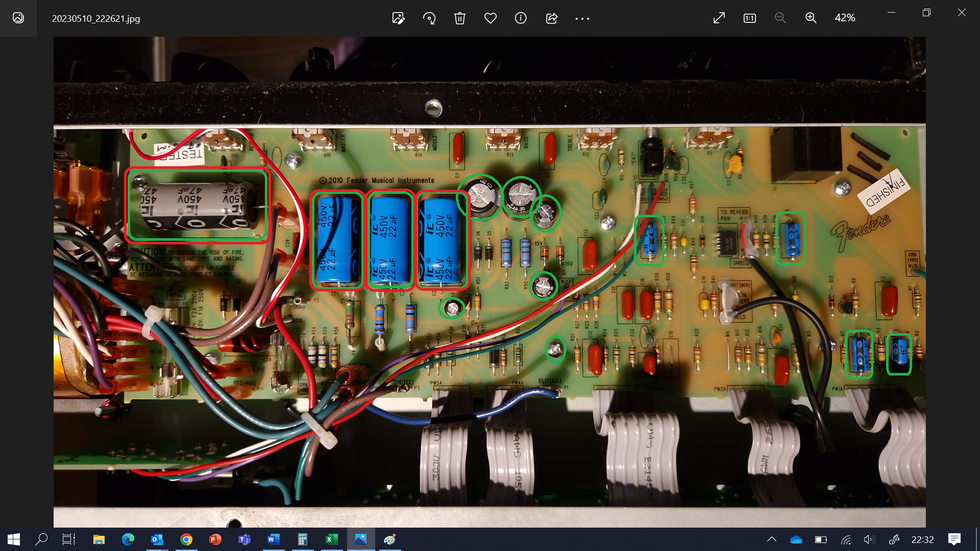
Note the 14 circled electrolytic capacitors in this photo. Filter cap replacement kits are affordable and widely available online.
Start by replacing the four largest capacitors: three with a value of 22 uF and one with a 47 uF value. Again, it’s simple. Just clip the legs off the factory-installed capacitors as close to the caps’ bodies as possible, and remove them. Then, twist the new caps’ legs around the old ones and solder them in place. Just be careful with both your clippers and soldering iron around the PCB. If that doesn’t get the results you want, replace the smaller caps, too.
Moving on to the reverb, I can understand the cost-efficiency decision that Fender made with the simplified, transistor-based circuitry. Not having a tube-and-transformer-based reverb lowers expense and weight, and there are fewer things that can fail. Luckily, there is a proper spring reverb tank in the back of the amp. In fact, the Blues Junior I, II, and III are famously known for having too much reverb. Anything above 2.5 on the reverb dial and the amp swims in overwhelming and bright ’verb.
Another recommended, and cheap, mod is to add an 82k resistor in parallel with the original 220k/330k in the reverb circuit, to tame and darken the reverb. This goes parallel to the R44 (220k) resistor on the made-in-Mexico board or the R50 (330k) resistor on the made-in-U.S. green PCB. Once again, an easy fix. As in the bias adjustment mod we covered earlier, we solder a new 82k resistor on top of the existing 220k on the front side of the circuit. How? By twisting the leg of the new resistor around the old one a couple of times so that it stays in place, and then applying the soldering tin. Voilà!
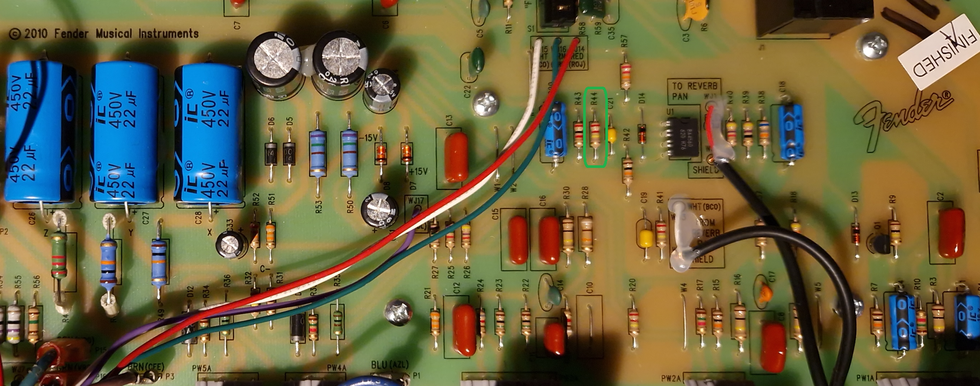
To restore the Junior’s classic Fender reverb sound, a new resistor should be wired in place atop the R44 factory resistor, circled in green.
With this mod, the reverb sounds more like the classic black- and silver-panel ’verbs, but with a wider knob-control span. I have read that the early made-in-the-States models have a darker reverb tone and might not require this move. But if you do this and find change isn’t enough, you may want to experiment with replacement reverb tanks with different decays.
So, that’s my take on this popular little warrior tube amp, and some easy mods. Even without changing the circuitry at all, with the Blues Junior, for a little money you get a lot of vintage Fender tone with a modern twist.