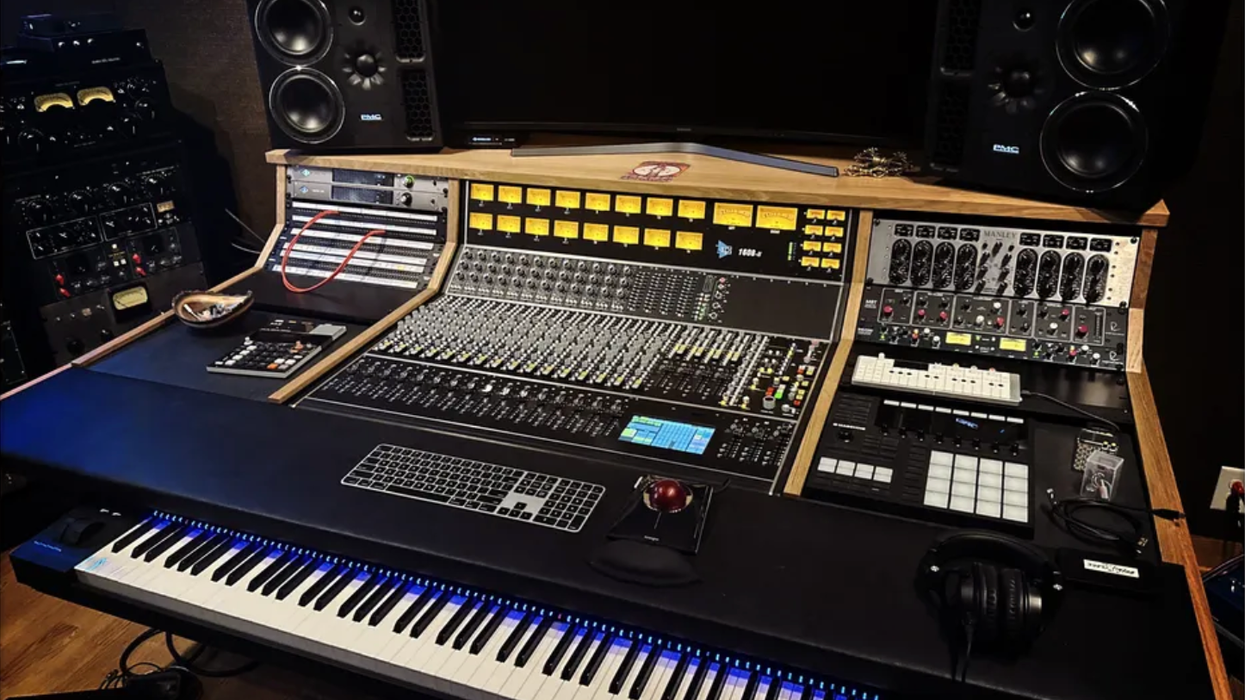
Using templates when recording makes a big difference in streamlining your workflow, and will leave you more time to get creative.
Hello and welcome to another Dojo! This time I’d like to focus on the benefits of using templates in your recording and mixing process. I’ll also show you some ways in which you can increase your productivity by using customized templates for your particular workflow regardless of what DAW(s) you use. Whether you’re recording a live band or a solo artist, you can create templates that include the necessary tracks, processing, and routing setups to meet your unique requirements. Tighten up, the Dojo is now open.
Over the last 30 years, digital audio workstations (DAWs) have revolutionized the way music is produced and recorded, making it easier to create high-quality recordings from the comfort of your own home. With so many options now available, it can be challenging to streamline the recording process and maintain consistency across multiple sessions. This is where templates—pre-configured session setups that can be customized and reused to simplify the recording process—come in.
The main point here is to create a template that works for you. I have found that the more specialized the template, the less flexible it becomes for use in other scenarios. For example, a 48-channel mixing template with specific plugins, buses, and other routing assignments won’t be a first choice when recording a power trio. I think the important thing is to recognize the type(s) of work you do and make different levels of templates accordingly. By creating various kinds of templates that include all the necessary tracks, plugins, and settings, you can ensure that each recording or mix session starts with a consistent foundation, allowing you to focus on the creative process rather than technical setup.
“By sharing templates, you can ensure that everyone is working with the same setup and settings, making it easier to collaborate and share ideas.”
Saving Time
Creating a new tracking session in your DAW from scratch can be a time-consuming process, especially if you’re working with a large number of tracks or complex routing setups. Using templates allows you to quickly set up your session and get to work, without having to waste time configuring settings or searching for the right plugins. I find this particularly useful when starting a new project that involves recording multiple songs with the same artist or band.
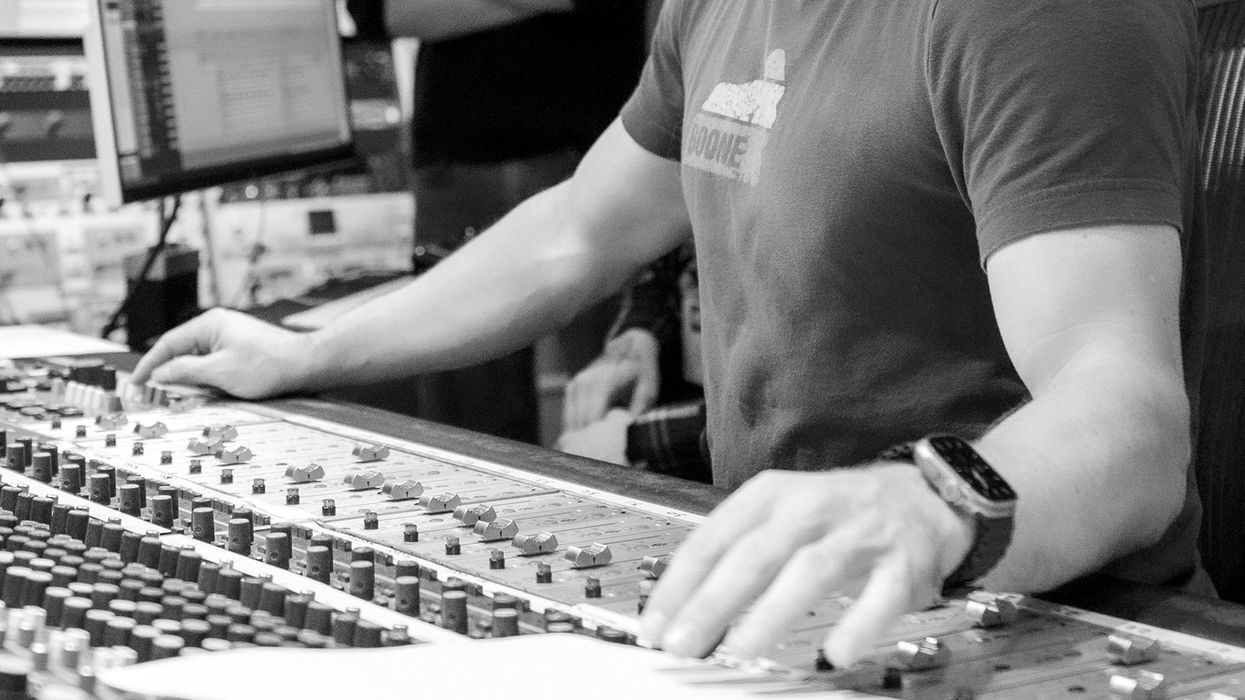
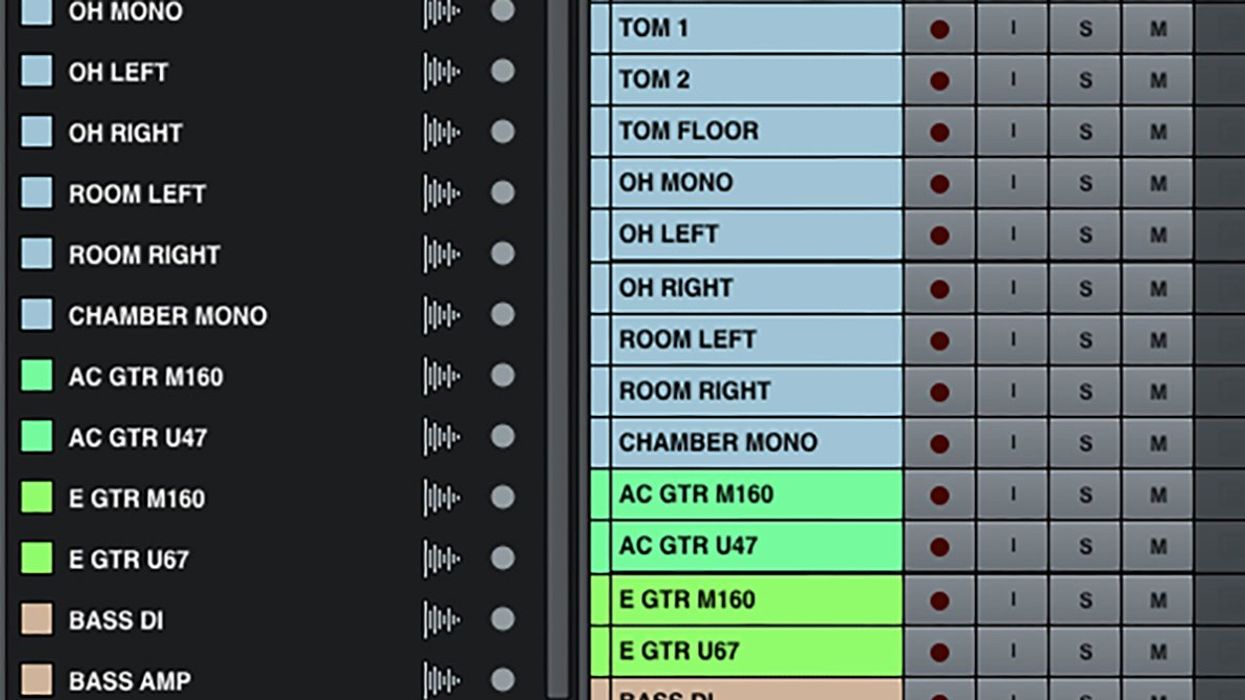
Typically, I create the session’s tracks and buses, assign, route, and organize my signal flow, in-the-box or outboard (Fig. 1), and get sound levels from each musician by making adjustments at the mic first, then add EQ and compression as needed. Once all that is done, I save the session as a “tracking template” with the artist/band name and date. When we’re ready to move on to the next song, I pull up the “tracking template” and save it as a “new session”! Now I have the same organization of track count, routing, etc., and I am able to repeat the process for each song moving forward.
Mixing It Up
The same logic applies when moving to the mixing stage. I’ll create a new template focused on advanced signal routing and incorporate things like console and tape emulation (if it wasn’t tracked through a console), side-chain options, routing folders, and instrument groups specific to that project. I found that using one-size-fits-all, highly specialized mixing templates end up being overbuilt and I waste time parsing out only what is necessary, as well as making sure that it is not draining my RAM and CPU resources.
Collaboration
Using templates can also be beneficial when collaborating with other musicians or engineers. By sharing templates, you can ensure that everyone is working with the same setup and settings, making it easier to share ideas and tracks. This can be especially important when working remotely, as it can help ensure that everyone is on the same page, even if they are not in the same physical location.
Creating templates can also help future-proof your recording process, ensuring that your recordings remain consistent and of high quality as your needs change over time. By creating templates that can be easily updated or modified, you can adapt to new recording technologies or workflows without having to start from scratch. This can help you stay ahead of the curve and ensure that your recordings are always of the highest quality.
Finally, you can create templates that use console emulation on every channel, aux, and mix bus. There’s Universal Audio’s LUNA API Vision Console Emulation Bundle ($559 street), Neve and API summing plugins ($149 street) and many other possibilities from Waves NLS, and Slate Digital’s Virtual Console Collection ($149).
Regardless of the DAW you use, taking the time to create some different types of templates will save you time and help keep you and everyone involved in the creative state of mind. Until next time, keep creating! Namaste.
- Building a Pro-Level Home-Studio Mic Closet ›
- A Guide to Essential Effects Plugins for Your Home Studio ›
- The Working Guitarist: The Home Studio ›
We’re giving away more gear! Enter Stompboxtober Day 24 for your chance to win today’s pedal from Maxon!
Maxon OD-9 Overdrive Pedal
The Maxon OD-9 Overdrive Effects Pedal may look like your old favorite but that's where the similarity ends. Improved circuitry with a new chip yields the ultra-smooth dynamic overdrive guitarists crave. Drive and Level controls tweak the intensity and volume while the Hi-Boost/Hi-Cut tone controls adjust brightness. Features true bypass switching, a die-cast zinc case, and 3-year warranty. From subtle cries to shattering screams, the Maxon OD-9 delivers a huge range of tones.
Features
Improved circuitry with a new chip yields ultra-smooth dynamic overdrive
Drive and Level controls tweak the intensity and volume
Hi Boost/Hi Cut tone controls adjust brightness
True bypass switching
Die-cast zinc case
AC/DC operation (order optional Maxon AC210N adapter)
Product Specs
Input: 1/4" mono jack
Output: 1/4" mono jack
Power: 9V DC, 6 mA, center pin minus (not included)
Dimensions: (WxDxH) 74 mm x 124 mm x 54 mm
Weight: 580g
Vintage-style reverb, tremolo, and vibrato sounds abound in a 3-in-1 stomp that might be the only box you need.
Here’s part two of our look under the hood of the funky rhythm guitar master’s signature 6-string.
Hello and welcome back to Mod Garage. In this edition, we’re continuing our journey through the Fender Cory Wong Stratocaster wiring, bringing it all together.In the previous installment, the last feature on the funky 6-stringer’s signature axe that we discussed was the master volume pot and the corresponding treble-bleed circuit. Now, let’s continue with this guitar’s very special configuration of the tone pots.
Tone pot with Fender Greasebucket tone system:
This 250k tone pot is a standard CTS pot with a 90/10 audio taper found in all U.S.-built Fender guitars. The Cory Wong guitar uses the Fender Greasebucket system, which is added to the pot as a ready-to-solder PCB. The Greasebucket PCB is also available individually from Fender (part #7713546000), though you can use conventional electronic parts for this.
Fender introduced this feature in 2005 on some of the Highway One models and some assorted Custom Shop Strats. The Greasebucket name (which is a registered Fender trademark, by the way) is my favorite of Fender’s marketing names, but don’t let it fool you: Your tone will get cleaner with this modification, not greasy and dirty.
According to Fender, the Greasebucket tone circuit reduces high frequencies without adding bass as the tone knob is turned down. Don’t let that description confuse you. A standard Strat tone control does not add any bass frequencies! As you already know, with a passive system you can’t add anything that isn’t already there. You can reshape the tone by deemphasizing certain frequencies and making others more prominent. Removing highs makes lows more apparent and vice versa. In addition, the use of inductors (which is how a passive pickup behaves in a guitar circuit) and capacitors can create resonant peaks and valleys (band-passes and notches), further coloring the overall tone.
Cory Wong bringing the funk onstage.
This type of band-pass filter only allows certain frequencies to pass through, while others are blocked. The standard tone circuit in a Strat is called a variable low-pass filter (or a treble-cut filter), which only allows the low frequencies to pass through while the high frequencies get sent to ground via the tone cap.
The Greasebucket’s band-pass filter is a combination of a high-pass and a low-pass filter. This is supposed to cut high frequencies without “adding” bass, which has mostly to do with the resistor in series with the pot. That resistor means the control will never get to zero. You can get a similar effect by simply not turning the Strat’s standard tone control all the way down. (The additional cap on the wiper of the Greasebucket circuit complicates things a bit, though; together with the pickups it forms an RLC circuit, but I really don’t want to get into that here.)
The standard Fender Greasebucket tone system is used in the Cory Wong Strat, which includes a 0.1 μF cap and a 0.022 uF cap, along with a 4.7k-ohm resistor in series. These are the values used on the PCB, and without the PCB it looks like the illustration at the top of this column.
Push-push tone pot with preset overwriting function:
The lower tone pot assigned to the bridge pickup is a 250k audio push-push pot with a DPDT switch. The switch is used to engage a preset sound by overwriting the 5-way pickup-selector switch, no matter what switching position it is in. The preset functionality has a very long tradition in the house of Fender, dating back to the early ’50s, when Leo Fender designed a preset bass sound on position 3 (where the typical neck position is on a modern guitar) of the Broadcaster (and later the Telecaster) circuit. Wong loves the middle-and-neck-in-parallel pickup combination, so that’s the preset sound his push-push tone pot is wired for.
The neck pickup has a dedicated tone control while the middle pickup doesn’t, which is also another interesting feature. This means that when you hit the push-push switch, you will engage the neck and middle pickup together in parallel, no matter what you have dialed in on the 5-way switch. Hit the push-push switch again, and the 5-way switch is back to its normal functionality. Instead of a push-push pot, you can naturally use a push-pull pot or a DPDT toggle switch in combination with a normal 250k audio pot.
Here we go for the wiring. For a much clearer visualization, I used the international symbol for ground wherever possible instead of drawing another black wire, because we already have a ton of crossing wires in this drawing. I also simplified the treble-bleed circuit to keep things clearer; you’ll find the architecture of it with the correct values in the previous column.
Cory Wong Strat wiring
Courtesy of singlecoil.com
Wow, this really is a personalized signature guitar down to the bone, and Wong used his opportunity to create a unique instrument. Often, signature instruments deliver custom colors or very small aesthetic or functional details, so the Cory Wong Stratocaster really stands out.
That’s it! In our next column, we will continue our Stratocaster journey in the 70th year of this guitar by having a look at the famous Rory Gallagher Stratocaster, so stay tuned!
Until then ... keep on modding!
The Keeley ZOMA combines two of iconic amp effects—tremolo and reverb—into one pedal.
Key Features of the ZOMA
● Intuitive Control Layout: Three large knobs give you full control over Reverb Level, Tremolo Rate,and Depth
● Easy Access to Alternate Controls: Adjust Reverb Decay, Reverb Tone, and Tremolo Volume withsimple alt-controls.
● Instant Effect Order Switching: Customize your signal path. Position tremolos after reverb for avintage, black-panel tone or place harmonic tremolo before reverb for a dirty, swampy sound.
● True Bypass or Buffered Trails: Choose the setting that best suits your rig.
Three Reverb and Tremolo Modes:
● SS – Spring Reverb & Sine Tremolo: Classic spring reverb paired with a sine wave tremolo for that timelessblack-panel amp tone.
● PH – Plate Reverb & Harmonic Tremolo: Smooth, bright plate reverb combined with swampy harmonictremolo.
● PV – Plate Reverb & Pitch Vibrato: Achieve a vocal-like vibrato with ethereal plate reverb.
Reverb: Sounds & Controls
● Spring Reverb: Authentic tube amp spring reverb that captures every detail of vintage sound.
● Plate Reverb: Bright and smooth, recreating the lush tones of vibrating metal plates.
● Reverb Decay: Adjust the decay time using the REVERB/ALT SWITCH while turning the Level knob.
● Reverb Tone: Modify the tone of your reverb using the REVERB/ALT SWITCH while turning the Rate knob.
Tremolo: Sounds & Controls
● Sine Wave/Volume Tremolo: Adjusts the volume of the signal up and down with smooth sine wavemodulation.
● Harmonic Tremolo: Replicates classic tube-amp harmonic tremolo, creating a phaser-like effect withphase-split filtering.
● Pitch Vibrato: Delivers pitch bending effects that let you control how far and how fast notes shift.
● Alt-Control Tremolo Boost Volume: Adjust the boost volume by holding the REVERB/ALT footswitch whileturning the Depth knob.
The ZOMA is built with artfully designed circuitry and housed in a proprietary angled aluminum enclosure, ensuring both simplicity and durability. Like all Keeley pedals, it’s proudly designed and manufactured in the USA.
ZOMA Stereo Reverb and Tremolo
The first sound effects built into amplifiers were tremolo and reverb. Keeley’s legendary reverbs are paired with their sultry, vocal-like tremolos to give you an unreal sonic experience.