
| Chops: Intermediate Theory: Intermediate Lesson Overview: • Understand mini-scales and how to fit them into your soloing. • Work on moving up and down the neck fluidly. • Create your own characteristic mini-scales. Click here to download a printable PDF of this lesson's notation. |
We all hit the wall occasionally when it comes to our musical vocabulary. You feel like you’re always playing the same ideas over everything. Our topic today is designed to give you a boost of creativity and help you break out of that rut, using what we’re going to call “mini-scales.”
What Is a Mini-Scale?
Instead of using an entire scale, we will just pick out four notes and treat those as a “mini-scale.” This tightens
up the sound and actually makes for more interesting melodies. When used over the right chords, it also eliminates
the issue of having “bad notes” to avoid. To form these mini-scales, you can either start with a scale and take
notes away, or just pick four random notes within an octave.
Ex. 1 is the first four-note mini-scale I incorporated into my own playing. It was heavily influenced by (and possibly stolen from) Kurt Rosenwinkel. The notes are 1–b2–4–5. You could think of it as a version of the G Phrygian scale, minus some notes. This example is just one octave—up and back down—to give you the basic idea. You should play it in 3rd position, starting with your 1st finger.
Click here for Ex. 1
Ex. 2 expands this further by taking this same set of notes and continuing it over the entire position, which is roughly two octaves. The articulation can be personalized of course, but I like to slur the half-steps as indicated. This makes the fingering more efficient so you can play it faster.
Click here for Ex. 2
Isn’t This an Arpeggio?
When we think of an arpeggio, we think of outlining the full function of a chord. That’s usually 1–3–5–7
and then the extensions. But that’s not exactly what we’re after here. We’re looking to grab a handful of colorful
notes and play them over a couple of octaves, thereby creating a self-contained sound. It could be a normal
arpeggio, but it might not be. It might not even contain the root. Once you have your self-contained sound, you can
move it all over the place.
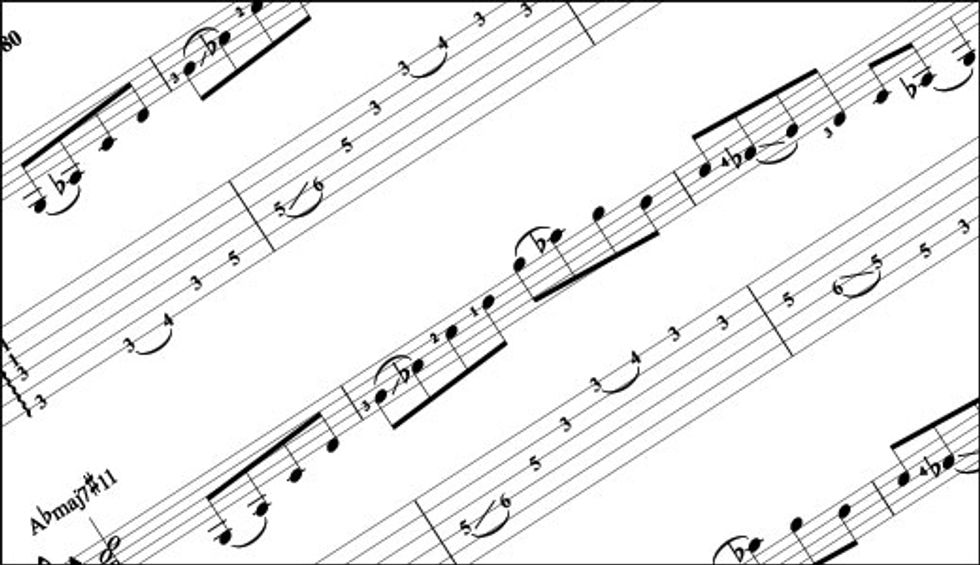
For example, right now we’re calling G the root, which would imply a Gsus(b9) chord. But try playing this same set of notes over Ab. Now we’ve got a really cool Abmaj7(#11) sound. Or you could play it over an F and get an Fm6/9 sound. You can hear all these in Ex. 3. There are a ton of possibilities that you can explore, just try putting different bass notes under your mini-scale and see what you come up with.
Click here for Ex. 3
Let’s look at a different mini-scale. In Ex. 4 I use 1–3–5–b6. Start in 2nd position with your 2nd finger, and then slide up into 3rd position after the D. Once again, I like to slur the half-steps to make things smooth and fast. Some ideas for chords on this one: G7, Cm, Ebmaj7, B7(#9).
Click here for Ex. 4
Expanding Horizontally
To get the most out of these mini-scales, we can work out the fingering so that we flow up the neck
horizontally, which gives us a lot more range. In Ex. 5 we take the fingering for the first octave
of our previous scale and repeat the exact same fingering up the neck. This is a pretty tricky lick, but it’s really
effective once you get it up to tempo. Start slow, use a metronome, and focus on the fingering. The fingerings might
seem odd at first, but they will help to propel you up and down the neck.
Click here for Ex. 5
Another example of the horizontal method is Ex. 6, which uses 1–#2–3–b7. We’re in the key of E to take advantage of the low 6th string. This one uses two notes per string all the way up and back down, and we keep the fingering the same to make things as easy as possible. These horizontal licks take some time but focus on the patterns that repeat.
Click here for Ex. 6
Real-Life Playing Scenarios
My main goal with this concept is to open your ears and mind to more possibilities. If one of these mini-scales
sparks an idea, go with it! You don’t need to master this technique by any means. But there are some real-life
playing scenarios where these mini-scales can come in handy.
Check out Ex. 7 which uses our first mini-scale (1–b2–4–5) combined with some rhythm to get a long musical phrase. And as we’ve already discussed, this works over several different chords, including Fm6/9. So next time you’re on a minor funk jam, give this a shot! I practically guarantee it will turn heads (hopefully in a good way).
Click here for Ex. 7
You can also combine this concept with a more functional vocabulary, as you might use in older jazz standards. Ex. 8 shows a situation where you’re playing a minor IIm–V7–Im. You don’t have all the time in the world, but you can still weave the first mini-scale idea into a bigger bebop phrase.
Click here for Ex. 8
Now that you’ve got a handle on the concept, go nuts! This is a great way to get some brand-new sounds into your playing and songwriting.